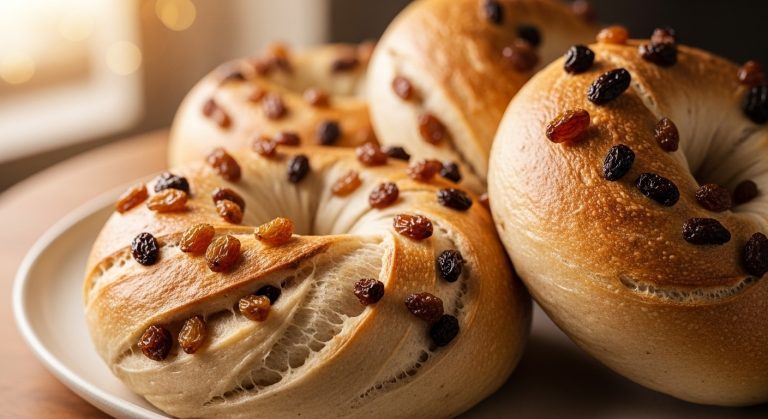
Homemade Sourdough Burger Buns Recipe for Juicy Burgers
To make sourdough burger buns, start with a well-maintained starter combining all-purpose and whole wheat flour. Mix and knead the dough until elastic, incorporating butter slowly for richness.
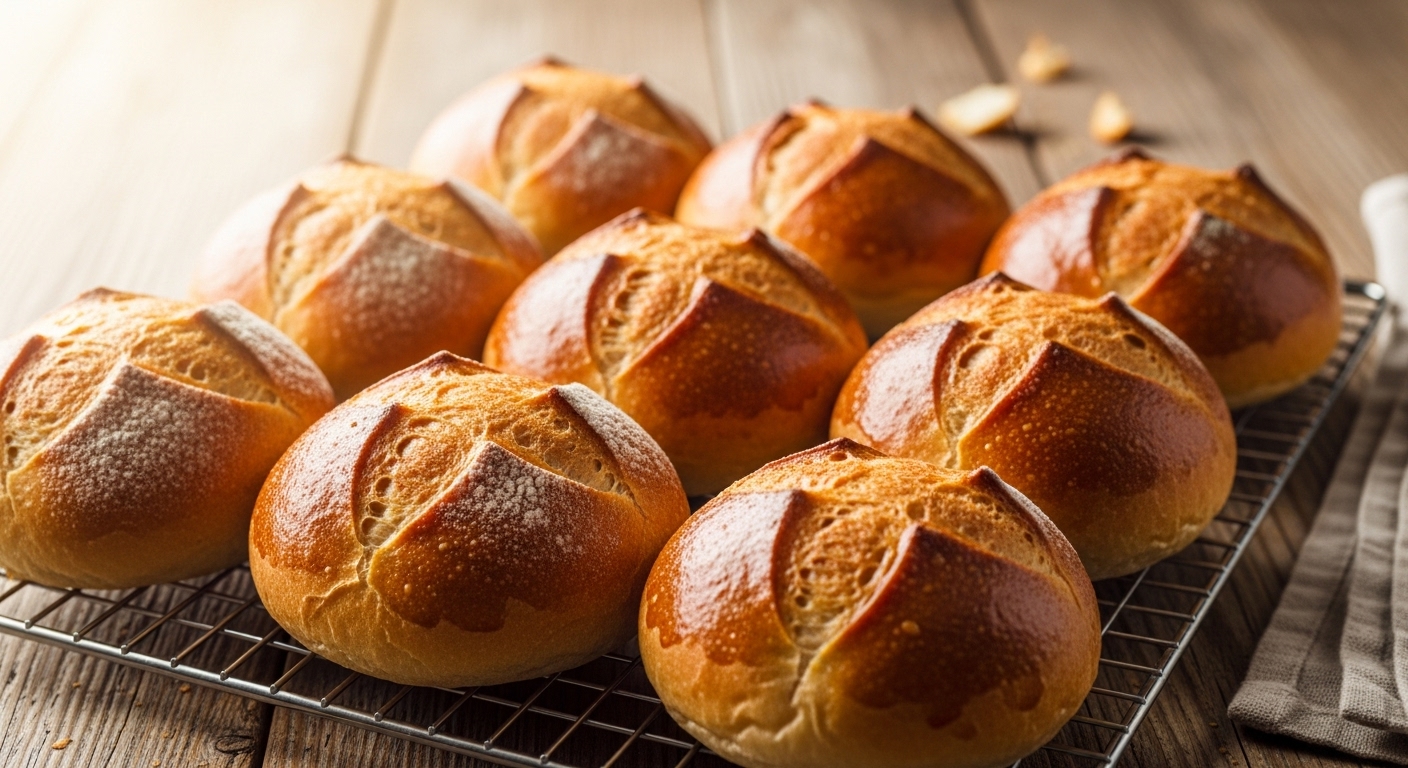
Bulk ferment at 75–82°F until dough nearly doubles, then portion into 110–115g balls. Shape with surface tension, proof at 75–80°F until puffy, and brush with egg wash for gloss.
Bake at 375°F until golden and internal temp hits 190°F. Keep going for detailed steps to perfect your buns.
Key Takeaways
- Prepare a sourdough starter with 75% all-purpose and 25% whole wheat flour, feeding daily for 6-7 days until active and bubbly.
- Mix starter, flour, water, salt, and sweetener; knead 7-12 minutes until elastic and smooth, passing the windowpane test.
- Bulk ferment the dough at 75-82°F until it rises 30-100%, then shape into 110-115g smooth balls and proof until doubled.
- Brush buns with egg wash, optionally add sesame seeds, and bake at 375°F for 20-30 minutes until golden and internal temperature reaches 190°F.
- Cool buns completely before storing airtight; freeze individually for longer storage and toast lightly before serving for best texture.
Easy Sourdough Burger Buns Recipe Guide
| Stage | Ingredients & Tools | Key Steps | Tips for Success |
|---|---|---|---|
| Starter | 75% all-purpose flour, 25% whole wheat flour, water | Mix flour + water to thick batter | Feed daily, keep at 70–75°F, use float test for readiness |
| Mixing | Sourdough starter, flour, water, salt, sweetener, butter | Knead until smooth & elastic (7–12 min by hand) | Add butter gradually, perform windowpane test |
| Bulk Ferment | Dough in covered container | Rest at 75–82°F until dough rises 30–100% | Keep dough covered to prevent drying |
| Shaping | Bench scraper, floured surface | Divide into 110–115g balls, create surface tension | Use “claw” hand method for smooth shaping |
| Proofing | Parchment-lined baking sheet | Proof 2–4 hrs at 75–80°F until puffy | Perform poke test for readiness |
| Baking | Oven preheated to 375°F, egg wash, sesame seeds (optional) | Bake 20–30 min until golden, internal temp 190°F | Tent with foil if browning too quickly |
| Serving & Storage | Toasted buns, condiments, airtight container | Cool before storing, freeze individually if needed | Avoid refrigeration, refresh in oven for softness |
Ingredients Needed for Sourdough Burger Buns
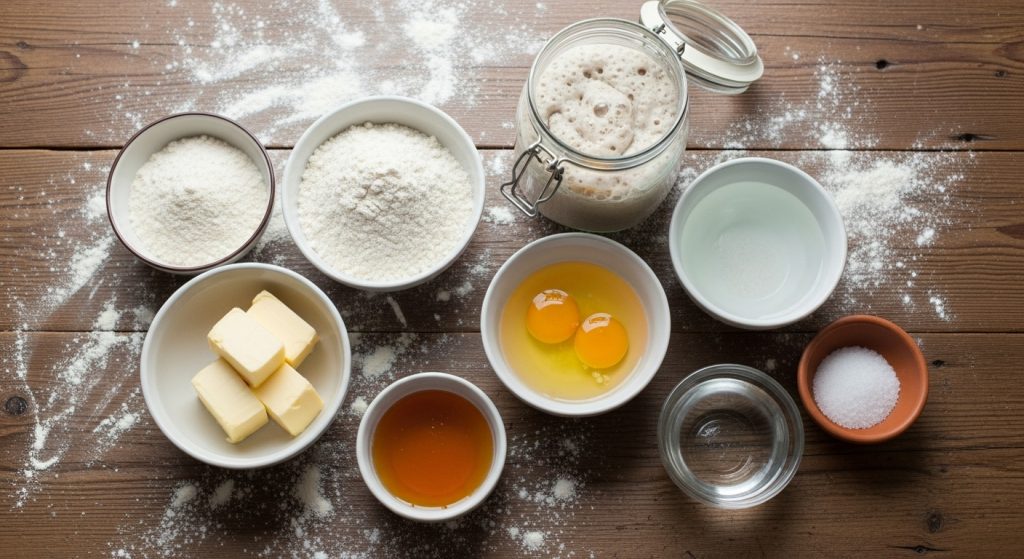
To bake sourdough burger buns, you’ll need a careful selection of flours, liquids, sweeteners, salts, and finishing ingredients that work together to develop flavor, texture, and structure.
The base usually includes about 3 cups of all-purpose flour, sometimes partially replaced with 25-40% whole wheat for added flavor and nutrition. This substitution requires slight hydration adjustments. Bread flour can also be used for higher protein content, which improves crumb softness and structure.
Hydration typically involves water or warm milk (around 110°F) to support fermentation. Butter is often added for richness. When substituting whole wheat flour up to 25%, it is important to gradually add an additional 25-30g water to maintain proper dough consistency.
Sweeteners like honey or sugar, in modest amounts, enhance yeast activity and crust color. Salt strengthens the dough and balances flavor, but should be kept away from direct contact with yeast.
Finally, finishing touches include an egg wash for a glossy crust and optional sesame seeds for texture and appearance.
Preparing the Sourdough Starter and Levain
Although preparing a sourdough starter requires patience, establishing a robust and active culture is essential for developing the flavor and leavening power of your burger buns.
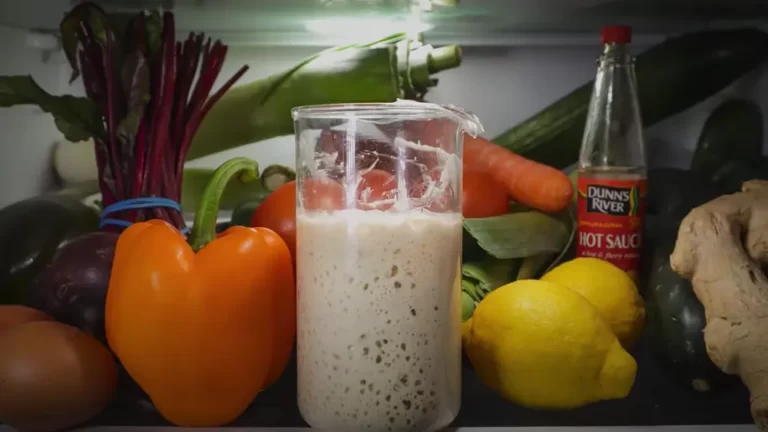
Begin by mixing 75% all-purpose and 25% whole wheat flour with equal weight room temperature water to create a thick paste.
Maintain the starter at 70-75°F, feeding it daily by discarding half and revitalizing with equal flour and water.
After 5 days, increase feedings to every 12 hours to boost yeast activity.
Activate your levain by feeding it similarly and confirm readiness with the float test.
Using a mix with real ingredients can enhance the authenticity and quality of your sourdough starter.
| Step | Description |
|---|---|
| Initial Mix | Flour + water to thick batter |
| Feeding Schedule | Daily, then twice daily by day 6-7 |
| Levain Activation | Feed, observe rise, perform float test |
Mixing and Kneading the Dough
Start by combining your sourdough starter with flour and water to form a shaggy dough. This initial mix is often referred to as the levain or preferment, which helps develop flavor and fermentation. Using a digital baking scale ensures precise measurement of ingredients for consistent results.
Then incorporate the remaining ingredients systematically. Use a stand mixer with a dough hook for 3-5 minutes or knead by hand for 10-15 minutes. Aim for a smooth, elastic texture as you work the dough. Monitor gluten development through tactile cues and the windowpane test. This will help guarantee ideal dough strength.
Optimal Mixing Techniques
When developing sourdough burger bun dough, you’ll want to use the right mixing techniques to guarantee ideal gluten formation and dough consistency.
Start by combining all ingredients except butter on low speed for about 5 minutes until the dough is smooth and elastic.
Then add butter in chunks, mixing slowly before increasing speed to fully incorporate the fat.
Monitor dough temperature to avoid overheating, and use wet hands to handle sticky dough during testing.
Use a planetary or spiral mixer with a dough hook attachment for even mixing.
Mix initially on low speed to develop gluten, then increase speed after adding butter.
Perform windowpane and dough strength tests to assess gluten development.
Rest dough post-mixing and apply stretch-and-fold during bulk fermentation for added strength.
Many bread machine cookbooks emphasize troubleshooting guidance to improve baking consistency and results.
Kneading Duration Guidelines
Because kneading directly influences gluten development and dough texture, adhering to proper duration guidelines is essential for sourdough burger buns. Using an ergonomic handle knife can help when preparing your dough and slicing finished buns evenly.
If you use a stand mixer, knead the dough for 5 to 8 minutes until it’s smooth, elastic, and pulls cleanly from the bowl.
Hand kneading takes longer—about 7 to 12 minutes—to achieve similar results.
Focus on dough texture rather than strict timing: it should feel springy, slightly tacky, and pass the windowpane test without tearing.
Over-kneading is rare but avoid it by monitoring these indicators.
Remember, warm liquids and added instant yeast can shorten kneading time, while enriched doughs with butter or eggs may require careful handling to maintain gluten strength.
Proper kneading ensures consistent rise and ideal bun structure. Using instant yeast in the dough promotes a quicker rise, which can influence the kneading process and overall dough development.
Bulk Fermentation and Dough Handling
Although bulk fermentation times vary based on temperature and dough enrichment, maintaining an ideal dough temperature between 75 and 82.4ºF (24-28ºC) ensures proper yeast activity and consistent dough rise.
You’ll notice the dough increase by 30-100% in volume as gluten strengthens and extensibility improves. This process is critical for your sourdough burger buns’ structure and texture.
Expect your dough to rise 30-100%, developing strength and elasticity essential for perfect sourdough buns.
Keep the dough covered to prevent drying and allow uniform fermentation. This homemade, from-scratch approach also results in buns free from preservatives and additives, enhancing their natural flavor.
Monitor the temperature with an instant-read thermometer to stay within the optimal range.
In colder environments, use a warm proofing space and extend fermentation time to compensate for slower yeast activity.
- Place dough in a covered container with enough space for expansion
- Avoid disturbance; stretch and folds are rarely needed for enriched doughs
- Monitor dough temperature to maintain optimal yeast activity
- Expect a smooth, airy dough surface with visible gas bubbles at completion
Shaping and Proofing the Buns
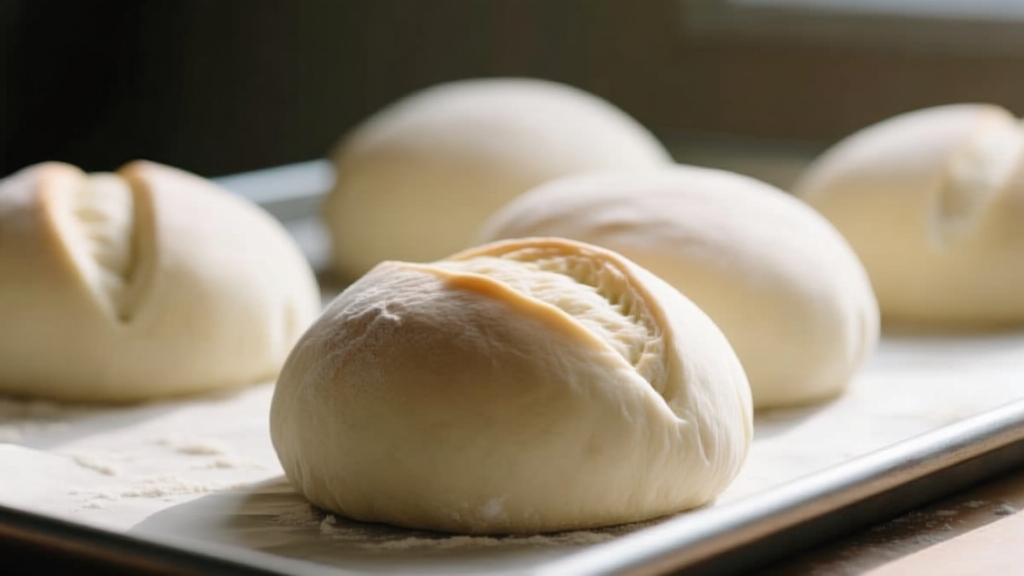
Start by dividing your dough into equal portions of about 110-115 grams. Use a bench scraper to guarantee clean cuts without deflating the dough.
Shape each piece into a smooth, taut ball by pulling the edges inward and creating surface tension. This technique supports the development of a strong gluten structure essential for the buns’ texture.
Then, flatten slightly for the classic bun shape.
Proof the buns on a lined sheet, covering them to maintain humidity. Proper fermentation eliminates most or all phytic acid, improving nutrient absorption.
Use the poke test to confirm they’re ready for baking. Ensuring the right proofing stage helps achieve the ideal oven spring during baking for a soft yet structured crumb.
Dividing and Rounding Dough
Once your dough has doubled in size during bulk fermentation, you’ll need to divide it into portions that weigh about 110 to 115 grams each to guarantee uniform burger buns.
Use a bench scraper on a well-floured surface to prevent sticking and ensure clean portions.
After dividing, round each piece into a tight, smooth ball by pulling edges to the center and pinching the seam underneath. This surface tension is vital for structure and crumb development. Maintaining proper gluten development during shaping will enhance the final texture.
Weigh pieces precisely or estimate by halving and quartering for consistency.
Minimize flour on the dough top to enhance tension while flouring the work surface.
Use cupped hands in a “claw” motion to tighten dough balls evenly.
Flatten rounded dough balls gently before proofing to shape classic buns. Shaping into a ball before proofing helps create flat-topped buns.
This method ensures uniform buns with excellent crumb and rise.
Proofing Techniques and Tips
Because proper proofing directly influences the final texture and rise of your sourdough burger buns, maintaining a consistent temperature between 75°F and 80°F in a draft-free environment is essential.
Shape your buns into tight, smooth balls by gently scooting the dough on a lightly floured surface to build surface tension. Then, flatten them slightly into discs to control height.
Arrange buns evenly spaced on parchment-lined trays to allow uniform expansion. Cover them loosely with plastic wrap or a damp towel to retain moisture without compressing.
Proof until doubled in size, about 2–4 hours, checking for a smooth, taut surface and a slight jiggle.
Perform a light finger press test; a slow spring-back with a slight indentation signals ideal readiness for baking.
Avoid over- or under-proofing to ensure ideal crumb structure and volume.
For best results, you can adjust dough consistency by adding flour or water in small increments to achieve the perfect texture for shaping.
Baking Instructions and Tips
When preparing to bake your sourdough burger buns, guarantee your oven is preheated to the recommended temperature between 350°F and 425°F (175°C to 220°C), with 375°F being typical for a 20 to 30-minute bake time. Preheating ensures even heat distribution, which is crucial for consistent baking results. Proper cooling of your buns before baking can also preserve the crust texture and improve final flavor.
Position your buns on the middle rack using parchment-lined baking sheets to ensure even heat distribution.
Brush them with egg wash for a golden crust and optionally add sesame seeds before baking. Applying an egg wash contributes to the desirable crust development characteristic of well-baked sourdough.
Monitor the buns carefully; they’re done when tops are golden brown and internal temperature hits approximately 190°F (88°C).
If browning too quickly, tent with foil.
- Use the middle rack and parchment-lined pans for consistent baking.
- Apply egg wash to enhance crust color and texture.
- Check internal temperature for doneness.
- Tent with foil if buns brown prematurely to protect crust.
Serving Suggestions and Storage Methods
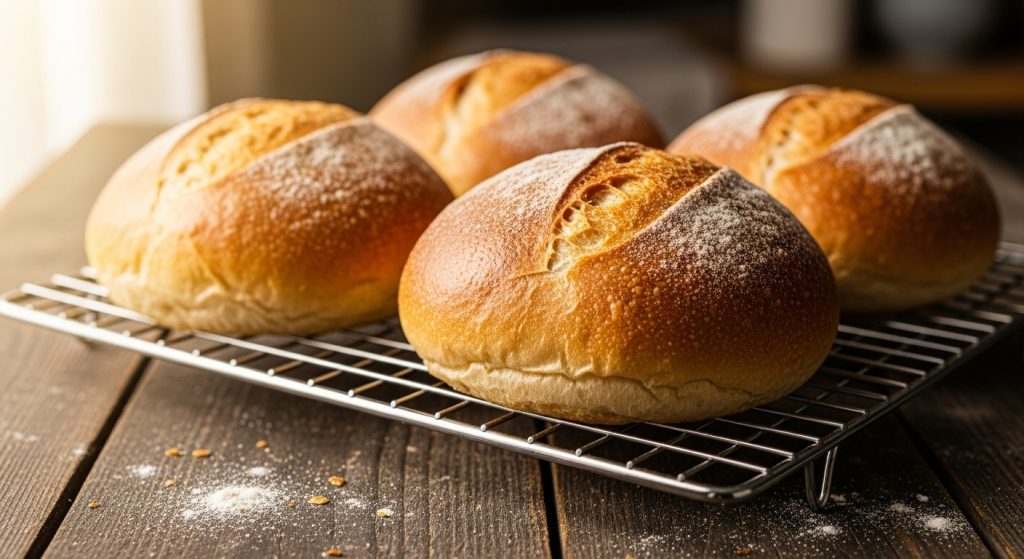
Although sourdough burger buns stand out for their tangy flavor and sturdy texture, how you serve and store them considerably impacts their quality and enjoyment. Serve buns lightly toasted to add crispness and prevent sogginess.
Brushing buns with an egg wash before baking can give them a shiny finish that enhances appearance and texture. Using a sharp lame to score the dough before baking can also improve the bun’s oven spring and crust design.
Lightly toasting sourdough buns enhances crispness and preserves their tangy, sturdy texture for the best burger experience.
Consider toppings like sesame seeds or cheese for added texture. Brushing melted butter on top enhances flavor and gloss.
Pair the buns with condiments such as mustard, mayonnaise, or specialty sauces to complement the sourdough tang.
For storage, cool buns completely before placing them in airtight containers at room temperature for up to three days.
For longer preservation, freeze individually wrapped buns, thawing at room temperature before use.
Avoid refrigeration to prevent staling. To refresh, warm buns at low oven temperature or microwave wrapped in a damp paper towel to restore softness and moisture.
Frequently Asked Questions
Can I Use Gluten-Free Flour for Sourdough Burger Buns?
Yes, you can use gluten-free flour for sourdough burger buns, but you’ll need to adjust your process. Use a gluten-free starter and incorporate binding agents like psyllium husk to mimic gluten’s structure.
Expect longer fermentation and higher hydration to develop proper texture. Avoid overmixing, and consider baking with steam to improve crust.
Experiment with flour blends and proofing times to achieve a soft, cohesive bun with good rise and flavor.
How Do I Adjust the Recipe for High Altitude Baking?
Oh, because baking at high altitude is just like baking at sea level—except it isn’t. You’ll want to increase your oven temperature by about 25°F or extend baking time, but never both.
Boost dough hydration slightly to combat dryness, and reduce your starter to prevent over-fermentation. Shorten bulk fermentation since yeast acts faster, and cover the dough well to keep moisture.
Keep a close eye on rise times to avoid dough collapse.
What Are Good Vegan Substitutes for Eggs and Butter?
For vegan egg substitutes, use 3 tablespoons of aquafaba for moisture and leavening, or mix 1 tablespoon ground flaxseed or chia seeds with 3 tablespoons water for binding and structure.
Pumpkin puree (¼ cup) adds moisture and subtle sweetness.
For butter, plant-based margarine offers creaminess and fat similar to butter, while coconut oil provides solid fat with slight aroma.
Combining solid and liquid oils can optimize texture and moisture in your dough.
How to Fix Dense or Heavy Sourdough Buns?
To fix dense sourdough buns, guarantee full proofing by performing the poke test—dough should slowly spring back after 2-3 seconds.
Use a vigorous starter, properly fed and active.
Maintain correct hydration; avoid adding excess flour during kneading.
Utilize lukewarm water to boost fermentation in cold environments.
Shape buns with adequate tension and proof in a controlled warm space.
Avoid over-proofing to prevent collapse, balancing rise time for ideal crumb structure.
Can I Freeze Unbaked Sourdough Buns for Later Baking?
Yes, you can freeze unbaked sourdough buns for later baking. Freeze them after bulk fermentation but before final proofing for best results.
Portion and tightly wrap each bun to avoid freezer burn, then label with the date.
Defrost buns slowly at room temperature, allowing final proof before baking.
Use frozen buns within 4-8 weeks to maintain ideal texture and flavor.
This method preserves yeast activity and ensures fresh, quality buns when baked.
Turn Every Burger into a Gourmet Experience
Now that you’ve mastered sourdough burger buns, you’re well on your way to elevating your homemade burgers to the next level.
Remember, practice makes perfect—don’t be discouraged if your first batch isn’t flawless. With careful attention to fermentation times and dough handling, you’ll soon bake buns with the perfect crumb and crust.
Keep these techniques in your back pocket, and you’ll consistently serve buns that impress every time.

