Sourdough Discard Bagel Recipe: It’s Like Nothing You’ve Ever Had
You can whip up delightful sourdough discard bagels that are tangy and chewy, making use of leftovers from your starter. Start by mixing 200 grams of sourdough discard with warm water, bread flour, sugar, yeast, and salt.
Knead the dough until it’s smooth, then let it rise until doubled. Shape the dough into bagels, boil them in sugary water for that perfect crust, and bake at 400°F until golden brown.
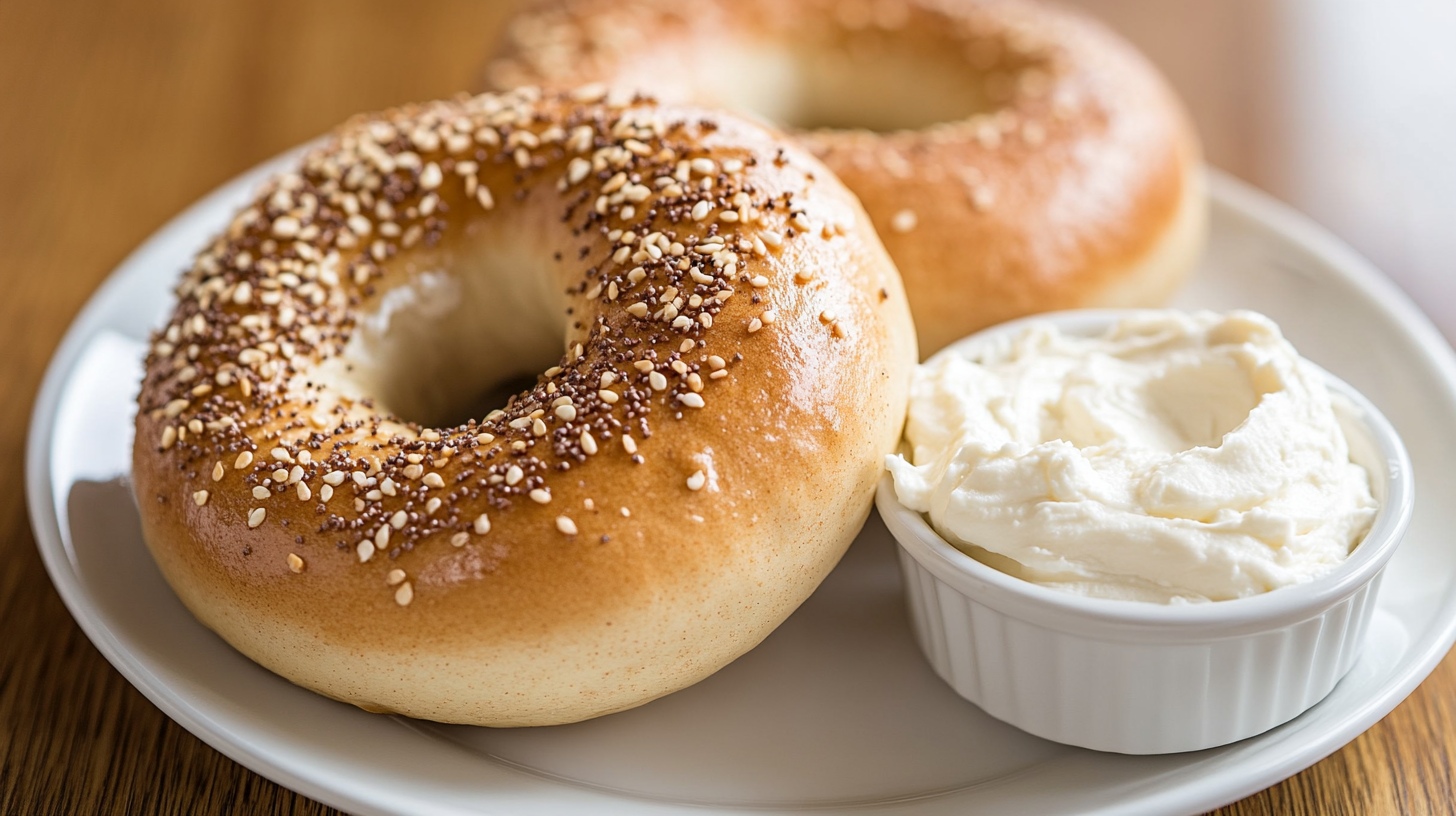
Enjoy them plain or topped with cream cheese, lox, or your favorite spreads. Keep going for more tips and tricks that’ll elevate your bagel-making game.
Key Takeaways
- Combine bread flour, sourdough discard, warm water, sugar, yeast, and salt to create a chewy bagel dough.
- Allow the dough to rise for 60-90 minutes until it doubles in size for optimal texture.
- Shape the risen dough into bagels, poking a hole in the center, and let them rest for 20 minutes.
- Boil bagels in water with sugar for 30-60 seconds on each side to develop a chewy crust.
- Bake at 400°F for 18-25 minutes until golden brown, then cool on a wire rack for best texture.
How Do You Make It?
When you plunge into making sourdough discard bagels, you’re not just baking; you’re crafting a delightful treat that’s both tangy and chewy. These bagels owe their unique flavor and texture to the sourdough starter, whether it’s fed or unfed. The incorporation of sourdough discard bread minimizes food waste while enhancing the taste profile of your baked goods.
The process begins with a simple blend of essential ingredients like bread flour, warm water, sugar, yeast, and salt. You can even add your personal touch with toppings like sesame seeds or everything seasoning.
To prepare the dough, you’ll mix the dry ingredients before incorporating the wet ones. Knead it until smooth, then let it rise for 60-90 minutes until it doubles in size.
Shaping the bagels comes next; divide the risen dough into pieces, roll them into balls, and create a hole in the center. Boiling these shapes for 30-60 seconds on each side is vital, as it helps develop that signature chewy crust.
Ingredients Needed
To make delicious sourdough discard bagels, you’ll need a handful of key ingredients that work together to create that perfect chewy texture.
You can also get creative with substitutions and add-ins to personalize your bagels, whether you prefer a touch of sweetness or a burst of flavor.
You’ll need about 4 cups of bread flour, which is ideal for its higher protein content that gives bagels their signature chewiness. If you don’t have bread flour on hand, all-purpose flour works just fine.
Add 200 grams of your sourdough discard to the mix, along with warm water to help bind it all together. For an added dimension of flavor, consider incorporating a bit of sourdough starter management to guarantee your discard is bubbly and active.
Sugar is another key player in this recipe; it feeds the yeast and enhances the overall flavor of your bagels. Don’t forget the salt—essential for taste and regulating yeast activity during fermentation.
As you combine these ingredients, pay attention to the dough’s consistency. You may need to adjust with flour or water in 1 tablespoon increments to achieve a firm, non-sticky texture.
For an extra boost in leavening, you can include optional active dry yeast, but it’s not a must.
Ingredient Substitutions Options
If you’re looking to make sourdough discard bagels but find yourself short on some ingredients, don’t worry—there are plenty of substitutions that can work just as well. Here are some options to take into account:
1. Flour: If you don’t have all-purpose flour, try using bread flour instead. It’ll give your bagels a chewier texture due to its higher protein content.
Additionally, using organic unbleached flour can enhance the flavor and performance of your dough, making it more resilient during the baking process.
2. Sweeteners: Instead of sugar, you can use honey or maple syrup. Both won’t only add sweetness but also help activate the yeast for that perfect rise.
3. Sourdough Starter: If you lack sourdough discard, a fed sourdough starter can be a great alternative. Just remember to adjust the hydration level of your dough accordingly.
4. Gluten-Free: For a gluten-free option, use a gluten-free flour blend. You may need to incorporate binding agents like xanthan gum to maintain structural integrity.
Feel free to get creative with your bagels! Adding ingredients like cinnamon, raisins, or mini chocolate chips after the initial rise can take your bagels to a whole new level of deliciousness.
Preparing the Dough
To prepare the dough for your bagels, start by activating the yeast in warm water, which creates the ideal environment for fermentation and flavor development.
Next, mix in the sourdough discard, honey, and salt, ensuring that the ingredients are well combined. Gradually blend in the flour until you achieve a smooth, non-sticky dough, which is essential for a well-textured bagel.
Then, knead it for a few minutes until it feels elastic, similar to the kneading process used in sourdough bread recipes.
After letting it rise, you’ll be ready to shape your bagels into perfect rounds.
Ingredient Measurements and Ratios
The foundation of your sourdough discard bagels lies in the precise measurements and ratios of your ingredients. Getting these right guarantees a successful dough that’s easy to work with and yields delicious bagels.
A KitchenAid stand mixer can be particularly helpful for achieving the right consistency and kneading the dough effectively, which enhances gluten development and overall texture.
Here’s what you’ll need:
- Dry Ingredients: Combine 450g (approximately 3¾ cups) of bread flour, 1 tablespoon of sugar, 1 teaspoon of yeast, and 2 teaspoons of salt.
- Sourdough Discard: Incorporate 200g of sourdough discard into the mixture to add flavor and texture.
- Water: Add 1¼ cups of warm water to help achieve the right dough consistency, adjusting as needed.
- Hydration Adjustment: If the dough feels too sticky, add flour; if it’s too dry, add water, both in 1 tablespoon increments.
Using a kitchen scale is key for accuracy, especially when dividing the risen dough into 8 pieces of about 160 grams each. This attention to detail guarantees uniform bagel sizes and consistent results.
Mixing and Kneading Techniques
When preparing the dough for your sourdough discard bagels, you’ll want to create a harmonious blend that sets the stage for the perfect texture and flavor. Start by whisking together warm water, sugar, and yeast, letting it sit for 5 minutes to activate the yeast.
In a separate mixing bowl, combine the dry ingredients—flour and salt. Gradually stir in the sourdough discard and your activated yeast mixture, mixing until a dough begins to form.
Next, it’s time to knead. Turn the dough out onto a lightly floured surface and knead for 4-5 minutes. You’re aiming for a smooth, elastic dough that’s not sticky; if it feels too wet, sprinkle in a bit more flour or add a touch of water if it’s too dry.
Here’s how to knead effectively:
- Knead Time: Spend about 4-5 minutes kneading the dough until it’s smooth and forms a firm ball that doesn’t stick to your hands.
- Adjust Consistency: If the dough feels too sticky, add flour in 1 tablespoon increments until you reach the ideal texture.
- Mixer vs. Hand: For efficiency, use a stand mixer like a Bosch or KitchenAid, but hand kneading works too—just be prepared for more effort.
- Forming a Ball: Once kneaded, shape the dough into a ball and place it in a greased bowl to rise. Let it double in size, which usually takes about 90 minutes.
Once kneaded, shape the dough into a ball, place it in a lightly greased bowl, and cover it with plastic wrap. Allow it to rise for 60-90 minutes until it doubles in size.
To guarantee consistent bagel sizes, divide the risen dough into 8 equal pieces, each weighing about 137-160 grams. Roll each piece into a tight ball, getting ready for shaping.
Shaping
Shaping bagels is an exciting step that brings your dough to life. Start by dividing your risen dough into 8 equal pieces, each weighing around 160 grams. This guarantees your bagels will bake evenly.
Take one piece and roll it into a tight ball, using the palms of your hands for a smooth surface. Next, poke a hole through the center with your fingers, stretching it slightly to achieve that iconic bagel shape. Remember, the hole should be about 1-2 inches wide; this prevents it from closing during the boiling process, which can affect the final texture.
If you find the dough a bit too dry, don’t worry! Just lightly wet your hands or the countertop to help shape it without losing moisture.
Once all your bagels are shaped, let them rest on the countertop for about 20 minutes. This resting period allows them to puff up slightly, enhancing their texture and making them even more delightful.
Boiling
Boiling bagels is an essential step that often makes the difference between a good bagel and a great one. To achieve that perfect chewy crust, follow these straightforward boiling instructions:
- Prepare the Water: In a large pot, bring about 2 quarts of water to a boil. Add 2 tablespoons of sugar to enhance the texture and flavor of your bagels.
- Add the Bagels: Gently place the bagels into the boiling water, one at a time or in small batches. Avoid overcrowding to guarantee even cooking.
- Boil for the Right Time: Boil each bagel for 30-60 seconds on each side. If you prefer a chewier texture, increase the boiling time slightly.
- Remove and Drain: Use a slotted spoon to carefully lift the bagels from the water. Allow the excess water to drip off before transferring them to a prepared baking sheet.
For an extra flavor boost, consider dipping your boiled bagels into toppings like sesame seeds or everything seasoning right after boiling.
Baking the Bagels
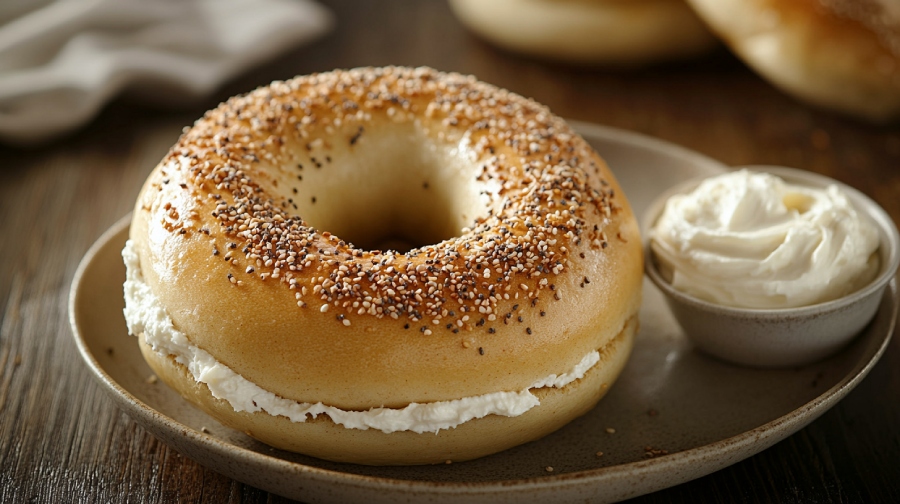
Baking bagels are where the magic truly happens, transforming your boiled dough into golden, crusty delights. Start by preheating your oven to 400°F (or 425°F for an extra chewy texture). While that’s heating up, line your baking sheets with parchment paper or Silpat mats. Carefully place your boiled bagels onto the prepared sheets.
To achieve that signature chewy crust, boil each bagel on each side for 30-60 seconds in water mixed with sugar. Once you’re ready to bake, slide the bagels into the oven. Keep an eye on them, baking for 18-25 minutes until they reach a beautiful golden-brown hue. For even cooking, swap the baking sheets between the top and bottom racks halfway through.
Here’s a quick overview of your baking process:
| Step | Temperature | Time |
|---|---|---|
| Preheat | 400°F | |
| Boil each bagel | N/A | 30-60 seconds |
| Bake | 400°F/425°F | 18-25 minutes |
| Swap sheets | N/A | Halfway through |
| Cool | N/A | On a wire rack |
Once baked, let those bagels cool on a wire rack to maintain their delightful texture.
Serving Suggestions
When it comes to serving your freshly baked sourdough discard bagels, the possibilities are endless! These versatile bagels can elevate any meal, whether breakfast, lunch or even a light snack. Here are some delicious serving suggestions to get you started:
- Classic Toppings: Spread cream cheese on your bagel, then layer with lox, fresh tomatoes, and thinly sliced red onions for a traditional breakfast experience that can’t be beat.
- Hearty Breakfast Sandwich: For something more filling, layer your bagel with scrambled eggs, melted cheese, and crispy bacon or sausage. It’s a hearty way to kickstart your day!
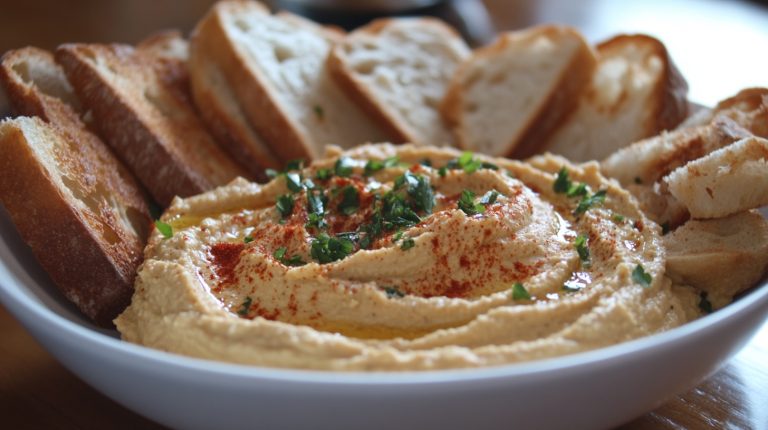
- Fresh Twist: Spread avocado or hummus on toasted bagels and top with sliced radishes or cucumbers. This combination adds a rejuvenating crunch that’s perfect for lunch.
- Sweet Treat: If you’re in the mood for something sweet, try spreading fruit preserves or honey on your bagel, or dusting it with a cinnamon sugar mix for a delightful dessert option.
With these serving ideas, you’ll never tire of your sourdough discard bagels!
Storage Tips
After enjoying your delicious sourdough discard bagels, you’ll want to make sure they stay fresh for as long as possible. Proper storage is key to maintaining their delightful texture and flavor. Here’s how you can keep your bagels in peak shape:
| Storage Method | Duration | Tips |
|---|---|---|
| Airtight container | 5-7 days | Keep at room temperature for ideal softness. |
| Freezing | 3 months | Use a large Ziploc bag; cool bagels completely before freezing. |
| Reheating | N/A | Thaw at room temperature or microwave briefly before toasting. |
To prevent them from hardening, try to consume your bagels within a few days or freeze them right after baking. Avoid wrapping them tightly in plastic wrap, as that can trap moisture and lead to soggy bagels. Instead, opt for breathable storage solutions.
Frequently Asked Questions
Can I Use All-Purpose Flour Instead of Bread Flour?
Sure, you can use all-purpose flour instead of bread flour. While it might result in a slightly softer texture, adjusting hydration and adding essential wheat gluten can help achieve a satisfying chewiness in your baked goods.
How Long Can I Store Sourdough Discard in the Fridge?
You can store sourdough discard in the fridge for up to two weeks. Make sure it’s in an airtight container to keep it fresh, and always check for mold or off-smells before using it.
Can I Freeze the Bagels After Baking?
Imagine biting into a warm, chewy bagel after a long day. Yes, you can freeze them! Cool completely, seal in a Ziploc bag, and they’ll stay fresh for up to six months, ready to toast.
What Can I Substitute for Sugar in This Recipe?
You can substitute sugar with honey or maple syrup, using about ¾ the amount. Agave nectar works in a 1:1 ratio, while coconut sugar is a direct substitute. Brown sugar adds a delightful flavor, too.
How Do I Know When the Bagel Dough Is Ready?
Don’t worry; it’s easier than you think! Check your bagel dough by gently poking it. If it springs back slowly with a slight indentation and feels smooth, it’s perfectly ready to shape and rest.
Warm, Chewy, and Reimagined
As you savor your freshly baked bagels, remember that each bite is a proof of transformation—just like the discarded sourdough that’s now a delicious creation. These bagels symbolize the beauty of second chances, turning what was once overlooked into a cherished treat.
Share them warm with friends, letting the aroma envelop your space like a warm hug. Embrace the journey of making, baking, and enjoying; it’s a reminder that even the simplest ingredients can yield extraordinary results.

