Portuguese Sweet Bread Recipe: A Soft Sweet Reward
To make Portuguese sweet bread, start by activating 2 tbsp active dry yeast in warm milk (110°F) with sugar. Mix softened butter, eggs, scalded milk, flour, and salt into a smooth dough, kneading for 10–15 minutes until elastic.
Let it rise in a warm space until doubled, then punch down and shape into rounds or rolls. Proof again until puffy. Bake at 350°F until golden, cooling on a rack for best texture. Continue exploring for detailed shaping and serving tips.
Key Takeaways
- Activate 2 tbsp active dry yeast with warm milk and sugar to create a sponge before mixing the dough ingredients.
- Knead dough for 10–15 minutes until smooth and elastic, adjusting flour gradually to achieve a silky consistency.
- Let dough rise twice in a warm, draft-free area until doubled, punching down after the first rise to redistribute yeast.
- Bake shaped dough at 325°F–350°F until golden brown and internal temperature reaches 190°F, then cool completely on a wire rack.
- Serve warm with butter, use in French toast or bread pudding, and store at room temperature or freeze for longer freshness.
Ingredients Needed
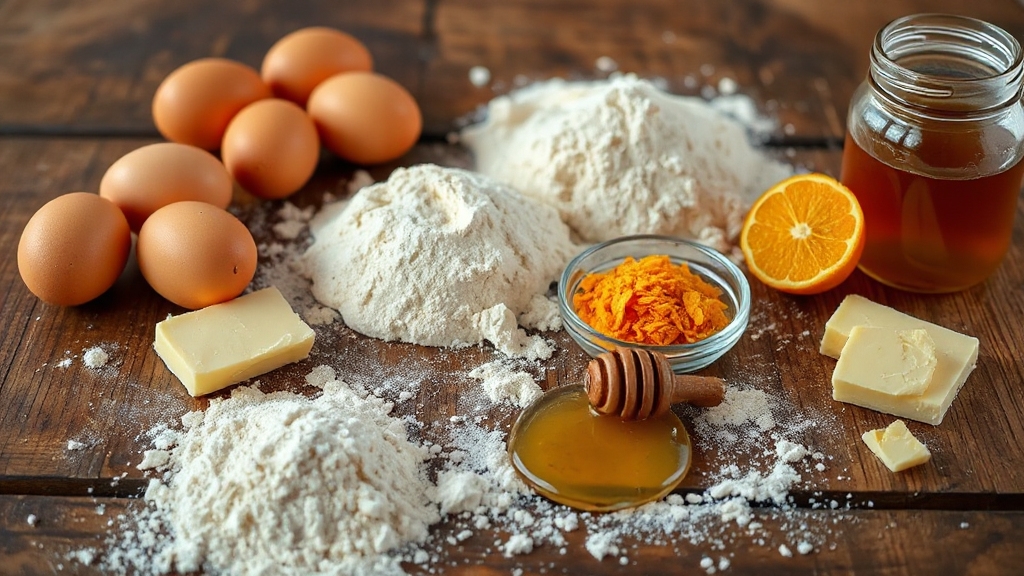
To make Portuguese Sweet Bread, you’ll need a careful selection of ingredients that balance yeast activation, texture, and flavor. Start with active dry yeast (around 2 tablespoons or 4 ½ teaspoons), activated using warm water (105°F to 115°F) or lukewarm milk, often combined with granulated sugar to boost yeast activity. A sturdy stand mixer with a paddle and hook attachment is ideal for mixing and kneading the dough efficiently. Using a mixing bowl with high sidewalls helps prevent splattering during vigorous mixing and kneading.
For texture, use 3 to 6 cups of all-purpose or bread flour, ¾ to 1 teaspoon of salt, and softened unsalted butter or margarine (¼ to ⅓ cup). Eggs (1 to 3 large) contribute richness, while milk—typically scalded and cooled, around 1 cup—adds moisture.
For flavor, opt for organic cane sugar or granulated sugar, and consider sea salt for a nuanced taste. An egg wash, made from egg and water, provides a glossy finish. Using 8-inch round pans for baking helps shape the dough into the characteristic soft, round loaves.
Preparing the Dough

Although activating the yeast is a critical initial step, preparing the dough involves carefully combining wet and dry ingredients to achieve the right consistency. First, mix milk, water, and eggs thoroughly before gradually incorporating the flour to avoid excess stickiness.
Use a large mixing bowl for even distribution. Before mixing the main dough, create a sponge by combining a small portion of flour, sugar, warm water, and yeast, then let it rest until it more than doubles in size to ensure strong yeast activity. This technique of creating a sponge is similar to the fermentation process used in sourdough bread preparation, which enhances flavor and texture.
Knead the dough either by hand or with a stand mixer’s hook attachment for 10–15 minutes until it becomes smooth, elastic, and slightly tacky. Adjust flour quantity incrementally during kneading to manage stickiness, considering room temperature and humidity, which affect dough texture.
Maintain a clean workspace and handle the dough gently to preserve gluten structure. Proper preparation guarantees the dough is silky and ready for the next step without overworking, which could toughen the bread.
First Rise and Punching Down
You’ll want to place the dough in a warm, draft-free environment to optimize yeast activity and achieve a proper first rise. Traditionally, some bakers use an oven set to a low temperature or turned off after warming to create the ideal proofing environment.
Using a temperature control tool can help maintain consistent warmth for optimal fermentation. Once the dough has doubled in size, it’s crucial to punch it down gently to release carbon dioxide and redistribute nutrients evenly. This step ensures an even crumb structure and prepares the dough for a consistent second rise.
Optimal Rising Conditions
When managing the first rise of Portuguese sweet bread dough, maintaining an ideal temperature between 75 and 85°F (24–29°C) ensures the yeast activates efficiently. This allows the dough to double in size within 1.5 to 2 hours.
Place the dough in a lightly oiled, sufficiently large bowl, cover it with a damp cloth or plastic wrap, and keep it in a draft-free, warm environment—such as an oven with the light on. Using active dry yeast requires dissolving it first in warm water (105°F-110°F) before mixing into the dough for best results. Regular temperature monitoring with a thermometer helps maintain the optimal warmth for consistent fermentation.
Monitor the rise visually; the dough is ready when it doubles, not solely based on time.
Avoid sudden temperature changes and direct sunlight to prevent uneven fermentation.
After doubling, gently press the dough to confirm the indentation remains, indicating optimal fermentation before proceeding to the next step.
Importance of Punching Down
After the dough completes its first rise and has doubled in size under ideal conditions, the next step involves punching down to regulate fermentation and prepare the dough for shaping. This process can benefit from understanding the differences between a fed starter and an unfed one to optimize fermentation control.
You’ll gently fold the dough over itself to redistribute yeast evenly, release built-up tension, and eliminate large air pockets. This prevents overproofing and ensures consistent fermentation, which is crucial for even texture and proper crust formation.
Use lightly oiled hands or a dough scraper to handle sticky dough without tearing. Visual cues like a slightly sagging center indicate readiness for this step. Traditionally, the dough is set in clay bowls and covered with a blanket to rise, a practice that helps maintain warmth and moisture during fermentation.
Proper punching down enhances flavor development, extends shelf life, and influences the final bread’s shape and crumb structure.
Shaping and Second Proofing
How you shape the dough and manage the second proofing directly impact the texture and appearance of Portuguese sweet bread. After the first rise, divide the dough appropriately—half for round or braided loaves, or into portions for rolls. Use lightly floured hands and a board to prevent sticking.
Seven rolls are often arranged in a pan, with one in the center and six around it, to create an appealing presentation and even baking. Seven rolls arranged Shaping the dough carefully helps develop gluten structure, which contributes to the bread’s characteristic chewiness and rise.
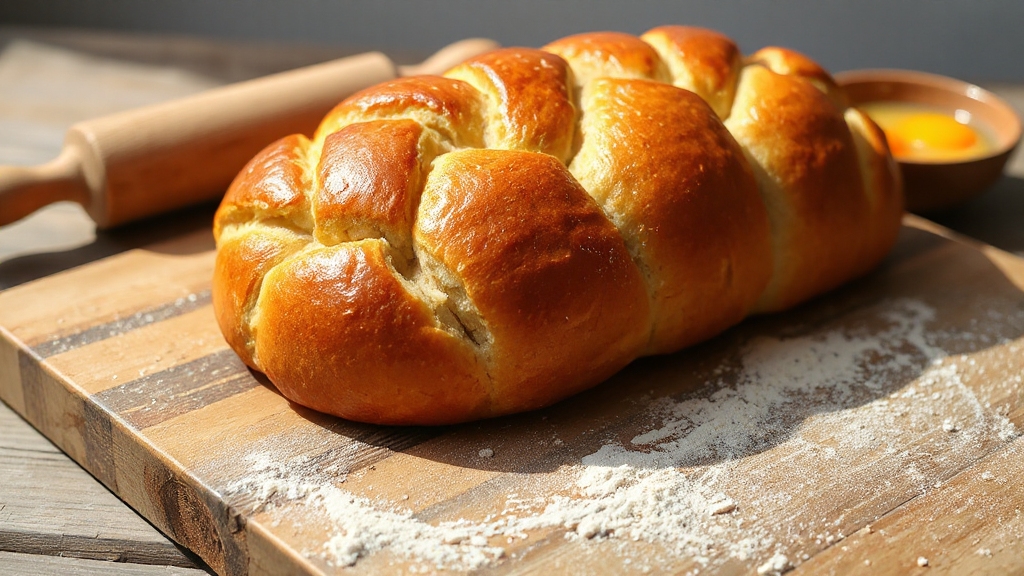
For round loaves, form smooth balls with seams underneath; for braids, roll into ropes and intertwine. Arrange shaped dough on buttered pans or parchment-lined sheets.
Place the shaped dough in a warm, draft-free environment for 1–2 hours until doubled. Maintain consistent humidity and monitor volume and surface firmness closely to avoid overproofing.
Handle dough gently after the second rise to preserve its structure.
Baking Instructions
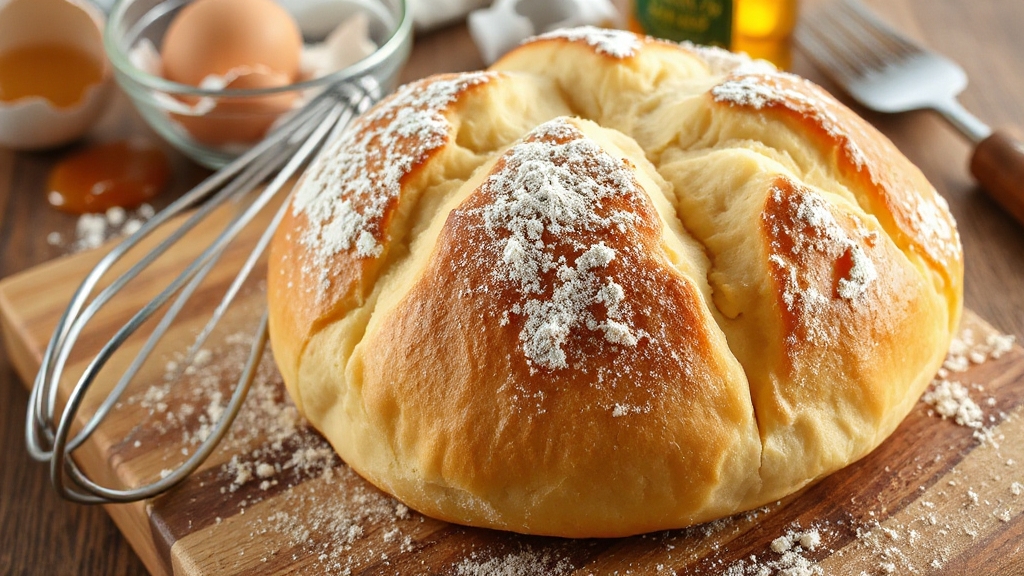
Although proper preparation sets the foundation, precise baking guarantees the Portuguese sweet bread achieves its characteristic golden crust and tender crumb.
Preheat your oven to 325°F–350°F. Place the dough in prepared pans, applying an egg wash and sprinkling sugar on top for color and sweetness. Using accurate measuring spoons ensures the correct ingredient amounts for the best results.
Bake smaller loaves for about 25 minutes; larger ones may require up to 60 minutes. Monitor the crust’s color closely, aiming for a rich golden hue.
Use a thermometer to confirm the internal temperature reaches 190°F, ensuring thorough baking.
Once done, remove the bread and allow it to cool completely on a wire rack to prevent sogginess. Keeping the bread on a wire rack helps maintain the perfect texture and prevents the crust from becoming soggy, which is crucial for the baking process.
Adhering to these parameters guarantees consistent texture and appearance, essential for authentic Portuguese sweet bread.
Serving Suggestions and Storage Tips
When serving Portuguese sweet bread, you can enhance its flavor and texture through various methods tailored to different occasions. Consider these serving and storage strategies to maximize your experience:
- Serve buttered and grilled for a caramelized aroma or use slices in French toast topped with syrup or berries. Using precise measurements for ingredients can elevate the consistency of your bread.
- Cube the bread for sweet bread pudding with custard and cinnamon. The pudding incorporates melted butter drizzled over toasted bread cubes to add richness.
- Store at room temperature in a paper bag or bread box for up to 3 days; avoid refrigeration. Proper storage helps maintain the bread’s texture and flavor without moisture loss.
- Freeze tightly wrapped for up to 3 months; thaw before reheating in the oven or toaster.
- Pair with coffee, tea, or savory items like cheese and cured meats for balanced flavor profiles.
Use uniform slicing and warm before serving to maintain ideal texture and presentation.
Frequently Asked Questions
Can I Substitute Active Dry Yeast With Instant Yeast?
You can substitute active dry yeast with instant yeast by reducing the amount by about 20%, since instant yeast is more potent.
Skip the proofing step required for active dry yeast and add instant yeast directly to dry ingredients.
Adjust liquid quantities by reducing the water used for proofing.
Instant yeast will speed up rising times, so monitor dough closely.
Confirm your yeast is fresh and properly stored for peak performance.
What Is the Best Type of Flour for Portuguese Sweet Bread?
Think of flour as the backbone of your dough’s architecture. You’ll want bread flour because its higher gluten content builds a strong, elastic network that supports a lofty rise and chewy crumb.
This flour handles enriched dough well, giving you that burnished crust and tender interior. While all-purpose flour can work, expect a softer, less structured result.
For ideal texture and rise, bread flour is your best bet every time.
How Do I Prevent the Bread From Drying Out During Baking?
To prevent your bread from drying out during baking, avoid overbaking by carefully monitoring the time and temperature. Guarantee the dough maintains sufficient moisture, and incorporate fats to slow starch retrogradation.
Control oven temperature consistently to avoid uneven baking. Additionally, cool the bread in a turned-off oven or a bread machine to retain moisture and crispness.
Avoid excess proofing, which can lead to dryness in the final product.
Is It Possible to Make This Bread Gluten-Free?
Yes, you can make bread gluten-free by substituting wheat flour with a 1-to-1 gluten-free baking flour blend. You’ll need to add xanthan gum or psyllium husk powder to mimic gluten’s binding.
Expect a denser texture and adjust rising time accordingly. Incorporate extra fats or alternative milks for moisture.
Monitor internal temperature (205–210°F) and cool fully before slicing to prevent crumbling and dryness. Trial and error will help refine results.
Can I Add Fillings Like Cinnamon or Raisins to the Dough?
About 65% of bakers incorporate spices or fruits into their dough to enhance flavor complexity.
You can add cinnamon directly to the dough during mixing for even distribution.
Raisins, however, should be folded in after the initial rise to prevent sinking and clumping.
Remember, overloading the dough with fillings can disrupt gluten structure and fermentation, so balance is key.
Adjust sugar content accordingly to maintain dough consistency and flavor harmony.
Bake, Share, Delight: The Joy of Homemade Portuguese Sweet Bread
Now that you’ve mastered the steps to make Portuguese sweet bread, isn’t it rewarding to enjoy its soft, slightly sweet texture fresh from your oven? By carefully following each phase—mixing, proofing, shaping, and baking—you guarantee perfect results every time.
Remember to store it properly to maintain freshness. With practice, you’ll consistently bake this delicious bread, impressing family and friends with your technical skill and attention to detail.