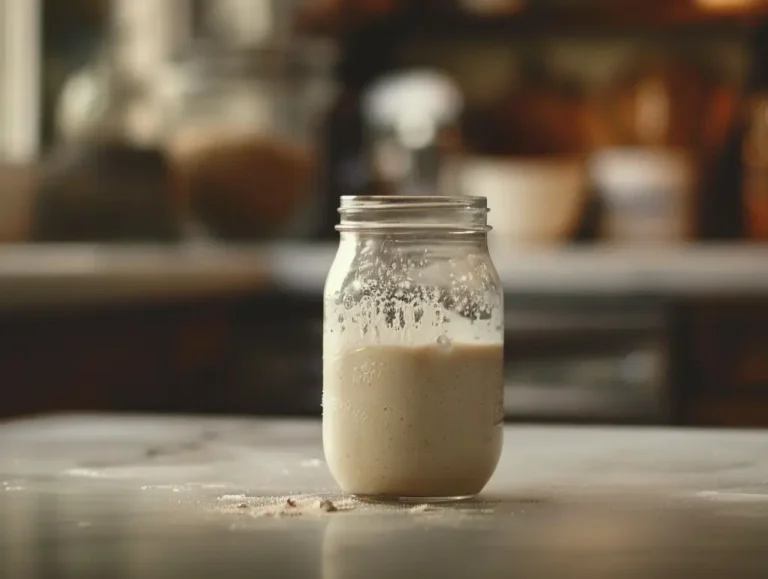
How To Keep Sourdough Starter Warm: Tips for Nurturing Coziness and Activity of Your Starter Culture
You may think, ‘Why must I keep my sourdough starter warm? Can’t it just survive at room temperature?’
Well, here’s the thing: sourdough starters thrive in a warm environment, and maintaining the right temperature is crucial for their health and activity.
Don’t sweat it; keeping your starter warm isn’t a big headache. In fact, we’ve got you covered with some simple and effective methods to ensure your starter stays toasty and happy.
You can create a warm environment for your starter in your kitchen by using appliances like the oven or microwave. Alternatively, consider fermenting in a temperature-controlled container such as a proofing box or yogurt maker.
Also, let’s talk about what influences sourdough starter temperature and what to do to keep it warm. Whether you’re planning a vacation or dealing with a chilly house, we’ve got tips and tricks for keeping your starter alive and partying.
Let’s not waste any time and get right into it.
Why does the Starter Culture Need to Keep Warm?
Starter cultures are microorganisms used in various fermentation processes. These cultures need to be kept warm to remain active and alive.

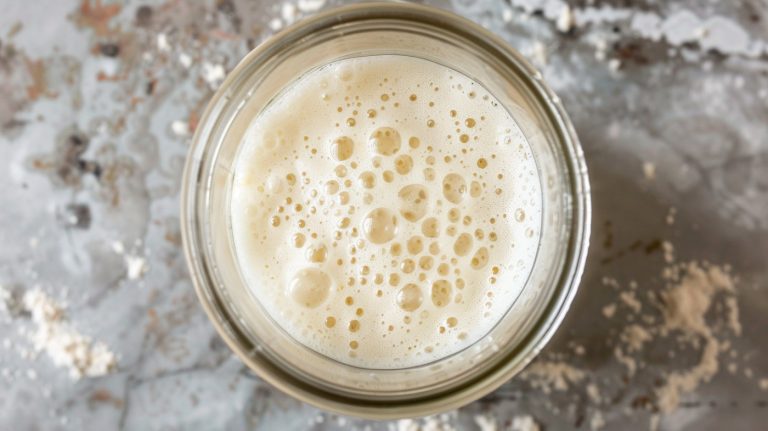
A Good Yeast Culture
The sourdough starter needs a warm temperature to thrive because yeast thrives in warm environments. The warmth encourages yeast to become more active, leading to better fermentation and carbon dioxide production, which helps the bread rise.
Favorable Conditions for Bacteria
Warm temperatures provide a comfortable environment for the beneficial bacteria in the starter. These bacteria contribute to the complex and tangy flavors of sourdough. By keeping the starter warm, we support their growth and enhance the taste of the final bread.
Accelerated Fermentation
Warm temperatures expedite the fermentation process. The increased warmth speeds up the metabolic activity of yeast and bacteria, resulting in a quicker breakdown of starches in the flour and the release of carbon dioxide.
This leads to a faster rise and improved texture of the bread.
Consistency and Reliability
Maintaining a consistent warm temperature for the sourdough starter establishes a predictable environment. This stability enables bakers to develop a routine and achieve consistent results in their bread-making endeavors.
Therefore, it is essential to keep the starter culture warm throughout the fermentation process to ensure a high-quality final product.
Factors Affecting Sourdough Starter Temperature
NowYour sourdough starter needs to remain warm and active for successful bread baking, so you must consider several factors.
Ambient Room Temperature
This one’s all about the room temperature where you keep your sourdough starter. If you’re in a cool room, your starter might start shivering and slow down its fermentation party.
So, you need to crank up the heat or find cozy spots to keep your little starter buddy warm and happy.
Seasonal Variations
Like us, sourdough starters can feel the chill of winter or summer sizzle. Our starter might want to hibernate a bit when it’s frosty outside.
And when it’s hot and humid, let’s say things might get a little too wild for fermentation. Keeping a close watch on the starter’s temperature allows us to adapt to these seasonal mood swings.
Location and Climate
Where you’re at and what kind of climate you’re dealing with can throw some flavor into the mix. Your starter might catch a cold breeze if your kitchen is near a drafty window.
And if you’re in a desert or a tropical area, the heat and humidity levels can go bonkers. We can still make it cozy with insulation and blankets and even find a special spot where our starter can thrive in peace.
Grain and Feedings
Grains with higher protein levels can cause overheating, so pay attention to the ingredients you use in your starter. On the flip side, not feeding your starter enough or too often can also keep the temperature too low. And that’s not ideal either!
Keep an eye on when and how much of what you’re feeding your sourdough starter so it stays at the optimal temperature. Also, water quality and hydration levels can impact your starter’s temperature.
How so? When the starter is too dry, it won’t ferment either, so make sure you use water that’s not too cold or hot. You can even get fancy and use a special thermometer to check your starter’s temperature. You can monitor what works best for your little bubbling friend and adjust accordingly.
Container Material
The material of the container used to store the starter can also affect its temperature. For example, glass and ceramic containers retain heat better than plastic or metal ones. So, you can use these materials to keep the starter warmer.
On the other hand, plastic and metal containers are better at maintaining cooler temperatures if that’s what your starter needs.
Methods to Keep Sourdough Starter Warm
Providing a warm and welcoming environment is the first step. Please keep it away from sudden changes in temperature or drafts that could upset its delicate balance.
There are several methods you can use to keep your sourdough starter warm. Let’s explore some of them:
Using a Warm Spot in the Kitchen
To keep your sourdough starter warm, it’s important to identify warm spots in the kitchen. This is because the yeast responsible for fermentation works more quickly in warm temperatures. As a result, the fermentation process is completed more quickly, and the starter becomes more flavorful and active.
So, what are the perfect warm spots in your kitchen?
- Near the oven: The heat from the oven can create a warm environment, especially when used. Just keep the starter safe from direct heat to avoid overheating.
- On top of the refrigerator: The warm air that rises from the refrigerator can provide a consistent source of warmth. However, be mindful of any vibrations that may disrupt the fermentation process.
- On top of the stove: The heat from the stovetop can provide some warmth, depending on how often it’s used.
Utilizing Kitchen Appliances
If you want to keep your sourdough starter warm, a few kitchen appliances can come in handy.
Use the Oven With the Light On
One option is to use your oven with the light on. The gentle heat from the lightbulb can create a warm environment perfect for fermenting your starter.
• Preheat the oven to the lowest temperature.
• Turn off the oven and turn on the light.
• Place the sourdough starter in the oven.
Monitor the temperature periodically, adjust the oven light, or crack the oven door if necessary. This method creates a cozy environment for your starter to thrive.
Utilize a Yogurt Maker
Another option is to utilize a yogurt maker. These appliances are designed to maintain a consistent temperature, making them ideal for keeping your sourdough starter cozy and active.
Set the yogurt maker to a suitable temperature range and place the sourdough starter inside. Monitor and adjust the temperature as needed to ensure optimal conditions for fermentation.
The controlled environment of the yogurt maker helps create a uniform temperature and allows you to adjust it as needed for different fermentation cycles.
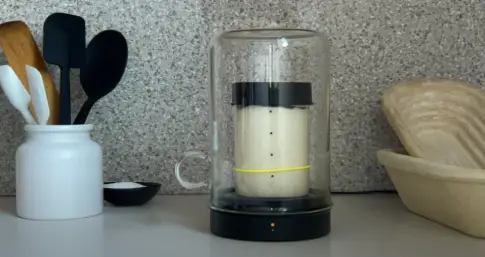
Using a Bread Proofer
Another way to keep your starter warm is with a bread proofer. This device provides an ideal temperature and humidity range for fermentation, helping you achieve great results.
The bread proofer also has adjustable shelves and a timer, making it easy to maintain the optimal conditions for your starter. With the help of this appliance, bakers can create consistent results time and time again.
Utilizing a Slow Cooker
A slow cooker can also be used to keep your sourdough starter warm. Line the bottom of the slow cooker with folded towels or an oven mitt. Place the starter in a small bowl on top of the towels or mitt and set the slow cooker to low heat.
The slow cooker will provide a consistent source of warmth that won’t be too hot for your starter while maintaining an optimal temperature for fermentation.
No matter what method you choose, monitor your starter’s temperature closely and adjust as needed for successful bread baking.
Creating a Warm Environment
To create a warm environment for your sourdough starter you can try several methods to create a warm and controlled environment for your starter.
Using a Heating Pad or Heat Mat
You can use a heating pad or heat mat specifically designed for fermentation. These devices provide a consistent and gentle heat source to warm your starter.
Place the heating pad or heat mat on a stable surface, then set the temperature to the desired range for your sourdough starter. Create a warm environment for your starter using a heating pad or heat mat.
Utilizing a Water Bath
Set up a cozy water bath for your sourdough starter by filling a container with warm water and finding a stable location. Place the sourdough starter in a smaller container inside the water bath.
Monitor and adjust the water temperature as needed. This method helps maintain a consistent warmth for your sourdough starter, which is crucial for fermentation. Remember to monitor the water temperature to ensure optimal conditions for your starter’s growth.
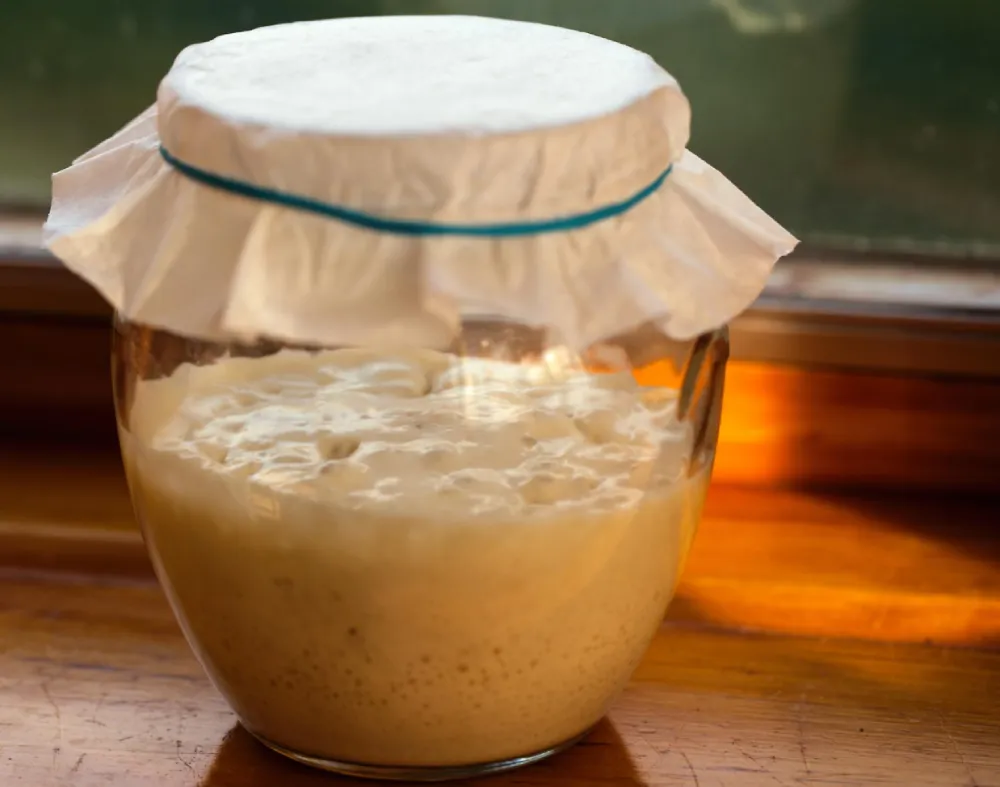
DIY Proofing Boxes
Create your magical haven for your dough to rise and transform into a fluffy masterpiece with a homemade proofing box. Find a sturdy cardboard box that fits the lamp and sourdough starter container.
Cut holes in the box to allow airflow and prevent overheating. Place the lamp inside, ensuring it’s positioned safely. Put the sourdough starter container inside, away from direct contact with the lamp.
Monitor the temperature periodically to avoid excessive heat buildup. Keep a close eye on the box and lamp to ensure no signs of fire hazards or damage.
Insulating the Sourdough Starter Container
To maintain the ideal temperature for your sourdough starter, wrap the container with a high-quality insulating material that’ll keep the precious mixture warm and cozy.
1. Choose the right insulating material: Opt for bubble wrap, foam, or a thermal blanket. These materials provide excellent insulation and help retain heat.
2. Wrap the container snugly: Wrap the insulating material around it, ensuring it covers all sides. Use tape or rubber bands to secure it in place. Ensure there aren’t any gaps or openings that could let the heat escape.
3. Monitor and adjust as needed: Regularly check the temperature of your sourdough starter. If it’s too warm, consider removing or loosening the insulation slightly. If it’s too cool, add an extra layer of insulation to maintain the desired warmth.
Using a Temperature-Controlled Environment
A temperature-controlled environment fosters the growth of the sourdough starter. Perfect conditions ensure optimal growth and flavor development during fermentation. Purchase a temperature-controlled fermentation chamber and set the desired temperature.
Place your sourdough starter inside and watch it closely. Create an ideal fermentation environment by adjusting the temperature.
Keeping track of your starter’s temperature is easy with a table. Here’s an example:
| Time | Temperature |
| 9:00 AM | 75°F |
| 12:00 PM | 78°F |
| 3:00 PM | 76°F |
| 6:00 PM | 74°F |
Creating Ambient Heat With a Seed Mat Hack
Imagine a cozy, warm environment for your sourdough starter, achieved by cleverly repurposing a seed mat. To create this ambient heat, follow these steps:
- Purchase a seed mat without a built-in thermostat and find a suitable location.
- Plug in the seed mat and make sure it’s functioning properly.
- Place a layer of insulation on top of the seed mat, such as a towel or a heat-resistant mat.
- On top of the insulation layer, position your sourdough starter container.
- Periodically monitor the temperature to ensure it stays within the desired range.
- Adjust the seed mat or insulation as needed to maintain the desired warmth for your sourdough starter.
Placing Sourdough Starter Under a Lamp
Nestled your sourdough starter under the warm glow of a lamp. Choose a non-LED bulb that generates heat to ensure the lamp provides the right amount.
Find a suitable location for the lamp and your sourdough starter, ensuring the lamp is securely positioned and stable. Place the sourdough starter container under the lamp, ensuring it’s not in direct contact with the bulb to prevent heat damage.
Monitor the temperature periodically to avoid overheating. Adjust the lamp’s distance from the sourdough starter to maintain the desired warmth.
Try any of the above methods to create a warm and nurturing environment for your sourdough starter to flourish and develop that delicious tangy flavor.
Best Practices for Maintaining Sourdough Starter Warmth
To maintain the warmth of your sourdough starter, it’s important to monitor its temperature regularly. You can use a thermometer to ensure it stays within the optimal range of 75-85°F (24-29°C).

Regularly Monitor the Temperature
Monitoring the temperature ensures that the sourdough starter remains within the ideal range, allowing for optimal fermentation and flavor development. To make this task easier, it’s recommended to use a thermometer or a temperature-controlled device.
Here are three reasons why regularly monitoring the temperature is important:
Consistency: Regularly checking the temperature ensures that the sourdough starter is consistently warm. This consistency is crucial for beneficial bacteria and yeast growth, which thrive within a specific temperature range.
Prevention of Overheating: Monitoring the temperature prevents overheating the sourdough starter, which can lead to the growth of undesirable bacteria and yeasts. Maintaining the ideal temperature range helps create an environment where beneficial microorganisms can flourish.
Optimal Fermentation: Regularly monitoring the temperature ensures that the sourdough starter is fermenting at the optimal temperature for the desired flavor development. This helps to enhance the overall taste and texture of your sourdough bread.
Adjust the Heating Method or Location Based on Seasonal Variations
Finding the coziest spot in your home for your sourdough starter can be a delightful adventure as the seasons change. Adjusting the heating method or location based on seasonal variations ensures your starter stays warm.
In colder months, when the temperature drops, consider using additional heating methods such as a heating pad or warm water bath. These can provide a consistent source of warmth to keep your starter happy and active.
During warmer months, you may need to find a cooler spot for your starter to prevent it from overheating. Consider relocating it away from direct sunlight or a hot water tank.
Avoid Excessive Temperature Fluctuations
Ensure your beloved sourdough starter remains safe and thriving by shielding it from drastic temperature swings with a cozy jumper or snug scarf around its jar. Excessive temperature fluctuations can harm the delicate balance of your starter, hindering its growth and development.
Insulating the jar against extreme temperature changes is crucial to maintain a stable environment. Avoid exposing your starter to temperatures above 90°F, which can destroy the yeast and halt fermentation. By providing insulation, you can protect your starter from the cold during winter months and prevent it from overheating in hot weather.
Consistency is key in maintaining a healthy sourdough starter, so take the necessary precautions to keep it safe from temperature fluctuations.
Follow Proper Food Safety Guidelines
To protect yourself and others from potential contamination or illness, it’s important to remember that following proper food safety guidelines is crucial when handling your sourdough starter.
Start by washing your hands thoroughly with soap and warm water before handling the starter. Use clean utensils and containers to avoid introducing any harmful bacteria.
Discard any unused starter promptly to prevent the growth of harmful microorganisms.
By implementing these simple yet effective food safety practices, you can enjoy your homemade sourdough bread without any worries about potential contamination or illness.
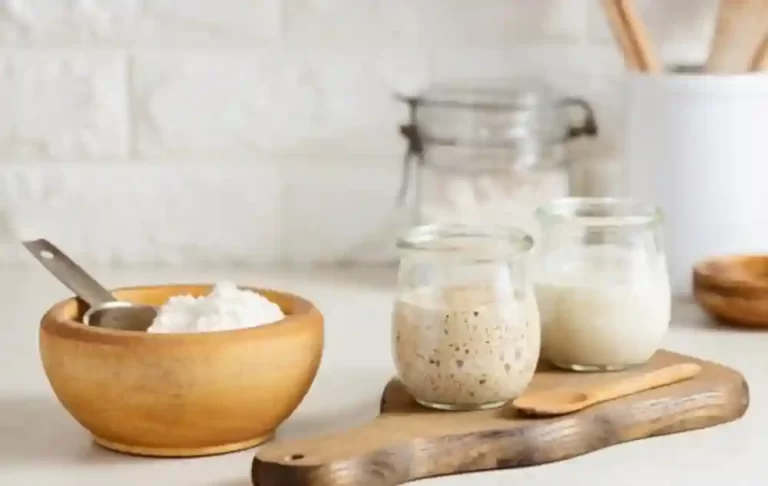
Keep a Backup Starter Culture in Case of Failure
Don’t worry. You can always have a backup starter culture ready if your first one doesn’t turn out as expected. A backup culture ensures you never have to start from scratch again.
Here are four ways to store your backup starter culture:
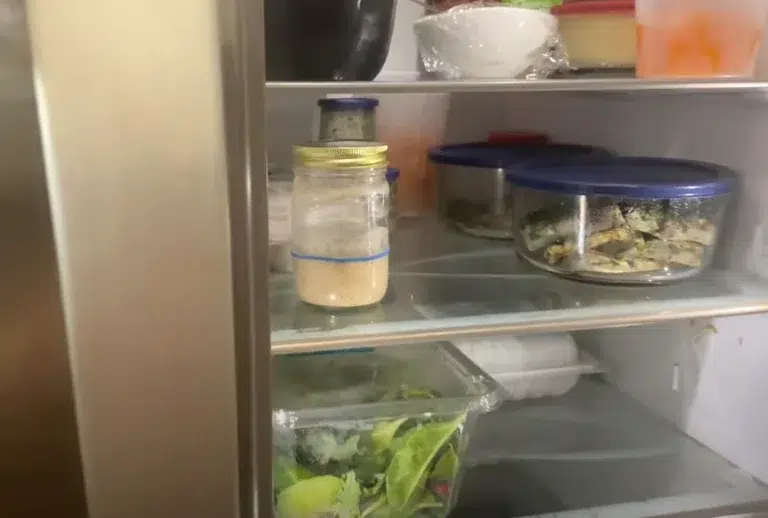
Refrigerator: Place your backup starter culture in a clean jar and store it in the refrigerator. This will slow the fermentation process and keep your culture dormant until needed.
Freezer: Alternatively, you can freeze your backup starter culture. Transfer it to a freezer-safe container and make sure to label it appropriately. Thaw it in the refrigerator overnight when you’re ready to use it.
Dehydrated: Another option is to dehydrate your backup starter culture. Spread a thin starter layer on a baking sheet and let it air dry for a few days. Once completely dehydrated, store it in an airtight container.
Dried and frozen: Lastly, you can dry your starter and then freeze it. Spread a thin starter layer on a baking sheet, let it air dry, and then transfer it to the freezer. This method allows for long-term storage.
Caring for a Sourdough Starter
To properly care for your sourdough starter, remember a few key points.
Regular Feeding and Discarding
Regularly feed and discard your sourdough starter to keep it healthy and lively, just like giving it fresh air to keep it thriving.
Regular feeding is important because it provides the starter with fresh nutrients and helps maintain the balance of yeast and bacteria. When you feed your starter, you give it food to consume and grow.
Discarding a portion of the starter is essential to prevent it from becoming too acidic and unbalanced. It also helps maintain the right consistency and prevents the build-up of harmful bacteria.
The feeding and discarding schedule may vary depending on your needs, but a common approach is to feed the starter every 12 hours, discarding a portion (usually half) before each feeding. However, you can adjust the schedule to fit your lifestyle and the temperature of your environment.
Humidity Maintenance
Maintaining an optimal humidity level is essential for your sourdough starter’s overall health and vitality. To prevent it from drying out, you can employ a few methods.
First, consider covering the container with a damp cloth. This will help to retain moisture and create a humid environment around the starter.
Alternatively, you can use a humidifier in the room where you keep your sourdough starter. This will ensure consistent humidity and prevent the starter from drying out.
Another option is to place a tray of water near the starter. As the water evaporates, the humidity in the surrounding area will increase.
Avoiding Temperatures Above 90°F
Beware of scorching your sourdough starter with temperatures that could fry an egg on the sidewalk. Exposing your beloved starter to temperatures above 90°F can harm the delicate balance of yeast and bacteria that make it thrive.
To ensure its survival, it’s crucial to keep it in a cooler spot if the surrounding temperature consistently rises above 85°F. Here are some tips to help you keep your sourdough starter safe and sound:
- Find a cool corner: Look for the coolest area in your kitchen or home, away from direct sunlight and heat sources like ovens or stovetops.
- Seek refuge in the fridge: Consider storing your starter in the refrigerator if your kitchen is hot. Remember to take it out and feed it regularly to keep it active.
Is my house too cold for a sourdough starter?
Although your house may be a bit too cold for your sourdough starter, there are ways to create a warm environment for optimal growth.
To begin with, consider placing your starter in a warmer area of your home, such as near a heating vent or on top of your refrigerator. These locations tend to be slightly warmer than the rest of the house and can provide the necessary warmth for your starter to thrive.
Another option is to use a heating pad set on low and place it underneath the container holding your starter. This gentle heat will help maintain the ideal temperature range.
Additionally, you can wrap a towel or blanket around the container to insulate it and trap some of the warmth.
How do you keep a sourdough starter alive on vacation?
Don’t let your vacation plans put your sourdough starter on ice; freeze it instead! When heading out of town and can’t tend to your sourdough starter, freezing is a great way to keep it alive and thriving.
Follow these steps to ensure your starter stays healthy while away:
- Remove a portion of it and transfer it to a freezer-safe container.
- Place the container in the freezer, ensuring it’s tightly sealed.
- When you return from your trip, take the frozen starter out and let it thaw on the counter. Once thawed, feed it its usual meal to wake up the dormant yeast and bacteria.
- Freezing your sourdough starter is a simple and effective way to preserve it while on vacation. This method will help maintain the vitality of your starter, allowing you to return to a happy and ready-to-use culture.
A Warm, Cozy Home for Your Sourdough Starter
As we wrap up this sourdough symphony, it becomes crystal clear that the warmth surrounding your starter serves as its lifeline, nurturing the fermentation process and ensuring its vitality.
If you know what affects its temperature and use various methods like a proofing box or a heating pad, you can keep your starter at the right temperature.
It’s also important to follow best practices such as regular feeding and maintaining a consistent schedule. Remember, a well-cared-for sourdough starter is like a warm hearth that nourishes your bread-making journey.