How to Strengthen Sourdough Starter: Success Formula
To strengthen your sourdough starter, feed it regularly and maintain ideal conditions. Aim for a consistent feeding schedule, ideally every 12 hours, using a strong flour like bread flour.
Use a feeding ratio of 1:2:2 for best results and monitor for signs of activity, such as bubbling and doubling in size, within 4-6 hours. Stir your starter between feedings to boost oxygen exposure, which enhances yeast activity.
Don’t forget to adjust hydration levels based on your starter’s needs. This approach will promote a vigorous starter that contributes to fantastic bread quality, and there’s plenty more to explore in perfecting your techniques.
Key Takeaways
- Establish a consistent feeding schedule, ideally every 12 hours, to maintain starter strength and activity levels.
- Use an ideal feeding ratio of 1:2:2 to promote strong yeast growth and reduce acidity.
- Monitor starter activity closely for signs of doubling and bubbling within 4-6 hours post-feeding.
- Incorporate oxygen exposure by stirring the starter and covering it loosely for better air circulation.
- Experiment with different flours, such as rye or whole wheat, to enhance nutrient content and microbial diversity.
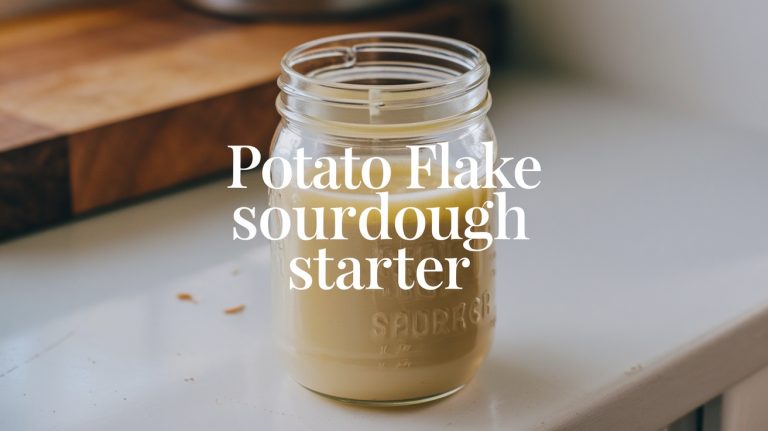
The Health of Sourdough Starters
A healthy sourdough starter is the foundation of great bread; understanding its health is important for consistent baking results. Regular feeding is essential to guaranteeing your starter thrives.
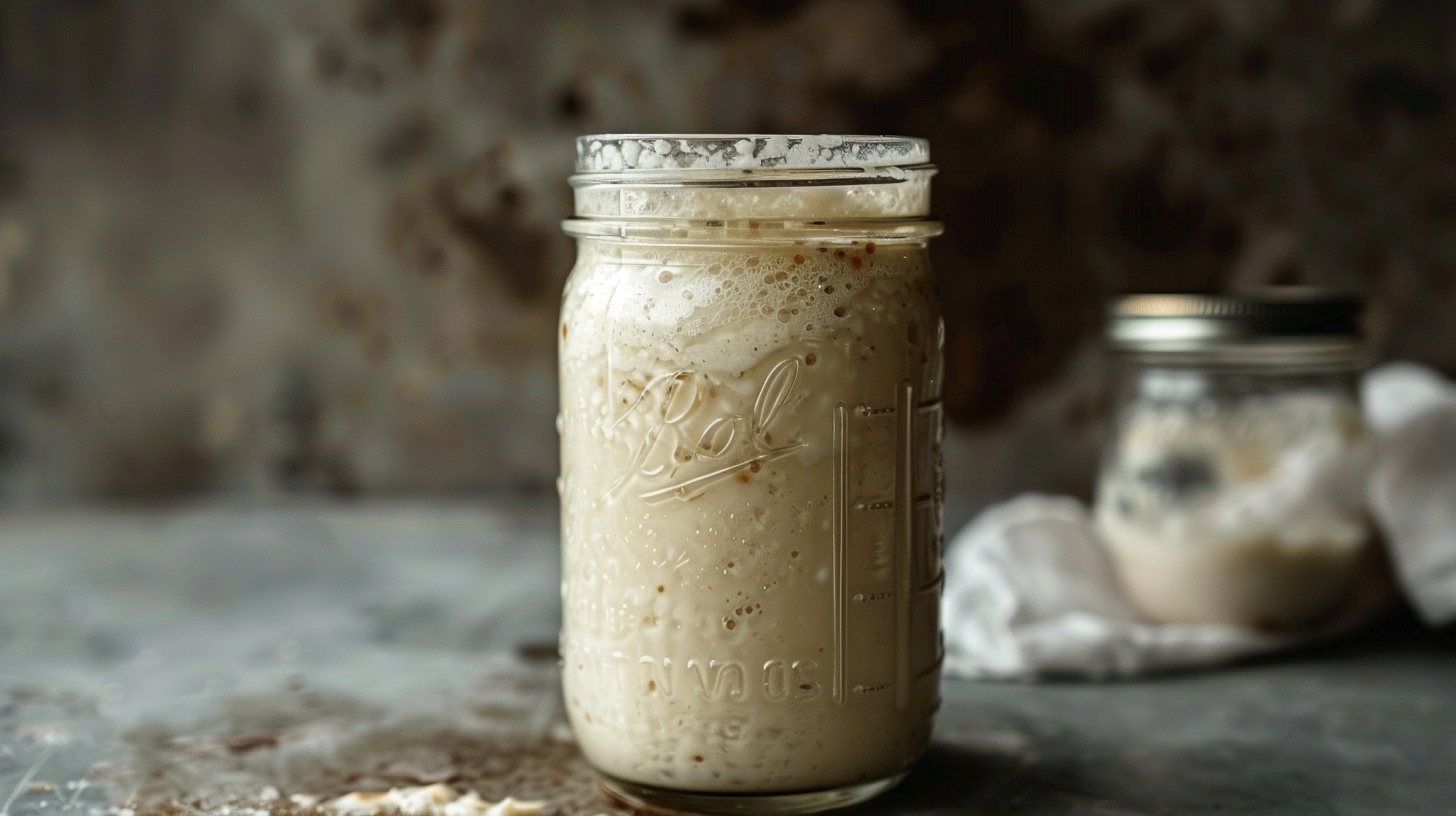
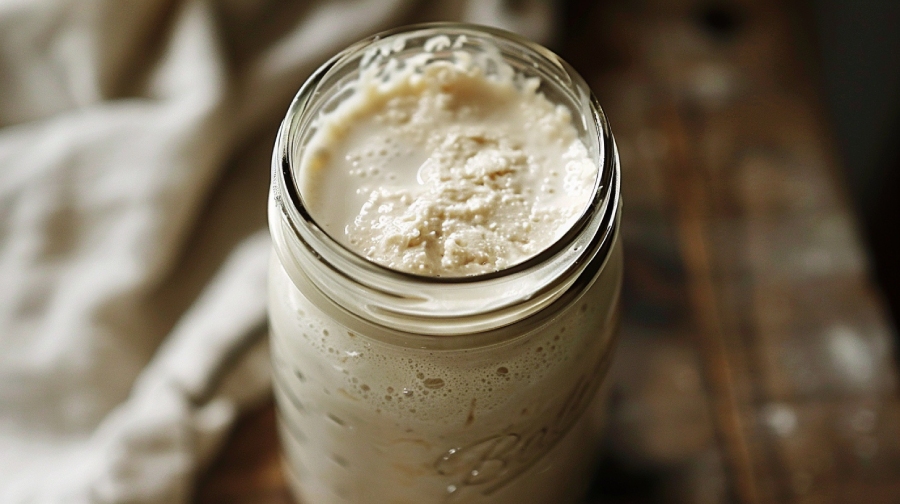
A mature starter typically doubles in volume within 4-6 hours after feeding, showcasing bubbles on the jar’s sides and a spongy texture. These signs indicate an active yeast population, which is crucial for fermentation. Proper storage conditions, such as maintaining an ideal fridge temperature and using airtight containers, can also greatly influence your starter’s health ideal storage practices.
If your starter fails to rise or shows minimal bubbles, you might be dealing with a weak starter. High acidity, often a result of neglect or low feeding ratios, can inhibit yeast productivity. This makes it critical to monitor and adjust your feeding practices.
Aim for an average development time of about 14 days, but remember that some starters may take longer.
Consistent feeding and care directly correlate with your starter’s strength.
Importance of a Strong Starter
Strong sourdough starter plays a crucial role in baking exceptional bread. A healthy starter is the foundation for achieving that perfect open crumb structure, enhancing both the texture and appearance of your baked goods.
When you regularly feed your sourdough starter, you greatly improve its strength, which leads to better fermentation results and helps reduce baking inconsistencies. To maintain its vigor, verify you’re using filtered water, as this supports microbial health and fermentation, contributing to a thriving starter reviving frozen starter.
You’ll know your starter is strong when it doubles in volume within 4-6 hours after feeding. This is a critical indicator that it’s ready for baking. Look for noticeable bubbles and a spongy texture as your starter peaks; these are signs of an active and robust starter. Such characteristics contribute to a vibrant fermentation process, confirming your bread rises beautifully.
Signs of a Weak Starter
Recognizing the signs of a weak starter is vital for maintaining your sourdough’s health and performance. A weak sourdough often appears thin and lacks the necessary fermentation activity for rising. You might notice small bubbles and minimal volume increase after feeding my starter, which indicates low starter strength.
If you see a layer of liquid on top, that’s a clear sign of neglect; it means the yeast has become inactive and your starter isn’t being properly maintained. Regular feeding, ideally every 12 hours, is important to prevent this decline and keep the yeast active, as outlined in how to know if your starter is dead.
Moreover, if your starter fails to double in size within 4-6 hours after feeding, it signals a lack of yeast activity and strength. Pay close attention to any unusual smells, too. A strong nail polish remover odor post-feed indicates an imbalance, which often means your starter needs immediate intervention.
Instead of discarding an aged starter, consider rejuvenation techniques like boosting the feeding frequency or adjusting the flour type.
Tips for Regular Feeding
Establish a consistent feeding schedule, ideally every 12 hours to keep your sourdough starter thriving.
Regularly using best flour selections can enhance the health of your starter and contribute to better fermentation.
Use ideal feeding ratios, such as 1:2:2, to guarantee your yeast gets enough nourishment.
Monitor your starter’s activity regularly to feed it at its peak, boosting its rising power and overall health.
Optimal Feeding Ratios
When you’re looking to strengthen your sourdough starter, ideal feeding ratios play an important role in its development. For best feeding ratios, aim for a 1:2:2 ratio of starter to flour to water. This balance promotes strong yeast activity and helps maintain a healthy microbial population.
Maintaining a hydration level of 70% to 80% is also vital for best fermentation factors affecting starter health. If you’re noticing your starter is too acidic, consider using higher ratios like 1:5:5 or even 1:10:10. These adjustments can enhance the starter’s strength over time by diluting the acidity.
It’s essential to feed your starter at its peak activity, which guarantees maximum yeast concentration. This practice supports consistent fermentation results, leading to better bread.
While maintaining a consistent feeding schedule is important, feel free to adjust your ratios seasonally or based on the starter’s activity. Changes in temperature and humidity can affect how your starter behaves, so being flexible with your feeding ratios will help keep it robust throughout the year.
Consistent Feeding Schedule
A consistent feeding schedule is key to maintaining a strong sourdough starter. Aim to feed your starter every 12 hours to promote regular yeast activity and guarantee it remains vigorous.
Using a feeding ratio of at least 1:2:2 (starter:flour:water) allows your starter to receive enough nutrients, enhancing its fermentation results. Additionally, proper storage and routine maintenance are essential for developing complex flavors in your starter, which can lead to superior bread quality signs of a healthy starter.
As you establish this routine, monitor your starter’s volume; it should double within 4-6 hours after each feeding, indicating that it’s active and healthy. If you notice peak activity, consider increasing the amount you feed your starter by adjusting the feeding frequency to up to four times a day. This boosts yeast reproduction and further strengthens your starter.
Keeping your starter covered with a loose lid or cloth is also vital. This setup allows for gas exchange while preventing contamination, essential for maintaining a healthy fermentation environment.
Monitoring Starter Activity
Regularly monitoring your sourdough starter’s activity is essential for guaranteeing it stays strong and ready for baking. By observing its behavior, you can determine the best times to feed and optimize its health.
- Check for doubling in volume and bubble formation within 4-6 hours post-feeding.
- Use a measuring container to track rise and peak times; a healthy starter should peak within 8-12 hours at around 82°F (28°C).
- Keep a record of texture and bubble size; significant development indicates robust fermentation.
When you’re monitoring starter activity, pay attention to how often you’re feeding your starter. Aim to feed it every time it doubles in size, which can enhance your starter’s strength.
Depending on your environment and the starter’s activity, you might find yourself feeding it up to four times a day. If you notice it isn’t rising as expected, consider adjusting your feeding ratios or intervals.
Remember to discard and feed to maintain a balanced starter.
Boosting Starter With Oxygen
To strengthen your sourdough starter, it’s important to boost its oxygen exposure during fermentation. Start by using a loose cover, like a paper towel or coffee filter, instead of a tight lid. This helps air circulate, allowing your starter to breathe and thrive.
Incorporating oxygen can be achieved by gently stirring your starter between feedings. Aim for at least two stirrings to enhance yeast activity, which is fundamental for fermentation. Regular oxygen exposure boosts the yeast population and improves your starter’s overall health and activity.
Here’s a quick overview to help you implement these practices:
| Action | Frequency | Result |
|---|---|---|
| Feed your starter | Every 12 hours | Increased strength and vigor |
| Stir your starter | At least twice | Improved yeast activity |
| Use a loose cover | Always | Enhanced oxygen exposure |
Enhancing Ingredients for Strength
To enhance your sourdough starter, pay close attention to the type of flour you use and the hydration levels during feedings.
Switching to rye or freshly milled whole wheat flour can boost the nutrient content and wild yeast activity while adjusting the flour-to-water ratio can optimize fermentation.
A thicker consistency can also help you monitor bubbles and improve overall performance.
Flour Type Importance
Choosing the right flour is essential for strengthening your sourdough starter. The flour type you select directly impacts the nutrient content available for fermentation, which is critical for achieving starter strength. Here are a few key points to keep in mind:
- Rye flour: Its higher nutrient content greatly enhances starter strength and promotes yeast activity.
- Whole wheat flour: Freshly milled whole wheat flour increases the presence of wild yeast, resulting in a more vigorous starter compared to all-purpose flour.
- Variety: Regularly alternating between different flour types can improve starter health by providing diverse nutrients and stimulating microbial diversity.
Stronger flours, like bread flour, support higher yeast growth rates, which is essential for developing an active sourdough starter.
Whole grain flours generally offer more nutrients, further bolstering fermentation processes.
Hydration Level Adjustment
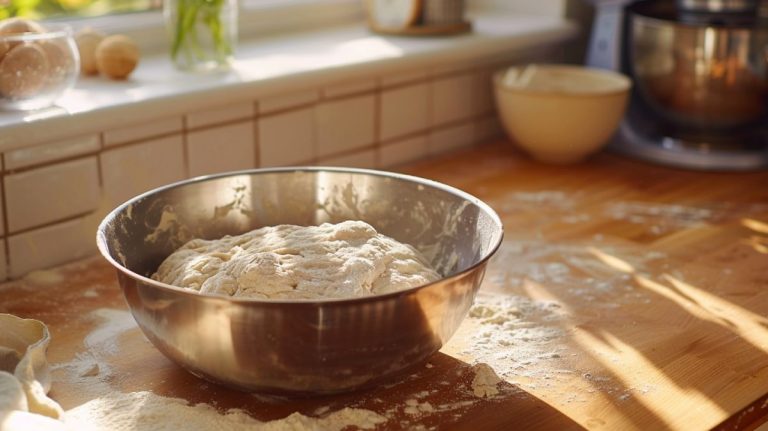
Adjusting the hydration level of your sourdough starter can be a game changer for its strength and performance. By aiming for a stiffer starter (lower hydration), you can enhance yeast activity and help your starter resist temperature fluctuations. If you want to thicken your starter, feed it with flour only for 1-2 cycles. This strategy promotes better fermentation by concentrating the food available for yeast growth.
A thicker starter is easier to monitor for bubbles and activity, indicating a healthier fermentation process. In contrast, a thinner starter might be more challenging to manage. Seasonal adjustments to hydration levels can also optimize your starter’s performance, ensuring it remains effective throughout varying environmental conditions.
To help you visualize the impact of hydration levels, here’s a quick reference table:
| Hydration Level | Starter Consistency | Yeast Activity |
|---|---|---|
| Low (50-60%) | Thicker Starter | High |
| Medium (70-80%) | Balanced | Moderate |
| High (100%+) | Thinner Starter | Lower |
Monitoring texture and bubble development is essential; an active starter should show significant bubble growth and rise after feeding.
Maintaining Appropriate Hydration
Maintaining appropriate hydration in your sourdough starter is essential for ideal fermentation and yeast activity. A well-hydrated starter can help develop a strong structure, but it’s vital to find the right balance for your specific environment.
- A thicker starter is easier to monitor for bubble activity, which indicates fermentation progress.
- Lower hydration levels promote a more robust structure that supports increased yeast activity.
- Regular adjustments based on seasonal conditions can optimize your starter’s performance.
To achieve a thicker mixture, consider feeding your starter with flour only for 1-2 cycles. This stiffer consistency encourages better fermentation.
Once you’ve reached your desired thickness, return to your normal feeding ratios to maintain a spongy and manageable starter.
Adjusting Feeding Ratios
Feeding your sourdough starter with the right ratios can make a world of difference in its strength and activity. Adjusting feeding ratios, like increasing from a standard 1:1:1 to a higher ratio such as 1:5:5 or even 1:10:10, provides more food for the yeast and bacteria, helping to strengthen a weak starter.
This approach also reduces acidity levels, which can negatively impact your starter’s performance.
It’s essential to feed your starter when it has doubled in size and is actively bubbling. By monitoring this peak activity, you can optimize yeast reproduction and guarantee a vibrant culture.
If you notice your starter peaks too quickly, consider increasing the feeding ratio to slow down fermentation.
Experimenting with varied feeding ratios can help you find the right balance between yeast and bacteria. Lower ratios may lead to higher acidity and less yeast activity, so adjusting accordingly is key.
Implementing the Peak-to-Peak feeding method, which involves multiple feedings at peak activity, can maintain a high yeast population and improve overall liveliness.
Strategies for Peak Performance
Implement effective strategies that maximize yeast activity and overall strength to achieve peak performance from your sourdough starter. Focusing on specific techniques can greatly enhance your starter’s vitality.
- Implement a Peak-to-Peak feeding strategy to guarantee you’re feeding your starter at its maximum activity level.
- Use high feeding ratios, like 1:5:5 or 1:10:10, to reduce acidity and promote yeast growth.
- Maintain a prime temperature of around 82°F (28°C) during fermentation for better yeast activity.
Regular feeding is fundamental; monitor your starter and feed it when it doubles in size, ideally within 4-6 hours. This practice supports consistent yeast activity and prevents over-acidification.
Regularly stirring your starter between feedings can introduce oxygen, improving fermentation processes and boosting vitality.
Frequently Asked Questions
How Do I Make My Sourdough Starter Stronger?
To make your sourdough starter stronger, feed it regularly, use high ratios of flour and water, mix in different flours, stir for oxygen, and watch for activity signs to adjust your feeding routine.
How Do You Revive a Weak Sourdough Starter?
If your sourdough starter’s practically on life support, don’t panic! Discard half every 12 hours for two days, feeding it equal parts flour and water. Keep it warm, and watch for bubbly signs of life!
How to Fix Sluggish Sourdough Starter?
To fix a sluggish sourdough starter, discard half every 12 hours, feeding it equal parts flour and water. Stir well between feedings, and consider stronger flours to enhance activity and fermentation. Monitor for bubbling signs.
Does Sourdough Starter Get Stronger With Time?
Yes, your sourdough starter gets stronger with time. As you feed it regularly, the yeast population grows more robust, improving fermentation and flavor. Consistency is key, so keep up with your feedings!
Feed, Hydrate, Aerate: Nurture Your Starter
Following these tips, you can transform your sourdough starter into a powerhouse of flavor and fermentation. A strong starter isn’t just a baking tool; it’s like having a culinary superhero in your kitchen, ready to elevate your bread to legendary status.
Feed it regularly, maintain proper hydration, and boost its oxygen supply. Your starter will thrive with some care and attention, providing delicious loaves for years.