How to Store Sourdough Starter for the Best Flavor and Freshness?
Anyone who’s baked sourdough knows how hard it is to manage your starter. Just like raising a tiny, needy pet that needs love and attention, or it’ll go bad. But when done right, it can transform any dish into something truly special.
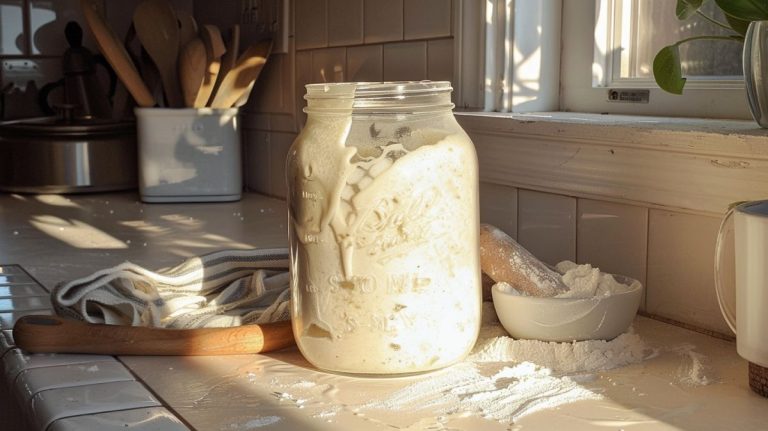
Many of us have made our own starters, so we know how quickly they can get out of control. We’ve all been there: you make your starter, get a few successful bakes under your belt, and suddenly find yourself with an overflowing jar of bubbling dough.
Now what? Are you going to throw it away? Or would you rather use every last bit?
Well, don’t worry. Let’s talk about how to store your sourdough starter so it stays healthy without wasting any dough-to-be. We’ll ensure you have just the right amount of lively starter ready for your baking adventures.
It starts with understanding what your starter needs for it to remain strong: regular feedings at least once every two days; enough space in its container; either refrigerated or room temperature depending on the frequency of use; kept away from extreme temperatures; proper ventilation and warmth when activating/feeding; or dried it, and lots of love (literally), or dried if you plan to store it for longer periods. Keeping your starter alive is easy once these basics are figured out.
What’s the biggest takeaway? You can nurture just what you need while keeping the culture healthy and make beautiful bread and pies, knowing that a happy, cheeky, bubbly friend will always be waiting patiently in your fridge.
The Benefits of Storing Sourdough Starter: The Secret to Mind-Blowing Bread
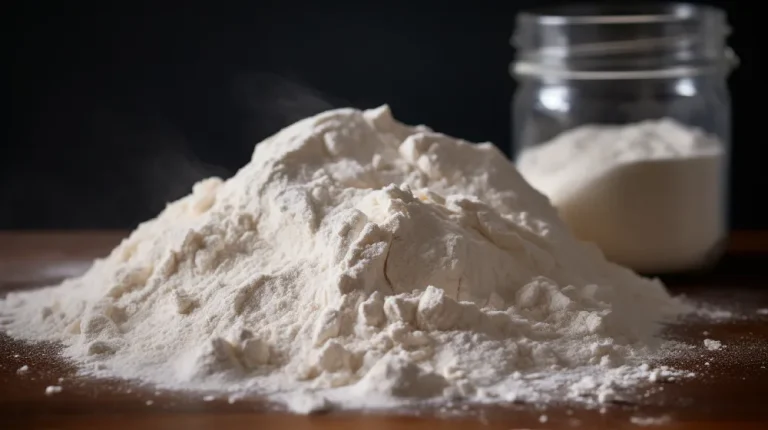
Sourdough starter is a mixture of flour and water that has been fermented and is used as a natural leavening agent for bread. It is essentially a living organism of wild yeasts and bacteria that provide a unique flavor and texture to bread.
Making sourdough starter at home is simple but time-consuming, requiring only flour, water, and patience. It involves daily feedings and can take up to a week or more to get it right.
And here’s the catch: to keep your sourdough starter happy and healthy, you must store it right. Give it air, feed it all-natural ingredients, and watch those bacteria colonies thrive. The result? A bread so delicious and complex it puts commercial bread to shame.
Not only does storing your sourdough starter keep it fresh and ready for baking whenever you crave it, but it also helps develop your bread’s incredible flavor and texture. Plus, it’s a waste-preventing superhero.
Identifying When the Starter Is Ready for Storage
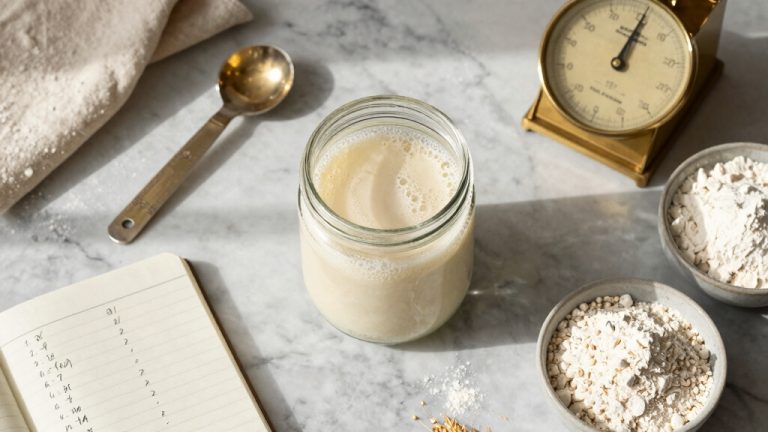
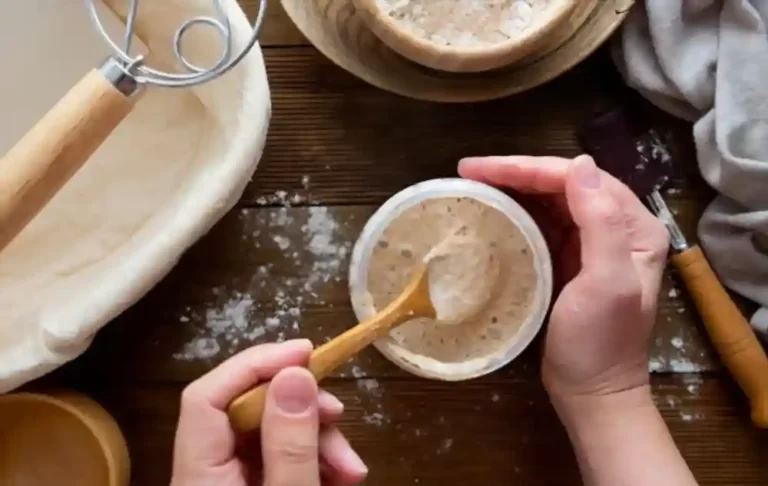
One crucial aspect of this process is identifying when the starter is ready for storage. A good indicator is when it has consistently doubled in size within a 6-12 hour feeding period. This means the starter is active and strong enough to be stored for later use.
Another way to determine if your starter is ready for storage is by performing the float test. Drop a small amount of the starter into a glass of water. If it floats, then your starter is ready to be stored. If it sinks, you may need to feed it a little more and wait for it to become more active.
Preparing and Choosing the Right Container
Choosing the right container can make a huge difference.
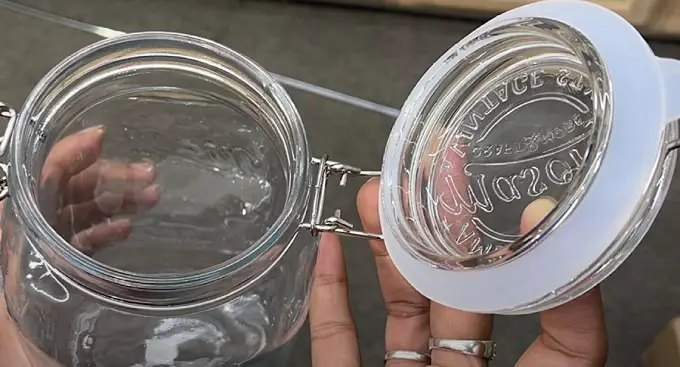
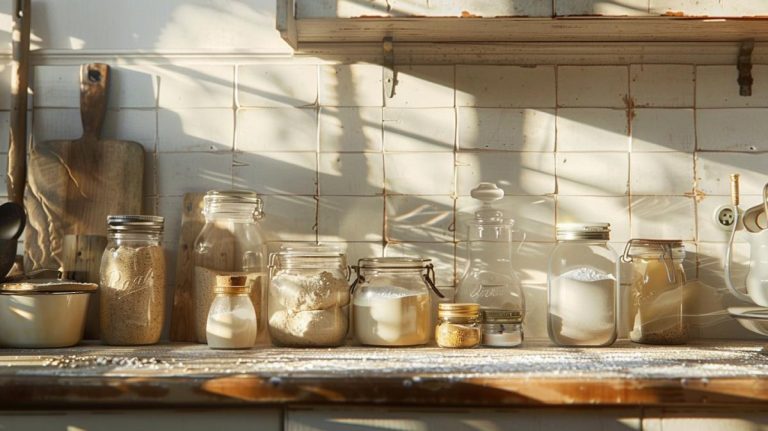
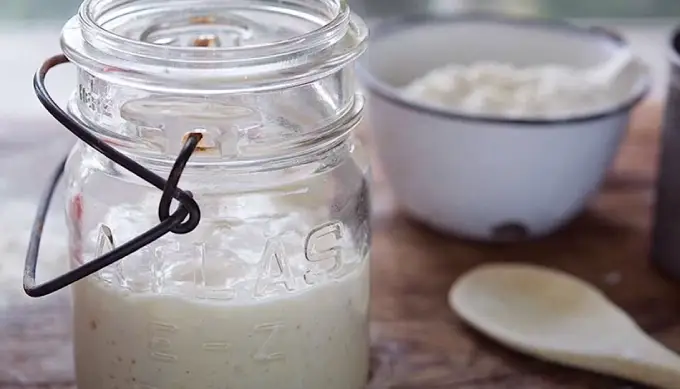
Avoid containers made of metal or plastic. Glass or ceramic containers with loose lids or covering that allow gases to escape are ideal.
You can use a mason jar with cheesecloth secured with a rubber band or a bowl with a plate on top. You’d want to avoid using airtight containers, which may cause pressure to build up and rupture the container.
Before creating your starter, preparing the container you’ll be using properly is important. This step is often overlooked, but taking the time to do it can make all the difference in the success of your starter.
So, make sure your container is thoroughly cleaned and sterilized. Any lingering bacteria can negatively impact the fermentation process and ruin your starter. Once your container is clean, please give it a good rinse and dry it completely.
And ensure that your container has enough room for your starter to expand. Choosing a container that allows easy stirring and feeding is also best.
A well-fed sourdough starter needs plenty of room to breathe and should be stored in the refrigerator. A too-small container can cause your starter to become too acidic, throwing off its balance and making it less effective for baking.
Storing Your Sourdough Starter: The Best Way to Preserve Flavor and Health
Once you have your preferred container ready, it’s time to store your sourdough starter. Let’s look at some of the best ways to store your starter.
Short-term Storage
If you’re like me, you treasure your sourdough starter. But sometimes, we need a little break. How do you ensure your starter stays fit and healthy, even during those little pauses? Let’s explore.
1. Adjusting Your Feeding Schedule:
Adjust your feeding schedule accordingly if you don’t plan to use your starter for a while. Reduce the frequency of feedings to once every 7-10 days and increase the amount of flour and water used in each feeding to keep your starter well-fed and happy.
Give it less water if it’s too lively, and find a cooler spot. It’s like putting it in ‘slow mode’.
A little sprinkle of salt and managing how much old starter you mix in can also help keep things balanced. Like giving your starter a mini check-up.
2. Make a Thick Starter:
Feed it more flour than usual. This makes it thick and doughy, which, believe it or not, is like a comfy blanket for your starter in the fridge. It helps it keep its strength, even if you’re not using it.
Long-term Storage
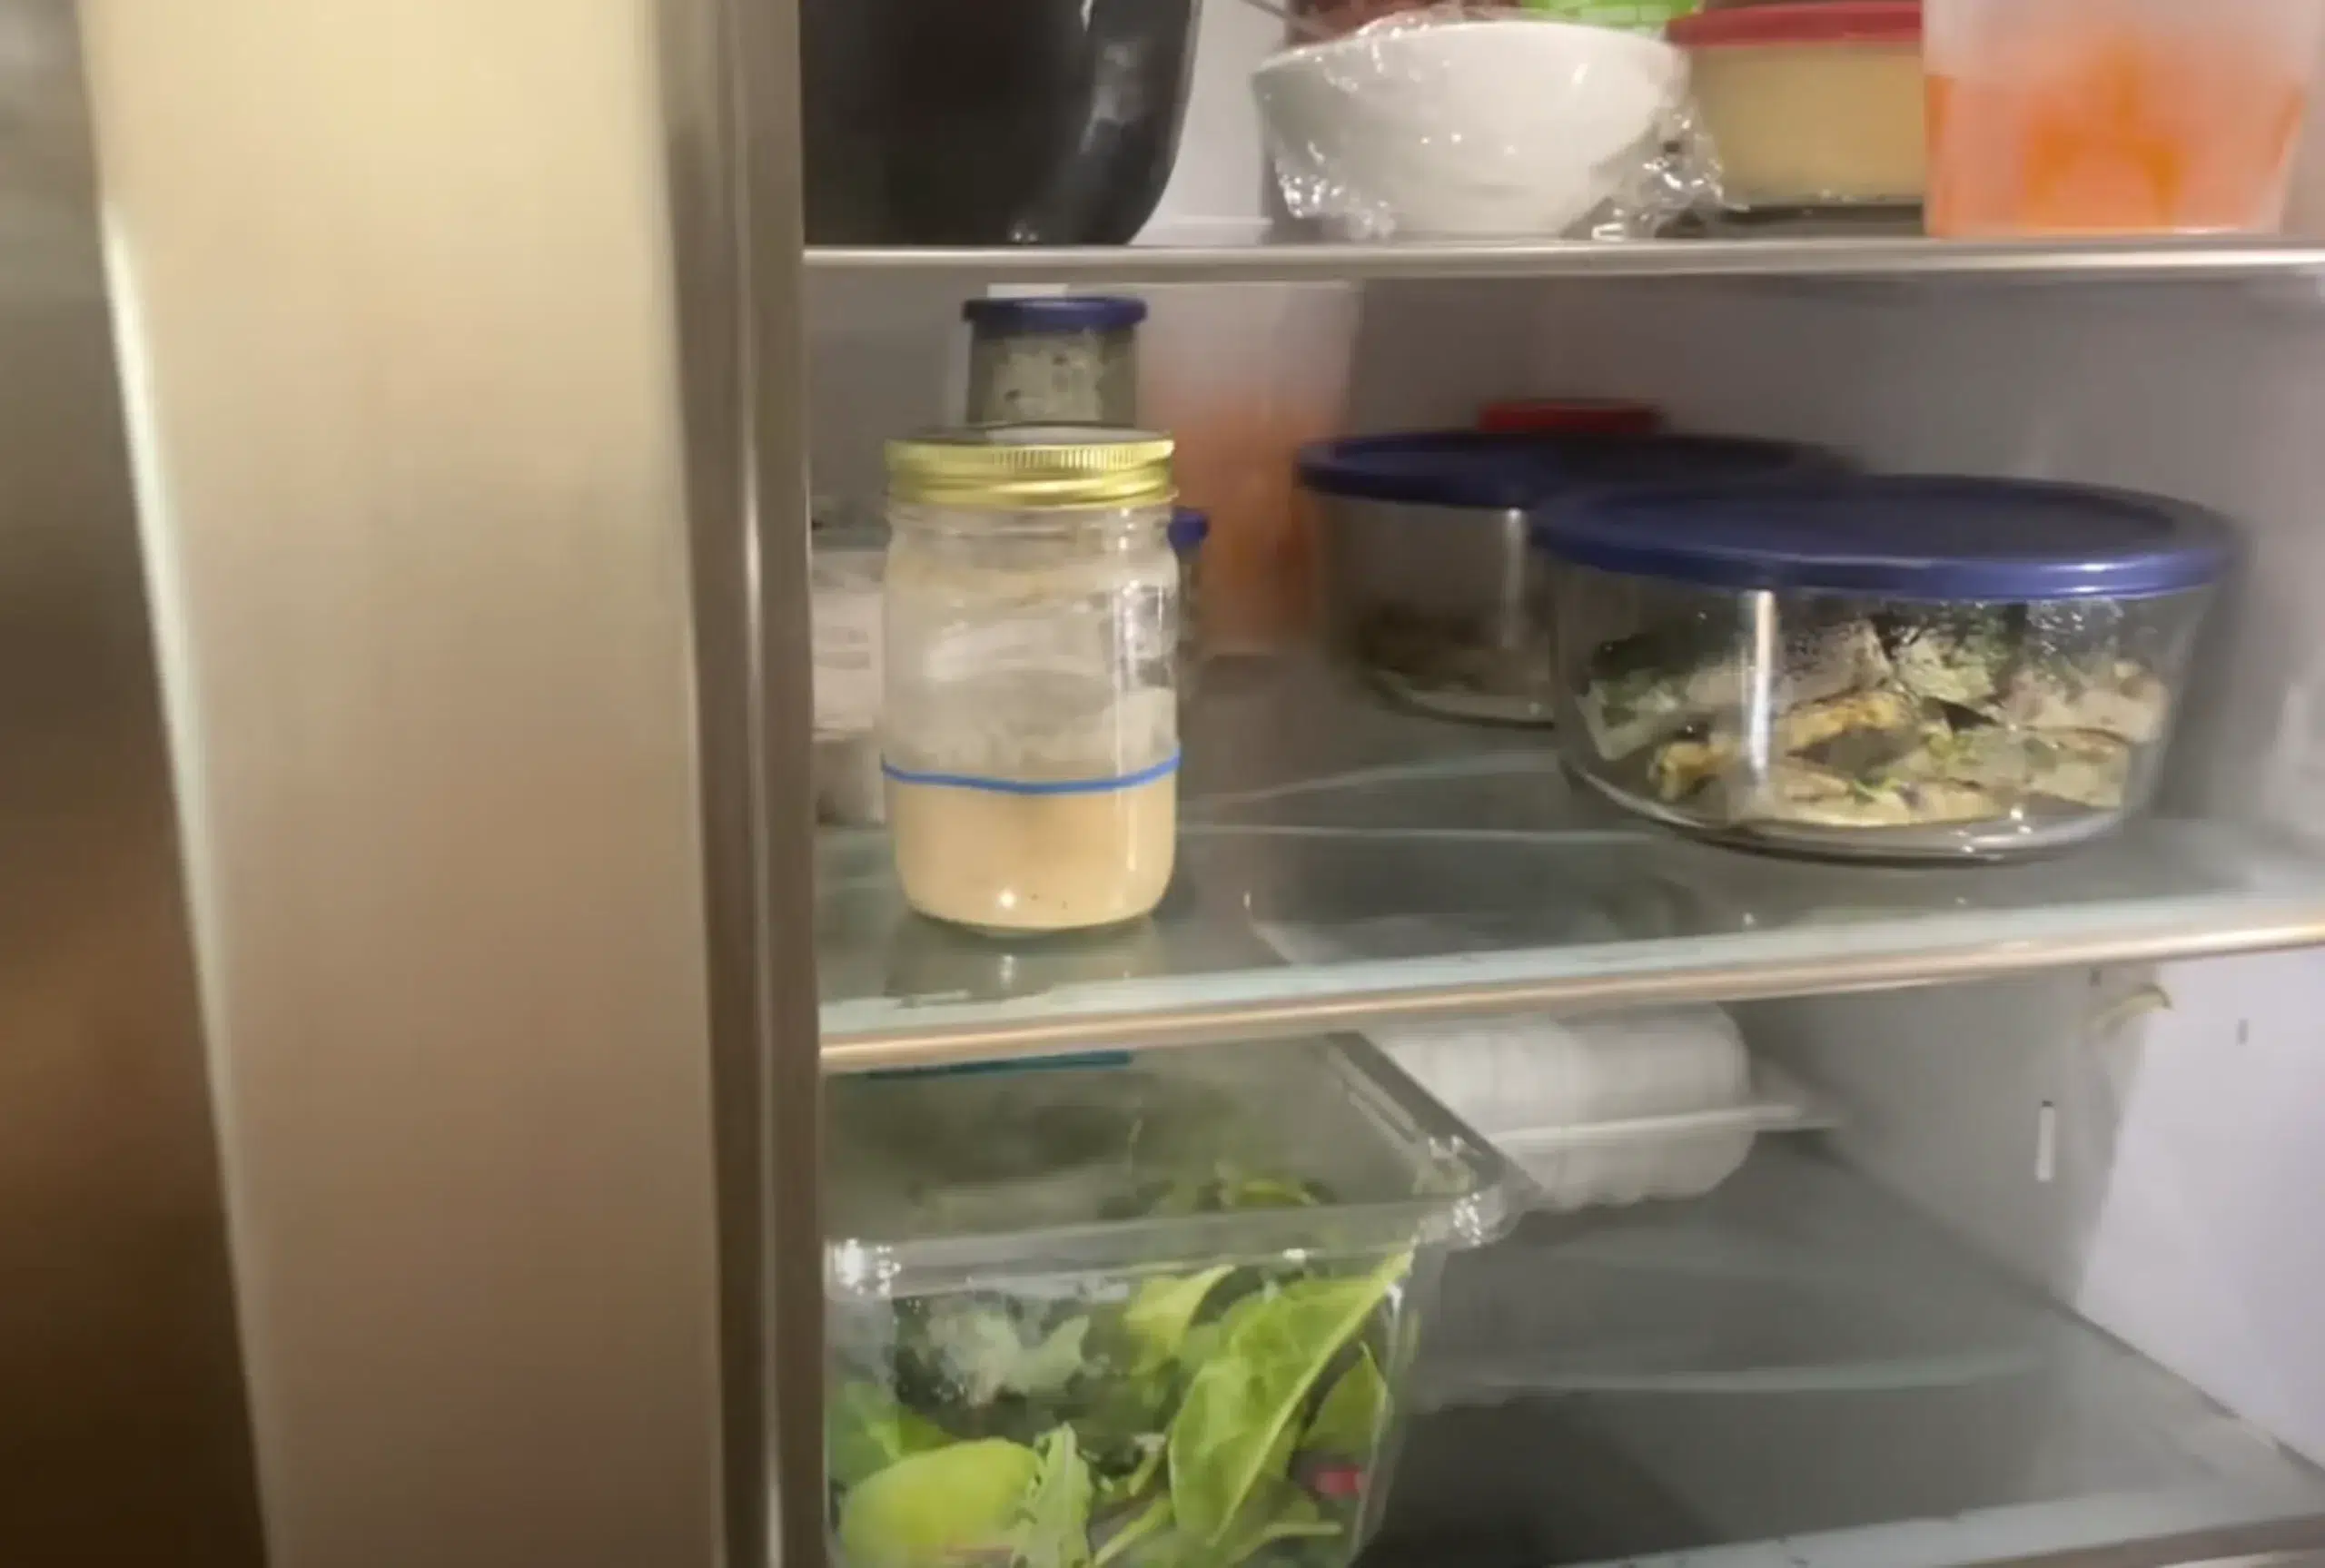
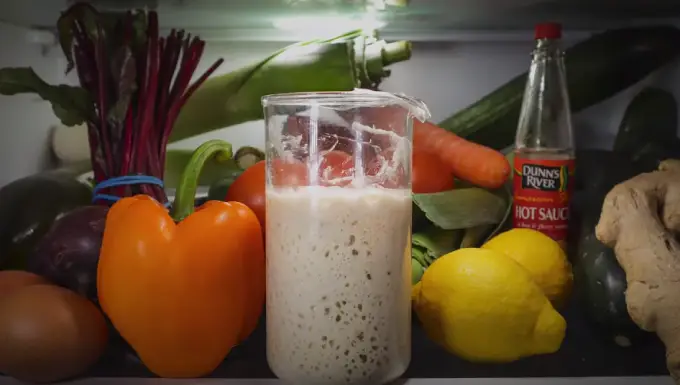
1. Refrigeration:
If you’re not planning on using your starter for a while or only bake occasionally, storing it in the fridge is your best bet.
Prepping Your Starter for its Cold Vacation:
Give your starter a ‘half-feed’, discard about half of the starter, and then mix in equal parts of flour and water. This will keep the starter happy and fed without it becoming overactive in the fridge.
The ideal fridge temperature for your starter is between 35-40°F (1.7-4.4°C). Too cold and your starter may become sluggish, while too warm and it may become too active and use up its food too quickly.
Ready to Bake? Let’s Wake that Starter Up!
The day before you bake, you’ll want to remove your starter from the fridge and let it come to room temperature.
Once it’s at room temperature, discard about half of the starter and feed it again, this time with equal parts flour and water. Give it a few hours to become active and bubbly before using it in your recipe.
Be sure to always leave a bit of starter behind (known as the ‘seed’) when using it, as this will ensure you always have some starter to feed and use in future recipes.
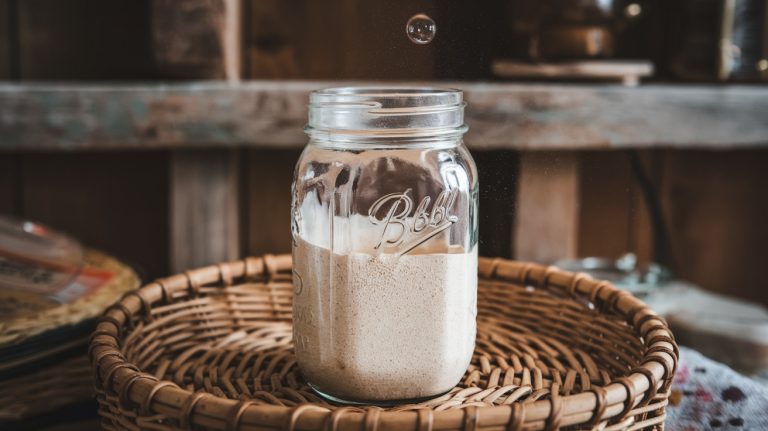
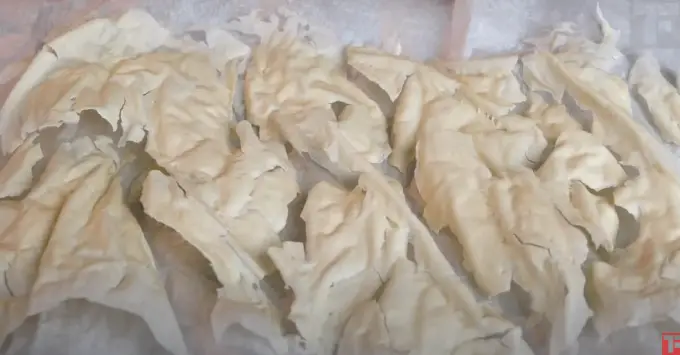
2. Dry Your Starter for Longer Lifespan
Another option for long-term storage of your sourdough starter is to dry it out. This method involves spreading a thin starter layer onto parchment paper and letting it dry completely before breaking it into small flakes.
Mix the flakes with equal parts flour and water to revive your dried starter until you have a thick paste. Allow this mixture to sit for a few hours.
Spread a thin starter layer on a piece of baking paper (or another non-stick surface). The thinner the layer, the quicker it will dry.
Leave your starter to dry naturally in a cool, well-ventilated area. This may take several days, depending on the humidity and thickness of your starter.
Once your starter is completely dried out, it should snap easily when you bend it, like a cracker. Break it into small flakes or grinds, and store it in an airtight container.
This will make it easier to measure out when you want to use it later. Store your dried starter in an airtight container or jar, labeling it with the date it was dried.
When ready to use your dried starter, mix the flakes with equal parts flour and water until you have a thick paste. Allow this mixture to sit for a few hours until it becomes active and bubbly before using it in your recipe.
Troubleshooting:
Reviving a Sluggish Starter: If your starter has been stored for a while and seems less active, don’t panic. Remove it from the fridge and let it come to room temperature. Feed it regularly until it becomes more active again.
Dealing with a Hooch Layer: A hooch is a thin, brownish liquid on top of your sourdough starter. It’s a sign that your starter is hungry and needs to be fed. Pour off the liquid and feed your starter as usual.
Role of Whole Grain Rye Flour and Warmth in Revival: If your starter is still not showing signs of life, try using a little bit of it and keep it in a warmer spot. Rye flour contains more microbial activity than wheat flour.
It contains more nutrients and enzymes that can help kickstart a sluggish starter. Additionally, the warmth from your hands as you mix in the new ingredients can also wake up the dormant yeast.
Mark the Date: Don’t forget to mark the jar with the date so you know when it was last fed. Another option is to freeze your starter. Transfer it to a freezer-safe container and place it in the freezer. When ready to use it again, thaw the container in the refrigerator and feed it.
If Your Sourdough Starter Goes Bad: Look at the damage first. Check for mold, strange odors, or discoloration like pink or orange. If you notice any of these signs, it’s better to throw it away and begin with a new starter.
If you’re unsure if your starter has gone bad, take a small amount of the starter and do a float test. Drop it into a glass of water – if it floats, your starter is fine. If it sinks, there may be some issues with the starter, and it’s best to discard it.
To keep your starter happy and healthy, feed it regularly and check on it occasionally.
A healthy, active sourdough starter should have a slightly sour smell and be full of bubbles. If it starts to look or smell odd, it’s probably time to start over.
The Cozy Sleepover for Your Starter Baby
With just a few simple steps, your sourdough starter will live its best life, even during its little vacation in the fridge or dry storage. Include the ideas we explored today in your regular nurturing routine, and you’ll soon become an expert at taking perfect care of your starter.
As your starter is tucked away, you can get creative with your newfound baking skills and passion for sourdough bread. Discover different recipes, replicate the flavors you know and love, and experiment with new ingredients.
Invite your friends over for a bread-tasting party, use different starters for different kinds of dough, and enjoy some freshly made gorgeously smelling sourdough. Don’t let anyone ever tell you it’s hard to take care of a sourdough starter; with the right nurturing routine and a bit of dedication, you will master this art in no time.