How to Bake Bread in Air Fryer: Tips to Achieve Soft, Fluffy Bread
To bake bread in your air fryer, start by mixing a well-hydrated dough with warm liquids, flour, and instant yeast.
Knead until smooth, let it rise until doubled, then shape and proof it again.
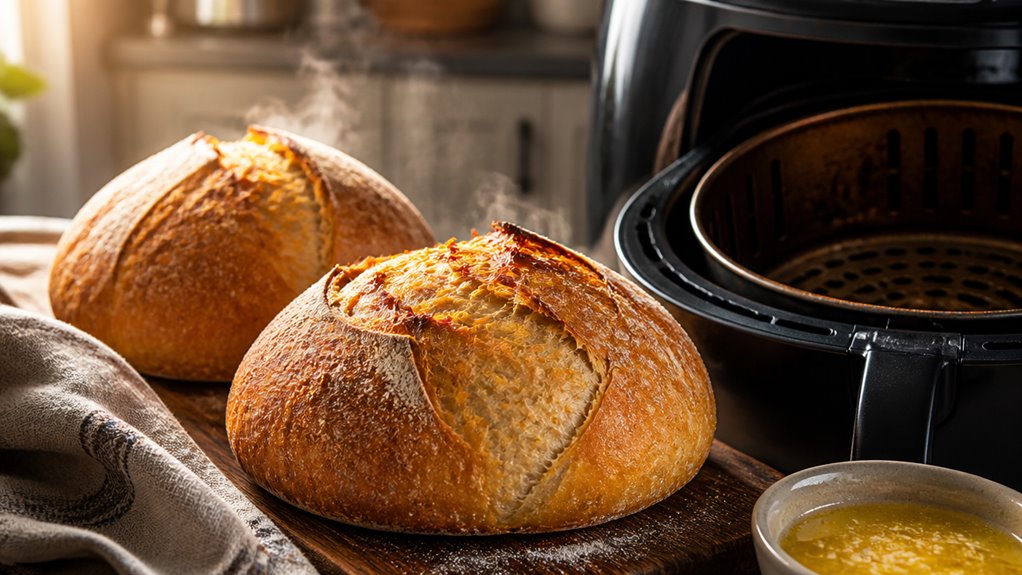
Preheat your air fryer to 400°F, adding water to create steam for a crispy crust.
Bake covered at high heat, then uncover to brown the top.
Finish with an egg wash and cool thoroughly.
Keep going to discover tips for perfect crust and storage.
Key Takeaways
- Preheat the air fryer to 400°F for 4 minutes or 200°C for 15 minutes with a baking tin inside.
- Prepare a pliable dough, knead until smooth, and let it proof until doubled in size.
- Place the dough on parchment paper in the air fryer basket with a small water amount for steam.
- Bake covered at 200°C for 20 minutes, then uncovered at 320–350°F for 8–15 minutes until golden.
- Cool bread on a wire rack after tapping for a hollow sound, then store wrapped at room temperature.
Recipe Breakdown for Perfect Air Fryer Bread Baking
| Step | Details | Key Tips |
|---|---|---|
| Prepare Dough | Mix lukewarm water, instant yeast, bread flour, milk powder, sugar, salt, and oil to form a shaggy dough. | Use instant yeast for quick activation; maintain a pliable, hydrated dough consistency. |
| Knead & Proof | Knead dough until smooth and elastic; perform 3 stretch-and-fold cycles with 30-minute rests; let dough double in size. | Proofing enhances flavor and texture; keep dough covered and in a warm spot. |
| Preheat Air Fryer | Preheat at 400°F (200°C) for 4 minutes (basket) or 15 minutes (with baking tin). | Add a small amount of water in the basket to create steam for a crispy crust. |
| Bake Covered | Bake dough covered with aluminum foil at 200°C (392°F) for 20 minutes. | Covering ensures even cooking and moisture retention. |
| Bake Uncovered | Remove foil; bake at 320–350°F for 8–15 minutes until golden brown. | Uncovering promotes browning and crust development. |
| Apply Egg Wash | Brush egg wash on the loaf during the last 5 minutes of baking for a glossy finish. | Enhances color and adds sheen to the crust. |
| Cool & Store | Cool bread completely on a wire rack before slicing; wrap in plastic or store in an airtight container. | Cooling prevents gummy crumb; avoid refrigerating to maintain freshness. |
Prepare Dough: Ingredients and Mixing Tips

To prepare your dough, start by combining lukewarm water, yeast, flour, and salt in a large mixing bowl to form a shaggy mixture.
Begin by mixing lukewarm water, yeast, flour, and salt until a shaggy dough forms.
Before adding, mix your dry ingredients like bread flour, milk powder, and salt for even distribution.
Use instant yeast to skip activation; it mixes directly with warm milk and sugar, saving time.
Add oil to the bowl and stir just enough to eliminate dry flour spots, adjusting water in small teaspoons if the dough feels too dry due to flour variations.
This careful balance creates a pliable, well-hydrated dough, ready for kneading.
For best results, maintain a thick pancake batter consistency when adjusting hydration to ensure proper dough texture.
Shape and Proof Your Dough
Once your dough has come together, knead it on a floured surface until it feels smooth and elastic. Shape it into a tight ball. Cover it with plastic wrap or a clean towel and let it rest until it doubles in size.
This first proofing is essential for developing flavor and texture. To boost the dough’s strength, perform stretch-and-fold cycles three times, resting 30 minutes between each.
| Step | Action |
|---|---|
| Shape | Form dough into a tight ball |
| First Proofing | Cover and let dough double |
| Stretch & Fold | Repeat 3 times with rests |
After proofing, transfer your dough to parchment paper. Tuck edges underneath for a neat seal, preparing it for the final rise.
Preheat and Set Up Your Air Fryer
Get your air fryer ready by preheating it to the proper temperature to guarantee your bread bakes evenly and develops a perfect crust. This step is key to creating a consistent baking environment and avoiding uneven cooking.
Preheating your air fryer ensures even baking and a perfectly crisp crust every time.
Here’s how to set up your air fryer for the best results:
- Preheat your air fryer to 400°F for about 4 minutes if using the basket alone, or 200°C (392°F) for 15 minutes with a 6-inch round baking tin inside.
- Avoid placing the tin inside if your basket space is tight, as it may cause burning.
- Add a small amount of water at the basket’s bottom to generate steam, enhancing crust texture during baking.
This setup guarantees your bread bakes to perfection with a beautifully crisp exterior. Remember, preheating helps the air fryer reach the desired temperature faster, ensuring even heat distribution for consistent results.
Bake Bread: Temperature and Timing
Although baking bread in an air fryer might seem straightforward, controlling temperature and timing is essential to achieving that perfect golden crust and tender crumb.
Start by baking your dough covered with aluminum foil at 200°C (392°F) for 20 minutes to guarantee even cooking.
Then, continue uncovered at a slightly lower temperature, around 320°F to 350°F, for 8 to 15 minutes until the top turns a beautiful golden brown.
Smaller rolls or loaves require gentler heat; try 140°C (285°F) for 10 minutes.
Remember, initial high heat helps the bread rise and set. Lowering it prevents burning and promotes thorough cooking.
With these temperature and timing tweaks, your air fryer bread will come out just right—crispy on the outside, soft inside, and full of fresh-baked goodness.
To ensure even cooking and avoid dryness, it is also important to rotate baked goods halfway through the baking process.
Apply Egg Wash and Check Doneness
After adjusting the temperature and timing to achieve that perfect bake, it’s time to enhance your bread’s appearance and make certain it’s fully cooked.
Applying an egg wash near the end of baking gives your loaf a beautiful, glossy, golden crust that’s sure to impress.
To check doneness, you want to ensure the inside is cooked through without underbaking.
Here’s how to do it:
- Brush the top of your loaf with egg wash during the last 5 minutes of baking to get a shiny, crisp crust.
- Tap the bottom of the bread; if it sounds hollow, it’s a good sign the bread is done.
- Use a thermometer to confirm the internal temperature reaches 200°F for perfect doneness.
These steps guarantee both appearance and texture are spot on.
Cool and Store Your Air Fryer Bread
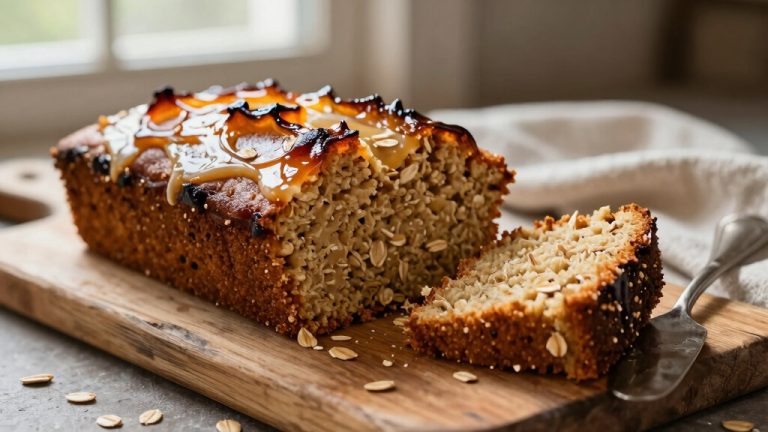
Once your air fryer bread is out, let it cool completely on a wire rack. This helps keep that crust nice and crisp, plus it prevents any gummy texture inside. Seriously, don’t cut into it while it’s still warm! You’ll end up losing moisture and might get a dense crumb, which isn’t what we want.
When it comes to storing your bread, you have a couple of options. You can either wrap it loosely in foil or pop it into an airtight container. Just make sure you don’t trap any moisture in there, or you might end up with soggy bread. Keeping it fresh is key! For longer storage, consider freezing your bread properly to maintain flavor and texture over time.
Proper Cooling Techniques
While the aroma of freshly baked bread tempts you to dig in immediately, it’s essential to let your air fryer loaf cool completely on a wire rack before slicing. This step preserves the bread’s texture and prevents it from turning gummy.
Here’s how to cool your bread properly:
- Remove the bread gently from the air fryer and place it on a wire rack, allowing air to circulate evenly around the loaf.
- Tap the top and bottom of the bread lightly to release trapped steam, helping the crust stay crisp.
- Resist cutting until the bread is fully cooled. Slicing too soon can cause the crumb to become dense and lose its delicate structure.
Following these steps guarantees your bread maintains its perfect balance of crust and crumb every time. Proper cooling also complements the benefits of even heat distribution that are crucial during baking.
Storage Tips and Methods
Letting your bread cool properly sets the stage for storing it to keep that fresh-baked flavor and texture.
Once your air fryer bread reaches room temperature on a wire rack, it’s ready to be stored. Wrap your loaf tightly in plastic wrap or place it in an airtight container to lock in moisture and prevent it from drying out.
If you plan to eat it within a day or two, storing it at room temperature is fine. For longer storage, slice the bread and freeze it in a resealable bag, separating slices with parchment paper for easy access.
When you want a fresh slice, simply toast or warm it up. Avoid refrigerating your bread, as it can cause it to stale faster and lose its delightful softness.
Using a bread box with proper ventilation can also help maintain freshness by controlling humidity and preventing mold.
Frequently Asked Questions
Can I Use Gluten-Free Flour for Air Fryer Bread?
Yes, you can use gluten-free flour for air fryer bread, but you’ll need to adjust your recipe.
Gluten-free flours lack elasticity, so adding binders like xanthan gum or psyllium husk helps mimic gluten’s structure.
Expect denser bread with a different texture. Also, hydration levels might vary, so add water gradually.
Keep an eye on baking times since gluten-free dough can brown faster. Experimenting will help you perfect your gluten-free air fryer loaf.
How Do I Prevent Bread From Sticking to the Air Fryer Basket?
To prevent your bread from sticking to the air fryer basket, start by lining it with parchment paper or a silicone mat designed for air fryers.
You can also lightly grease the basket or baking tin with oil or non-stick spray before placing the dough inside.
This creates a smooth barrier and helps your bread release easily once baked, leaving you with a perfect loaf and no frustrating cleanup.
What Are the Best Herbs or Spices to Add for Flavor?
Like a gentle breeze weaving through a garden, herbs like rosemary, thyme, and oregano add fresh, earthy notes to your bread.
You can also sprinkle garlic powder or crushed red pepper for a bold kick.
Don’t forget spices like cinnamon or nutmeg for a warm, sweet twist.
Mix these into your dough before baking, and your bread will burst with flavor, making every bite an aromatic delight you’ll crave.
Can I Freeze Dough Before Air Frying?
Yes, you can freeze dough before air frying!
After kneading and shaping your dough, wrap it tightly in plastic wrap and place it in an airtight container or bag.
When you’re ready, thaw it overnight in the fridge.
Then let it come to room temperature and complete the final proof before baking.
This way, your bread will rise properly and bake beautifully in the air fryer with that perfect, fresh-baked texture.
How Do I Clean My Air Fryer After Baking Bread?
You might think cleaning your air fryer after baking bread is tricky, but it’s simpler than it seems. Start by unplugging and letting it cool.
Remove the basket and tray, soaking them in warm soapy water to loosen crumbs and oil. Wipe the interior gently with a damp cloth, avoiding harsh scrubbing to protect the coating.
Dry everything thoroughly before reassembling. Regular cleaning keeps your air fryer performing perfectly and your bread tasting fresh.
Explore Flavor Variations and Elevate Your Bread Baking Skills in Air Fryer
Now that you’ve mastered baking bread in your air fryer, you’re all set to enjoy warm, golden slices with a delightful crust and soft heart.
It’s a simple joy that turns your kitchen into a cozy bakery, without the fuss. Keep experimenting with flavors and shapes; each loaf is a little celebration.
Remember, every crumb tells a story of your patience and care, making homemade bread a comforting hug from your own oven.