Hazelnut Sourdough Cruffins: A Flaky, Nutty Delight
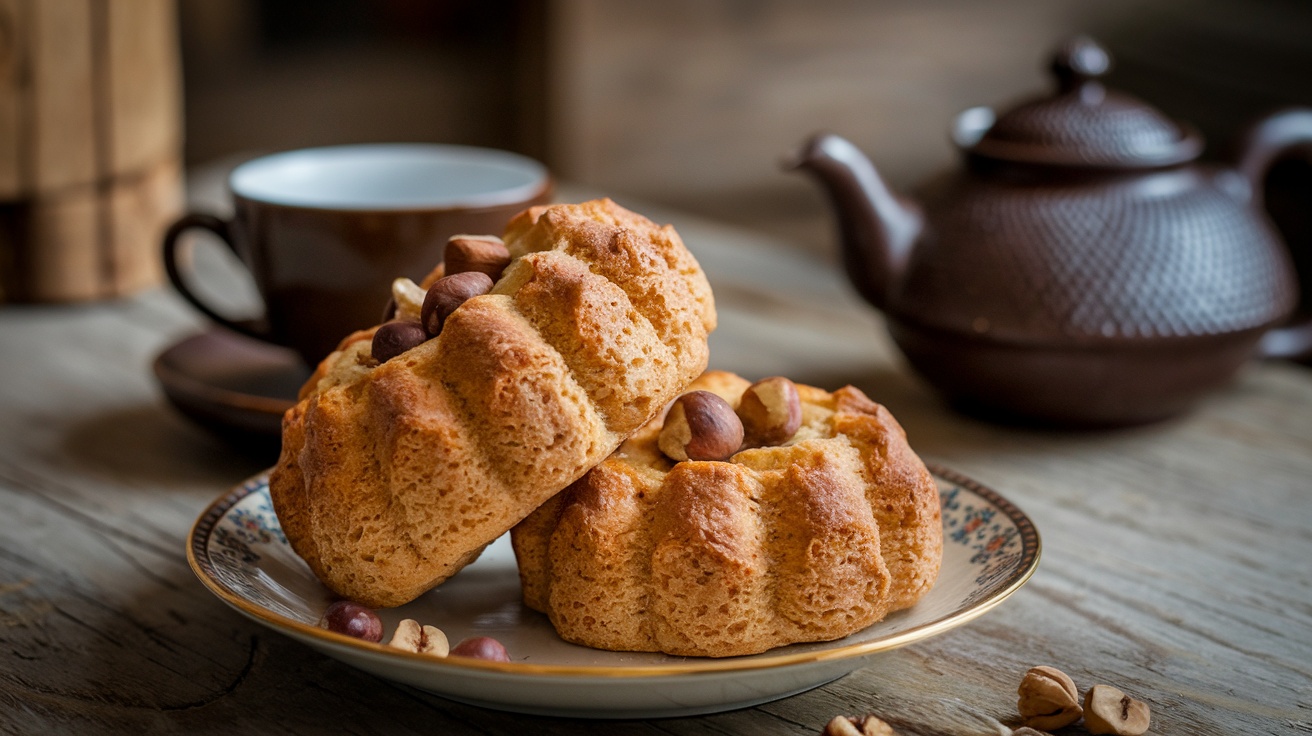
Hazelnut sourdough cruffins blend a flaky pastry with the tang of sourdough, creating a nutty, airy treat that’ll elevate your brunch. Start by mixing bread flour, levain, and rich ingredients like milk and butter to form a smooth dough.
After overnight cold fermentation, laminate with cold butter to develop those signature flaky layers. Once baked to a golden-brown perfection, they emerge crispy and ethereal.
Serve them warm, perhaps topped with powdered sugar or a drizzle of caramel for extra indulgence. You’re on the brink of mastering this delicious recipe, so keep exploring the nuances of each step for the best results.
Key Takeaways
- Combine bread flour, levain, water, milk, brown sugar, and salt to create the dough for hazelnut sourdough cruffins.
- Incorporate ground hazelnuts into the dough during the lamination process for added crunch and flavor.
- Allow the dough to cold ferment overnight for enhanced flavor and texture before shaping and folding.
- Bake cruffins at 200°C (392°F) until golden brown, approximately 30 minutes, for a flaky finish.
- Serve fresh with toppings like powdered sugar or caramel drizzle to enhance their nutty flavor profile.
Essential Ingredients
To whip up a batch of Hazelnut Sourdough Cruffins, you’ll need to gather a selection of essential ingredients that meld together to create this delightful pastry.
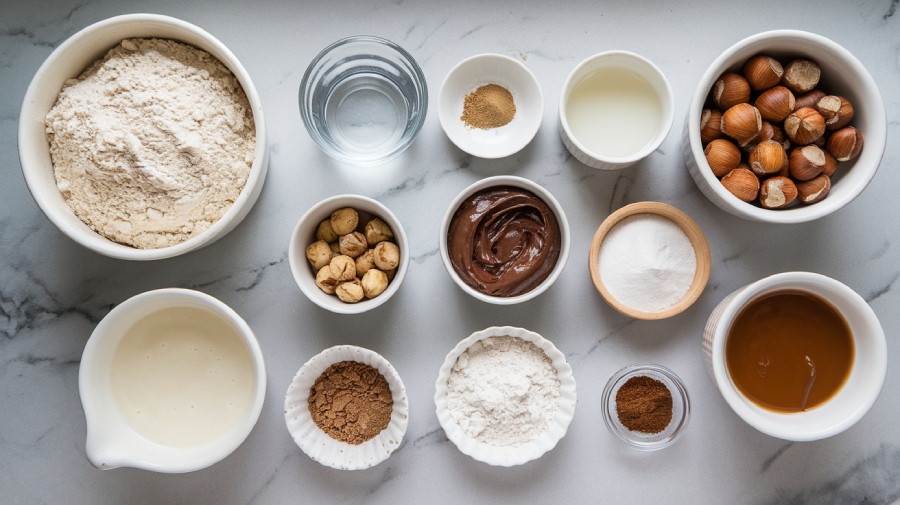
Start with 300g of bread flour, which provides that perfect chewy texture. You’ll also need 120g of levain, your sourdough starter, to give the dough a lovely depth of flavor. Sourdough cruffins are known for their unique combination of croissant and cinnamon roll textures, which is achieved through the lamination process. A healthy starter is essential for achieving desired dough rise and flavor.
Don’t forget 108g of water and 72g of milk; these liquids hydrate the flour and contribute to the dough’s richness. Mix in 42g of brown sugar for sweetness and 6g of salt to enhance all those flavors.
For the lamination process, you’ll require 144g of cold butter with a high-fat content of 82% or above—this guarantees a beautifully flaky texture.
Add 2 tablespoons of all-purpose flour to the butter mixture for stability. When it’s time to laminate, gather another 120 to 150g of unsalted butter.
Don’t skimp on 52g of roasted hazelnuts and 150g of sugar to create a heavenly hazelnut sugar topping for the filling and topping.
Optional additions like hazelnut-chocolate spread can elevate the experience. Finally, consider icing sugar, cinnamon sugar, and melted butter for that perfect finish.
Preparing the Dough
With your ingredients ready, it’s time to bring them together and prepare the dough for your Hazelnut Sourdough Cruffins. Start by combining the bread flour, levain, water, milk, brown sugar, and salt in a mixer fitted with a dough hook attachment.
Mix vigorously until the dough is uniform and pulls away from the bowl’s sides, which should take about 5-8 minutes. If the dough feels sticky, don’t hesitate to adjust with a bit more milk or flour. An ergonomic handle on your mixer can contribute to a more comfortable mixing experience.
Once mixed, cover the dough and let it rest overnight in the fridge for at least 8 hours. This cold fermentation enhances the flavor and texture, similar to how cruffins originated in Australia.
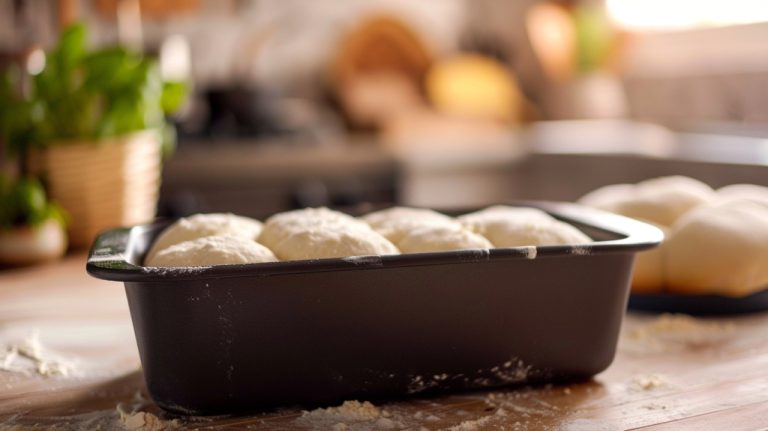
After the rest, place the dough in a greased bowl in a warm spot to allow it to bulk out by 50%. You can create a cozy environment by turning off your oven and placing a mug of boiled water inside. This step usually takes 2-3 hours, depending on the temperature.
Once risen, chill the dough for 2 hours to slow fermentation, then perform stretch and fold operations to develop its structure. Your dough is now ready for shaping!
Lamination Techniques
When you layer dough and fat through careful folding techniques, you create the magic that transforms your cruffins into flaky masterpieces. Each method—whether it’s the three-fold or the envelope—adds a unique structure that affects the final texture and taste.
Understanding these techniques is key to achieving those irresistible layers that make your hazelnut sourdough cruffins truly special. The process of creating layers through repeated folding is essential for achieving the desired flakiness in your baked goods.
Importance of Layering
Laminating dough is a transformative technique that brings pastries like cruffins to life through the magic of layering. As you roll and fold, you’re creating multiple layers of dough and fat, which are fundamental for that coveted flaky texture.
Each fold adds layers—ranging from 24 to 144 fat layers—that contribute to the delightful crispness you crave in a perfect cruffin. This process also develops gluten, strengthening your dough and enhancing its extensibility, which is critical for high-hydration doughs.
Proper lamination guarantees even tension distribution, maintaining the dough’s structural integrity during baking. Temperature control plays an important role; you’ll want your butter at around 55°F (13°C) to keep it pliable. The humidity retention created by techniques like lamination also helps achieve a crispy crust.
Folding Techniques Explained
Mastering folding techniques is essential for achieving that perfect balance of structure and flakiness in your hazelnut sourdough cruffins. Lamination is key; it builds dough strength by agitating gluten strands, resulting in a resilient framework.
When you’re ready to laminate, guarantee your dough has already undergone some initial stretching. On a lightly wetted surface, gently stretch the dough as thin as possible without tearing.
Once you’ve achieved that delicate layer, fold it back into itself, forming neat layers. This process not only incorporates any additional ingredients like nuts or chocolate but also introduces oxygen, stimulating yeast activity for a fluffier crumb.
Don’t skip the resting period after lamination; this allows the dough to relax and develop further. As a result, you’ll notice improved crust and crumb texture, making each cruffin a delightful balance of crisp and tender.
Proofing the Dough
As you begin the journey of proofing the dough for your hazelnut sourdough cruffins, it’s essential to create the right environment to encourage ideal fermentation. Aim for a proofing temperature between 22°C (70°F) and 25°C (77°F). A turned-off oven with a mug of boiled water can help maintain humidity, preventing the dough from drying out.
– Monitor your dough closely to avoid overheating, which can cause the butter to melt. Remember that maintaining optimal temperatures is crucial for effective fermentation.
For the final proofing, place the cruffins in a cool spot, covered with a damp towel to retain moisture. Remember that proofing times can vary; expect anywhere from 4 to 7 hours depending on your room temperature. Additionally, ensure that you have an active sourdough starter ready, as it is crucial for achieving an airy texture in your cruffins.
During the proofing stages, allow the dough to bulk out by about 50% before chilling it overnight. After chilling, let the shaped cruffins rise until they double in size.
Be gentle when handling the dough; this guarantees the layers remain intact and prevents butter leakage. Dust the surface with flour to avoid sticking and check the dough regularly, guiding it toward that perfect, airy texture before moving on to the exciting phase of baking.
Baking Instructions
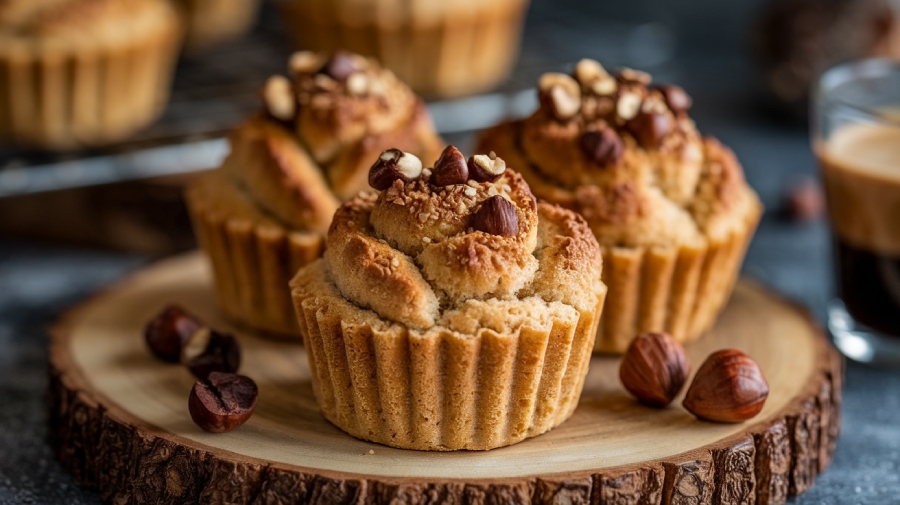
To achieve perfectly puffed and golden cruffins, start with essential dough preparation tips that set the foundation for success. Mastering the art of lamination is vital, as it creates the irresistible layers that make your cruffins truly special.
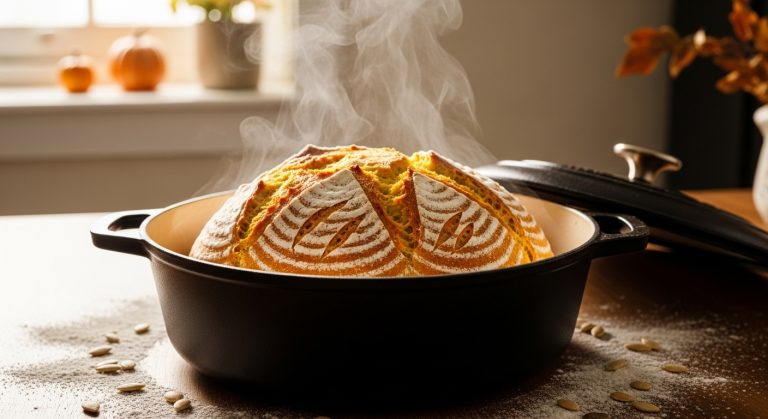
To enhance the flavor and texture, consider overnight refrigeration of the dough, a crucial technique for successful baking. Also, using a Dutch oven during baking can greatly improve the crust quality and moisture retention, ensuring your cruffins rise beautifully and develop that perfect flaky exterior.
Essential Dough Preparation Tips
Getting your dough ready is essential for achieving those beautifully layered cruffins. Mix your ingredients—bread flour, levain, water, milk, brown sugar, and salt—in a mixer with a dough hook. Knead until the dough pulls away from the bowl, which should take about 5-8 minutes.
Once that’s done, cover it and let it rest overnight in the fridge. Remember that using sourdough discard can contribute a subtle tang that complements the sweetness of your cruffins. A properly maintained starter will ensure optimal storage duration for your dough, enhancing its flavor and texture.
Here are a few key steps to keep in mind:
- Chill after rising: After the initial rise, chill the dough for 2 hours to enhance its structure.
- Stretch and fold: Perform 2-3 stretch and fold operations to develop the dough’s strength and elasticity.
- Proofing is critical: Shape your cruffins and let them rise in a warm spot until they’re puffy, which usually takes 3-4 hours.
These steps are essential in creating the soft, flaky layers that make cruffins so irresistible.
Don’t rush the process; allowing your dough to develop flavor and texture will pay off in the final bake.
Perfecting Lamination Techniques
Mastering lamination techniques is essential for achieving the flaky, tender layers that define cruffins. Start by managing your dough and butter temperatures carefully—keep your workspace between 22°C (70°F) and 25°C (77°F) to prevent the butter from melting.
Aim for a butter block temperature of 52 to 61°F (11 to 16°C) while keeping your dough slightly cooler, around 36 to 43°F (2 to 6°C). This consistency is vital for smooth lamination. Additionally, using a 100% hydration sourdough starter enhances the flavor profile of your cruffins, making them even more delicious. A bread maker with temperature control features can help maintain the ideal environment for your sourdough starter.
Prepare your butter packet by mixing cold butter with flour until it resembles whipped cream cheese. Roll this mixture into a rectangle of about 20 x 25cm (8 x 10 inches) between two sheets of baking paper and chill it. Remove the butter packet 10 minutes before you start rolling the dough to match consistency.
When you’re ready, roll the dough into a rectangle and spread the butter mixture evenly. Fold the dough over the butter neatly, sealing the edges. Perform a single book fold, using a bit of water to help seal the layers.
After folding, rest the dough in the fridge for 20 to 30 minutes to relax the gluten, setting the stage for beautiful cruffins.
Baking and Cooling Guidelines
After you’ve perfected your lamination techniques, the next step is to bring your cruffins to life in the oven.
Begin by preheating your oven to 200°C (392°F) or 190°C (375°F). Lightly grease and flour your muffin tin, ensuring a smooth release. Place the cruffin pieces cut side up into the tin and cover them with a damp towel or lightly oiled plastic wrap to let them rise.
- Bake until golden brown, about 30 minutes at 200°C (392°F).
- Try a two-temperature method: start at 400°F (200°C) for 10 minutes, then lower to 375°F (190°C) for another 15-20 minutes.
- Keep an eye on those lovely tops; if they brown too quickly, tent them with foil.
Once baked, let the muffins cool in the tin for 5 minutes before transferring them to a rack. Ensure proper layering during assembly to enhance the flaky texture of the cruffins.
Dust them with hazelnut, icing, or cinnamon sugar while they’re still warm. Serve them fresh out of the oven or at room temperature.
Finishing Touches
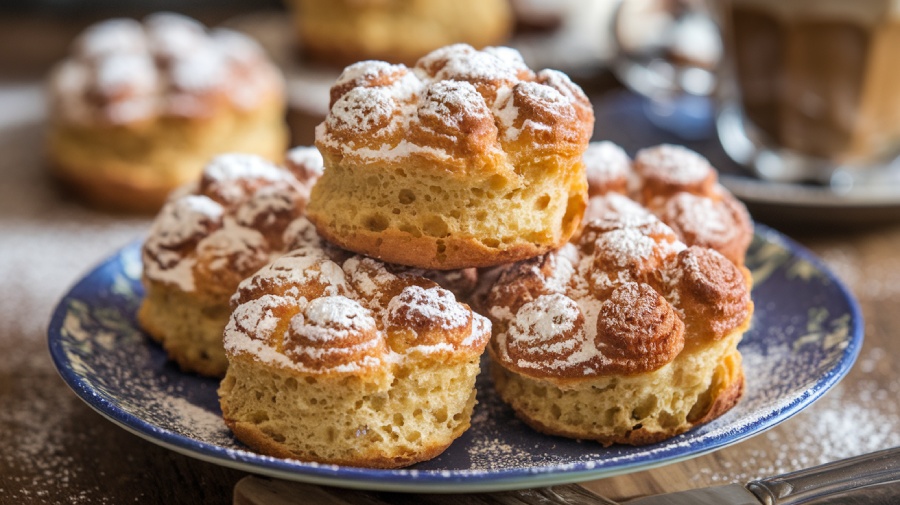
Baking the cruffins to golden perfection is just the beginning; now it’s time to elevate them with finishing touches that will tantalize the taste buds. Start by letting your cruffins cool for just five minutes before transferring them to a wire rack. While they’re still warm, you can dust them with sugar for that first layer of sweetness. The unique texture of crispy croissant exterior makes these pastries an ideal canvas for various flavorful toppings. Additionally, using sourdough discard in your cruffin recipe not only enhances flavor but also reduces food waste.
| Topping Options | Description |
|---|---|
| Hazelnut Sugar | Adds a nutty richness to each bite. |
| Cinnamon Sugar | Provides warmth and spice. |
| Icing Sugar | A classic finish for sweetness. |
| Melted Butter Glaze | Enhances flavor and gives shine. |
After the initial dusting, try brushing the tops with melted butter before dredging them in cinnamon sugar for a decadent touch. If you want to take it a step further, consider a glaze or additional garnish to make them visually irresistible.
Serving Suggestions
When you pull those warm, flaky hazelnut sourdough cruffins from the oven, you’ll want to serve them right away to savor their exquisite texture and flavor. The layers are best enjoyed fresh, offering a delightful crispiness that’s hard to resist.
Whether you’re hosting a brunch or looking for a sweet snack, these cruffins elevate any occasion.
Consider these serving suggestions:
- Pair with Coffee or Tea: The nutty flavor complements your favorite brew, creating a delightful breakfast or afternoon snack.
- Add a Dusting: A sprinkle of powdered sugar or a drizzle of caramel enhances their visual appeal and flavor, making them even more irresistible.
- Serve Warm or Room Temperature: Enjoy them straight from the oven or let them cool slightly for a different but equally delicious experience.
If you need to serve them later, store your cruffins in an airtight container for up to three days.
Frequently Asked Questions
Can I Substitute All-Purpose Flour for Bread Flour?
Can you really achieve the same texture and rise using all-purpose flour instead of bread flour?
While you can substitute it, expect a softer, less chewy result.
Bread flour’s higher protein content creates a stronger gluten network, essential for capturing those delightful air bubbles.
If you do swap, remember to reduce your water by 15-30 grams to avoid a sticky mess.
Ultimately, your baked goods’ texture will reflect your flour choice.
How Do I Know if My Levain Is Active?
To know if your levain’s active, look for key signs. It should double in volume and have bubbles throughout, indicating fermentation.
A ripe aroma will greet you, and when you perform the float test, it should gracefully float in water.
Check for a rounded top and a looser consistency, as well as the absence of hooch.
If it’s risen and just starting to fall, you’ve hit the sweet spot for use!
What Can I Use Instead of Hazelnuts?
If you’re looking to replace hazelnuts, consider almonds for a similar nutty flavor and crunch.
Pecans bring a rich, buttery taste, while walnuts offer an earthy robustness.
For a milder option, pistachios add a hint of sweetness and a pop of color.
If you prefer seeds, sunflower or pumpkin seeds provide delightful textures and flavors.
Embrace these alternatives, and you’ll discover exciting new dimensions in your dishes, enhancing both taste and experience.
How Can I Store Leftover Cruffins?
To store leftover cruffins, place them in an airtight container at room temperature for up to two days.
For longer freshness, refrigerate them in a sealed bag for up to five days.
If you’re freezing, wrap each cruffin tightly in plastic wrap, then store in a freezer-safe bag for up to three months.
When you’re ready to enjoy, thaw them at room temperature, and consider reheating for that freshly baked taste!
Can I Freeze the Cruffins After Baking?
Imagine a treasure chest full of delectable delights. Yes, you can freeze those cruffins after baking!
Let them cool completely and wrap each one in plastic wrap, sealing in their magic.
Please place them in a freezer-safe bag to shield against icy winds. They’ll stay fresh for 1-3 months at 0°F or lower.
When you’re ready to enjoy, thaw and reheat, restoring their flaky, buttery charm!
A Flaky Golden Layers of Hazelnut Bliss
As you take a bite of your freshly baked hazelnut sourdough cruffins, can you imagine the satisfying crunch giving way to a soft, nutty interior? Each layer, perfectly laminated, showcases your hard work and dedication.
The rich aroma fills your kitchen, inviting everyone to indulge in this delicious treat. With a sprinkle of powdered sugar or a drizzle of chocolate, you’ve created a masterpiece that not only delights the palate but also warms the heart. Enjoy every crumb.

