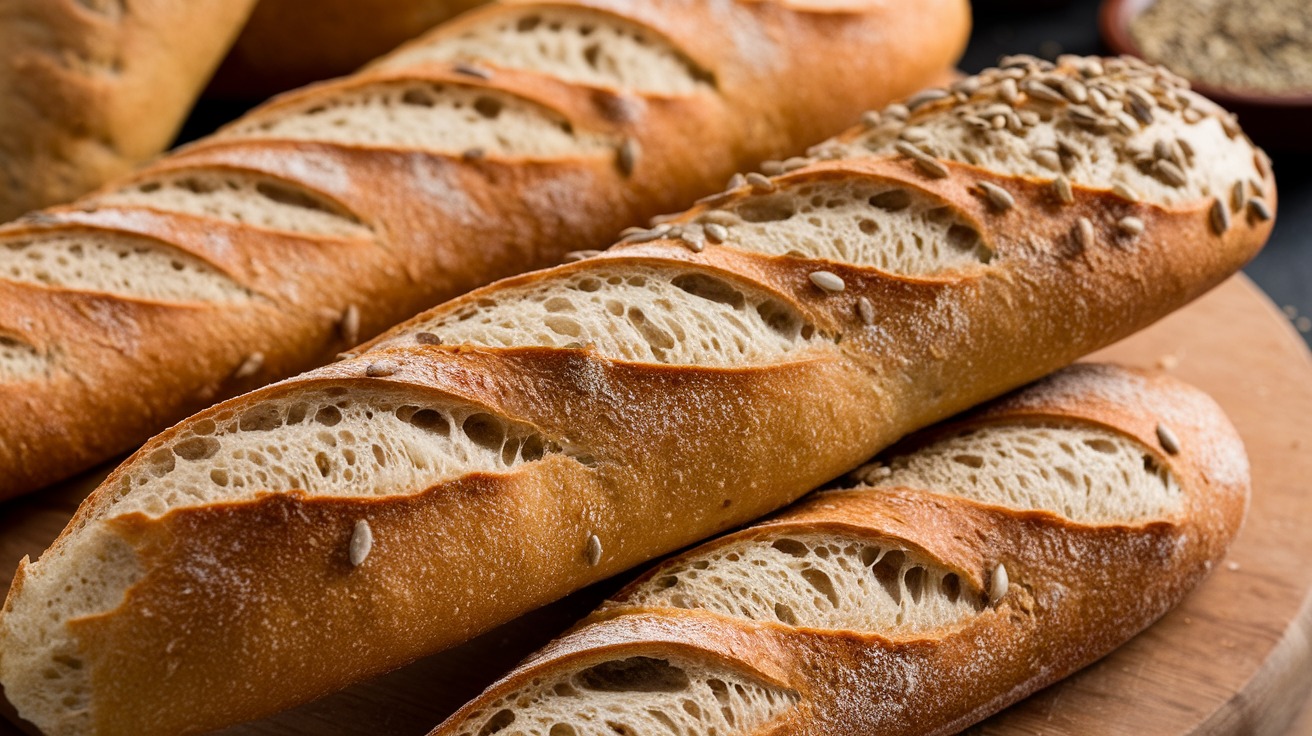
Easy Sourdough Baguette Recipe: Irresistible Crust, Soft Interior
You can effortlessly create delicious sourdough baguettes at home with this easy recipe. Mix 500g of high-protein bread flour, 340g of filtered water, 100g of active sourdough starter, and 12g of unrefined sea salt.
Allow the dough to rest and rise for about 5 hours or overnight, developing complex flavors. Shape your dough into long, tapered baguettes and let them proof until puffy.
Bake at 450°F for 20-25 minutes, creating a crispy crust. Your kitchen will fill with enticing aromas, and soon, you’ll savor your homemade baguettes. Stick around for tips to perfect your baking.
Key Takeaways
- Use 500g of high-protein bread flour, 340g of filtered water, 100g of active sourdough starter, and 12g of salt for the dough.
- Allow for an autolyse process of 30 minutes to hydrate flour before adding salt and starter.
- Conduct 4-6 sets of stretch and folds during a 2-hour bulk fermentation for gluten strength.
- Shape baguettes into 12-14 inch lengths and proof until puffy, about 1.5 to 2 hours.
- Bake at 450°F (232°C) with steam for 20-25 minutes for a crispy crust.
Ingredients for Sourdough Baguettes
When crafting your sourdough baguettes, you’ll need to gather a few key ingredients that form the backbone of this delicious bread.
First, you’ll want 500g of high-protein bread flour. This type of flour guarantees ideal gluten development, giving your baguettes that perfect texture and structure. Utilizing a KitchenAid mixer can streamline the mixing and kneading process, making it easier to achieve the desired dough consistency.
Next up is 340g of filtered water; using clean water is vital for a successful fermentation process, enhancing the overall flavor of your bread.
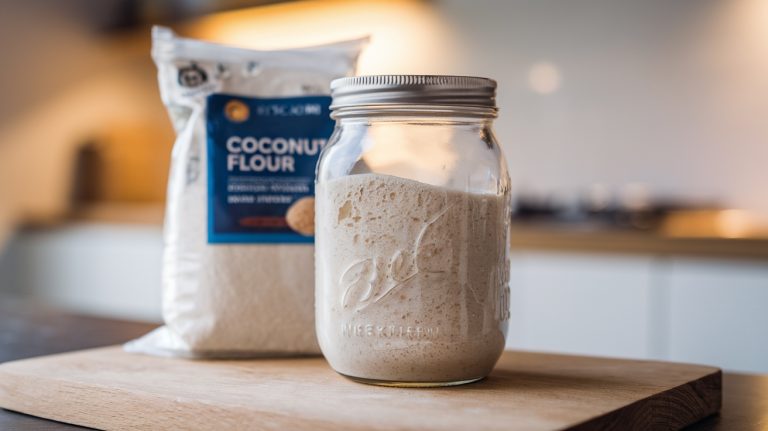
Don’t forget your 100g of active sourdough starter, which is the heart of your baguette. This living culture provides the necessary wild yeast and bacteria for a delightful rise and tangy flavor.
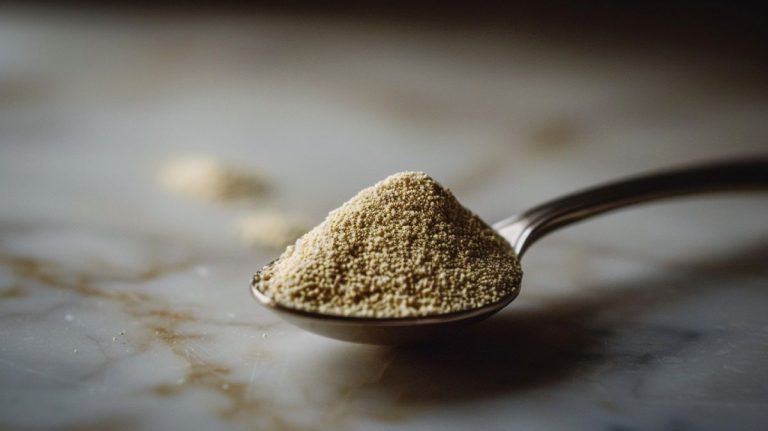
Finally, add 12g of sea salt—preferably unrefined. Sea salt not only elevates the taste but also contributes essential trace minerals during the baking process.
While these four ingredients are fundamental, consider adding optional herbs or seeds for unique flavor variations. However, for the classic sourdough baguette, stick to these core components.
Dough Preparation Steps
To create the perfect sourdough baguette, you’ll want to start with an active sourdough starter, as its bubbly nature is essential for a great rise.
A fed starter is especially important for achieving consistent fermentation and better rise in your dough.
Once you combine the flour and water in the autolyse process, you’ll give the dough a chance to hydrate and develop gluten, setting the stage for that signature texture.
Active Sourdough Starter Importance
An active sourdough starter is vital for creating a light and airy baguette, as it not only provides the necessary leavening but also infuses the bread with complex flavors.
To confirm your starter is ready, look for a bubbly texture and a mild aroma. Feeding your active sourdough starter multiple times before baking is essential, as this boosts its fermentation power.
Regular maintenance of your starter, including incorporating sourdough starter creation techniques, can enhance its performance. Allow the starter to rest at room temperature for 4 to 12 hours prior to mixing it into your dough. This resting period maximizes its fermentation potential, resulting in a more flavorful baguette.
The ideal hydration level for your dough should be around 70%. This higher hydration helps achieve a softer texture and better oven spring, giving your baguette that coveted crust and airy crumb.
Autolyse Process Explained
The autolyse process is a game changer in sourdough baguette preparation, setting the stage for a beautifully textured loaf. By mixing flour and water first, you’re allowing the flour to fully hydrate, which is vital for developing the dough’s extensibility and elasticity. This step typically lasts about 30 minutes to an hour, during which enzymes in the flour break down starches into sugars and proteins into gluten.
Maintaining an ideal dough temperature during this process, as discussed in temperature management in fermentation, can further enhance the fermentation outcomes.
By skipping the salt and sourdough starter in this initial mixing, you’ll find that the dough becomes more manageable and requires less kneading. As the dough rests, you’ll notice its texture transforming from shaggy to smoother—this is the hydration working its magic.
This transformation is essential for improving your baguette’s final structure and flavor.
Dough Development Techniques
Building on the foundation laid during the autolyse process, dough development techniques are essential for achieving that ideal sourdough baguette. Start by incorporating 20-25 stretch and folds during the bulk fermentation phase, as this method is versatile and effective for all dough types, including those with lower hydration.
This technique strengthens the gluten structure, giving the dough a smooth, elastic texture that’s vital for a great baguette while also encouraging an open crumb structure.
As you perform each stretch and fold, gently pull one side of the dough up and over itself, rotating the bowl to work through the entire mass. Aim to conduct 4-6 sets of these stretches within a 2-hour bulk fermentation period, allowing the dough to rise just under double its original size.
After forming the dough into a ball, let it rest for about 30 minutes. This resting period promotes gluten relaxation, making it easier to handle later on.
Shaping the Baguettes
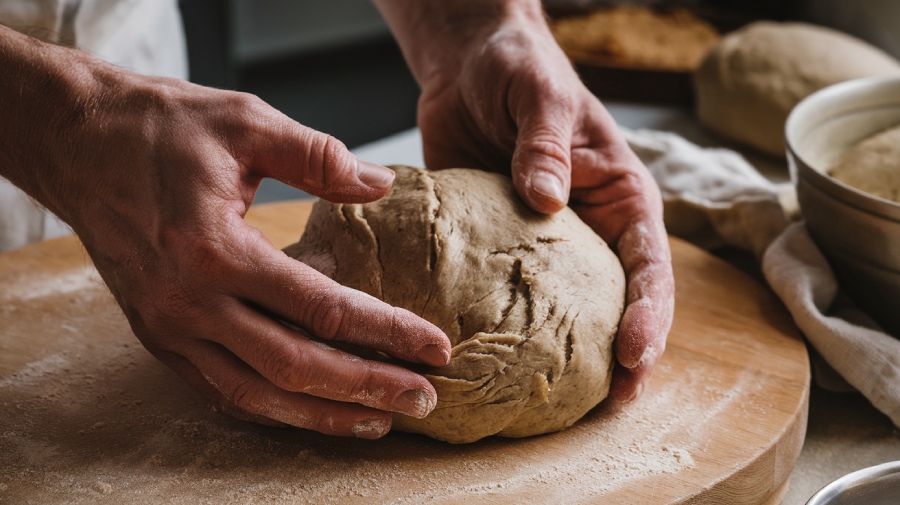
Shaping baguettes is an art that combines technique and finesse, transforming simple dough into beautifully formed loaves. To start, divide your dough into portions weighing between 175g to 200g. Pre-shape each portion into a round and let them rest for 30 minutes; this relaxation allows the gluten to unwind.
Next, it’s time to stretch the dough. Flatten each round into a rectangle, folding the edges toward the center to create tension. Then, roll the dough into a cylinder shape. As you shape your baguettes, use counter tension by gently pulling the dough toward you. This method helps guarantee the ends are tapered, giving your baguettes that classic look.
Remember these key tips for perfect shaping:
- Pinch seams firmly and tuck them under the baguette.
- Aim for a length of about 12-14 inches for ideal baking.
- Always work with a light touch to avoid degassing.
- Keep the seam side down during the resting phase.
Proofing Techniques
After shaping your baguettes, proofing is the next key step that brings your dough to life. This vital phase allows the dough to ferment, developing both flavor and structure.
You’ll want to let your baguettes rest in a warm environment for about 1.5 to 2 hours. During this time, it’s important to cover the dough with a kitchen towel to prevent drafts and maintain moisture, ensuring an ideal rise.
If you’re looking to enhance the flavor even further, consider cold fermentation in the refrigerator for 12 to 36 hours. Just remember to cover them adequately to avoid drying out.
As the dough proofs, keep an eye on its progress; it should feel puffy and nearly double in size before you bake.
Adjust your proofing times based on your kitchen’s temperature—warmer spaces may require shorter proofing, while cooler areas might need a bit longer.
Baking Instructions
Once your baguettes have finished proofing, it’s time to bring them to life in the oven. Preheat your oven to 450°F (232°C) and place a baking stone or cast iron pan inside. This step guarantees even heat distribution, which is essential for achieving that perfect crispy crust.
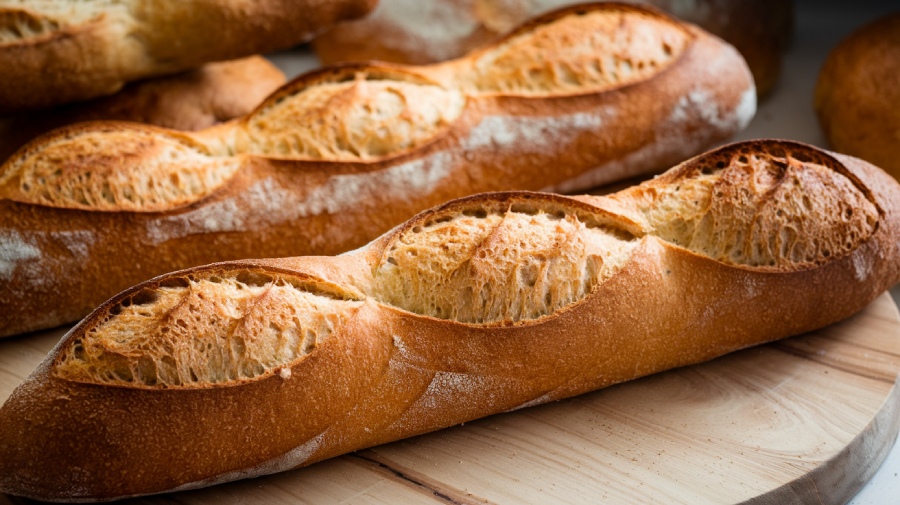
Just before baking, score the tops of your shaped baguettes with a sharp blade. This allows steam to escape and promotes proper oven spring, giving your baguettes that lovely rise.
To create a steamy environment in your oven, consider the following:
- Place a pan of boiling water on the bottom rack.
- Spray water onto the oven walls just before closing the door.
- Rotate your baguettes halfway through baking for an even golden brown color.
- Bake for 20-25 minutes, keeping an eye out for that irresistible crispy crust.
Once they’re beautifully browned, allow the baked baguettes to cool on a wire rack. This prevents a soggy bottom and maintains that delightful crunch.
Troubleshooting Common Issues
When your sourdough baguettes don’t turn out as expected, it can be frustrating.
Luckily, addressing issues like density, shape, and crust texture is often straightforward with a few adjustments.
Let’s explore some practical solutions to guarantee your baguettes rise beautifully and have that perfect crispy crust.
Dense Baguettes Solutions
Struggling with dense baguettes can be frustrating, but understanding the common pitfalls can lead to delicious results. A few key factors can contribute to that heavy texture, and addressing them will help you achieve that light, airy loaf you desire.
- Insufficient fermentation: Verify your dough rises just under double during the bulk fermentation phase, which should last about 5 hours at 21°C/70°F.
- Under-proofing: Aim for a room temperature proofing period of 1.5 to 2 hours, or try cold fermentation for 12 to 36 hours to enhance dough structure and flavor.
- Stretch and fold techniques: If your dough feels heavy before baking, it might indicate inadequate gluten development. Perform 4-6 sets of stretch and fold within the first 2 hours of bulk fermentation.
- Weak sourdough starter: Confirm your starter is bubbly and well-fed before use to maximize its leavening power.
To achieve that coveted crispy crust, don’t forget to increase steam in the oven by placing a pan of boiling water on the lowest rack. This will help create a better oven spring and prevent a dense crust, transforming your baking experience.
Misshapen Baguettes Fixes
Achieving perfectly shaped baguettes can be a challenge, but with the right techniques, you can transform your baking results. One common culprit behind misshapen sourdough baguettes is poor shaping. When shaping sourdough, practice rolling and tucking the edges gently to create a uniform cylinder. This guarantees that your baguettes hold their shape during proofing and baking.
Another important factor is seam management. Make sure the seams are properly joined during shaping; otherwise, the dough might open up or spread too much in the oven. If your dough feels sticky and hard to handle, don’t hesitate to dust your work surface and hands with flour. This will give you better control while shaping.
Lastly, keep an eye on your dough’s proofing stage. Under-proofed dough can lead to disappointing shapes, so verify your dough has risen adequately and feels puffy before you bake it.
If you still find your baguettes misshapen, use a sharp blade to score the tops. This technique allows for better expansion during baking, giving you a more controlled and appealing shape.
Crust Texture Improvements
To create a crispy, mouthwatering crust on your sourdough baguettes, it’s vital to master a few key techniques. The right balance of steam and hydration is essential for achieving that perfect texture.
Start by ensuring sufficient steam in your oven; use a pan of boiling water during the initial baking phase. This steam helps develop a gorgeous crust while the interior remains soft.
Here are some tips to enhance your crust texture:
- Bake at 450°F (232°C) for the first 20 minutes, then reduce to 410°F (210°C) for the remainder.
- Experiment with hydration levels; aim for a dough hydration of around 70% or more for a thinner, crisper crust.
- If your crust turns out too hard, consider reducing the overall baking time or lowering the temperature slightly.
- Always cool your baguettes completely on a wire rack post-baking to prevent steam from softening the crust.
Frequently Asked Questions
How Long Does Sourdough Starter Take to Become Active?
It usually takes about 5 to 7 days to get your sourdough starter active and bubbly.
You’ll need to feed it regularly with equal parts flour and water. During this time, you’ll notice it rising and developing a tangy aroma.
Make sure to keep it warm, as that helps the wild yeast grow.
Once it doubles in size within a few hours of feeding, you’ll know it’s ready for baking!
Can I Use Whole Wheat Flour Instead of All-Purpose Flour?
Yes, you can use whole wheat flour instead of all-purpose flour!
It’ll give your bread a nuttier flavor and denser texture. Just remember that whole wheat absorbs more water, so you might need to adjust your hydration levels.
Start by replacing half of the all-purpose flour with whole wheat and see how it turns out.
You’ll enjoy experimenting with the flavors and textures that whole wheat brings to your baking!
What Is the Ideal Temperature for Proofing Baguettes?
Imagine the warm, inviting aroma of freshly baked bread filling your kitchen.
For proofing baguettes, the ideal temperature sits between 75°F to 85°F (24°C to 29°C). This cozy range encourages the yeast to thrive, creating that perfect airy texture.
If it’s too cold, your dough may struggle to rise; too hot, and you risk over-proofing.
Keep your dough snug, and watch it transform into a beautiful loaf that’s sure to delight!
How Do I Store Leftover Baguettes?
To store leftover baguettes, you’ll want to keep them fresh and crusty.
Wrap them in a clean kitchen towel to maintain their texture, and place them in a paper bag. Avoid plastic, as it can make the crust soggy.
If you need to store them longer, freeze the wrapped baguette.
When you’re ready to enjoy it again, simply reheat it in the oven for that fresh-out-of-the-bakery taste.
Enjoy every bite!
Can I Freeze the Shaped Dough Before Baking?
Absolutely, you can freeze-shaped dough before baking!
To prevent freezer burn, wrap it tightly in plastic wrap or place it in an airtight container.
When you’re ready to bake, take the dough out and let it thaw in the fridge overnight.
Once it’s at room temperature, allow it to be proofed for a bit before baking.
This way, you’ll have fresh bread whenever you want!
Your Kitchen’s New Favorite
In the end, your sourdough baguettes will rise like the sun, filling your kitchen with warmth and inviting aromas. With each golden crust and soft interior, you’ll taste the fruits of your labor—a delicious reminder that baking is both an art and a science.
So, embrace the process, learn from your missteps, and savor every bite. Soon, you’ll be sharing your creations with friends and family, transforming ordinary moments into cherished memories, one baguette at a time.

