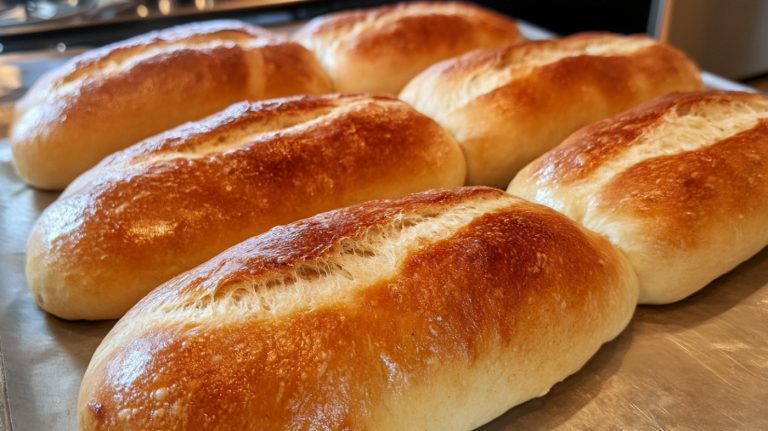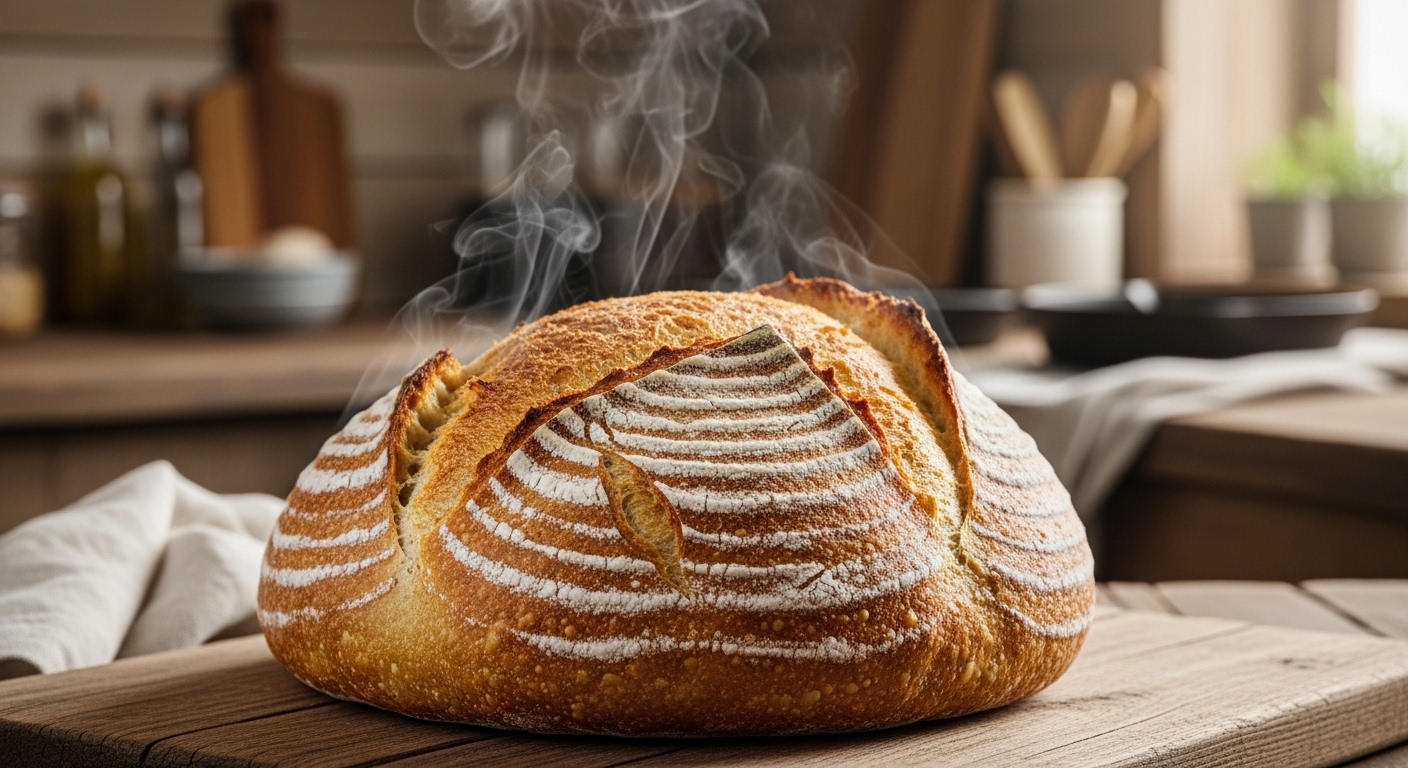
Foolproof Sourdough Bread Recipe for Beginners
To bake foolproof sourdough bread, maintain a healthy starter by feeding equal parts whole wheat flour and filtered warm water daily at consistent temperatures (70–75°F).
Mix flours with 65–75% hydration, autolyse, then add your active levain and salt. Strengthen gluten using multiple stretch-and-folds during bulk fermentation until the dough doubles and feels jiggly.
Shape gently, proof in a floured basket, score with sharp slashes, and bake in a hot, covered Dutch oven.
Following precise steps guarantees consistent results; mastering these fundamentals unlocks deeper sourdough expertise.
Key Takeaways
- Feed your sourdough starter daily with equal parts whole wheat flour and filtered water at consistent warm temperatures for active fermentation.
- Perform an autolyse by mixing flour and water before adding levain and salt to improve gluten development and dough extensibility.
- Use stretch and fold techniques every 10–30 minutes during bulk fermentation to strengthen gluten without tearing the dough.
- Shape dough gently to preserve gas bubbles, proof seam side up in a floured basket at 80°F, and score deeply just before baking.
- Bake in a preheated Dutch oven at 450–500°F with steam, then uncover to achieve a crisp crust and 205–210°F internal crumb temperature.
Foolproof Sourdough Recipe at a Glance
| Ingredient | Quantity | Notes / Purpose |
|---|---|---|
| Bread Flour | 400g (80%) | Medium protein (11–12.7%) for strong gluten |
| Whole Wheat Flour | 100g (20%) | Adds flavor, nutrition, and fermentation activity |
| Water | 325–375g (65–75%) | Filtered, warm (75–80°F) for optimal hydration |
| Levain (Starter) | 100g (20%) | Active & bubbly, 100% hydration |
| Sea Salt | 10g (2%) | Strengthens gluten, enhances flavor |
| Proofing Basket | 1 | For shaping and maintaining loaf structure |
| Dutch Oven or Baking Pot | 1 | Traps steam for oven spring and crispy crust |
Preparing and Maintaining Your Sourdough Starter
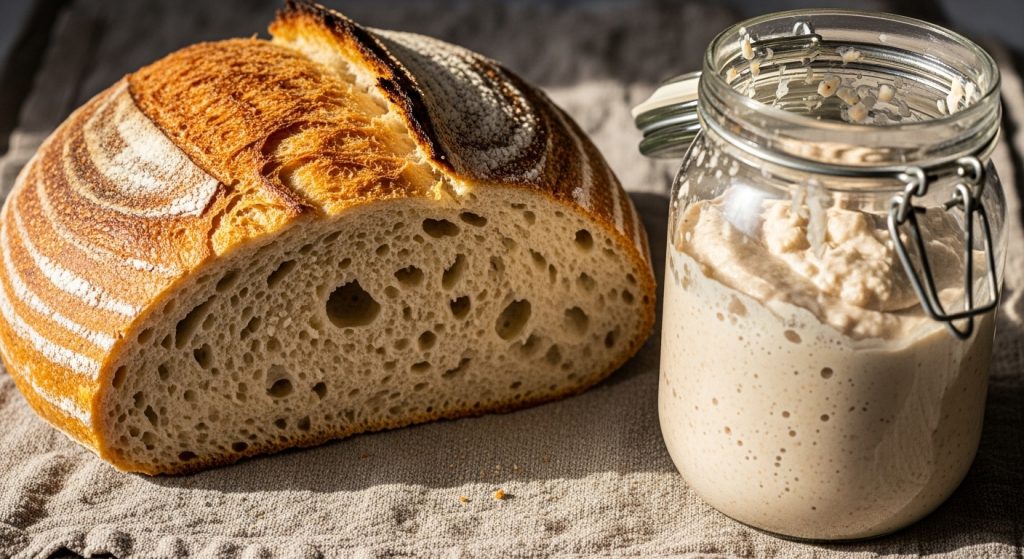
Although starting a sourdough starter requires patience, you can establish a stable culture by consistently feeding it at the same time each day, ideally in the morning. This regular feeding supports the dynamic microbial ecosystem necessary for a healthy starter.
Begin by mixing equal weights of whole wheat flour and filtered, chlorine-free warm water to create a thick, batter-like consistency. Using whole grain flour enhances flavor complexity and supports diverse microbial growth.
Use a clear wide-mouth jar covered with breathable cloth to allow airflow while preventing contamination. Make sure to keep utensils and containers clean to avoid mold and spoilage.
Maintain ambient temperature around 70–75°F to optimize fermentation. Temperature affects fermentation speed, so a consistent warm environment is important.
Stir the starter occasionally during feeding to introduce oxygen, supporting yeast and bacterial growth.
Employ the “discard and feed” method by removing half the starter before adding equal weights of flour and water.
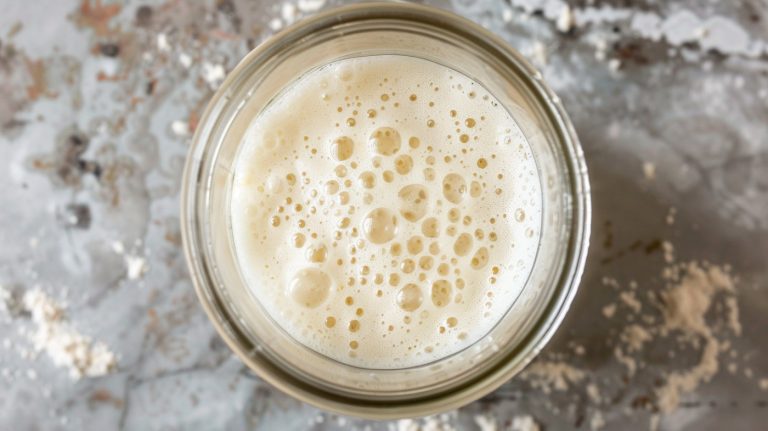
Monitor bubbles and volume doubling as indicators of activity.
This precise routine guarantees a robust, predictable starter essential for successful sourdough bread.
Essential Ingredients for Perfect Sourdough
When you select ingredients for sourdough bread, precision and quality directly influence fermentation performance and final texture. Choose medium-protein bread flour (11–12.7%) for excellent gluten structure.
Adding 5–15% whole wheat flour can enhance flavor and microbial activity. Sourdough bread is known for its tangy flavor and chewy texture, which are developed through the natural fermentation process.
Weigh flours accurately using digital scales to guarantee consistent hydration. Typically, hydration should be between 65% and 75%. Adjust water quantity incrementally to balance dough softness and structural integrity. Use filtered, warm water (20–26°C) to maximize yeast and bacteria activity.
Incorporate fine sea salt at 1.5%–2.5% of flour weight after initial mixing. This regulates fermentation rate, strengthens gluten, and enhances flavor complexity.
Add an active levain—often at 100% hydration with mixed flours—to control fermentation vigor and sourness.
Avoid additives; focus on these essentials to achieve reliable fermentation and ideal crumb texture.
Mixing and Hydrating the Dough
Selecting the right ingredients sets the foundation, but mastering the mixing and hydration process shapes your sourdough’s final texture and structure.
Begin by combining flour and most of the water to form a shaggy dough, ensuring no dry flour remains. Performing stretches and folds during this stage helps distribute gas and strengthen the dough’s structure.
Autolyse—resting this mixture 20-60 minutes—hydrates flour fully and activates enzymes, improving extensibility and fermentation.
After autolyse, add starter and salt to avoid inhibiting enzymatic action.
Adjust hydration carefully: whole grain flours absorb more water, so increase hydration accordingly.
Use gradual water addition (bassinage) to fine-tune dough consistency.
Aim for a dough that’s smooth, supple, and slightly tacky.
For high hydration doughs, manage stickiness with wet hands and tools.
Control water temperature to maintain ideal dough temperature, balancing ambient conditions that influence fermentation rates.
Maintaining water temperature between 75-80°F helps ensure the dough reaches the optimal temperature range for fermentation. This temperature control is crucial for optimizing yeast and bacteria activity during bulk fermentation.
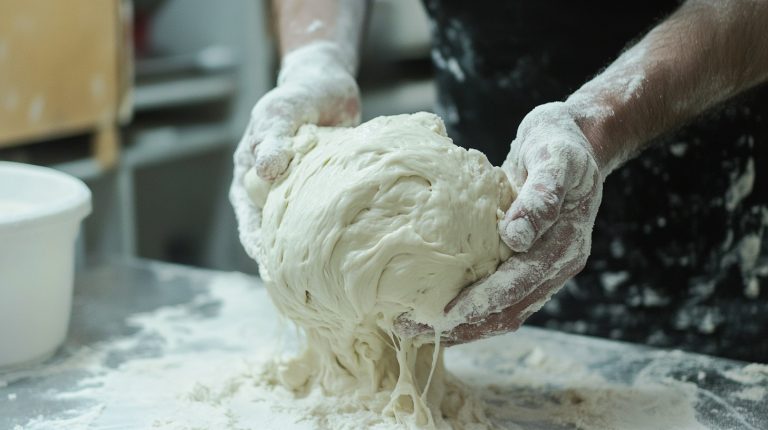
Mastering Stretch and Fold Techniques
Since kneading can be too aggressive for sourdough’s delicate gluten network, you’ll use the stretch and fold technique to develop gluten gently while preserving gas retention.
Wet your fingertips to prevent sticking, then grab a dough segment away from you, stretch it upward or outward without tearing, and fold it back over the dough.
Rotate the bowl 90° or 180°, repeating this fold 3–4 times per set, covering all sides. Tearing of the dough indicates a need for more resting time, especially with high-hydration doughs.
Perform 2–4 sets spaced 10–30 minutes apart during bulk fermentation.
Choose a vigorous or gentle approach based on dough strength and hydration.
This method enhances elasticity, aligns gluten strands, and traps fermentation gases, producing volume and an open crumb.
Expect the dough to tighten and become more jiggly after multiple sets, signaling successful gluten development.
Understanding Bulk Fermentation
Although it might seem like a passive waiting period, bulk fermentation actively transforms your dough by allowing yeast and bacteria to metabolize flour components, producing carbon dioxide and organic acids essential for dough rise and flavor development.
This phase begins after mixing and lasts until you divide and preshape the dough. It is the fourth step in making sourdough bread and a crucial time to further strengthen the dough through stretching and folding. Freezing sourdough after proper fermentation can preserve its unique flavor and texture, enhancing its resistant starch content.
Proper bulk fermentation yields a smooth, aerated dough with well-developed gluten and acidity.
Key points to monitor include:
- Dough volume doubling due to CO₂ production.
- Surface smoothness indicating gluten network strength.
- Presence of gas bubbles signaling active fermentation.
- Dough elasticity assessed during stretch and folds to avoid over or under fermentation.
Shaping and Proofing the Dough
Once bulk fermentation has developed your dough’s gluten network and gas retention, shaping and proofing refine its structure and prepare it for baking.
Shape the dough when it’s risen and puffed, showing bubbles and a gentle jiggle but not necessarily doubled. These visual cues, such as the dough doming down, indicate readiness for shaping.
Shape the dough once it’s puffed with bubbles and a gentle jiggle, even if it hasn’t doubled yet
Flip it onto a lightly floured surface, then use your hands to pull edges toward the center, creating surface tension without over-flouring. Proper kneading and resting are essential to develop the gluten structure that contributes to texture and flavor.
Employ circular cupping motions to tighten the skin while preserving gas bubbles.
After shaping, let the dough rest 5–10 minutes for gluten relaxation, then proof it seam side up in a floured basket covered to maintain humidity and shape.
Maintain warmth and humidity during proofing to encourage steady rise and oven spring.
Handle the dough gently throughout to avoid deflation and tearing.
Scoring Techniques for Beautiful Loaves
When you score your sourdough loaf just before baking, you control how the bread expands in the oven, ensuring both structural integrity and an appealing appearance. Use a sharp bread lame or razor blade on cold, floured dough for clean cuts.
Score immediately before baking to prevent unwanted dough expansion. Maintain cut depth: about 1/2 inch for expansion scores and 1/4 inch for artistic patterns. The fermentation temperature should ideally be around 80°F for optimal rise to ensure the dough is ready for scoring and baking.
Key scoring techniques:
- Employ quick, confident slashes to avoid ragged edges, especially on high-hydration dough.
- Combine deep expansion scores with shallow artistic ones for controlled oven spring and aesthetics.
- Dust flour and consider faint guidelines to enhance pattern precision.
- Gently lift cut edges to encourage loaf bloom and accentuate patterns.
Baking Your Sourdough to Perfection
To achieve ideal crust development and oven spring, you’ll need to preheat your oven to between 450 and 500°F (230-260°C), depending on your recipe. Preheat a Dutch oven or cast iron pot inside the oven for 30-60 minutes to trap steam.
Bake covered for 15-20 minutes at high temperature to create a humid environment, then remove the lid and continue baking uncovered at 400-450°F for 20-40 minutes. Using a baking stone or tile with a tray of boiling water underneath can improve oven spring by providing better steam.
Monitor internal temperature closely, targeting 205-210°F (96-98°C) to ensure doneness.
For a crisper crust, crack the oven door in the last 10 minutes or bake directly on the oven rack.
Finally, cool your loaf on a wire rack for at least 1-2 hours to stabilize crumb structure and retain crust crispness.
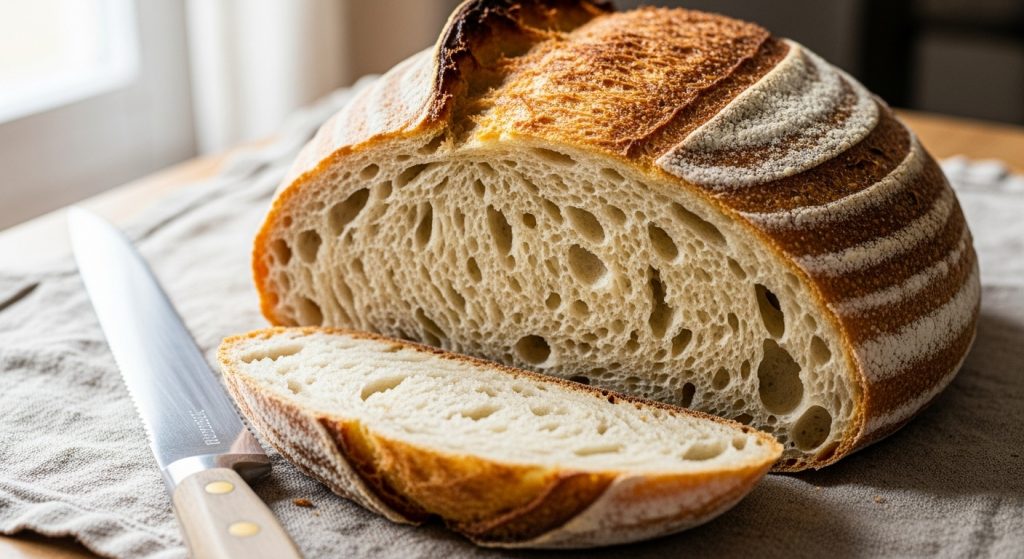
Tips for Storing and Serving Your Bread
You’ll want to store your sourdough in a breathable cloth at room temperature to maintain crust integrity and crumb moisture for up to five days. This method helps preserve the bread’s artisan qualities and enhances the eating experience.
Avoid refrigeration, as it can accelerate staling due to cold. If the bread starts to stale, lightly mist the crust and reheat at 300°F to restore freshness without compromising texture. When serving, slice just before use with a serrated knife and pair with complementary toppings to highlight sourdough’s distinctive tang.
Proper Bread Storage
How can you preserve the freshness and texture of your sourdough bread after baking? Proper storage is key. Keep your bread at 60-70°F (15-21°C), avoiding direct sunlight to prevent moisture loss. Sourdough bread’s natural fermentation process contributes to its longer shelf life compared to other bread types.
Never refrigerate—it accelerates staling. Use breathable materials like linen or cotton bags to maintain crust texture and airflow, or a bread box for moderate ventilation.
- Store unsliced loaves cut-side down on a wooden board, covered loosely, for up to 48 hours. The natural acidity in sourdough helps discourage bacterial growth, making it more resilient to spoilage when stored properly in breathable conditions.
- Avoid sealing warm bread in plastic to prevent condensation and sogginess.
- For short-term storage, use brown paper bags or cloth wraps to balance moisture and air.
- Freeze sliced bread tightly wrapped if you won’t consume it within 3-5 days, thawing wrapped at room temperature.
These precise methods maintain ideal crumb moisture and crust quality.
Reviving Stale Loaves
Maintaining proper storage slows staling, but even the best-kept sourdough loaves eventually lose their freshness and texture. To revive a stale loaf, reheat it in an oven preheated to 180°C–200°C. Using a preheated Dutch oven can enhance heat retention during this process.
Splash water on the crust to restore moisture, then bake smaller loaves for 5–8 minutes and larger ones for 12–15 minutes. Aim for an internal temperature of 60°C to *release* trapped moisture and soften the crumb. This reheating process works because staling is mainly due to starch retrogradation, not moisture loss.
Introducing steam by placing water trays or misting the oven prevents a hard crust and promotes a glossy finish. Alternatively, wrap the bread in a damp towel and microwave for about 10 seconds for a quick, temporary softening, but avoid overheating to prevent drying.
These methods reverse starch retrogradation, effectively *rejuvenating* stale sourdough.
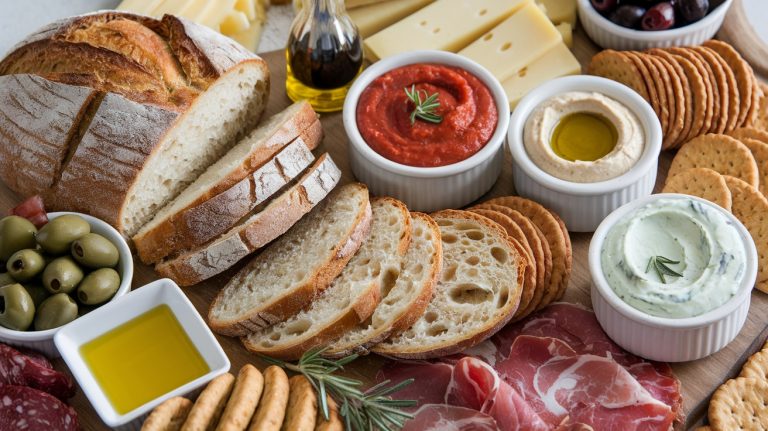
Ideal Serving Suggestions
When should you serve sourdough bread to maximize its flavor and texture? Serve it warm or lightly toasted to enhance its crunchy crust and release aromatic compounds.
Proper storage is essential to maintain quality. Follow these key steps:
- Cool completely before storing to prevent moisture buildup and mold.
- Store at room temperature in a paper bag or bread box to retain crust crispness. This also makes it ideal for creating bread bowls which are perfect for serving soups and stews. Using a cast iron skillet can also add a delightful crispness to warmed bread.
- Wrap in a clean kitchen towel or linen bag to preserve texture without trapping moisture.
- For long-term storage, slice and freeze in airtight bags; toast slices directly from frozen.
Pair sourdough with warm soups—like tomato or split pea—or use as a base for savory spreads such as pesto or cream cheese topped with fresh vegetables for ideal taste and presentation.
Frequently Asked Questions
Can I Use Whole Wheat Flour Instead of All-Purpose Flour in My Starter?
You can definitely use whole wheat flour instead of all-purpose flour in your starter. Whole wheat flour provides more nutrients and microorganisms, boosting yeast and bacterial activity for faster fermentation.
However, expect quicker rises and denser texture due to bran cutting gluten strands. You’ll need to increase hydration and handle the dough gently.
Monitor fermentation closely to avoid overproofing, as whole wheat starters peak earlier and more vigorously than all-purpose ones.
How Do Altitude and Humidity Affect Sourdough Fermentation Times?
Imagine your dough rising like a balloon in thinning mountain air—at higher altitudes, lower pressure makes gas bubbles expand faster, speeding fermentation and shortening proofing times.
Dry, crisp air steals moisture, so you’ll need to add more water to maintain dough texture.
To keep control, reduce starter amounts, use colder water, and consider extra folds.
These precise tweaks balance faster yeast activity with hydration loss, ensuring consistent, well-timed fermentation.
What Are Signs My Starter Has Gone Bad and Needs Replacing?
You’ll know your starter has gone bad if you see pink, orange, green, blue, black, or fuzzy mold on it or the jar—discard immediately.
A foul smell like rotten meat, vomit, or garbage signals spoilage.
If it shows no bubbles, rise, or fermentation signs after multiple feedings at warm temperatures, it’s dead.
Exposure to heat above 120°F also kills your starter.
Don’t risk baking with a compromised culture.
Can I Substitute a Dutch Oven With Another Baking Vessel?
You can substitute a Dutch oven with alternatives like cast iron bread pans, baking shells, aluminized steel pans, or enamel-coated cast iron pots.
Make certain your vessel traps steam effectively and has a tight-fitting lid to promote oven spring and crust development.
Preheat it thoroughly to mimic Dutch oven heat retention.
Size and material affect baking results, so choose a pan that fits your dough snugly and withstands high oven temperatures safely.
How Do I Fix Dense or Gummy Crumb in My Sourdough Bread?
Think of your dough as a delicate symphony—every element must harmonize. To fix dense or gummy crumb, guarantee your starter is mature and active, ferment long enough during bulk and proofing stages, and avoid under-proofing.
Knead properly for strong gluten, adjust hydration to suit your flour type, and avoid early salt addition. Bake at correct temperature with steam, and cool fully before slicing to prevent trapped moisture and gummy texture.
Turn Every Bake Into a Foolproof Sourdough Success
By mastering each step—from nurturing your starter to scoring and baking—you transform simple ingredients into a living masterpiece.
Like a skilled conductor guiding an orchestra, your hands orchestrate the dough’s rise, texture, and crust. With precise timing and technique, you’ll consistently produce sourdough loaves that boast perfect crumb and flavor.
Keep practicing these methods, and your bread will not only nourish but also tell the story of your craftsmanship in every slice.