Sourdough Discard Pizza Crust: Delicious Ways to Recycle
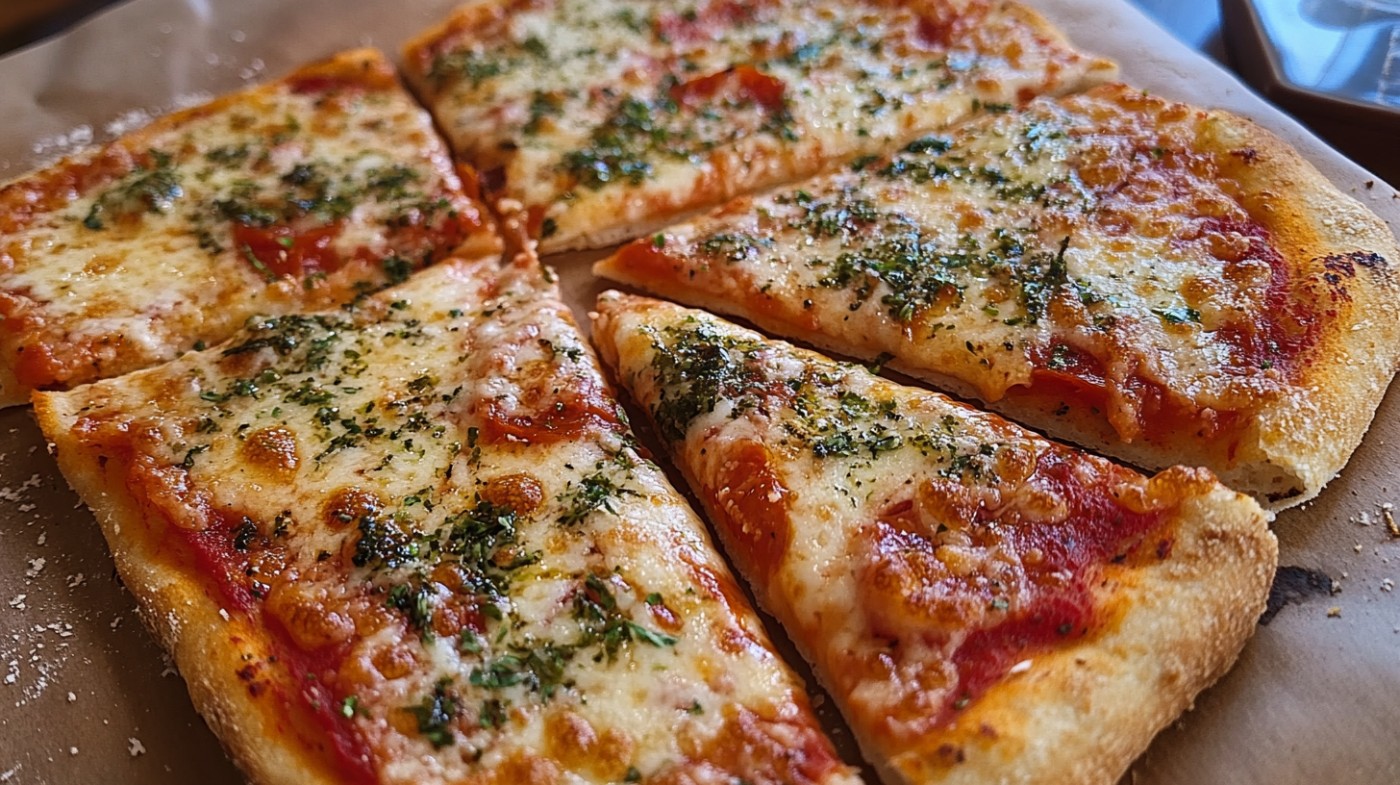
Using sourdough discard for pizza crust is a game-changer! It reduces food waste while adding a unique tangy flavor and chewy texture to your pizza base.
Combine 1¼ cups of unfed starter with warm water, salt, and enough flour to form a smooth dough. Kneading develops gluten, giving your crust that perfect elasticity.
Let it rise for a couple of hours, then shape and proof it briefly. Preheat your oven for that crispy finish. You can even get creative with toppings! The next steps will take your pizza night to a whole new level of deliciousness.
Key Takeaways
- Sourdough discard pizza crust utilizes leftover sourdough starter, reducing food waste while adding flavor and nutritional benefits.
- Combine 1¼ cups of sourdough starter, warm water, and salt, then add flour to form a cohesive dough.
- Allow the dough to rise for 1-2 hours, stretching and folding every 20 minutes for improved texture.
- Preheat your oven to 550°F and bake the crust for 8-10 minutes after docking it with a fork.
- Customize your pizza with classic toppings like Margherita or experiment with seasonal veggies and herbs for diverse flavors.
Ingredients for Pizza Crust
To craft the perfect sourdough discard pizza crust, you’ll need a handful of essential ingredients that bring it to life.
Start with 1 ¼ cups of unfed sourdough starter, warm water, kosher salt, and some flour for dusting.
For an extra layer of flavor, consider adding olive oil or herbs, which can enhance the taste profile of your crust.
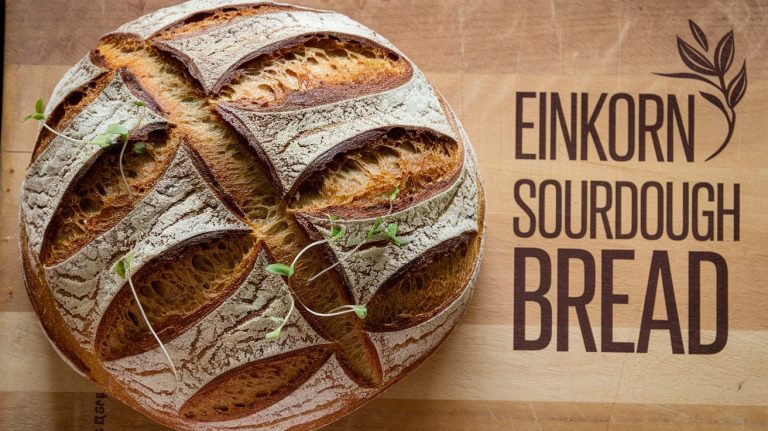
You might also want to explore the benefits of homemade sourdough bread to appreciate how your ingredients contribute to a delicious result!
If you’re feeling adventurous, consider adding olive oil or herbs to elevate the flavor even more.
Essential Ingredients Required
Creating a delicious sourdough discard pizza crust begins with a few essential ingredients that come together to form a flavorful foundation.
You’ll need 1¼ cups (300 grams) of sourdough starter discard, which adds a delightful tang and provides natural leavening. This starter can be enhanced by incorporating flour type options that suit your desired crust texture.
Combine that with 1¼ cups (300 grams) of warm water to help activate your starter. Add 1¾ teaspoons (10 grams) of kosher salt to enhance the overall flavor of your crust.
As you mix your ingredients, don’t forget about the flour. You’ll need additional flour for dusting while you handle the dough, helping to prevent sticking. You can choose between bread flour for a chewier texture or all-purpose flour for a lighter crust, though this may slightly alter the chewiness.
While optional, a small amount of oil can be added for extra flavor, but it’s not necessary. If you’re feeling adventurous, consider incorporating herbs or spices directly into the dough—1-2 teaspoons of garlic or Italian seasoning can elevate your crust even more.
Optional Flavor Enhancements
Enhancing the flavor of your sourdough discard pizza crust can take your homemade pizza to new heights. Start by adding 1-2 teaspoons of dried herbs like oregano or basil directly into the dough. These aromatic additions lend a delightful herbal character that pairs perfectly with classic toppings.
For a richer taste, incorporate minced garlic or garlic powder, which brings a robust flavor that enhances any combination of ingredients. Additionally, consider using a bubbly, vibrant sourdough starter for improved fermentation and flavor development, as noted in sourdough bread making.
If you enjoy a bit of heat, mixing in red pepper flakes or a pinch of cayenne pepper can give your crust a spicy twist. Just be careful not to overdo it!
When it comes to finishing touches, drizzle flavored olive oil—like garlic-infused or herb-infused—over the crust before baking to elevate the overall taste experience.
Preparation Steps
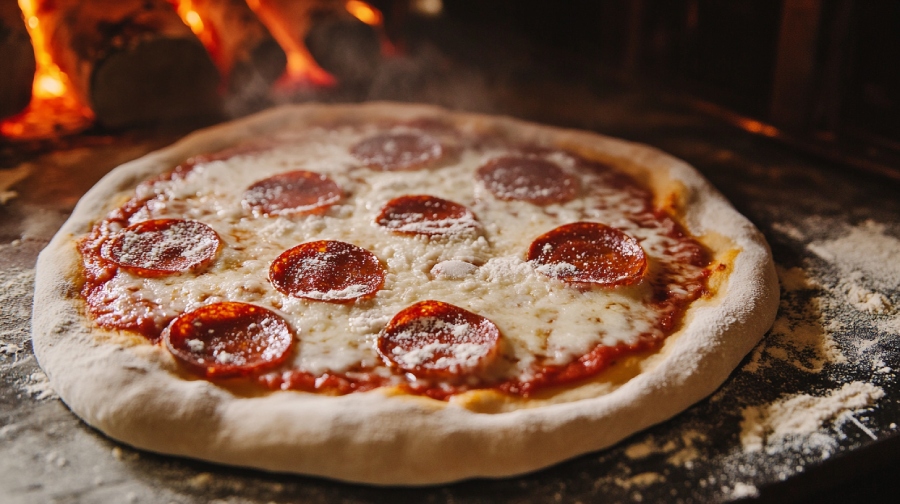
Making a delicious sourdough discard pizza crust begins with combining 1¼ cups of sourdough discard and 1¼ cups of warm water in a mixing bowl.
To enhance the flavor profile, consider using whole grain flours which can amplify the sourness in your crust, resulting in a more complex taste whole grain flours.
Next, add 1¾ teaspoons of kosher salt and enough bread flour to create a cohesive dough. Stir until everything’s well mixed, and you can see the dough starting to come together.
Now, it’s time for the fun part: let the dough rise. For about 2 hours, perform 4-6 sets of stretching and folding every 20 minutes in a warm environment, allowing the dough to double in size. This step builds strength and texture that will enhance your crust.
Once the bulk fermentation‘s done, shape your dough into a round crust. Let it proof at room temperature for an additional 15-20 minutes.
Meanwhile, preheat your oven or pizza stone to a sizzling 550°F. Before baking, dock the dough with a fork to prevent sogginess.
Bake your crust for 8-10 minutes, and enjoy the aroma filling your kitchen. Remember, you can also add optional herbs or oils for extra flavor during the mixing process, making your pizza uniquely yours!
Kneading Techniques
The art of kneading sourdough pizza dough is essential for achieving that perfect blend of texture and flavor. Sourdough baking requires patience and practice, and mastering kneading techniques can greatly enhance your skills as a baker. Kneading for about 10 minutes will develop gluten, giving your dough a soft, elastic, and stretchy quality without the need for extra flour.
As you knead by hand, use a pressing and folding technique to guarantee the dough retains moisture, preventing it from drying out. You’ll know you’ve done it right when your dough feels silky and smooth, a sure sign of proper gluten development necessary for a good rise. For more tips on achieving the perfect crust, consider essential tips for successful baking.
If you prefer a more hands-off approach, consider using a stand mixer with a dough hook. This method simplifies the kneading process, providing consistent results while saving you time and effort.
Alternatively, you can stretch and fold the dough every 20 minutes during bulk fermentation. This technique also helps develop gluten without the traditional kneading, allowing for a more relaxed and less labor-intensive method.
Regardless of your technique, remember that the key to great sourdough pizza crust lies in achieving that ideal texture, setting the stage for a delicious pizza experience.
Rising and Fermentation
Rising and fermentation are essential steps in crafting a perfect sourdough discard pizza crust, and they can really make a difference in the final result. The way your dough rises not only affects its texture but also its flavor, so you’ll want to pay close attention to this stage.
Utilizing an active starter importance can greatly enhance the fermentation process. A typical no-yeast version takes around 2 hours to double in size at 70-75°F. An active, bubbly sourdough starter greatly reduces fermentation time. Mature sourdough discard naturally ferments the dough, which might require several hours.
Performing stretch and fold every 20 minutes boosts gluten strength and structure. As you let your dough rise, remember that timing is key. If you’re using active starter, you’ll notice a quicker rise. Without added yeast, give your mature discard the time it needs to develop flavor and texture.
During bulk fermentation, regularly stretching and folding your dough will help build strength, ensuring it rises beautifully. Finally, don’t skip the final proofing; allowing your shaped dough to rest for 15-20 minutes enhances the crust’s texture and airiness. Enjoy the process!
Baking Methods
Baking methods play an essential role in achieving the perfect sourdough discard pizza crust, transforming simple ingredients into a culinary delight. Understanding these techniques can elevate your pizza-making game, ensuring a crispy and flavorful base every time.
- Preheat your pizza stone to 550°F (or 450°F for best results) for that ideal crust.
- Use a cast iron skillet for an alternative method, providing a crispy base right on the stovetop.
- Dock the dough with a fork before baking to prevent air bubbles and sogginess in the crust.
- Consider par-baking the crust for 5-7 minutes before adding toppings to enhance texture and avoid a soggy bottom.
Each technique contributes to the overall outcome, whether you’re opting for traditional baking, skillet cooking, or even grilling.
If you decide to grill, placing the dough directly on the grates adds a delicious charred flavor, but be sure to monitor it closely to prevent burning.
Equipment Recommendations
Mastering the art of sourdough discard pizza crust isn’t just about techniques; the right equipment can make all the difference in achieving that perfect balance of crispy and chewy.
Start with a pizza stone or baking steel, preheating it at 500°F. These tools distribute heat evenly and absorb moisture, giving you a beautifully crispy base. Don’t forget a pizza peel! It helps you transfer your pizza in and out of the oven smoothly, preventing any damage to your carefully crafted crust.
If you’re looking for alternatives, a cast iron skillet works wonders. Preheat it to guarantee excellent heat retention and a satisfyingly crunchy crust.
In a pinch, you can also use upside-down baking sheets to mimic a pizza stone’s effects, though results may vary.
For those adventurous moments, consider grilling your pizza. Placing the dough on a preheated grill stone or directly over the heat infuses a unique smoky flavor that elevates your pie to new heights.
Topping Ideas
Elevating your sourdough discard pizza crust starts with the toppings, and there’s a world of flavor to explore.
Whether you stick with the classics or venture into creative territory, your pizza can become a masterpiece.
- Margherita: Mozzarella cheese, pepperoni, and fresh basil for a timeless taste.
- Fig and Prosciutto: Sweet and savory, topped with arugula for a revitalizing finish.
- Seasonal Veggies: Sauté zucchini, bell peppers, or mushrooms to bring out their natural flavors.
- White Pizza: Combine ricotta, garlic, and spinach, then drizzle with olive oil post-baking for a creamy delight.
Don’t shy away from experimenting! A traditional Margherita is always a crowd-pleaser, but unique combinations can really set your pizza apart.
Consider adding some sautéed seasonal vegetables to enhance their taste, or opt for a rich white pizza that feels indulgent.
Remember to season your toppings with herbs like oregano or thyme—they’ll elevate your pizza’s flavor profile.
Storage Tips
When you’ve crafted a delicious sourdough discard pizza, knowing how to store the leftover dough can make all the difference for your next culinary adventure.
If you’ve got some dough left over after your pizza night, you can refrigerate it for up to 24 hours. If you used commercial yeast and it’s doubled in size, you can keep it in the fridge for up to 3 days.
For longer storage, freezing is your best bet. You can freeze your dough either as a ball or shaped into pizza bases, and it’ll last for up to 3 months.
Just make sure to place the dough in zip-loc bags after it has doubled in size, squeezing out any excess air to prevent freezer burn.
When you’re ready to use that frozen dough, thaw it overnight in the refrigerator. Let it warm up on the counter for about 30 minutes before shaping and baking.
If you’ve got leftover pizza, store it in an airtight container to keep it fresh for 3-4 days, ensuring you can enjoy those tasty slices later without sacrificing flavor or texture.
Frequently Asked Questions
Can I Use Gluten-Free Flour for Sourdough Discard Pizza Crust?
Absolutely, you can use gluten-free flour! Just remember, extra binding agents and hydration adjustments may be required. Experiment with blends to find the perfect balance between texture and flavor for your delicious creation.
How Long Can I Store Sourdough Discard Before Using It?
You can store sourdough discard in the refrigerator for up to two weeks, but for the best results, use it within 3-5 days of feeding. Check for hooch and off smells before using.
What Is the Best Temperature for the Dough to Rise?
For ideal dough rising, aim for 70°F to 75°F. At this range, fermentation’s most effective, doubling your dough in about two hours. Keep it covered to retain moisture and create the perfect environment.
Can I Freeze the Pizza Crust After Baking?
Yes, you can freeze the pizza crust after baking! Just let it cool completely, wrap it tightly, and store it in an airtight container. When you’re ready, thaw it overnight before reheating for a delicious meal.
How Do I Adjust the Recipe for a Thicker Crust?
To make your pizza crust thicker, think of it as building a sturdy wall. Increase the flour, let it rise longer, and add olive oil. Don’t forget to proof it before baking for a fluffy interior!
Deliciously Creative Treat
By using sourdough discard for your pizza crust, you’re not just creating a delicious meal; you’re also joining the ranks of culinary wizards who transform scraps into magic. Think of it as a modern-day alchemy, where flour and water turn into something extraordinary.
With endless topping possibilities and a simple preparation process, your homemade pizza nights can rival any pizzeria. So, roll up your sleeves, embrace the art of sourdough, and let your creativity flourish.

