Seeded Sourdough Bread Recipe: Flavorful, Nutritious
To make scrumptious seeded sourdough bread, start with a vibrant active sourdough starter. Mix bread flour with warm water, adding a medley of seeds like sesame and pumpkin for crunch.
Allow the dough to rest, then knead it briefly before incorporating soaked chia and flax seeds. Proof your dough until it doubles in size, watching for air bubbles.
Preheat your oven to 450°F, bake it in a Dutch oven for a crusty finish, and enjoy the aroma as it bakes. This delightful bread is perfect for any occasion, and there’s so much more to explore in the baking process.
Key Takeaways
- Use a blend of high-quality flours like bread, whole wheat, and seeds for flavor and texture in your sourdough bread.
- Incorporate an active sourdough starter, feeding it daily for optimal fermentation and tanginess in the final loaf.
- Add a mix of toasted seeds such as sunflower, pumpkin, and sesame during the kneading process for even distribution.
- Allow for bulk fermentation until the dough doubles in size, monitoring with visual cues and the poke test for readiness.
- Bake in a preheated Dutch oven at 450°F, covering for the first 25 minutes, ensuring an internal temperature of 205-210°F.
Ingredients Overview
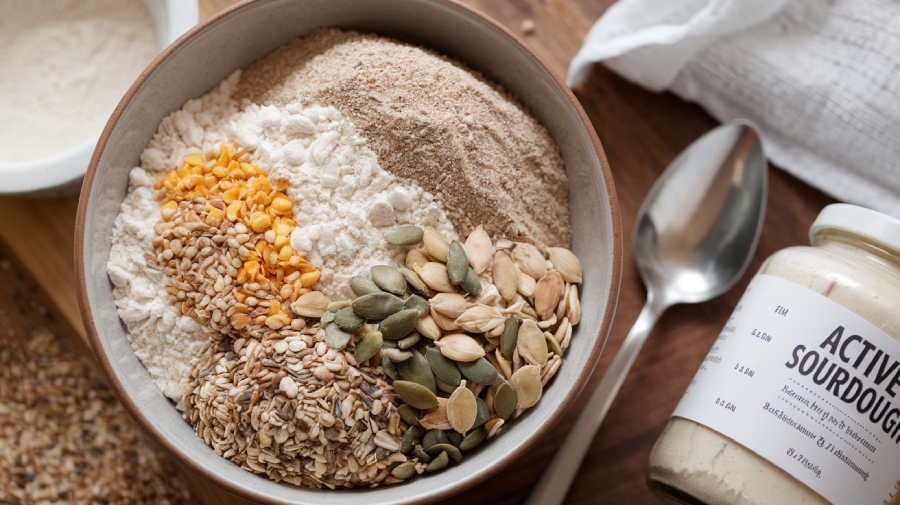
When you’re ready to commence on your seeded sourdough bread journey, understanding the ingredients is essential for achieving that perfect loaf.
Start with the right flour: bread flour provides the structure you need, while whole wheat flour adds a nutty depth. Consider experimenting with semolina for a unique texture or spelt for a lighter wholemeal flavor. Rye flour can contribute to a rich, tangy complexity. Additionally, using high-quality flour ensures better gluten development, which is crucial for sourdough.
Next, choose your seeds—sesame, pumpkin, sunflower, flax, and hemp hearts each bring their own delicious crunch and nutrition. Incorporating a combination of seeds can enhance the flavor and nutritional profile of your bread.
Don’t forget to include warm water for hydration, salt for flavor, and, of course, your active sourdough starter to infuse that signature tang.
Preparing the Sourdough Starter
To create a lively sourdough starter, you’ll commence on a simple yet rewarding process that begins with just flour and water.
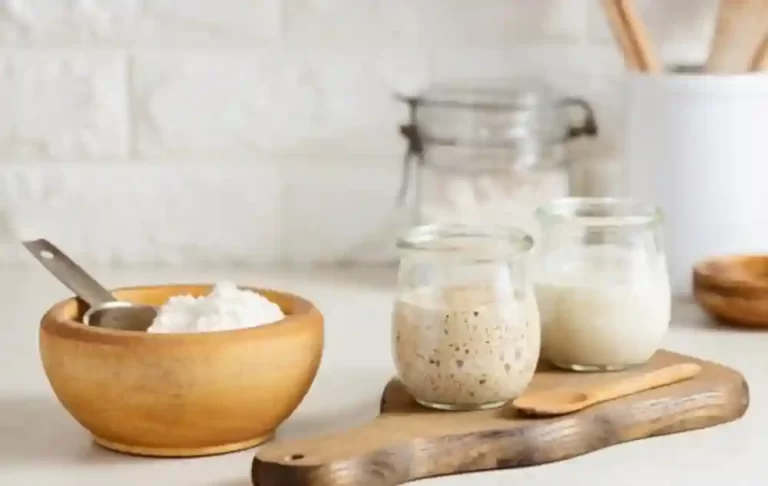
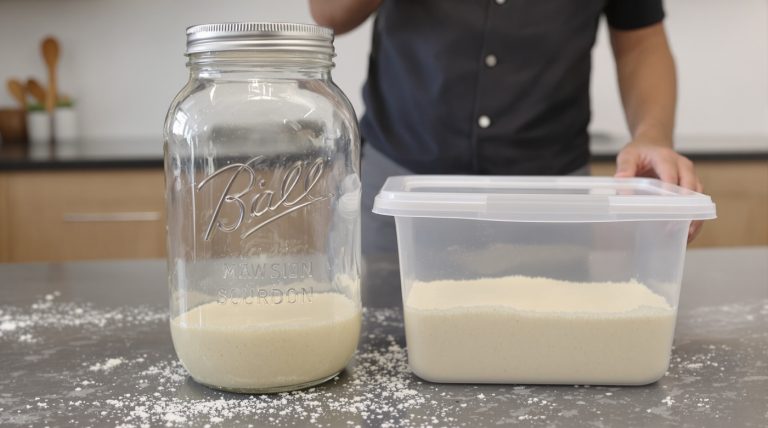
Start by combining 60 g of whole wheat flour with 60 g of water in a large jar. Mix until it achieves a smooth, pasty consistency. Wild yeast from the flour and air will begin to work its magic during this fermentation process. This process is vital as it allows yeast and bacteria to develop, which will enhance the flavor of your bread.
Keep this mixture in a warm spot, around 70-75°F, for 24 hours, covering it with plastic wrap or a lid.
By day two, check for small bubbles—this means fermentation is starting!
Establish a daily feeding routine: discard half the starter and add fresh flour and water.
Keep an eye on the temperature and adjust as necessary.
Mixing the Dough
As you immerse yourself in mixing the dough, gather your ingredients and prepare for a delightful transformation.
Start by combining warm water and flour in a large bowl, ensuring everything’s well incorporated. Let it rest briefly to hydrate.
Next, pour the active sourdough starter over the mixture, followed by a sprinkle of salt on top. A strong starter is crucial for enhancing yeast activity, which contributes to the bread’s rise.
With your hands, mix the dough for about five minutes until it comes together into a cohesive mass. This step is essential for developing gluten, which will enhance the bread’s structure.
Once mixed, cover it with a damp towel or plastic wrap, allowing it to rest for 30 minutes.
This initial mixing sets the foundation for your seeded sourdough, enhancing its flavor and texture.
Autolyze Process
The autolyze process is a game changer for your sourdough bread, allowing the flour and water to mingle and fully absorb before you add the starter and salt. This simple step enhances the dough’s hydration and elasticity, leading to a superior texture and flavor in your final loaf.
Additionally, this process can improve the overall fermentation activity of your dough, resulting in a more robust sourdough starter. Moreover, the autolyze process helps to develop dough strength by allowing enzymes to break down the starches and proteins in the flour.
Purpose of Autolyze
Autolyze is a transformative process that elevates your bread-making experience by enhancing dough quality and flavor. By allowing your flour to fully hydrate, you improve the dough’s texture and make it easier to handle. This method kickstarts gluten development, resulting in a stronger, smoother dough that’s more extensible and perfect for sourdough.
The protease enzymes work their magic, softening whole wheat flour and enriching the crumb. Additionally, the type of wheat used can significantly affect the dough structure, so experimenting with different flours can yield unique results. Furthermore, autolyze can enhance dough hydration, allowing for a more open crumb structure in the final bread.
Plus, autolyze reduces the need for excessive mixing, preserving the dough’s structure and enhancing its flavor profile. You’ll notice better sugar availability for the yeast, promoting fermentation.
Steps for Autolyze
To kick off the autolyze process, start by mixing equal parts flour and water in a large bowl, ensuring every bit of flour is fully hydrated. This initial mixing is essential, as it allows the flour to absorb water completely. Once mixed, let the dough rest for the appropriate time: 30 minutes for all-purpose flour, 1 hour for bread flour, or up to 4 hours for whole wheat flour. During this resting phase, the flour’s proteins begin to develop gluten, making the dough more elastic.
The autolyse process not only enhances dough elasticity and gluten development even further, but it also contributes to improved flavor due to the breakdown of flour starches. After the autolyse period, you can add your sourdough starter and salt. Finally, perform the windowpane test to check if the gluten is well-developed before continuing with mixing and folding.
Benefits of Autolyze
When you embrace the autolyze process, you release a host of benefits that enhance your sourdough bread’s overall quality.
This simple step can transform your baking journey by improving dough structure and flavor.
Here are three key benefits:
- Hydration and Gluten Development: Flour fully hydrates, creating a better gluten structure with minimal kneading.
- Dough Handling and Structure: Your dough becomes more extensible, making shaping easier and resulting in greater loaf volume.
- Fermentation and Flavor Development: Slower fermentation allows for richer flavors and better-keeping quality. Additionally, healthy starter is crucial for maximizing the benefits of the autolyze process, ensuring a well-risen loaf.
Adding Seeds to Dough
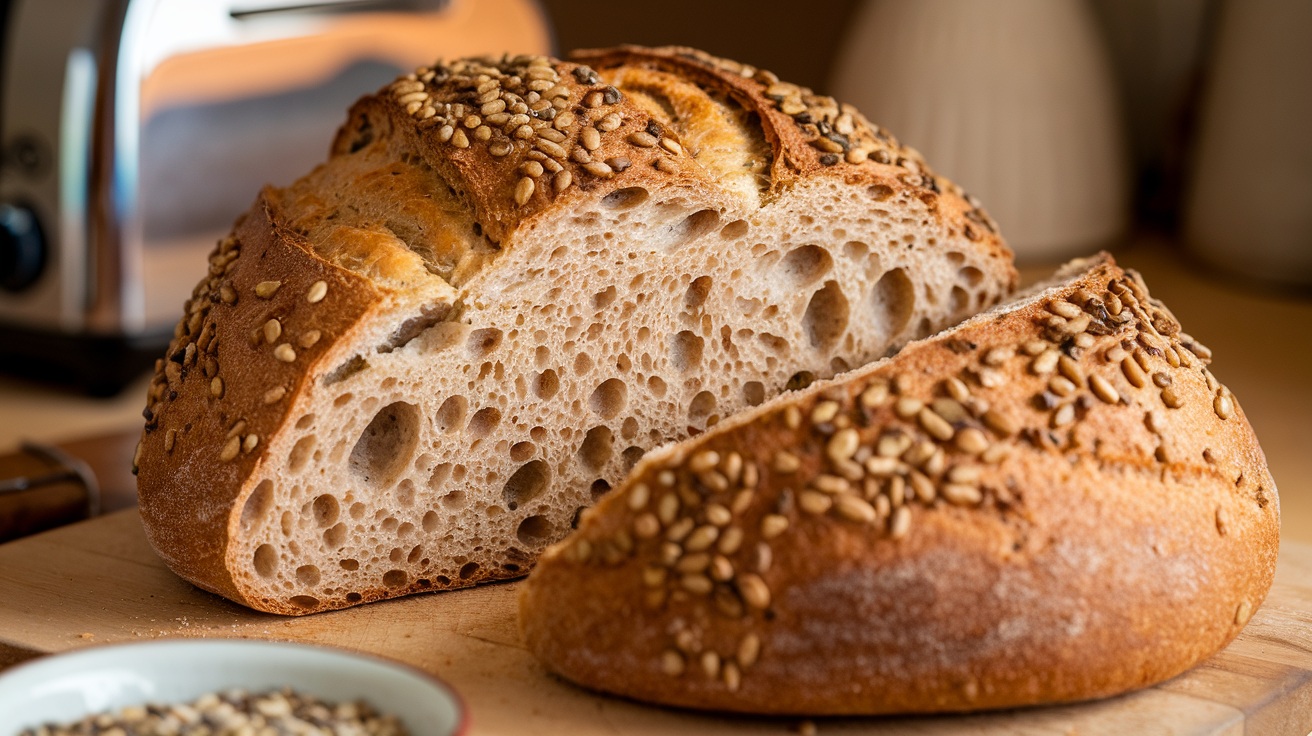
When you’re ready to add seeds to your dough, start by preparing a mix that complements your flavor preferences. Incorporate them effectively during mixing or kneading to guarantee an even distribution throughout. With the right technique, those seeds will enhance both the texture and taste of your sourdough bread. It’s important to add seeds at the right time to ensure they integrate well and contribute to the overall quality of the bread.
Seed Mix Preparation
Incorporating a variety of seeds into your sourdough can elevate both flavor and texture, transforming a simple loaf into a nutritious delight.
To prepare your seed mix effectively, consider these key steps:
- Select Your Seeds: Choose from sunflower, pumpkin, flax, sesame, or chia for a delightful blend.
- Toast or Soak: Lightly toast your seeds for enhanced flavor or soak chia seeds to prevent water absorption issues.
- Adjust Proportions: Use about 1/4 cup of sunflower and pumpkin seeds, alongside 1 tablespoon each of flax and sesame seeds for balance. Additionally, toasted seeds should be added to the dough to improve hydration and gluten structure.
Incorporating Seeds Effectively
To achieve a perfectly seeded sourdough, it’s essential to incorporate the seeds at the right moments during your dough-making process.
Start by adding about 1/4 cup of seeds to the bowl along with the flour. As you mix, make sure the seeds are evenly distributed through the dough. Expect a slightly wetter dough due to the seeds, so consider adding an extra 1/4 cup of water to maintain hydration. Incorporating a variety of seeds not only adds unique flavor but also enhances the nutritional benefits of your bread. This is because sourdough fermentation boosts the bioavailability of nutrients found in the seeds.
For enhanced integration, add seeds during the fifth round of stretching and folding. This method allows the seeds to blend seamlessly into the dough.
Remember, different seeds may require different preparations; soak chia and flax seeds beforehand, while pepitas and sesame can be added directly.
Proofing Techniques
- Bulk Fermentation: Let your dough rise initially to develop flavor and strength before shaping. Seed flavors are present but not overpowering during this stage, as they are balanced by other ingredients. The goal is to achieve a 50% volume increase with bubbles during this important phase.
- Cold Proofing: Refrigerate the shaped dough to slow fermentation, enhancing complexity and texture.
- Room Temperature Proofing: Allow your dough to rise at room temperature, monitoring it closely for signs of readiness.
Keep an eye out for visual cues like increased volume and air bubbles.
Use the poke test every 20-30 minutes to gauge proofing levels.
Baking Instructions
Once you’ve shaped your dough and it’s ready to go, the baking process is where all your hard work pays off.
Preheat your oven along with a Dutch oven inside at 450°F for about 45 minutes, ensuring it’s searing hot. Using a heavy lid is essential for trapping steam and enhancing crust quality.
Carefully remove the dough from the fridge, transfer it onto parchment paper, and score the top. Dust it lightly with flour, then use the parchment as a handle to lower it into the Dutch oven.
Bake with the lid on for 25 minutes, then take the lid off and continue baking for another 15-20 minutes until it’s deep golden brown.
Your bread’s internal temperature should reach 205-210°F for perfect results. This larger batch recipe is perfect for sharing with friends or family, enhancing the joy of your baking experience.
Tips and Variations
When it comes to enhancing your seeded sourdough bread, a few thoughtful tips and variations can make all the difference. Consider these ideas to elevate your baking experience:
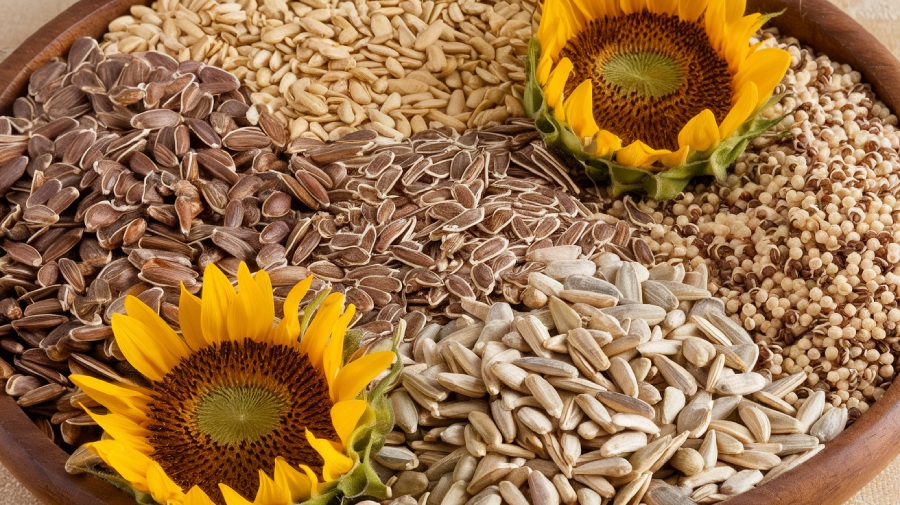
- Seed Selection: Experiment with different seeds like sunflower, flax, and quinoa for unique flavors and textures.
- Toasting and Soaking: Toasting seeds enhances their aroma while soaking prevents burning during baking. Additionally, soaking seeds can enhance their flavor and texture, making them a delightful addition to your loaf.
- Flour Combinations: Mix whole wheat and bread flour for a hearty texture, or try spelt for a nutty flavor.
Feel free to add herbs or spices to the dough for extra zing, and don’t hesitate to shape your loaf creatively.
Frequently Asked Questions
How Do I Store Leftover Sourdough Starter?
To store leftover sourdough starter, you’ve got a couple of options.
If you plan to use it soon, keep it in an airtight container in the fridge, feeding it weekly.
For longer storage, dry it on parchment paper or freeze it in ice cube trays.
Make sure to label your containers with dates.
When you’re ready to use it again, revive it by feeding a few times before baking.
Happy baking!
Can I Use All-Purpose Flour Instead of Bread Flour?
Absolutely, you can use all-purpose flour instead of bread flour!
Just keep in mind that you’ll need to adjust the hydration levels, cutting back on water by about 15-30 grams.
The rise and texture might be a bit denser, and you may find the crust softer.
It’s smart to stick with one flour brand for consistency, and don’t hesitate to tweak proofing times based on how your dough behaves.
Happy baking!
What Should I Do if My Dough Is Too Sticky?
If your dough’s too sticky, don’t worry; there are ways to fix it!
First, try adding a bit of flour to your work surface. You can also lightly wet your hands while handling the dough.
Consider incorporating more stretch and folds to develop gluten. If it’s still sticky, let it rest longer, or reduce the water in your recipe next time.
Adjusting these factors will help you achieve a smoother dough!
How Can I Tell When My Bread Is Done Baking?
You can tell your bread is done by checking a few key indicators.
First, look for a beautifully browned crust and listen for a hollow sound when you tap the bottom. An instant-read thermometer should read between 205-210°F (96-98°C) at the center.
If it feels lighter and has a nice round shape, it’s likely ready.
Finally, let it cool completely before slicing to guarantee the crumb sets properly.
What’s the Best Way to Slice Sourdough Bread?
Slicing sourdough bread is like revealing a masterpiece; you want each cut to showcase its beauty.
Start with a sharp, serrated bread knife, ideally 9 to 10 inches long. Allow the bread to cool completely to avoid crumbling.
Use a gentle sawing motion, applying light pressure to preserve that crust and crumb. Cut the end off first for stability, and remember, practice makes perfect.
Enjoy those perfectly even slices!
A Crusty Symphony of Flavor and Nutrition
In the world of baking, the alchemy of sourdough transforms humble ingredients into a crusty, flavorful masterpiece. By incorporating seeds, you not only enhance texture and taste but also tap into the theory that diverse grains can boost nutrition.
As you slice into your finished loaf, remember that each bite is a celebration of both tradition and innovation. Embrace the process, experiment with variations, and savor the satisfaction of your homemade seeded sourdough bread.

