Sourdough Pizzelle Recipe: Crispy, Flavorful and Fun
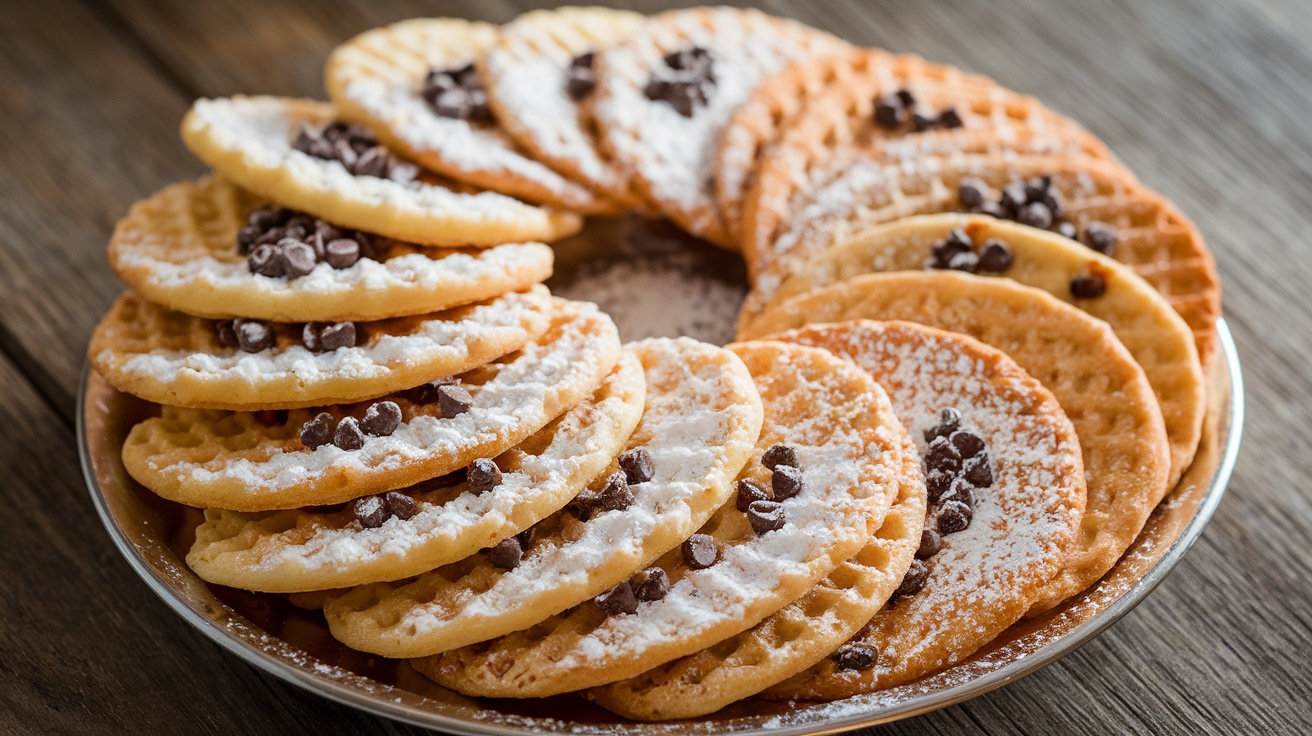
You’re in for a treat with sourdough pizzelle, a delightful twist on the classic Italian cookie. Start with 1/4 cup of active sourdough starter, 1.5 cups of high-protein flour, and mix in eggs, water, maple syrup, and vanilla for flavor.
Preheat your pizzelle iron, pour a tablespoon of the batter, and cook until the green light signals readiness. You can explore variations like chocolate or lemon zest for a unique touch.
Once cooled, store your pizzelle properly to keep them crisp. There’s so much more to discover about pizzelle styles and innovative flavors.
Key Takeaways
- Activate 1/4 cup sourdough starter overnight with 1/2 cup water and 1 cup flour for a tangy flavor.
- Combine activated starter with remaining ingredients: 1/2 cup flour, 3 eggs, 1/2 cup maple syrup, and flavorings.
- Preheat pizzelle iron until the green “ready” light appears before pouring a tablespoon of batter.
- Cook for about 1 minute, adjusting for desired crispness, and ensure the batter is smooth for even cooking.
- Cool pizzelle on a wire rack to maintain crispness, and store in paper bags or freeze for up to three months.
Sourdough Pizzelle Ingredients
When you’re ready to whip up some delicious sourdough pizzelles, gathering the right ingredients is key to achieving that perfect texture and flavor.
Start with a fed sourdough starter; you’ll need 1/4 cup of it, ensuring it’s actively fermenting to provide that signature tang. The night before, mix it with water and flour to give it time to develop. Discarding is important to maintain the health of your starter before using it in recipes.
For the dry ingredients, you’ll need a total of 1.5 cups of flour: 1 cup for the first night and another 1/2 cup the next day. High-protein flours like bread flour or semolina will enhance gluten development, creating a delightful chewiness. Bread flour, with a protein content between 11 and 13%, is a solid choice.
Moving on to the wet ingredients, gather 1/2 cup of filtered water, 3 eggs, 1/2 cup of maple syrup, 1/2 teaspoon of salt, and 1 teaspoon of vanilla extract. Sourdough fermentation not only adds flavor but also enhances the nutritional profile of your pizzelles.
Don’t forget the additional ingredients: 1/2 teaspoon of baking soda and a stick of mostly melted butter.
A pizzelle press is essential to cook your dough, which should be thick and well-integrated for ideal results.
Traditional vs. Sourdough Pizzelle
Two distinct styles of pizzelle await your culinary exploration: traditional and sourdough.
Traditional pizzelle rely on baking powder for leavening, resulting in a straightforward recipe that combines eggs, sugar, flour, butter, and flavorings. They’re quick to prepare, but if not stored correctly, they can turn soggy, losing that delightful crispiness you crave.
On the other hand, sourdough pizzelle bring a unique twist to the table. By using a sourdough starter, you introduce a fermentation process that infuses your pizzelle with a complex, tangy flavor. This method allows for an extended fermentation that enhances the flavors and improves digestive health, making it a more nutritious option.
The exterior of sourdough pizzelle tends to be crisper, while the interior offers a satisfying chewiness. However, prepare for a longer wait as the fermentation requires patience.
Ultimately, the choice between traditional and sourdough pizzelle hinges on your personal preference. If you’re looking for simplicity and consistency, traditional may be your go-to.
But if you’re keen to plunge into an artisanal experience with depth and character, sourdough pizzelle will captivate your taste buds. Each style offers its delightful attributes, inviting you to savor the experience of making and enjoying these delectable treats.
Essential Equipment Needed
Choosing between traditional and sourdough pizzelle isn’t just about flavor; it also involves the right tools to bring your creations to life. First and foremost, you’ll need a good pizzelle iron. Options range from non-stick to cast aluminum, with models like the CucinaPro and Palmer Model 1000 being popular choices. Traditional irons made from cast aluminum are designed for open fires, which can add a unique flavor to your pizzelle.
Consider the thickness you prefer, from ultra-thin to thicker styles, and think about the handle design for comfort and ease of storage.
Next, gather your cooking utensils. A stainless steel portion scoop (#30 or #40) will help you measure the batter perfectly, while a pastry brush is essential for greasing uncoated irons.
Don’t forget a cooling rack to keep your pizzelle crisp and a cleaning tool to tackle any batter residue.
Lastly, for long-term maintenance, hand wash your pizzelle iron before its first use, and store it in a dry place with a light coat of oil.
If you’re feeling adventurous, you might also consider optional equipment like rolling cones for shaping or custom monogramming on your pizzelle iron.
Step-by-Step Preparation
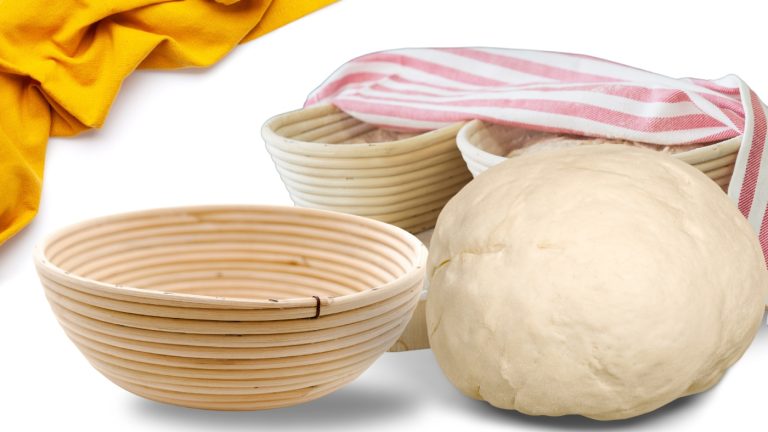
Getting started on your sourdough pizzelle is an exciting culinary adventure that begins the night before. First, activate your sourdough starter by combining 1/4 cup of fed starter, 1/2 cup of filtered water, and 1 cup of flour in a small bowl. Knead the mixture until it forms a dough, then cover it with a tea towel and let it ferment overnight on the counter. This process is crucial for developing the dough’s intricate patterns, as the fermentation process enhances flavor and texture.
On the day of preparation, add the remaining 1/2 cup flour, 3 eggs, 1/2 cup maple syrup, salt, vanilla extract, baking soda, and melted butter to the fermented dough. Mix everything thoroughly—this dough will be thick, so don’t hesitate to use your hands if needed.
Next, preheat your pizzelle press until the green “ready” light indicates it’s hot. Pour about a tablespoon of dough into the press, close it until it clicks, and cook until the green light comes on again.
Here’s a simple table to keep you on track:
| Step | Action | Notes |
|---|---|---|
| Night Before Preparation | Activate starter | Let sit overnight |
| Day of Preparation | Mix in additional ingredients | Dough will be thick |
| Cooking | Wait for the green light | Wait for green light |
Tips for Perfect Pizzelle
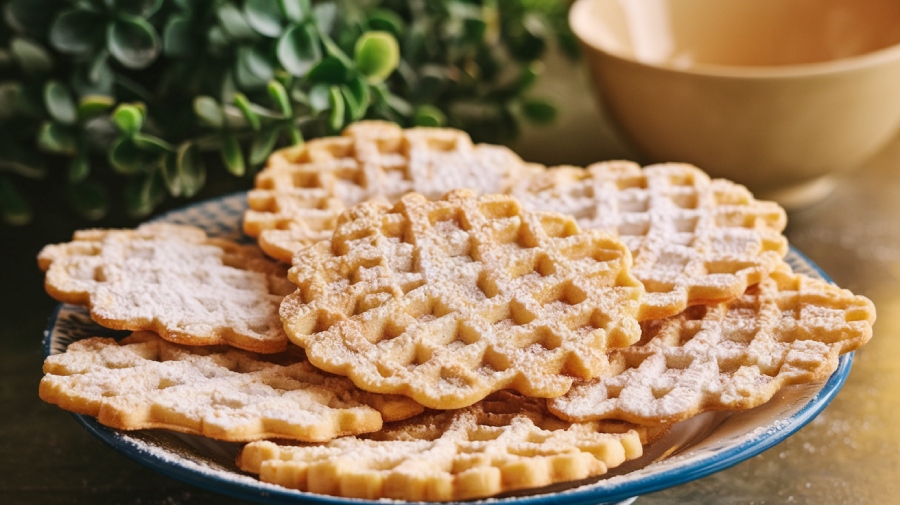
To create perfect pizzelle, you need to focus on a few key elements. First, make sure your batter is smooth and lump-free; this consistency is essential for even cooking. Additionally, the classic pizzelle is a traditional Italian cookie made from ingredients like eggs, sugar, and flour, which contributes to its unique flavor and texture.
Also, don’t forget to preheat your pizzelle iron—doing so guarantees that your treats come out crisp and delicious, while proper cooling techniques keep them from becoming soggy.
Proper Batter Consistency
Achieving the perfect batter consistency is essential for crafting delightful pizzelle that are both crispy and beautifully shaped. The amount of flour you use directly influences the thickness of your batter. For a successful pizzelle, consider using a waffle batter recipe, which typically yields a better consistency.
You can opt for a wet dough, which is soft and scoopable, or a rolled batter, resembling cookie dough—both methods have their merits. Resting your batter overnight can greatly improve its consistency, particularly in sourdough recipes, as fermentation enhances digestibility and flavor. If you find your batter too thick, adding a touch more water can help, while a little extra flour thickens it if it’s too thin.
The right consistency guarantees even spreading, allowing your pizzelle to achieve that perfect round shape with lovely edges. The thicker batter may take longer to cook, affecting texture and crispness, so adjust your cooking time accordingly. Additionally, using room temperature eggs in your batter can enhance the mixing process and improve the final texture of your pizzelle.
Using a scoop for portioning can help maintain consistency, and remember to stir your batter regularly to keep it uniform. Avoid overmixing, as it can lead to tough pizzelle—aim for a balance that promises delightful results.
Preheating Pizzelle Iron
Before you immerse yourself in making your pizzelle, preheating the pizzelle iron is vital for achieving that perfect texture and flavor. Start by placing the iron on the stove and flipping it every minute to guarantee even heating.
Season the plates with vegetable oil and allow them to heat for about 5-10 minutes. You’ll know it’s ready when you see smoke and steam. Preheating the pizzelle iron ensures that your cookies cook evenly and develop a delightful golden color.
Here’s a quick reference for timing and temperature:
| Action | Details |
|---|---|
| Preheat Iron | 7-8 minutes |
| Initial Baking Time | 1 minute |
| Turn Iron During Baking | Every 15 seconds |
| Reduced Baking Time | 20-60 seconds as it heats up |
| Use Two Timers | One for preheating, one for baking |
Keep in mind that the temperature of your kitchen can affect cooking times, so adjust as needed. The first few pizzelle might not be perfect since they help stabilize the iron’s temperature. Once you get the hang of it, you’ll achieve consistently delightful pizzelle!
Cooling Techniques Explained
Once you’ve mastered the preheating process and have those golden-brown pizzelle cooking to perfection, it’s time to focus on cooling techniques that preserve their delightful texture.
First, remove the pizzelle from the iron immediately and transfer them to a wire rack. This prevents them from sticking together, which can happen if you stack them while they’re still warm. As they cool, you’ll notice they go from floppy to crisp in no time, thanks to the air circulation provided by the rack. Additionally, the use of all-purpose flour in the batter ensures a tender and crisp texture, enhancing the overall result.
If you want to get creative, roll the warm pizzelle into cones or drape them over a glass to form waffle bowls. Just remember, the key is to mold them while they’re still warm. As they cool, they’ll harden into those perfect shapes.
For long-term storage, let the pizzelle cool completely—this helps prevent moisture buildup. Layer them with parchment paper in a freezer-safe container, and don’t forget, they can stay frozen for up to a month.
If they lose their crispness after freezing, a quick re-crisp in the oven will do the trick. Happy pizzelle-making!
Flavor Variations to Try
Have you ever wondered how to elevate your sourdough pizzelles beyond the classic recipe? You can experiment with a variety of flavors that will tantalize your taste buds.
Start with the traditional favorites: vanilla extract provides a sweet base, while anise extract adds that distinct licorice note beloved in Italian recipes. For a revitalizing twist, consider incorporating lemon zest or orange zest into your batter, bringing a bright, citrusy flair. Pizzelles are traditional Italian waffle-like cookies, making them perfect for showcasing these unique flavors. Using almond flour in your pizzelle batter can also add moisture retention and a nutty flavor to enhance the overall experience.
If you’re a fan of chocolate, mix in cocoa powder or espresso powder for a rich, mocha experience. Don’t forget the warm notes of cinnamon and nutmeg, which can enhance both sweet and savory pizzelles.
Looking for something more adventurous? Try savory variations like basil or rosemary for an aromatic twist. Grated Parmesan cheese can turn your pizzelles into a delightful pairing with eggs or avocado, while a sprinkle of za’atar will add a Middle Eastern flair.
Storage and Shelf Life
Proper storage is key to enjoying your homemade sourdough pizzelles for as long as possible. To maintain that delightful crispiness, you should store them in paper bags or wrap them in aluminum foil. For better preservation, place these wrapped pizzelles in cookie or coffee tins.
Avoid plastic or airtight containers, as they’ll trap moisture and make your pizzelles soft. If you choose to use ziploc bags, be cautious about moisture, which can ruin their texture. When properly stored, your pizzelles can stay fresh for a few weeks. If you opt for ziploc bags, they can remain fresh for about a month. For extended shelf life, freezing is your best bet—wrapped tightly in plastic wrap and then aluminum foil, they can last up to three months without freezer burn. Just remember to label and date your frozen pizzelles for easy reference.
Before storage, let your pizzelles cool completely on wire racks to prevent moisture buildup.
Flavor Innovations Explored
Sourdough pizzelle has undergone a delightful transformation, blending traditional flavors with modern twists that excite the palate. While the classic anise or vanilla extracts still hold their charm, you can amp up the flavor profile by using lemon oil for a zesty kick or experimenting with hazelnut and almond extracts for a nutty depth. Sourdough can also be used to create bread pudding, providing a rich and comforting dessert option.
If you’re craving something richer, butter-rum flavor adds a luxurious touch, while cocoa powder can turn your pizzelle into a chocolatey delight.
Incorporating innovative ingredients can elevate your pizzelle even further. Maple syrup serves as a natural sweetener, infusing a warm sweetness.
Toppings can be just as adventurous; think pistachios for crunch or fresh herbs for a savory twist. You can even create delightful combinations like cream cheese with strawberries, offering both sweet and savory notes.
Don’t shy away from mixing and matching flavors—combine vanilla and lemon extracts for a unique taste or add pumpkin spice for a seasonal treat.
Healthier Ingredient Alternatives
Finding healthier ingredient alternatives doesn’t mean sacrificing flavor in your pizzelle-making journey.
You can easily swap out traditional ingredients for more nutritious options that still deliver delicious results. Here are some ideas to elevate your pizzelle game:
- Maple Syrup: Use as a natural sweetener instead of refined sugar. Incorporating natural sweeteners can help stabilize blood sugar levels.
- Vegetable Oil: Opt for this lighter alternative to create a crispier texture.
- Just Egg: This plant-based substitute works perfectly in vegan recipes.
- Unbleached Flour: Choose this for a healthier base that enhances flavor and texture, and consider using gluten-free options if necessary.
- Dusting with Powdered Sugar: A light sprinkle can add just the right amount of sweetness without going overboard.
Frequently Asked Questions
Can I Use Gluten-Free Flour for Sourdough Pizzelle?
Absolutely, you can use gluten-free flour for pizzelles! It’s like crafting a masterpiece, where the right ingredients paint a delicious picture.
Choose a quality gluten-free flour, like Bob’s Red Mill, and mix in eggs, sugar, and melted butter. With a dash of baking powder, you’ll create a light, airy texture.
Just remember, the choice of flour will influence the pizzelle’s flavor and crunch, so experiment until you find your perfect blend!
How Do I Know My Sourdough Starter Is Active?
To know your sourdough starter is active, look for signs like consistent bubbling and a rise in volume within 4-6 hours after feeding.
It should have a domed surface and a sponge-like texture. You’ll also notice a pleasant sour aroma.
If you see bubbles breaking at the top and it begins to sag after peaking, your starter’s ready for baking.
Regular feeding helps maintain this lively activity, so keep it nourished!
Can I Make Pizzelle Without Eggs?
“You can’t make an omelet without breaking eggs,” but you can certainly make pizzelle without them!
By using substitutes like chia seeds with applesauce or soy yogurt mixed with soymilk, you can create delicious, egg-free pizzelle.
Just guarantee you balance flavors and textures, as different substitutes might alter the outcome.
With a little experimentation, you’ll enjoy crispy, delightful pizzelle that everyone can savor, regardless of dietary restrictions.
How Can I Prevent Pizzelle From Sticking to the Iron?
To prevent pizzelle from sticking to the iron, start by preheating it thoroughly.
Apply a light coat of Crisco or non-stick spray to both grids for effective non-stick action.
Make certain your batter has the right consistency—too thin will stick!
After each use, clean the iron with a damp cloth and avoid harsh chemicals.
Regular maintenance keeps the non-stick properties intact, making sure your pizzelle come out perfectly every time.
Enjoy your delicious creations!
Are Sourdough Pizzelle Suitable for Vegan Diets?
When you wander through the land of culinary delights, you may stumble upon sourdough pizzelle, a tempting treat.
However, traditional recipes often include eggs and dairy, making them unsuitable for a vegan diet.
Fear not! By swapping in flaxseed meal for eggs and using dairy-free butter, you can transform these crispy wonders into a vegan-friendly version.
Embrace the adventure of adaptation, and enjoy the delightful crunch of pizzelle without compromise!
Sweet, Tangy, and Delightful Sourdough Pizzelle
Now that you’ve mastered the art of sourdough pizzelle, imagine hosting a cozy gathering with friends, the air filled with the warm aroma of freshly baked treats. As you serve these delicate, crispy delights—a twist on tradition—your guests can’t help but marvel at their unique flavor.
By embracing this timeless recipe, you’re not just cooking; you’re creating memories, one delectable pizzelle at a time. So go ahead, share the joy of sourdough pizzelle and savor every bite.

