How to Make Sourdough Bread for Diabetics: Healthy Baking
You can make sourdough bread suitable for diabetics by using whole grain flours and creating a robust sourdough starter. Start by mixing equal weights of whole wheat flour and water to initiate fermentation.
Allow it to sit for 24 hours, then feed it daily for about a week. When you’re ready, combine low-gluten flour, water, and a sugar substitute like xylitol. Let the dough ferment overnight for flavor development.
Finally, bake it in a preheated oven for about 75-80 minutes. Using these methods not only supports blood sugar management but also enhances the nutritional value of your bread. There’s plenty more to explore.
Key Takeaways
- Use whole grain and low-gluten flours to enhance fiber content and lower the glycemic index of your sourdough bread.
- Create a sourdough starter by mixing equal parts whole wheat flour and water, and ferment for 5-7 days.
- Allow the dough to undergo long fermentation, ideally overnight, to improve flavor and digestibility.
- Incorporate sugar substitutes, like xylitol, and flavor enhancers, like vanilla, to maintain sweetness without raising blood sugar levels.
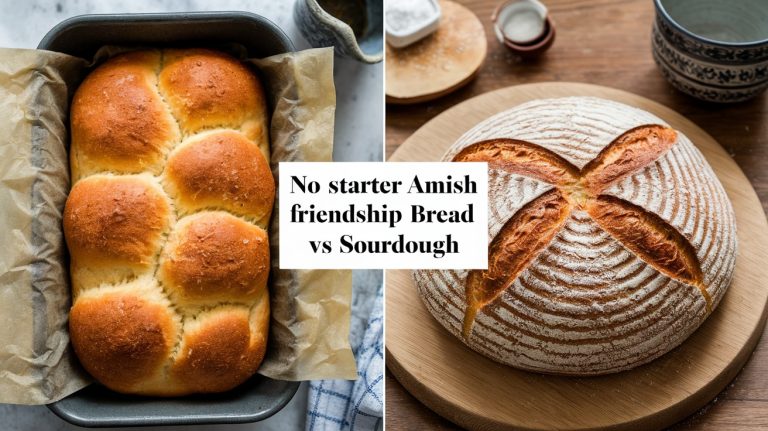
Sourdough Bread and Diabetes: What You Need to Know
Understanding the relationship between sourdough bread and diabetes can help you make informed choices that may lead to better blood sugar management.
Sourdough, especially whole grain varieties, has been shown to cause smaller blood sugar spikes compared to traditional yeasted bread. The fermentation process enhances the nutritional value by increasing nutrient availability and improving digestibility, essential for blood sugar regulation.
Whole grain sourdough is particularly beneficial due to its higher fiber content. It promotes gut health and a more moderate glucose response. Additionally, eating sourdough with protein-rich foods can further improve blood sugar control.
Health Benefits of Sourdough Bread
Sourdough bread offers several health benefits, making it a smart choice for managing diabetes, thanks to its lower glycemic index and nutrient-rich profile.
Sourdough bread causes fewer blood sugar spikes than regular bread, helping to maintain stable blood sugar levels.
The fermentation process enhances digestibility and increases nutrient availability, promoting gut health.
Opting for whole-grain sourdough provides more fiber, essential for regulating blood sugar levels and improving digestive health.
Additionally, the probiotics present in sourdough support gut microbiota health, contributing to better metabolic function and potentially lowering diabetes risk.
Incorporating sourdough bread into your diet can, therefore, be a delicious and nutritious way to support your health.
Essential Ingredients for Sourdough
When making sourdough bread, you should focus on selecting the right low-gluten flour options that support better digestion and lower blood sugar levels.
You can also explore sugar substitutes to sweeten your bread without the risk of spikes in blood sugar.
Low-Gluten Flour Options
Low-gluten flour options like whole wheat, oat, and coconut flour enhance the flavor of your sourdough bread and offer health benefits that can aid in blood sugar management.
Whole wheat flour retains the bran and germ, providing essential nutrients and a high fiber content, beneficial for regulating blood sugar levels.
Oat flour is naturally gluten-free and can improve the bread’s texture while keeping a lower glycemic index.
Coconut flour is rich in fiber and absorbs moisture, so you’ll need to adjust your hydration levels accordingly.
Sugar Substitutes Explained
Incorporating sugar substitutes into your sourdough recipe can enhance flavor while keeping the bread diabetic-friendly.
Xylitol is a popular choice, offering sweetness with 40% fewer calories than traditional sugar and no aftertaste.
You might also consider ripe mashed bananas, which not only provide natural sweetness but also add moisture to your bread.
When using whole wheat flour, you’re opting for a lower glycemic index, aiding blood sugar control.
Alternatively, coconut flour is low in carbohydrates and high in fiber, making it a great substitute.
Oat flour brings additional nutritional benefits, promoting digestive health and helping to regulate blood sugar levels.
These ingredients work together to create delicious, diabetic-friendly sourdough recipes.
Flavorful Additions and Enhancements
Flavorful additions can elevate your sourdough bread, making it more enjoyable and healthier for diabetics. Incorporating whole grains like whole wheat or oat flour boosts fiber and nutrients while lowering the glycemic index.
Mashed bananas provide natural sweetness and moisture without greatly raising blood sugar levels. Sugar substitutes like xylitol offer sweetness with fewer calories and no aftertaste.
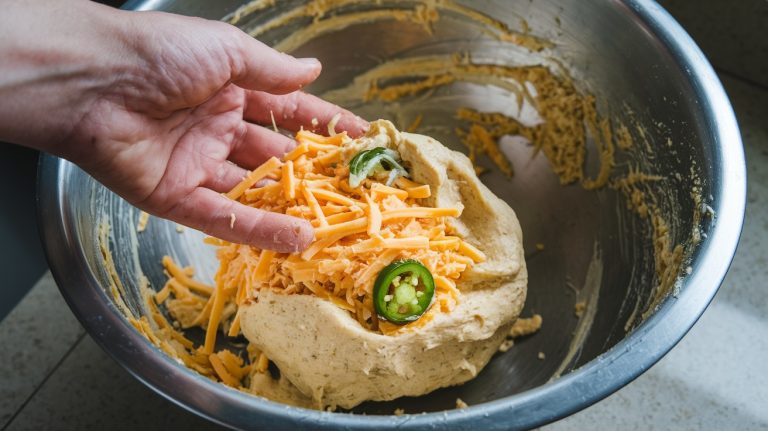
Adding chopped nuts enhances texture and provides healthy fats and fiber. Finally, flavor enhancers like vanilla extract or orange zest can deepen the flavor profile without extra sugar.
| Addition | Benefits | Suggestions |
|---|---|---|
| Whole Grain Flour | Increases fiber | Whole wheat, oat flour |
| Mashed Bananas | Natural sweetness | Use ripe bananas |
| Sugar Substitutes | Lowers calories | Xylitol, erythritol |
| Chopped Nuts | Healthy fats, texture | Walnuts, almonds |
| Flavor Enhancers | Depth of flavor | Vanilla extract, zest |
Creating Your Sourdough Starter
Creating a sourdough starter is a simple yet rewarding process that involves mixing equal weights of whole wheat flour and water to kickstart fermentation. Here’s how to get started:
- Combine 100 grams of whole wheat flour and 100 grams of water in a bowl, mixing until smooth.
- Let the mixture ferment at room temperature for 24 hours, allowing wild yeast and bacteria to develop.
- After 24 hours, discard half of the starter and feed it with 100 grams each of fresh flour and water.
- Continue feeding daily for 5 to 7 days until your starter is bubbly, doubles in size, and has a pleasant, tangy aroma, indicating strong yeast activity.
Step-by-Step Sourdough Recipe
To make a diabetic-friendly sourdough bread, start with your well-fed sourdough starter and gather the necessary low-gluten flours, like whole wheat flour and oat flour.
Mix these with water and a sugar substitute like xylitol. Allow the dough to undergo a long fermentation process, ideally overnight, to enhance flavor and improve digestibility.
Once the dough has risen, shape it and let it rest briefly. Preheat your oven to 350°F, then bake the sourdough for approximately 75-80 minutes.
To verify it’s done, check that the internal temperature reaches 200°F. After baking, cool the bread completely before slicing to avoid gumminess.
Baking Techniques for Success
To bake the best sourdough bread for diabetics, you’ll want to focus on essential tools, effective mixing methods, and proper proofing techniques.
Each step plays a vital role in achieving a delicious loaf that supports your health goals.
Let’s explore these baking techniques to guarantee your bread turns out perfectly every time.
Essential Baking Tools
Having the right tools at your disposal is vital for successfully baking sourdough bread, as they help guarantee precise measurements, perfect baking conditions, and a beautifully shaped loaf.
Here are four vital tools you’ll need:
- Digital Kitchen Scale: Accurate measuring ingredients guarantees consistent hydration levels in your sourdough bread recipe.
- Proofing Basket (Banneton): This helps shape and support your dough during its rise, enhancing structure and presentation.
- Dutch Oven: This creates a steamy environment that’s essential for achieving a crispy crust and moist interior.
- Instant-Read Thermometer: This confirms your bread reaches an internal temperature of about 204°F (95°C) for ideal texture and flavor.
Dough Mixing Methods
Mixing dough effectively is essential for crafting sourdough bread, as it directly influences gluten development and overall texture.
One of the best dough mixing methods is hand mixing, which allows you to control the gluten in the dough and adjust hydration levels. Aim for a hydration level of around 70% to achieve the desired crumb and flavor, especially when using low-gluten flours.
During bulk fermentation, incorporate the stretching and folding technique every 30 minutes for 4-6 hours to strengthen the dough. Adding a seed soaker with rolled oats and seeds enhances nutrition and moisture retention.
Proofing and Baking Tips
Getting the proofing and baking stages right is essential for achieving delicious sourdough bread that’s suitable for diabetics. Follow these tips to guarantee success:
- Control the Temperature: Keep the proofing temperature between 74-76°F (23-24°C) for 2-3 hours, allowing the dough to rise and develop flavor without over-proofing.
- Use Refrigeration: Consider refrigerating the shaped dough for up to 24 hours to enhance flavor and manage fermentation.
- Preheat Your Oven: Preheat to 425°F (220°C) for at least 30 minutes. Use steam for the first 20 minutes to create a crispy crust.
- Score the Dough: Scoring controls expansion and improves rise, which is especially important for whole-grain sourdoughs.
Guarantee the internal temperature reaches at least 204°F (95°C) for a well-baked loaf.
Serving Suggestions for Diabetics
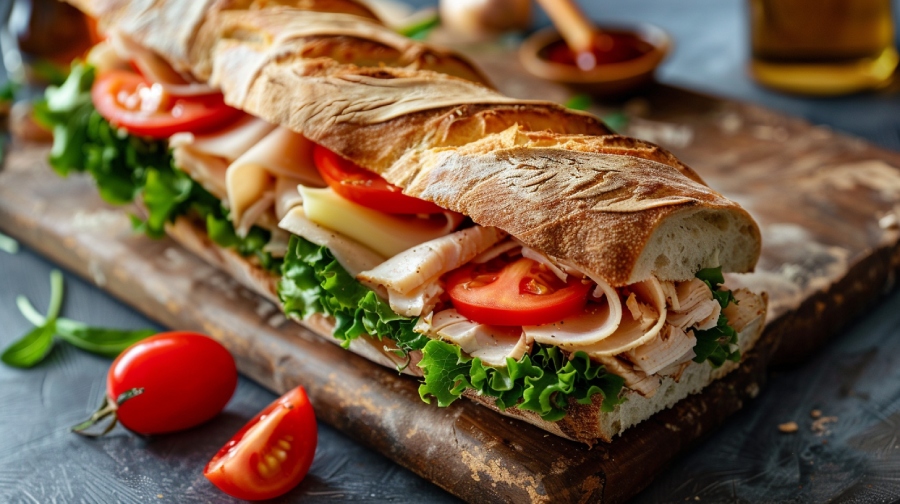
Sourdough bread is a versatile meal base, allowing you to create satisfying sandwiches with lean proteins like turkey or chicken that help stabilize blood sugar levels.
Enhance your sourdough with healthy toppings such as avocado, which is packed with monounsaturated fats and can help regulate blood sugar.
Sourdough can also be enjoyed alongside soups and salads. It is a hearty option that complements fiber-rich vegetables, promoting better digestion and blood sugar control.
For breakfast, try topping your sourdough with nut butter for a balance of protein and healthy fats, helping to manage glucose levels throughout the morning.
Incorporating high-fiber ingredients, like beans or legumes, into your whole recipe will further improve its glycemic response.
Tips for Storing Sourdough Bread
To enjoy your delicious sourdough bread over time, it’s important to store it properly to maintain its flavor and texture. Here are some tips to help you store sourdough bread effectively:
- Keep your best sourdough bread in an airtight container at room temperature for up to one week.
- For longer storage, wrap the whole loaf tightly in plastic wrap and aluminum foil before freezing.
- Pre-slice the bread and place individual slices in a Ziploc bag to minimize freezer burn and make it easier to thaw frozen sourdough bread.
- Always remember to cool sourdough bread completely before slicing to avoid a gummy texture, ensuring a better eating experience.
Frequently Asked Questions
Is Homemade Sourdough Bread Good for Diabetics?
Yes, homemade sourdough bread can be good for you as a diabetic. Its lower glycemic index and fermentation process promote better blood sugar regulation, making it a healthier choice compared to traditional breads.
What Is the Best Bread for Type 2 Diabetes?
As the saying goes, “you are what you eat,” so choosing whole grain sourdough can help manage type 2 diabetes. Its lower glycemic index, fiber content, and fermentation process support better blood sugar levels.
What Is the Healthiest Flour for Sourdough Bread?
When choosing the healthiest flour for sourdough, opt for whole wheat, sprouted grain, or rye flour. These options offer more nutrients and fiber, promoting better digestion and stable blood sugar levels for overall health benefits.
What Is the Glycemic Index of Homemade Sourdough Bread?
The glycemic index of homemade sourdough bread is generally lower than regular bread, thanks to fermentation. This process makes carbs easier to digest, leading to a more moderate glucose response in your body.
The Best Sourdough Recipe for Diabetics: Nutritious, Flavorful, Satisfying
By now, you’ve learned how to make sourdough bread that fits a diabetic-friendly lifestyle, but the real magic happens when you take that first bite.
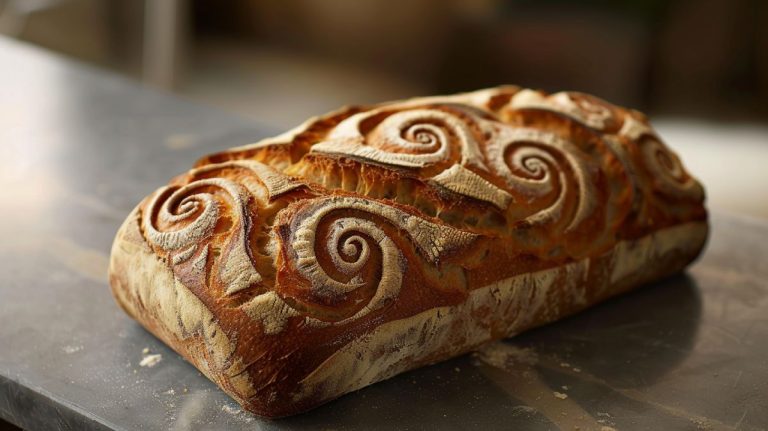
Imagine the crust crackling as you slice through the loaf, the tangy aroma wafting through your kitchen.
Each slice isn’t just a treat; it’s a healthier choice packed with flavor and nutrition.
So gather your ingredients, embrace the process, and savor the satisfaction of making homemade sourdough that’s delicious and diabetes-conscious.