Rosemary Parmesan Sourdough Bread: A Rewarding Baking Experience
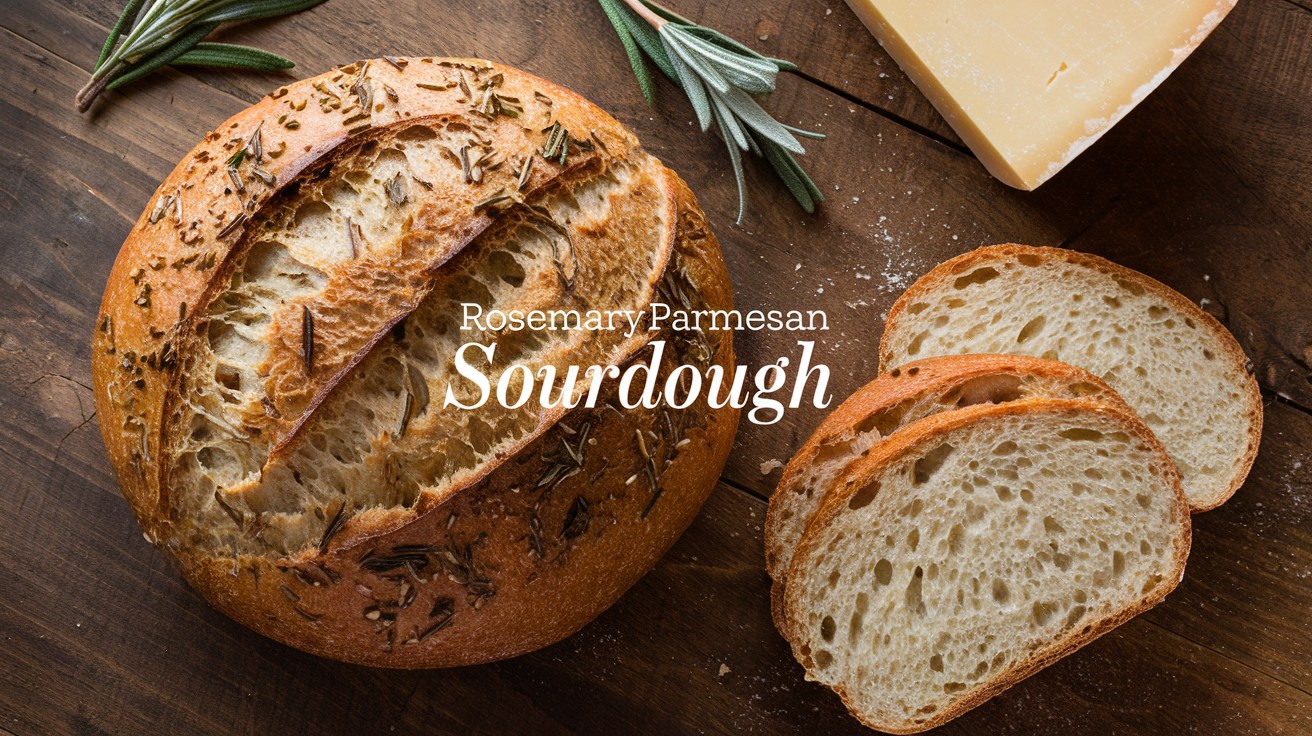
Rosemary Parmesan sourdough bread is a delightful blend of tangy sourdough, fragrant rosemary, and nutty parmesan. You’ll start by mixing bread flour, water, and a robust sourdough starter, allowing the dough to undergo an autolyse for ideal flavor development.
Add in grated parmesan and chopped rosemary, and use the stretch and fold technique to enhance the gluten structure. Allow the dough to rise before baking it in a preheated Dutch oven for a perfect crust.
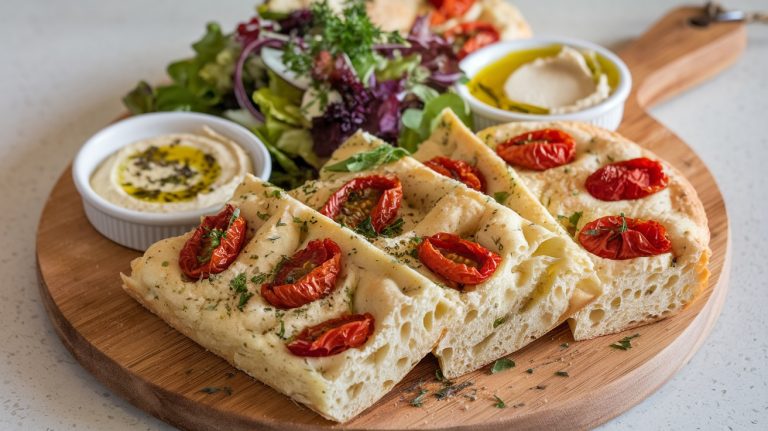
Once cooled, you’ll have a loaf that’s bursting with flavor, making it perfect for sandwiches or alongside your favorite dips. There’s much more to uncover.
Key Takeaways
- Combine 500g bread flour, 250g to 350g water, 50g to 150g sourdough starter, and 9g to 10g sea salt for the dough.
- Incorporate 150g grated parmesan and fresh rosemary for added flavor and aroma.
- Use the autolyse process to enhance gluten development and dough extensibility.
- Bake the dough in a preheated Dutch oven at 490°F (250°C) for optimal crust formation.
- Allow the baked bread to cool on a wire rack for at least an hour before slicing.
Ingredients for Sourdough Bread
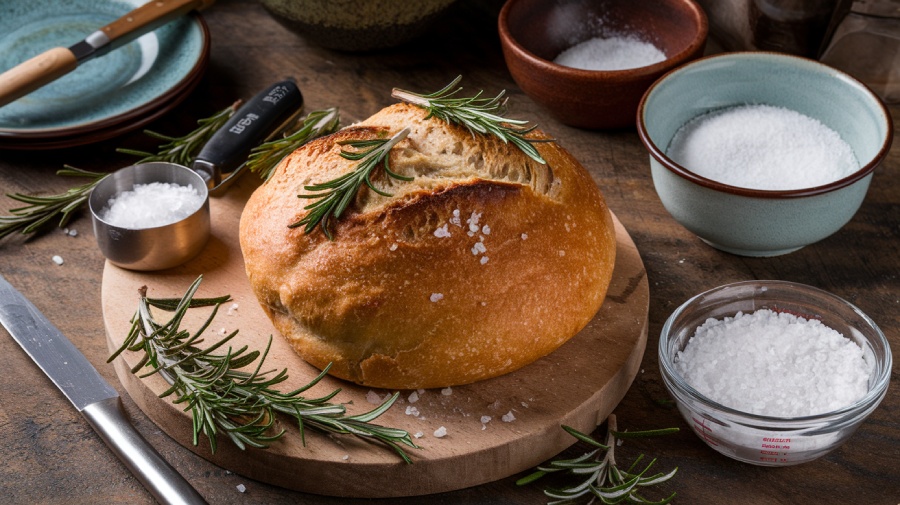
When you set out to make rosemary parmesan sourdough bread, you’ll need a handful of essential ingredients that come together to create that delightful, tangy flavor and chewy texture.
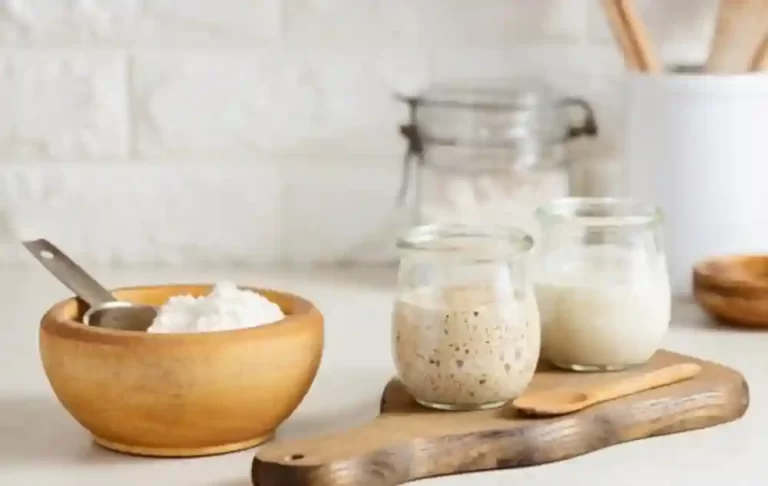
Start with 500g of bread flour, which provides the perfect base due to its high protein content. A hydration level of around 90% hydration is ideal for achieving the perfect crumb. You’ll also need between 250g to 350g of water, depending on your desired hydration level. An active sourdough starter (which is a live culture) ideally 50g to 150g, is vital for that signature tang. Don’t forget about 9g to 10g of fine sea salt to enhance flavor.
For the special touch, add 150g of grated parmesan cheese and fresh rosemary for an aromatic boost. A drizzle of olive oil can also add a plush interior to your loaf.
Essential Measurement Equipment
Accurate measurements are essential for creating the perfect rosemary parmesan sourdough bread, as even a slight variation can impact the texture and flavor. A high-quality digital scale is your best friend in this endeavor. Look for one that boasts accuracy to .01 g, ensuring precise measurements for yeast or salt.
A scale with a high capacity will accommodate larger quantities of dough, while the tare function lets you zero the display for every new ingredient. Additionally, having a thermometer for accurate temperature measurements can help you further ensure the ideal baking conditions.
A scale that offers measurement increments of at least 1 gram enhances accuracy and consistency in your baking. Brands like My Weigh and Ohaus offer reliable options. With a digital scale, you’ll achieve consistency, making it easier to adjust ingredients and refine your recipes. This tool transforms your baking, helping you create professional-quality bread every time.
Autolyse and Mixing Process
Understanding the autolyse process is vital for achieving that perfect texture in your rosemary Parmesan sourdough bread.
By allowing flour and water to rest together, you’re enabling enzymes to enhance gluten development and flavor without excessive mixing. This initial phase, often lasting from 30 minutes to 2 hours, is crucial for optimal dough performance as it allows the enzymes to activate before the addition of salt. Additionally, using room temperature water during this phase can further optimize fermentation in the dough.
Let’s explore the various mixing techniques that will elevate your dough-making skills and guarantee a successful bake.
Importance of Autolyse
Autolyse is a transformative step in the bread-making process that elevates the overall quality of your sourdough. By simply combining flour and water and letting it rest, you reveal a world of benefits that enhance your baking experience.
- Promotes better hydration for whole-grain flours
- Develops gluten with minimal effort
- Preserves flavor and color through carotenoid pigments
- Increases dough extensibility for easier shaping
This technique not only reduces kneading time but also enhances the flavor and aroma of your bread. Additionally, the autolyse method helps improve the dough’s shapeability after resting, making it even more manageable during the shaping process. Understanding the role of bulk fermentation is also essential for achieving a beautifully crafted loaf.
Mixing Techniques Explained
While you’re diving into the world of sourdough bread, mastering the mixing techniques can greatly influence your results.
Start with the autolyse process: combine flour and water to create a shaggy dough, letting it rest for about an hour. This step enhances hydration and initiates gluten development, setting the stage for a better structure. The hydration levels in your dough will significantly impact gluten formation, so pay close attention to achieving the right consistency.
When mixing, guarantee even hydration by incorporating all ingredients without dry lumps. Use mechanical mixing on low to medium speed, or hand mix with wet hands for a more personal touch.
After the initial mix, add salt and your sourdough starter, allowing them to distribute evenly.
Remember to rest the dough to relax the gluten, making it easier to work with as you create your delicious Rosemary Parmesan Sourdough Bread.
Bulk Rise Techniques
Mastering bulk rise techniques is essential for achieving the perfect sourdough bread, as it sets the foundation for flavor, texture, and overall dough development.
During this critical phase, consider these key factors:
- Temperature Range: Aim for 65 to 90°F (18 to 32°C).
- Duration: Warm fermentation lasts 2 to 5 hours, while cold fermentation can take 4 to 24 hours. Preheating the Dutch oven can also influence the overall baking outcome.
- Fermentation Types: Choose between warm or cold bulk fermentation based on your schedule.
- Dough Strength: Bulk fermentation strengthens the dough, allowing for better structure. This step is crucial for developing strong flavors that enhance your sourdough bread.
Stretch and Fold Method
The Stretch and Fold method is a game changer for your sourdough, offering a simple way to strengthen gluten without the elbow grease of traditional kneading. You’ll find that timing and frequency of each stretch can make all the difference in achieving that perfect rise, while also allowing you to incorporate ingredients like rosemary and Parmesan easily.
This hands-on approach not only enhances the texture but also makes the bread-making process more enjoyable. By utilizing the technique of stretching and folding, you can effectively develop gluten structure and trap gases from fermentation, leading to a beautifully airy loaf. Additionally, this method helps to create controlled expansion during baking, which is essential for a well-risen loaf.
Benefits of Stretching Dough
When you stretch and fold your dough, you’re not just working it; you’re enhancing its strength and structure.
This simple technique brings numerous benefits that will elevate your baking game:
- Develops Gluten: Increases strength and elasticity.
- Traps Gases: Creates a light, airy loaf.
- Improves Structure: Helps the dough hold its shape. This process also enhances gluten development, which is crucial for achieving the perfect texture.
- Incorporates Air: Contributes to a lighter crumb.
Timing and Frequency
After you’ve experienced the benefits of stretching your dough, understanding the timing and frequency of the stretch and fold method can further enhance your sourdough baking.
Start with an initial rest of 20-30 minutes before diving into your first set, ideally 30 minutes into the bulk rise. For high hydration doughs, space your folds 15-30 minutes apart, while low hydration doughs benefit from 30 minutes to an hour between sets. Incorporating proper timing for your folds helps to maximize gluten development, ensuring a well-structured dough.
Aim for 3-6 total sets, adjusting based on your dough’s flexibility and your schedule. Remember, each fold strengthens the dough, so don’t rush. Incorporating air gently into the dough during the folds is essential for achieving an open crumb structure.
Finish your last fold at least 30 minutes before dividing the dough for best texture and rise.
Incorporating Ingredients Effectively
To truly elevate your rosemary parmesan sourdough bread, incorporating ingredients during the stretch and fold process is key. This method not only enhances flavor but also preserves the dough’s integrity.
Here’s how you can maximize this technique:
- Add flavors gradually: Incorporate parmesan and rosemary during stretching.
- Maintain dough strength: Gently handle the dough to avoid overworking it. Stretch and fold is a less physically demanding technique, making it accessible for everyone. Additionally, this method promotes even heat distribution in the dough, ensuring better texture.
- Achieve even fermentation: Use stretching to degas the dough, promoting uniformity.
- Monitor resistance: Stop when the dough starts resisting your stretch.
Shaping the Dough
As you prepare to shape the dough, it’s essential that you handle it with care to maintain its structure and airy texture.
Once the dough has risen and is bubbly, gently tip it onto a clean counter. Use a bench knife to divide it into portions for your loaves. If it’s sticky, wet your hands and knife for easier handling. Remember that the dough should have risen and puffed up before proceeding with shaping.
Start by pushing the knife under the dough and tucking it under itself to create initial tension. For a boule, stretch and fold the dough like an envelope, or for a batard, form it into a rectangle, then roll it up.
Let the shaped dough rest for 5 to 10 minutes to relax the gluten before its final rise.
Cold Fermentation Steps
While cold fermentation may seem challenging at first, it’s actually a straightforward process that can elevate your sourdough to new heights.
Follow these essential steps for success:
- Keep it Cool: Set your fridge to 3°C or lower for best results.
- Timing is Key: Let your shaped dough rest in the fridge for 24 to 48 hours. This extended resting period allows for flavor development, which is crucial for achieving a rich taste in your sourdough.
- Cover Properly: Use a plastic bag or damp tea towel to loosely cover the dough.
- Monitor Conditions: Confirm your fridge maintains the right temperature to avoid over-fermentation.
This method slows down fermentation, allowing deep flavor development and enhancing health benefits.
Plus, it fits seamlessly into your busy schedule, making it a perfect choice for any home baker looking to create irresistible sourdough!
Baking the Bread
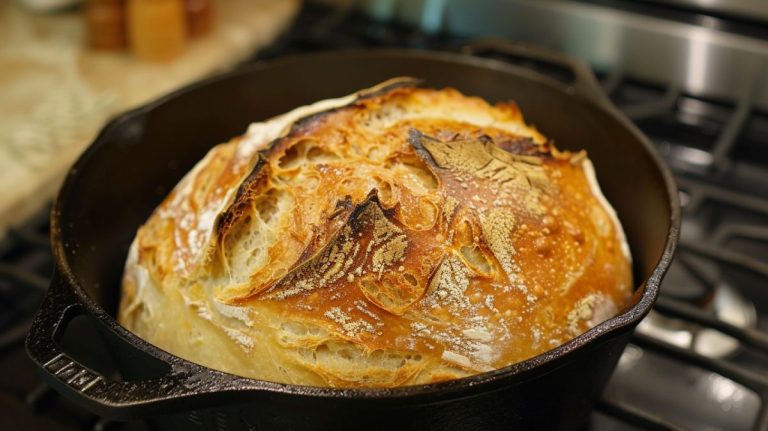
Once your dough has completed its cold fermentation, it’s time to bring it to life in the oven. Preheat your oven to a sizzling 490°F (250°C) with your Dutch oven inside. While it heats, score the top of your dough with a razor blade to allow steam to escape.
Carefully transfer the dough, still on parchment paper, into the preheated Dutch oven. Cover it and bake for 30 minutes, then uncover and bake for another 15-20 minutes until the crust turns golden brown. Remember that baking the bread with an active starter is crucial for achieving the best results. You’ll know it’s done when the bread sounds hollow when tapped. Once baked, let it cool on a wire rack for at least an hour before slicing into your beautiful Rosemary Parmesan Sourdough!
Tips for Success
To achieve the best results with your Rosemary Parmesan Sourdough Bread, pay close attention to your sourdough starter’s health and activity. Here are some essential tips to guarantee success:
- Feed your starter 4-12 hours before baking for peak activity.
- Perform the float test to check if your starter is ready.
- Utilize the stretch and fold technique to develop gluten without kneading.
- Proof the dough in the refrigerator for 12-15 hours for enhanced flavor. This extended proofing allows for a long overnight rise, which is crucial for optimal flavor infusion.
Flavor Variations to Try
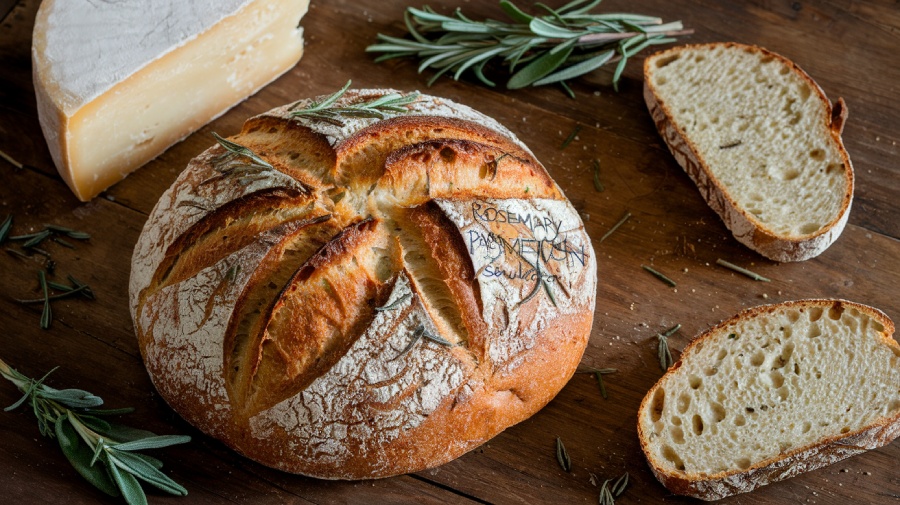
When you’re ready to elevate your Rosemary Parmesan Sourdough Bread, consider exploring a variety of flavor twists that can transform your loaf into something extraordinary.
Swap rosemary for thyme for a different herbal note, or use fresh parsley for a milder touch. You can also brush your bread with garlic butter post-baking for an irresistible aroma.
Experiment with cheese by trying cheddar or mozzarella, or mix various cheeses for a complex flavor profile. Adding olives or your favorite dip in the center introduces savory layers, while spices like red pepper flakes can kick up the heat. Regular practice enhances understanding and skill, so feel free to experiment with these flavor variations often!
Finally, incorporate nuts or seeds for added texture—each variation creates a unique, delightful experience!
Frequently Asked Questions
Can I Use Whole Wheat Flour Instead of Bread Flour?
Yes, you can use whole wheat flour instead of bread flour, but expect some differences.
Whole wheat flour offers a denser texture and a more complex flavor, thanks to its higher nutrient content.
You’ll need to adjust hydration levels since it absorbs more water.
Also, be prepared for longer proofing times due to its higher bacteria levels.
Experimenting with ratios can help you find the perfect balance for your bread.
How Do I Know My Sourdough Starter Is Ready?
Your sourdough starter’s readiness is like a symphony—each note must harmonize.
Look for it to double in size, bubbling with excitement. The texture should be airy and slightly stretchy, while a pleasant tang fills the air.
Perform the float test; if it dances on water, you’re golden.
Observe its peak activity within 2 to 12 hours post-feeding, ensuring you feed it regularly to maintain that vibrant health.
Happy baking!
What Type of Salt Is Best for Sourdough Bread?
When it comes to sourdough bread, you’ll want to choose the right type of salt for ideal flavor and texture.
Kosher salt is a popular choice due to its larger crystals, making it easier to control. If you’re after a unique twist, artisan salts like Maldon or pink Himalayan can add depth.
Just remember, whatever salt you pick, measure it by weight for accuracy to guarantee perfect hydration and fermentation!
How Can I Store Leftover Sourdough Bread?
To store leftover sourdough bread, place it cut side down on a cutting board or in a breadbox.
Use breathable materials like a cloth bag or tea towel to keep it fresh without trapping moisture. Avoid plastic bags, as they can make your bread soggy.
For longer storage, slice and freeze it in an airtight container.
Can I Freeze the Dough Before Baking?
You can absolutely freeze your sourdough dough before baking—it’s like having a secret stash of doughy goodness waiting for you!
After the bulk fermentation, shape the dough and place it in a prepared bowl. Cover it well to prevent freezer burn, and pop it in the freezer.
When you’re ready to bake, just thaw it at room temperature, let it rise again, and you’ll have fresh bread in no time!
Bake, Savor and Celebrate Timeless Traditions
To sum up, baking your own rosemary parmesan sourdough bread not only fills your kitchen with mouthwatering aromas but also connects you to a time-honored tradition. Did you know that sourdough bread has been made for over 6,000 years?
That’s right! By mastering this recipe, you’re joining a long lineage of bakers who’ve cherished the art of fermentation. So, roll up your sleeves and enjoy the delicious rewards of your efforts—you won’t regret it.

