How to Bake Sourdough in a Dutch Oven: Crusty, Golden Perfection
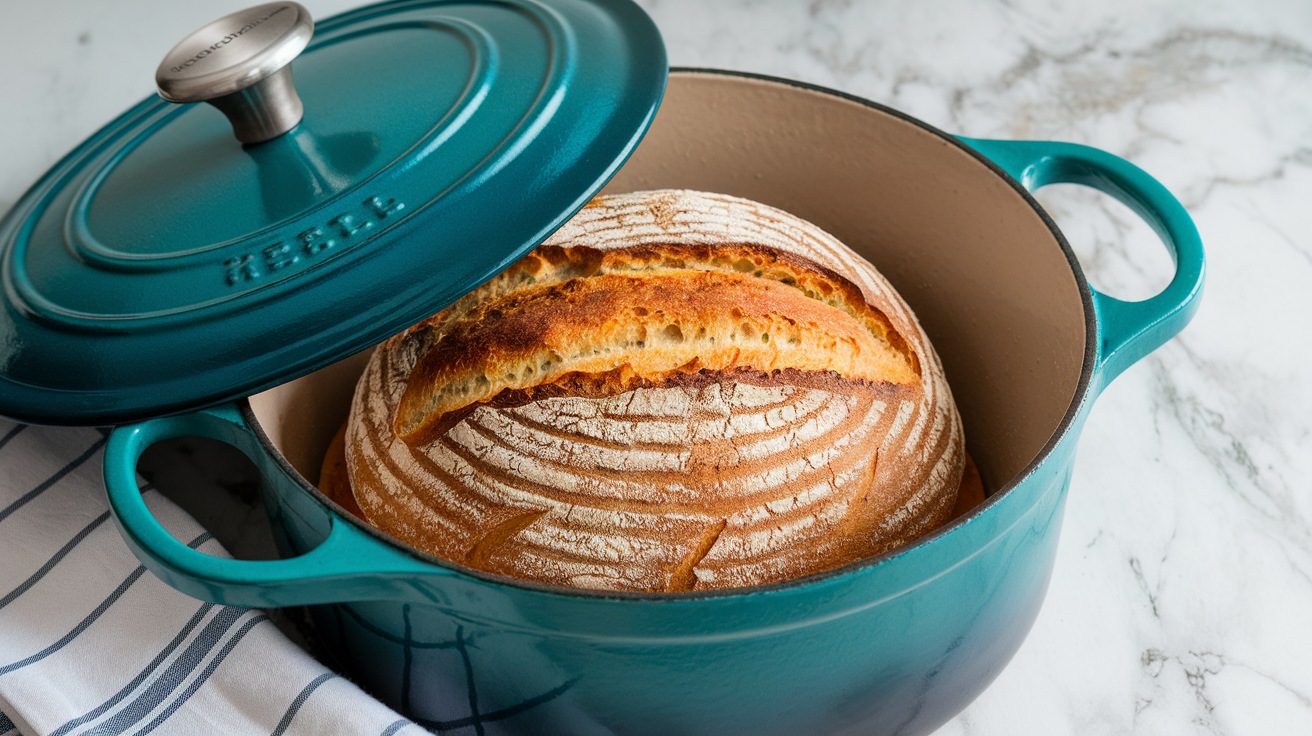
To bake sourdough in a Dutch oven, start by preheating your 6-quart cast iron pot to 450°F for 30-45 minutes. Prepare your dough using active sourdough starter, flour, water, honey, and salt.
Let the dough rest for 20 minutes to hydrate, then shape it. Place it on parchment paper for easy transfer. Score the top with a sharp blade, cover the pot, and bake for 20 minutes.
Remove the lid and bake for another 15-20 minutes until golden brown. These steps guarantee a crusty loaf; there’s even more to explore for perfecting your sourdough technique.
Key Takeaways
- Preheat the Dutch oven to 450°F (230°C) for 30-45 minutes to ensure a crispy crust.
- Mix flour, water, starter, honey, and salt, then rest the dough for 20 minutes before kneading.
- Bake the dough covered for the first 20 minutes to trap steam, then uncover for an additional 15-20 minutes.
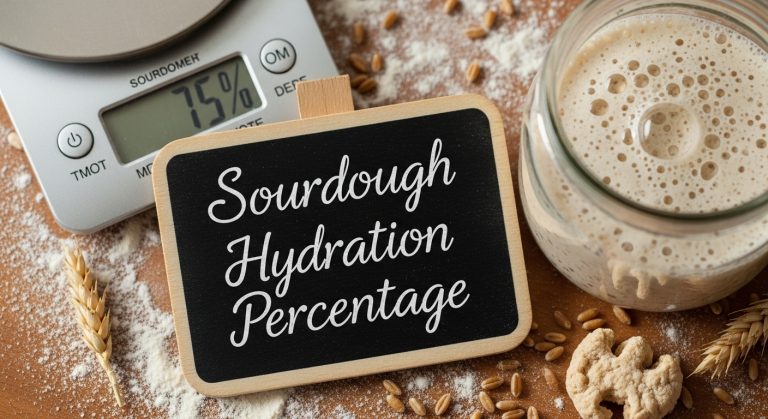
- Monitor the hydration level; ideal sourdough hydration is 70-80% for optimal dough consistency.
- Allow the bread to cool completely on a wire rack for 4-6 hours to preserve crustiness.
Essential Tools and Ingredients
Gathering the right tools and ingredients is essential for successfully baking sourdough in a Dutch oven. You’ll want to guarantee you have everything at your fingertips before you start. Here’s a handy table to help you keep track:
| Tools/Ingredients | Purpose | Notes |
|---|---|---|
| Dutch oven | Baking the bread | Heavy cast iron, ideally 6 quarts |
| Banneton | Proofing the dough | Use rice flour to prevent sticking |
| Kitchen scale | Measuring ingredients | Essential for precise ratios |
| Sourdough starter | Fermentation | Use an active starter, fed 4-12 hours prior |
| Bread flour/all-purpose flour | Main ingredient for dough | Whole wheat flour can also be included |
| Salt | Enhances flavor and structure | Essential for the dough |
| Bread lame/razor blade | Scoring the dough | Helps create a beautiful crust |
Step-by-Step Baking Process
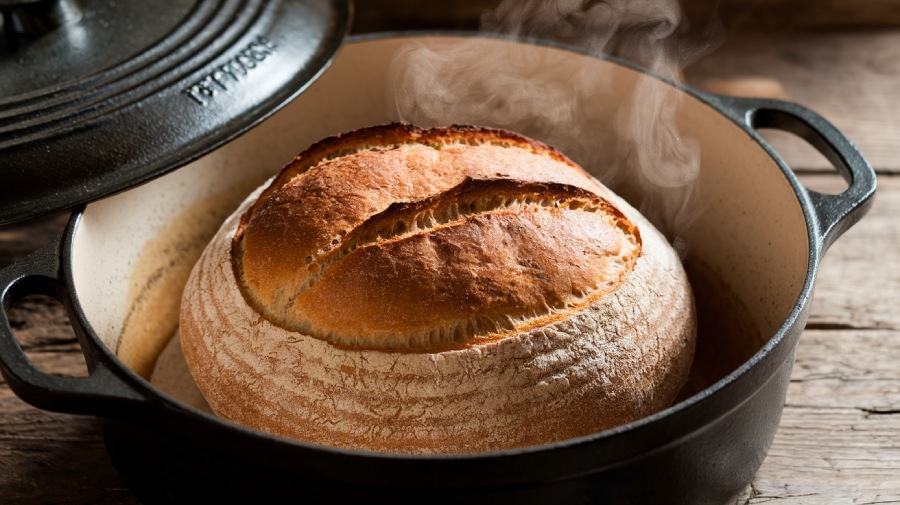
To bake your sourdough to perfection, start by preheating your Dutch oven to 450°F for 30-45 minutes, as this high temperature is essential for achieving that desirable crust.
The steam trapped inside the Dutch oven enhances the flavor and texture, mimicking the environment of professional bread ovens and allowing for ideal oven spring.
Next, prepare your dough and score the top to enhance the crust.
Preheating the Dutch Oven
Before you start baking, preheating your Dutch oven is essential for achieving that perfect sourdough loaf. To guarantee you reach the ideal temperature, follow these steps:
| Step | Action | Purpose |
|---|---|---|
| 1. Preheat | Set your oven to 450°F (230°C). | Achieve ideal temperature. |
| 2. Position | Place the empty Dutch oven inside. | Create a humid baking environment. |
| 3. Verify | Use an oven thermometer. | Check internal temperature. |
| 4. Maintain | Avoid opening the oven door. | Keep a consistent temperature. |
| 5. Cool Down | Let the Dutch oven cool down slightly. | Prevent burning the bottom crust. |
Dough Preparation Steps
When preparing the dough for your sourdough loaf, start by mixing together 3 1/4 cups of unbleached all-purpose flour, 1 1/4 cups of water, 3/4 cup of active sourdough starter, 1 tablespoon of honey, and 1 1/2 teaspoons of sea salt until a cohesive dough forms.
It’s important to use a Dutch oven for ideal baking because it helps achieve a perfect crust and crumb. Let the dough rest for 20 minutes to promote hydration. After resting, gradually add more flour until you achieve a soft, slightly sticky consistency.
Knead the dough for a few minutes until it forms a cohesive ball. Cover it and let it rise, performing folds every 15 minutes for the first hour.
During this time, preheat the Dutch oven to 500°F (or 450°F if necessary) for 45-60 minutes while the dough continues to rise. It should spring back slightly when pressed, indicating it’s ready.
Before baking, slash the top of the dough to allow steam to escape. Place it in the preheated Dutch oven, and bake covered for 20 minutes.
Then, uncover it for an additional 15-20 minutes to develop that beautiful golden crust.
Baking and Cooling Techniques
Baking your sourdough in a Dutch oven is essential for achieving that perfect crust and crumb. Start by preheating your Dutch oven to 450°F (230°C) for 30-45 minutes. This creates a humid baking environment that promotes a crispy crust, similar to the results seen with the Le Creuset Sourdough Pan, which is known for its excellent heat retention and steam circulation.
Once heated, carefully transfer your scored dough onto the parchment paper to prevent burns and make it easier to place into the hot Dutch oven.
Next, bake your sourdough bread covered for 20 minutes. This traps steam inside, which is critical for the initial rise and softening of the crust. After 20 minutes, remove the lid and continue baking for an additional 20-25 minutes. Keep an eye on it; you’re aiming for a deep golden brown color on that crust.
Once your bread is done, resist the temptation to slice it right away. Allow the baked sourdough to cool completely on a wire rack for at least 1 hour. This step is essential for ensuring the crumb sets properly and avoiding a gummy texture.
Common Issues and Solutions
When baking sourdough, you might encounter a few common issues that can affect your results.
A sticky dough, for example, often signals over-fermentation, while a lack of rise may point to a weak starter.
Let’s explore how to troubleshoot these problems and keep your crust perfectly fresh.
Sticky Dough Troubleshooting
Dealing with sticky dough can be frustrating, but understanding its causes and solutions can make a big difference in your baking process. If your sourdough bread is overly sticky after bulk fermentation, it might be a sign of over-fermentation. Adjust your timing to prevent excessive hydration and stickiness, as monitoring fermentation progress is essential for achieving the right dough consistency.
During the stretch and folds, always use a well-floured surface to help manage stickiness and improve your dough handling. If you find the dough too wet, gradually incorporate additional flour during kneading, ensuring it remains soft but manageable.
To develop gluten structure and reduce stickiness, consider performing the stretch and fold technique every 30 minutes for about 2 hours. This helps strengthen the dough without adding too much flour.
If stickiness persists, check your hydration level; a typical sourdough dough should sit around 70-80%. Depending on the flour you’re using, adjustments may be necessary.
Crustiness Preservation Methods
To keep your sourdough bread’s crust crispy and delicious, it’s important to store it properly after baking. Follow these methods to preserve your bread’s crustiness:
- Use paper or cloth bags for storage to allow moisture to escape while maintaining the crust’s integrity. A well-developed crust is essential for flavor enhancement and texture, which can be achieved through proper baking techniques baking sourdough in a loaf pan.
- Avoid refrigeration, which can dry out the crust and alter the texture; keep your bread on the counter for ideal freshness up to 5-7 days.
- Place a baking sheet or stone beneath your Dutch oven during baking to prevent burning the bottom crust.
- Consider using coarse cornmeal or wheat bran as a thermal barrier between the dough and the Dutch oven to reduce the risk of a burnt crust.
Additionally, let your sourdough bread cool completely for 4-6 hours before slicing. This step guarantees that the crust remains crisp and prevents a gummy texture.
Fermentation Timing Adjustments
Fermentation timing is essential for achieving the perfect sourdough loaf, and adjustments can make a significant difference. Pay close attention to room temperature, as warmer conditions may require shorter bulk fermentation times to prevent over-proofing. Ideally, you want your dough to double in size within 4-6 hours. If your dough feels overly sticky after bulk fermentation, that’s a sign you’ve over-fermented, so aim for a shorter time next round.
Incorporating a refrigerated second rise after shaping can enhance flavor and make scoring easier. Aim for 12-24 hours in the fridge before baking. As you monitor your dough, look for surface bubbles, which indicate it’s time to shape. Sparse bubbles? You might need to extend the fermentation time a bit.
To keep track of your progress, maintain a log of fermentation times and dough behavior. This will help you adjust future baking sessions based on your previous experiences.
| Issue | Solution |
|---|---|
| Over-proofing | Reduce bulk fermentation time |
| Sparse bubbles | Extend fermentation time |
| Sticky dough | Shorten fermentation next time |
| Delayed shaping | Consider a second rise in fridge |
Storing Your Sourdough Bread
While you may be tempted to store your freshly baked sourdough bread in the fridge, doing so can actually make it dry out quicker. To maintain its delicious taste and texture, focus on proper storage. Aim to keep your sourdough at room temperature, and consume it within three days for the best experience.
Here are some effective ways to store sourdough:
- Use paper or cloth bags
- Keep it in a bread box
- Wrap it in beeswax wrap
- Use a plastic bag
Avoid refrigeration, as it can lead to a stale loaf. With proper storage, sourdough lasts about 5-7 days, and you’ll enjoy a crispy crust if you keep it in a breathable container.
If you’re worried about not finishing the loaf in time, consider slicing and freezing it. You can toast slices directly from the freezer, making it a quick and tasty option for any meal.
Tips for Perfect Results
How can you achieve perfect results when baking sourdough in a Dutch oven? First, preheat your Dutch oven to 450°F (230°C) for at least 30-45 minutes. This creates a steamy environment that enhances oven spring and crust formation.
While it’s heating, prepare your dough by placing it on a piece of parchment paper. This makes it easy to transfer into the hot Dutch oven while reducing the risk of burns.
Before you bake, score the dough with a sharp blade. This step allows for controlled expansion during baking and helps create a beautiful crust by allowing steam to escape.
When you’re ready to bake, cover the Dutch oven for the first 20 minutes to trap steam, which is essential for that perfect crust. After that, remove the lid and continue baking for an additional 20-25 minutes until your loaf turns a deep golden color.
Frequently Asked Questions
What Temperature Do You Bake Bread in a Dutch Oven?
When you’re ready to bake bread, think of temperature as the heartbeat of your kitchen.
You’ll want to preheat your Dutch oven to about 450°F (230°C) for a solid start. This initial heat helps create a perfect environment for rising and crust formation.
After about 20-30 minutes, uncover the pot and drop the temperature to 410°F (210°C) for the remainder of the baking time.
Keep an eye on it, and enjoy!
Is a Dutch Oven Good for Sourdough?
Absolutely, a Dutch oven‘s perfect for sourdough! Its thick cast iron walls trap steam, giving your bread that crispy crust and excellent rise.
When you preheat it, you create an ideal baking environment that mimics professional ovens. You’ll notice a significant improvement in texture and flavor.
Just make sure to use a model that fits your loaf size, like the Lodge Double Dutch Oven, for consistent results every time.
How Long to Bake Sourdough in a Dutch Oven?
When you’re baking sourdough, timing is essential.
Typically, you’ll want to bake it for 35 to 60 minutes. Start with the first 20-30 minutes covered to trap steam, which helps your loaf rise beautifully.
Once you remove the lid, continue baking for another 15-25 minutes until the crust turns golden brown.
Do You Have to Use Parchment Paper in Dutch Oven for Sourdough?
You don’t have to use parchment paper when baking sourdough in a Dutch oven, but it sure makes things easier.
Parchment helps prevent sticking, allowing you to remove your bread without hassle. If you skip it, dust the pot with flour or cornmeal for a non-stick surface.
Dutch Oven Magic: Sourdough Bread Made Easy
Now that you’ve mastered baking sourdough in a Dutch oven, you’ve revealed a timeless art, much like the ancient bakers who once transformed humble ingredients into golden loaves. As you enjoy the fruits of your labor, remember that each loaf carries a story—yours.
Embrace the process, learn from each bake, and savor the journey. With practice, you’ll find your rhythm and create bread that not only nourishes but also connects you to generations of bakers before you.

