Hard Pretzel Recipe: Crowd-Pleasing Perfection
To make hard pretzels, start by combining bread and all-purpose flour with yeast activated in warm water and sugar. Knead until smooth and let the dough rise for an hour or longer.
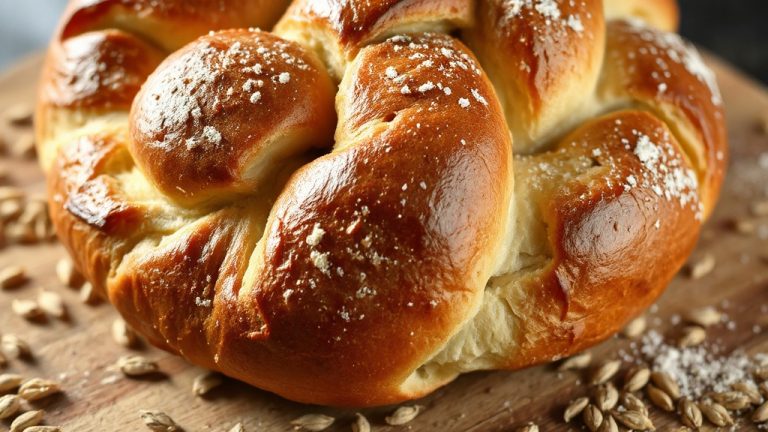
Shape into ropes, form classic twists, and rest to relax the gluten. Dip them quickly in a baking soda bath to lock in chewiness, then bake at 300°F until golden and crunchy with a chewy interior.
Perfect for snack lovers wanting to master this classic treat—you’ll soon uncover the secrets to each step.
Key Takeaways
- Combine bread flour and all-purpose flour with yeast activated in warm water for a chewy, well-risen pretzel dough.
- Shape dough into long ropes, twist into pretzel forms, and rest 20-60 minutes for gluten relaxation and expansion.
- Briefly boil pretzels in a baking soda bath to develop a chewy crust and help salt adhesion.
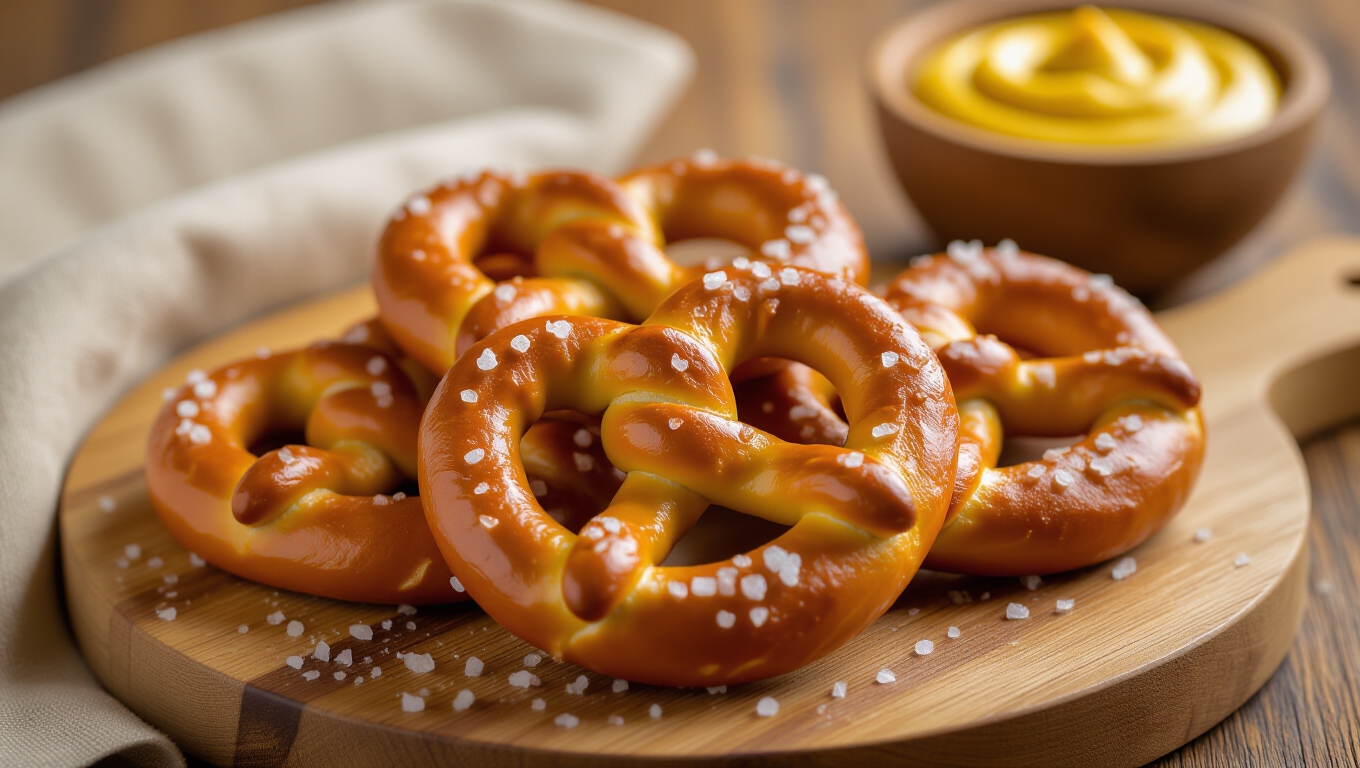
- Brush with egg wash, sprinkle coarse salt, and bake at 300°F until deep mahogany brown with a crunchy crust.
- Cool pretzels on wire racks to maintain crispness and check for a brittle interior indicating proper baking.
Homemade Hard Pretzel Recipe Table
| Ingredients | Process |
|---|---|
| 3–4.5 cups unbleached all-purpose flour mixed with bread flour | Sift flours together for even mixing, boosting texture and chewiness. |
| 2 tbsp light brown sugar or barley malt syrup | Add to warm water to help activate yeast and develop flavor. |
| ½–1 tsp salt | Enhances flavor and strengthens gluten for better elasticity. |
| 1 cup warm water or milk (90°F–115°F) | Hydrates dough and helps yeast activation. |
| 2¼ tsp active dry or instant yeast | Activate in warm water with sugar until frothy and bubbly. |
| 1–2 tbsp unsalted butter (optional) | Adds richness and crispness to the baked pretzels. |
| ½–1 cup baking soda | Dissolve in 8–9 cups boiling water for the baking soda bath. |
| 1 egg (for egg wash) | Brush before baking for a glossy golden finish. |
| Coarse salt or seeds | Sprinkle before baking for extra flavor and texture. |
Ingredients for Hard Pretzel Dough
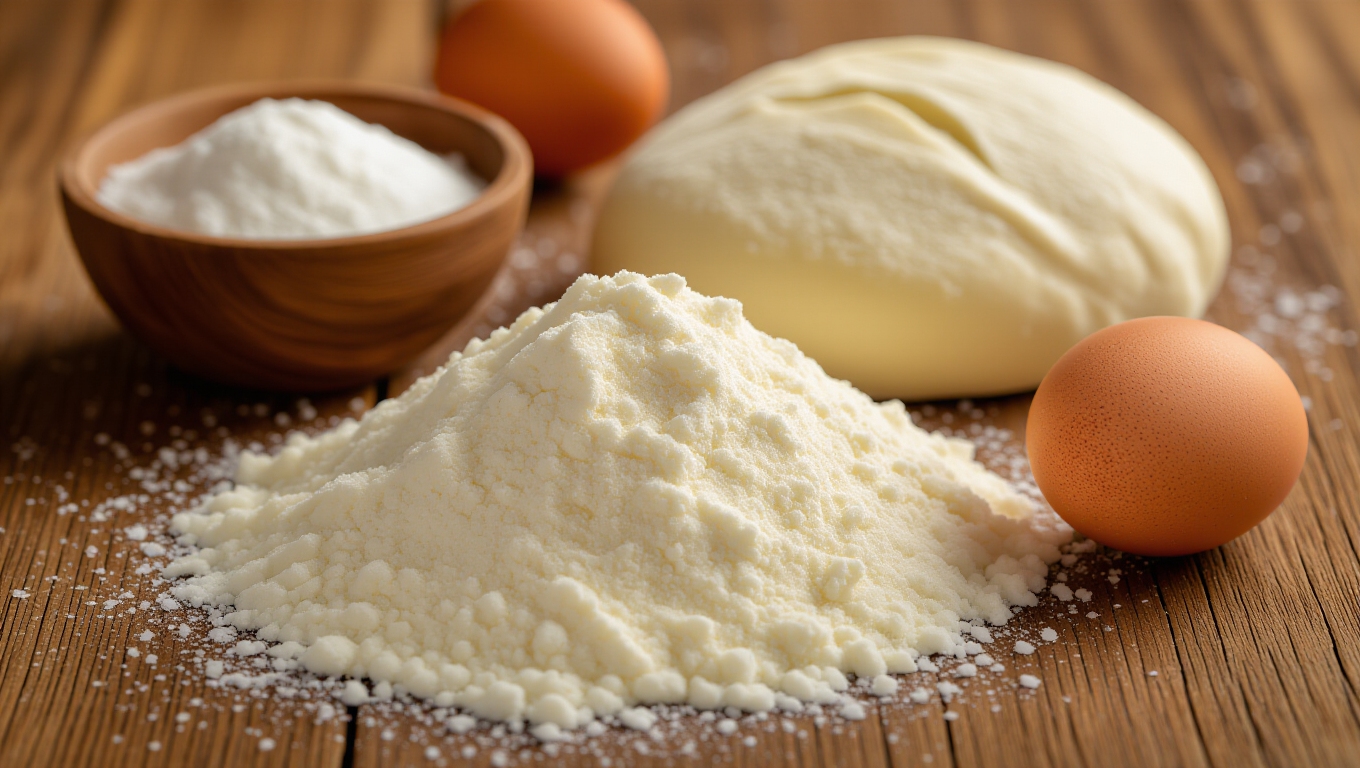
When you start gathering ingredients for hard pretzel dough, the choice and balance of flours play a crucial role in achieving that perfect chewy texture. You’ll often use unbleached all-purpose flour combined with bread or strong wheat flour, totaling about 3 to 4.5 cups.
This blend enhances both texture and chewiness. Don’t forget to sift your flours with other dry ingredients to ensure even mixing.
Combining flours boosts texture and chewiness—always sift dry ingredients for a uniform, perfect dough.
For sweetness and yeast activation, add around 2 tablespoons of light brown sugar or a touch of barley malt syrup for richer flavor and color. Salt, about ½ to 1 teaspoon, is necessary for flavor balance and fermentation control.
Hydrate your dough with roughly 1 cup of warm water or milk, and consider adding a bit of unsalted butter for richness and crispness. The dough will need time to rise properly, usually around 1 to 1.5 hours, to develop the right texture and flavor letting it rise.
Preparing the Yeast and Dough
Start by activating your yeast in warm water with a pinch of sugar until it becomes bubbly and foamy, signaling it’s ready.
Next, mix your flour and salt thoroughly before gradually adding the yeast mixture to form a rough dough.
To aid fermentation and flavor, dissolve the salt and granulated sugar in warm water before adding the active sourdough starter.
Finally, knead the dough until it’s smooth and elastic, developing the gluten that gives pretzels their signature chewy texture.
Yeast Activation Process
How do you guarantee your yeast wakes up lively and ready to work? Start by warming water to about 90°F–115°F, the perfect range to encourage yeast growth without killing it. Using a digital baking scale can help you measure ingredients precisely for consistent results.
Whisk in sugar or malt syrup to feed the yeast, dissolving it fully before adding the yeast. Sprinkle 2¼ teaspoons of active dry or instant yeast into the mixture, then let it rest undisturbed.
In 5 to 10 minutes, watch for a frothy, bubbly surface—that’s your sign the yeast is alive and kicking. This step is essential to activate yeast properly before mixing with other ingredients.
Once bubbly, you’ll add this mixture to your dry ingredients to form a shaggy dough mass.
This activation step ensures your pretzels develop the perfect chew and rise beautifully during proofing.
Flour and Salt Mixing
Although yeast activation sets the stage, the real magic begins when you combine your carefully chosen flour and salt. Start with bread flour for that perfect chewy texture, then sift or whisk it together with about 1.5 teaspoons of salt and a pinch of sugar to guarantee even distribution. This method mirrors the high-quality flours used in artisan bread mixes like Krusteaz, which contributes to the bread’s texture.
Mixing dry ingredients first helps you control the dough’s consistency and hydration precisely. Use lukewarm water to dissolve the salt and activate the yeast effectively. Some prefer to add salt after initial mixing to avoid early yeast inhibition, allowing a stronger rise.
Salt not only enhances flavor but also strengthens gluten, improving dough elasticity essential for shaping pretzels. After mixing, let the dough rest briefly, promoting flour hydration and setting the foundation for a smooth, cohesive dough. For best results, refrigerate dough for 8-24 hours to develop flavor and improve texture before shaping.
Dough Kneading Techniques
Once your yeast has bloomed into a foamy, fragrant mixture, you’ll combine it with flour, butter, and salt to create a shaggy dough.
Start mixing with a wooden spoon or in a stand mixer on low speed.
The dough should feel firm and slightly tacky, not sticky—adjust flour or water as needed.
Knead by pushing the dough with the heel of your hand, folding it back, and turning it a quarter turn repeatedly.
Knead for 5 to 7 minutes in a mixer or up to 24 minutes by hand until the dough is smooth and elastic, signaling strong gluten development.
Using water at around 120°F can help activate the yeast properly during mixing.
Use just enough flour on your hands or surface to manage tackiness.
After kneading, cover the dough and let it rest to rise, ensuring perfect pretzel texture and structure.
Shaping and Resting the Pretzels
You’ll want to roll your dough into a consistent length to guarantee even shaping and baking.
Taking the time to rest your pretzels after shaping helps relax the gluten, preventing shrinkage and creating a better texture. Resting the dough also improves its extensibility, making it easier to shape without thin or thick spots. Using a waterproof cover like a shower cap during resting maintains moisture and keeps the dough fresh.
Let’s explore how these techniques come together for perfect pretzels every time.
Rolling Dough Techniques
When rolling your pretzel dough, start by dividing it into equal portions to guarantee each pretzel bakes evenly. Use a lightly floured or unfloured surface, depending on stickiness, to prevent the dough from sticking.
Pat each portion into a rough rectangle, then roll it into a long rope about 18 to 22 inches long. Work with your palms from the center toward the ends, applying slightly more pressure near the tips to taper them for easier shaping. Dough may shrink back; roll partway, then rest the dough briefly to allow it to relax before continuing. This rest period helps achieve the best rolling results.
If the dough resists or shrinks back, let it rest briefly before continuing.
When shaping, form a “U” with the rope, cross the ends twice, and fold them down, pressing gently to seal without flattening.
Cover shaped pretzels with a damp towel to keep them moist and place them spaced apart on lined sheets to rest undisturbed.
Optimal Resting Times
Although shaping pretzels demands skill, allowing the dough to rest properly before and after this step is just as crucial for achieving that perfect texture and structure.
After bulk fermentation, which takes 5 to 6 hours at around 78ºF, you can refrigerate the dough for 8 to 24 hours to develop flavor and elasticity.
When you shape the pretzels, give the dough 20 to 30 minutes of rest covered with plastic or a damp cloth to relax the gluten and prevent drying.
Finally, proof the shaped pretzels on baking sheets for 30 to 60 minutes until they visibly expand.
Proper resting ensures excellent oven spring, a chewy interior, and that deep brown crust classic in hard pretzels.
Adjusting hydration levels during resting can significantly influence the texture and crumb of the final product.
Baking Soda Bath Technique

Since the baking soda bath plays a crucial role in shaping your pretzel’s texture and flavor, mastering the technique is essential. You start by dissolving about 1/2 to 1 cup of baking soda in 8-9 cups of boiling water, creating an alkaline bath that jumpstarts the Maillard reaction for that deep brown crust.
For extra potency, try baking the baking soda beforehand to transform it into washing soda, boosting alkalinity without harsh lye. When you dip your pretzel dough, fully submerge it for 15-30 seconds, flipping midway to coat evenly. Use a slotted spoon or tongs to lift it out, letting excess solution drain.
This bath gelatinizes surface starches, locks in chewiness, and helps salt stick. Remember: keep batches small to maintain bath temperature and effectiveness. Dipping pretzels in this bath for 30 seconds, flipping once, is recommended before placing them on baking sheets.
Baking and Finishing Touches
After giving your pretzels a baking soda bath to develop that signature crust, it’s time to focus on baking and finishing touches that bring out their full flavor and texture. Bake at 300°F, rotating sheets after 25 minutes for even browning.
This method replicates the traditional lye treatment that enhances the Maillard reaction, producing the characteristic dense, glossy crust. Using a digital thermometer can help ensure precise oven temperature for consistent results.
Look for a mahogany hue and firm crunch—key doneness signs. Brush lightly with egg wash before baking to achieve a glossy, golden finish and add salt or seeds for extra flavor.
Cool pretzels on wire racks to prevent sogginess, and test hardness by breaking one in half; a brittle interior means you nailed it.
| Step | Temperature & Time | Key Tip |
|---|---|---|
| Initial Bake | 300°F for 25 minutes | Rotate sheets for even heat |
| Egg Wash & Salt | Just before baking | Brush lightly, sprinkle salt |
| Final Bake | 300°F for 25-40 minutes | Watch for mahogany color |
| Cooling | Room temp on wire rack | Ensures crispness |
Tips for Perfect Hard Pretzels
How do you achieve that perfect hard pretzel texture that’s both satisfyingly crunchy outside and delightfully chewy inside? Start by blending bread flour with all-purpose flour to balance chewiness and structure.
Activate your yeast in warm water with sugar until foamy for strong fermentation.
Knead the dough until smooth and tacky, then let it rest for hydration. When shaping, roll even ropes and form classic pretzels carefully, spacing them well to prevent sticking.
The secret: a quick baking soda bath creates that iconic crust and deep color.
After drying, brush with egg wash and sprinkle coarse salt to enhance flavor and shine.
Proof just enough to avoid softness, and handle dough gently to keep a light, chewy interior beneath a crisp crust.
Using a KitchenAid mixer can streamline kneading and improve dough consistency for your pretzels.
Frequently Asked Questions
Can I Make Hard Pretzels Without a Stand Mixer?
Absolutely, you can make hard pretzels without a stand mixer. You’ll mix ingredients by hand, stirring until the dough forms, then knead on a floured surface until smooth and tacky. It takes a bit more time and effort, but you get great control over the dough’s texture.
Just be sure to let it rest and rise, shape carefully, boil in a baking soda bath, and bake for that perfect crunchy crust.
How Long Can I Store Homemade Hard Pretzels?
You can store your homemade hard pretzels at room temperature for up to one week if you let them cool completely and keep them in an airtight container with parchment paper to absorb moisture.
For longer storage, freeze them wrapped tightly in plastic and foil for 1 to 3 months.
When reheating, use the oven at 350°F to restore crispness.
Avoid moisture and air exposure to keep them fresh and crunchy.
What’S the Best Way to Reheat Hard Pretzels?
To reheat your pretzels perfectly, preheat your oven to around 350°F. Lightly spritz them with water or melted butter to keep moisture in.
Place pretzels directly on the oven rack or a baking sheet, then heat for about 5-7 minutes.
This method revives that fresh, chewy texture with a slightly crisp crust.
Avoid microwaving unless in a hurry, as it can make them soggy or tough.
Can I Freeze the Dough Before Baking Pretzels?
Yes, you can freeze pretzel dough before baking! Just portion or roll it into ropes first, then freeze in airtight containers or bags. When you’re ready, thaw it slowly in the fridge overnight, shape the pretzels, and let them rise again.
This extra rising time is key to getting that perfect chewy texture. Avoid adding salt before freezing, and remember, oven reheating after baking preserves the best crust and flavor.
Are Hard Pretzels Suitable for Gluten-Free Diets?
Gluten-free goals guide your grocery grabs. Traditional hard pretzels contain gluten, making them a no-go if you have celiac or gluten sensitivity.
However, gluten-free alternatives use rice, tapioca, and potato flours to provide a similarly satisfying crunch without the gluten risk. Just check labels carefully—gluten-free products usually guarantee safety, but cross-contamination can creep in.
Pretzels That Steal the Show
Now that you’ve mastered this hard pretzel recipe, imagine surprising your friends at your next game night with warm, golden pretzels fresh from your oven.
Just like Sarah, who turned her weekend baking into a crowd favorite, you’ll enjoy the satisfying crunch and perfect saltiness every time.
With these simple steps and tips, you’re set to create delicious, bakery-quality pretzels that’ll keep everyone coming back for more.