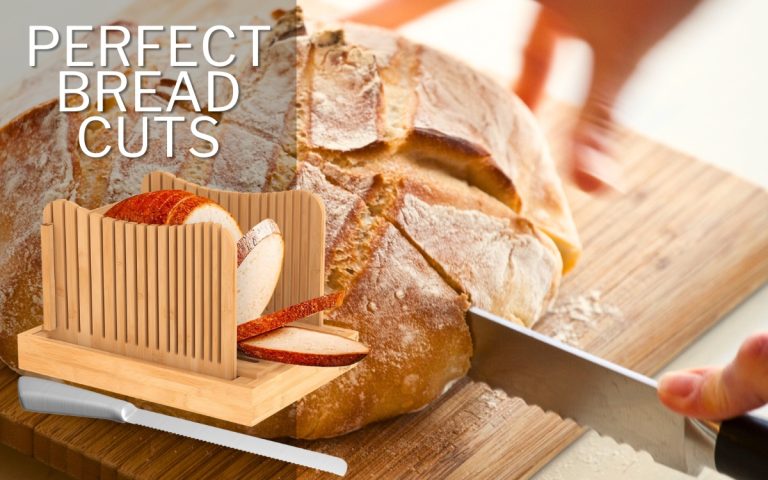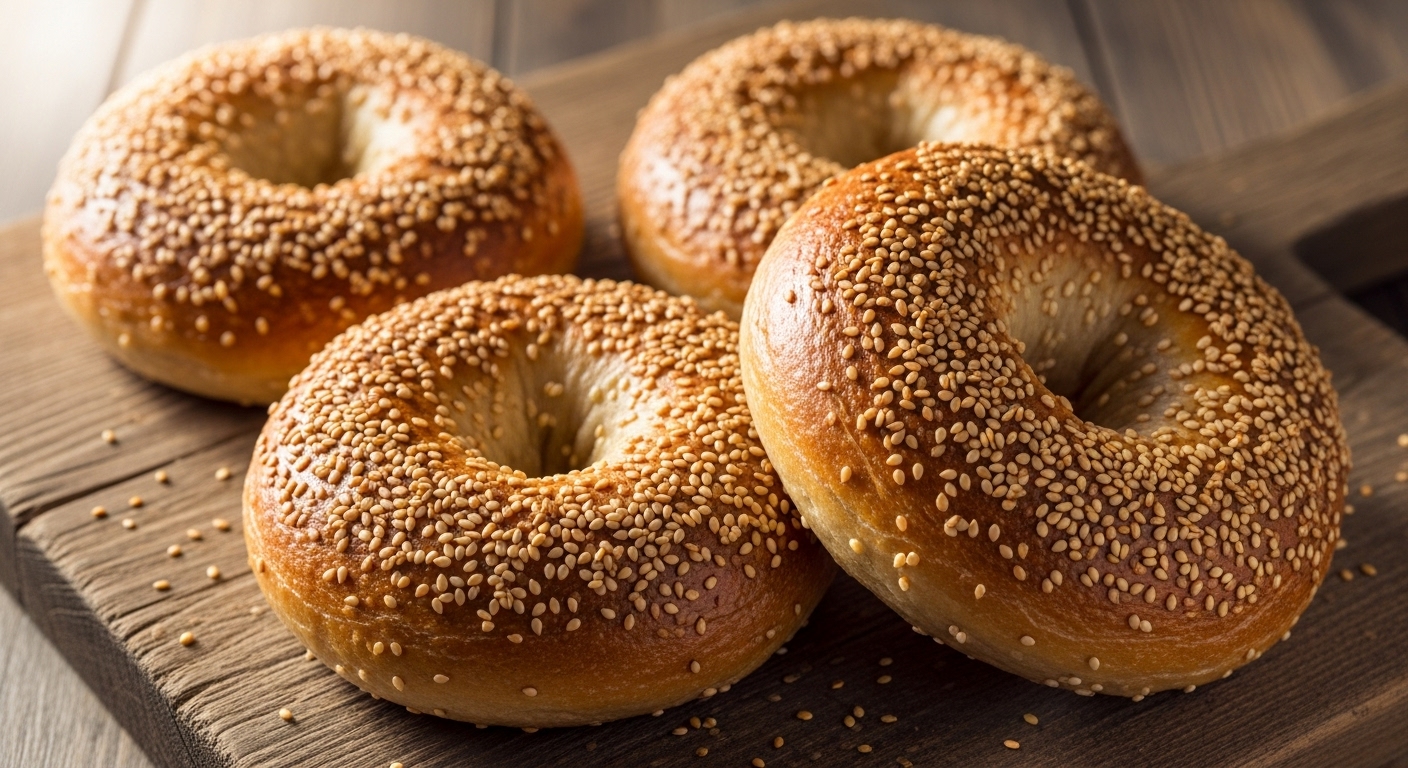
Gluten Free Sourdough Bagel Recipe: Easy Chewy Perfection
You can make chewy, flavorful gluten-free sourdough bagels using a blend of rice, sorghum, and millet flours with a natural sourdough starter for tang.
Mix your dough with psyllium husk for elasticity, shape with a hole, proof until slightly puffed, then boil briefly in water with baking soda to develop a shiny, chewy crust.
Finish by baking at 400ºF until golden. Add toppings while wet to stick perfectly.
Keep going to reveal tips for perfect texture and flavorful variations.
Key Takeaways
- Use a blend of gluten-free flours, starches, psyllium husk, and a brown rice or sorghum sourdough starter for authentic texture and flavor.
- Shape dough into bagels with a hole, proof at room temperature until slightly puffed, ensuring proper structure before boiling and baking.
- Boil bagels in alkaline water (with baking soda) for 20–30 seconds per side to develop a chewy, glossy crust and control expansion.
- Bake at 400ºF–425ºF for 15–45 minutes until internal temperature reaches 205–210ºF, then cool on wire racks for optimal texture.
- Apply toppings immediately after boiling while wet, and store bagels in airtight containers or freeze slices to maintain freshness and chewiness.
Gluten-Free Sourdough Bagel Recipe Ingredients & Instructions
| Component | Ingredients/Steps | Details |
|---|---|---|
| Dry Ingredients | Brown rice flour, sorghum flour, millet flour, teff flour | Creates hearty, nutritious base |
| Tapioca starch, potato starch | Provides chewy, elastic texture | |
| Psyllium husk powder | Mimics gluten binding (essential) | |
| Xanthan gum | Improves elasticity and structure | |
| Salt | Enhances flavor, strengthens dough | |
| Wet Ingredients | Active sourdough starter (brown rice or sorghum) | Natural leavening, tangy flavor |
| Filtered water | Hydrates and activates ingredients | |
| Olive oil | Enriches crumb texture | |
| Honey or molasses | Adds sweetness, promotes browning | |
| Dough Preparation | Whisk all dry ingredients thoroughly | Ensures even flour distribution |
| Combine wet ingredients separately | Mix starter, water, oil, sweetener | |
| Mix wet into dry until soft dough forms | Knead lightly 2-3 minutes | |
| Use water on hands to prevent sticking | Avoid adding extra flour | |
| Shaping | Divide dough into equal portions | Form smooth balls first |
| Poke 2-inch hole in center | Gently twirl to enlarge evenly | |
| Place on parchment paper | Cover with damp towel | |
| Proof at room temperature 1 hour | Look for slight puffiness | |
| Boiling | Bring 6 cups water to rolling boil | Add 1-2 tbsp baking soda |
| Boil each side 20-30 seconds | Creates chewy, shiny crust | |
| Flip gently halfway through | Ensures even texture | |
| Drain thoroughly | Pat dry excess moisture | |
| Baking | Preheat oven to 400-425°F | Essential for even baking |
| Add toppings while bagels are wet | Helps them stick perfectly | |
| Bake 15-45 minutes depending on size | Rotate sheet halfway through | |
| Internal temperature 205-210°F | Confirms proper doneness | |
| Storage | Room temperature in airtight container | Stays fresh 2-3 days |
| Freeze sliced bagels in airtight bags | Lasts 6-7 months frozen | |
| Toast from frozen to serve | Revives crispy crust |
Ingredients Needed for Gluten-Free Sourdough Bagels
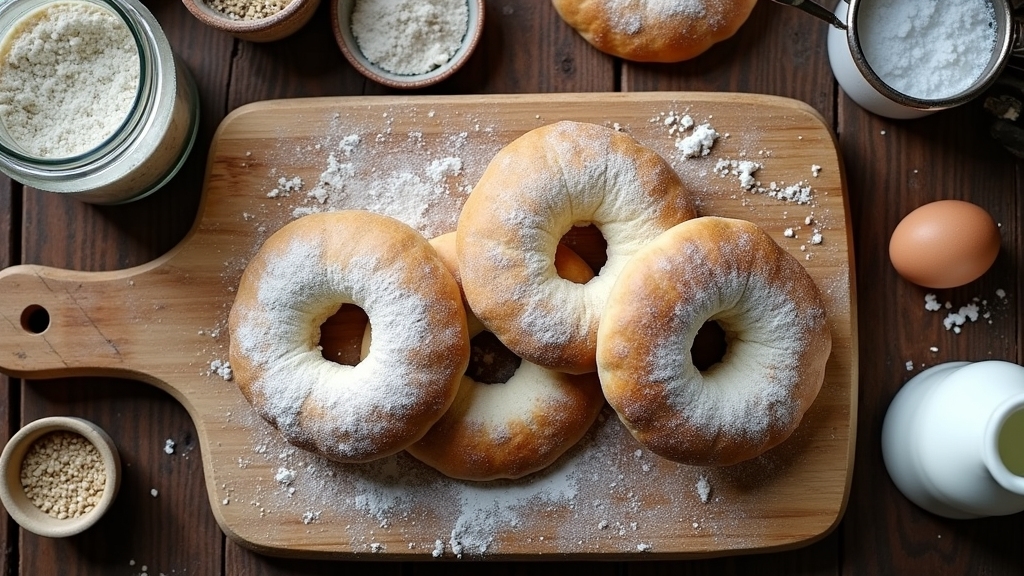
To craft gluten-free sourdough bagels that truly satisfy, you’ll need a thoughtful mix of ingredients that balance nutrition, texture, and flavor.
Start with a blend of gluten-free flours like brown rice, sorghum, millet, and teff to form a hearty base. This recipe allows for flexible flour substitutions so you can adjust based on what’s available or your dietary preferences. Maintaining an optimal dough temperature is crucial to ensure proper fermentation and rise.
Add tapioca and potato starch for that chewy, elastic bite reminiscent of traditional bagels.
Psyllium husk is essential; it mimics gluten’s binding power, improving elasticity and structure.
Your sourdough starter, made from brown rice or sorghum flour, provides natural leavening and tangy depth. Regular feeding keeps the starter bubbly and ready, which enhances fermentation and flavor.
Incorporate honey or molasses for sweetness and crust browning, plus olive oil to enrich the crumb.
Salt enhances flavor and strengthens dough.
Finally, filtered water hydrates and activates your ingredients perfectly, ensuring a workable dough for shaping.
Preparing and Mixing the Dough
When you start preparing the dough, begin by thoroughly whisking together all your dry ingredients: gluten-free flours like sorghum, millet, sweet rice, and starches such as tapioca and potato starch, in a large bowl. Make sure to include xanthan gum and salt, as these help mimic gluten’s elasticity and improve structure.
These ingredients work together to create a balanced blend of flours and starches that provide the right texture for the bagels. Using a gluten-free flour blend with binding agents ensures the dough holds together properly. Next, combine your wet mixture, including sourdough starter, water, oil, and sweetener.
Then gently mix it into the dry blend until a soft dough forms. Knead lightly for a few minutes, using water on your hands to prevent sticking without adding flour.
- Accurate flour measurement is key due to different absorption rates.
- Uniform dry mix ensures even hydration and consistency.
- Limit kneading to keep dough soft and pliable without drying it out.
Shaping and Proofing the Bagels
Once your dough has come together with the right softness and consistency, shaping the bagels sets the stage for their classic form and texture.
Start by dividing the dough into equal portions and form smooth balls. For gluten-free sourdough, the ball and poke hole method works best: poke a 2-inch hole in each ball and gently twirl to enlarge it, ensuring even thickness to avoid tearing. Maintaining microbial diversity in the starter contributes to richer flavor development during proofing.
Lightly flour your hands to handle the sticky dough without adding excess flour. After shaping, place bagels on parchment, cover with a damp towel, and proof at room temperature for about an hour. Bulk fermentation is essential for proper dough structure before shaping.
Look for slight puffiness rather than size doubling. Avoid over-proofing to keep shape intact. Resting the dough seams down enhances texture and final appearance before moving to the next step.
Boiling Process for Perfect Crust
If you want that signature chewy, shiny crust on your bagels, here’s a little secret: add some baking soda to your boiling water! It really helps raise the pH, which enhances browning and gives that perfect finish. This method is similar to how sourdough bread achieves its characteristic crust during baking, highlighting the importance of traditional baking techniques.
Now, when you’re boiling your bagels, aim for about 30 seconds on each side. Don’t forget to flip them halfway through! This way, you’ll get an even texture without losing that softness on the inside.
Using baking soda, not honey or sugar in the water bath is important to achieve the right crust and prevent unwanted stickiness.
Trust me, this precise timing and the alkaline bath are crucial. They help you achieve that traditional crust that not only locks in moisture but also delivers that classic bagel bite you love.
Water Bath Additives
How do water bath additives transform your gluten-free sourdough bagels during boiling? They’re key to developing that classic chewy crust, glossy shine, and rich color.
Baking soda raises water alkalinity, promoting caramelization and strengthening the crust’s structure. Adding honey or sugar enhances browning and imparts subtle sweetness, but sugar might increase sticking. Psyllium husk, while not added directly to the water, affects dough hydration and indirectly improves crust texture and resilience.
Using a digital scale significantly improves the accuracy of ingredient measurements, contributing to consistent bagel texture and crust quality. Choosing a scale with high precision ensures your ingredient ratios remain exact for optimal crust development.
Keep these points in mind:
Baking soda (1–2 tbsp per 6 cups water) balances browning and texture without off-flavors.
Honey (1 tbsp per 4 cups water) deepens flavor and aroma through Maillard reactions.
Psyllium gel in the dough boosts chewiness and crust firmness after boiling.
Mastering these additives ensures your bagels boast the perfect crust every time.
Boiling Duration Timing
Adding the right ingredients to your boiling water sets the stage, but controlling how long you boil your gluten-free sourdough bagels shapes their final character. Boil each side for 20-30 seconds to achieve a chewy, balanced crust without over-softening the dough. Flip bagels gently halfway through to ensure even crust formation.
The boiling step is essential for creating a chewy exterior, which mimics the traditional bagel texture and enhances flavor and appearance. Avoid over-boiling beyond one minute, as it can make the crust too dense or gummy. For optimal results, ensure your dough hydration and feeding schedule support a consistent fermentation to build the right texture before boiling.
| Boil Time | Crust Texture | Notes |
|---|---|---|
| 20 seconds/side | Thin, soft crust | Lighter bite, delicate crust |
| 30 seconds/side | Classic chewiness | Balanced moisture retention |
| 1 minute | Thick, dense crust | Risk of excess moisture |
| >1 minute | Too dense/gummy | Avoid for gluten-free dough |
Crust Development Effects
While boiling your gluten-free sourdough bagels, the starches on their surface undergo gelatinization, creating a firm, semi-rigid layer that’s essential for developing that signature chewy crust and dense crumb.
This layer prevents excessive oven spring and locks in moisture, vital since gluten is absent. You’ll notice a subtle sheen forming on the surface, signaling proper starch gelatinization.
Maintaining the water temperature within the ideal range of 180-190°F (82-88°C) ensures optimal gelatinization and crust development. Additionally, precise temperature control during boiling mirrors the importance of preheated oven temperatures in baking for consistent crust formation.
Boiling also stabilizes the dough’s shape and texture, preparing it for a crisp, golden crust during baking, especially when you add baking soda or malt syrup to the water.
Key boiling impacts include:
- Formation of a glossy, semi-rigid crust layer that preserves chewiness
- Enhanced browning and crispness from alkaline additives
- Controlled expansion that maintains bagel shape and texture during bake
Baking Instructions and Tips
Once your bagels have properly proofed and shaped, the baking stage brings out their signature crust and chewy texture. Preheat your oven to 400ºF–425ºF to guarantee even baking.
After boiling your bagels in filtered water with baking soda or honey, drain them thoroughly and add any toppings so they stick well during baking. Place the bagels on parchment or silicone mats and bake for 15 to 45 minutes, depending on size.
Rotate the baking sheet halfway for uniform browning. Cooling the bagels on a wire rack after baking helps maintain their ideal texture and prevents sogginess.
Aim for an internal temperature of about 205–210ºF to confirm doneness. Using psyllium husk gel in your dough and filtered water throughout helps achieve moisture retention and elasticity, essential for that perfect gluten-free chew. Adding baking soda to the boiling water can enhance browning and impart a slight pretzel flavor to the bagels.
Avoid overproofing to keep texture consistent and delicious. Proper proofing time enhances flavor development and texture, similar to techniques used in sourdough baking.
Flavor Variations and Storage Suggestions
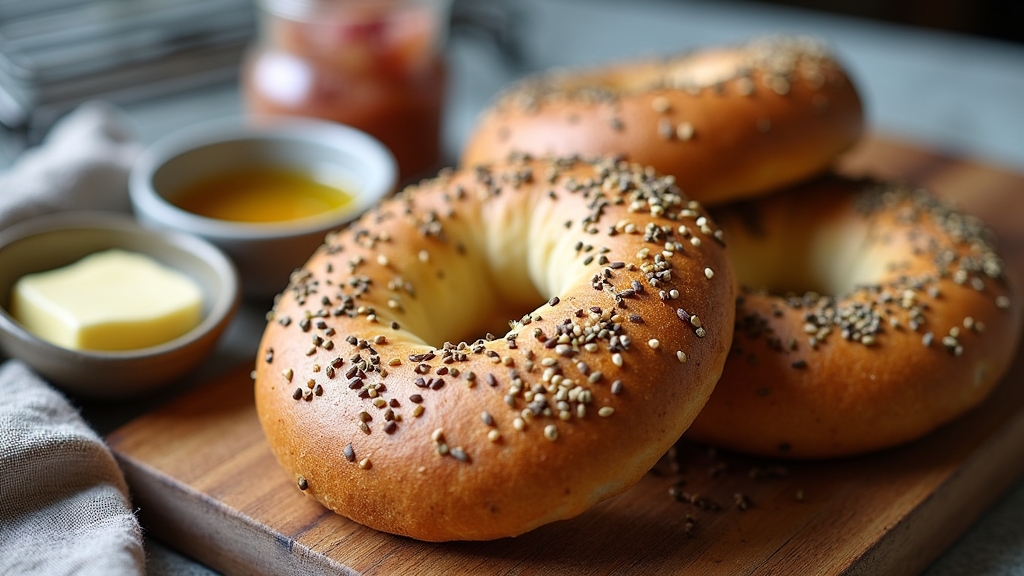
Hey there! Did you know you can really jazz up your gluten-free sourdough bagels? There are so many fun toppings and mix-ins you can try! Whether you’re in the mood for classic sesame seeds, some savory herbs, or even a sprinkle of sweet cinnamon sugar, the possibilities are endless! Using high-quality gluten-free flours can also enhance the flavor and texture of your bagels. Using the right baking equipment can make the process smoother and improve the final result.
Now, let’s talk about keeping those delicious bagels fresh. If you’re planning to enjoy them within a couple of days, just pop them in a cool spot at room temperature.
But if you want to save some for later, freezing slices is a great option. When you’re ready to indulge again, just toast or warm them up a bit. This will bring back that amazing chewy texture and crisp crust that we all love.
Topping and Mix-In Ideas
Because gluten-free sourdough bagels offer a versatile base, you can easily customize them with a variety of toppings and mix-ins to suit your taste.
Whether you crave savory herbs or a touch of sweetness, these bagels welcome bold flavors. Apply toppings right after boiling while the surface is still wet to help them stick without needing an egg wash. This process is important to achieve the signature chewy exterior and soft interior characteristic of gluten-free sourdough bagels. Using sourdough discard also enhances the fermentation benefits, improving texture and flavor.
Try these ideas to elevate your bagels:
Sprinkle classic poppy and sesame seeds or everything bagel seasoning for a crunchy, flavorful crust.
Mix fresh rosemary and minced garlic into the dough or on top for an aromatic punch.
Sweeten your batch with a cinnamon sugar blend or add maple syrup to the dough for subtle sweetness and a golden crust.
Experimenting with toppings and mix-ins lets you craft unique bagels every time.
Storage and Freshness Tips
Toppings and mix-ins add wonderful variety to your gluten-free sourdough bagels, but knowing how to store them properly guarantees that flavor and texture stay just right.
Store your bagels in an airtight container at room temperature, away from heat and sunlight, and enjoy them within 2 to 3 days for peak freshness. Keeping them in a cool, dark place helps prevent spoilage and maintains moisture.
To extend shelf life, slice bagels before freezing in airtight bags. Double-bag or vacuum seal for up to 6-7 months.
Thaw at room temperature or toast straight from the freezer to revive that crispy crust and chewy interior.
Balance flavor additions carefully; sweeteners like honey help maintain softness, while overly salty or spicy toppings might intensify during freezing.
Toast or warm your bagels after storage to bring back their delightful texture and taste every time.
Frequently Asked Questions
Can I Use Regular Sourdough Starter Instead of Gluten-Free?
You can try using a regular sourdough starter, but don’t expect the same rise or texture as a gluten-free one.
Without gluten, your dough might turn out denser and less elastic, so you’ll need to add binders like psyllium husk or xanthan gum.
Also, be ready for longer fermentation times and possible recipe tweaks to avoid sticky or crumbly dough.
For best results, a gluten-free starter is usually the way to go.
How Do I Know When the Bagels Are Fully Cooked Inside?
You’ll know your bagels are fully cooked inside when they’ve a golden brown crust and spring back gently when you press them.
Slice one open; it should be chewy, tender, and not gummy or doughy. A clean toothpick test helps too; if it comes out without sticky dough, you’re good.
Also, after boiling, baking until the crust feels firm guarantees the dense crumb’s done through.
Let them cool briefly before enjoying!
What Is the Best Way to Freeze Gluten-Free Sourdough Bagels?
To freeze your gluten-free sourdough bagels best, let them cool completely first.
Wrap each bagel tightly in plastic wrap or beeswax wrap to lock in moisture.
Then, separate bagels with parchment paper and place them in airtight freezer bags.
Double bagging helps prevent freezer burn. For longer freshness, vacuum seal if possible.
Label the bags with dates, freeze below 0°F, and avoid refreezing to keep texture and flavor at their best.
Can I Make the Dough Ahead and Refrigerate Before Shaping?
Think of your dough as a slow-cooking stew. Yes, you can make it ahead and refrigerate before shaping.
Chilling it overnight develops flavor and firms it up, making shaping easier. Just cover it tightly to keep moisture in.
Then bring it back to room temperature before handling. You’ll want to let it rest again after shaping to wake up the yeast.
This way, your bagels rise beautifully and taste even better.
How Do I Prevent Bagels From Sticking During Boiling?
To prevent your bagels from sticking during boiling, keep a rolling boil going and space them at least 2 inches apart.
Use a spider strainer to gently lift them without tearing the crust.
Boil each side for about 30 seconds, then let them dry slightly before baking.
Blot excess moisture and place them on parchment paper dusted with semolina or cornmeal.
These steps guarantee a firm crust and keep your bagels from sticking.
Easy and Crusty Gluten Free Sourdough Bagel
Now that you’ve mastered this gluten-free sourdough bagel recipe, aren’t you excited to enjoy that perfect chewy texture and tangy flavor anytime?
With simple ingredients and easy steps, you’ve created a delicious, crusty bagel that rivals any bakery’s.
Remember to experiment with flavors and store them properly to keep freshness.
So, why settle for ordinary when you can savor homemade bagels tailored just for you?