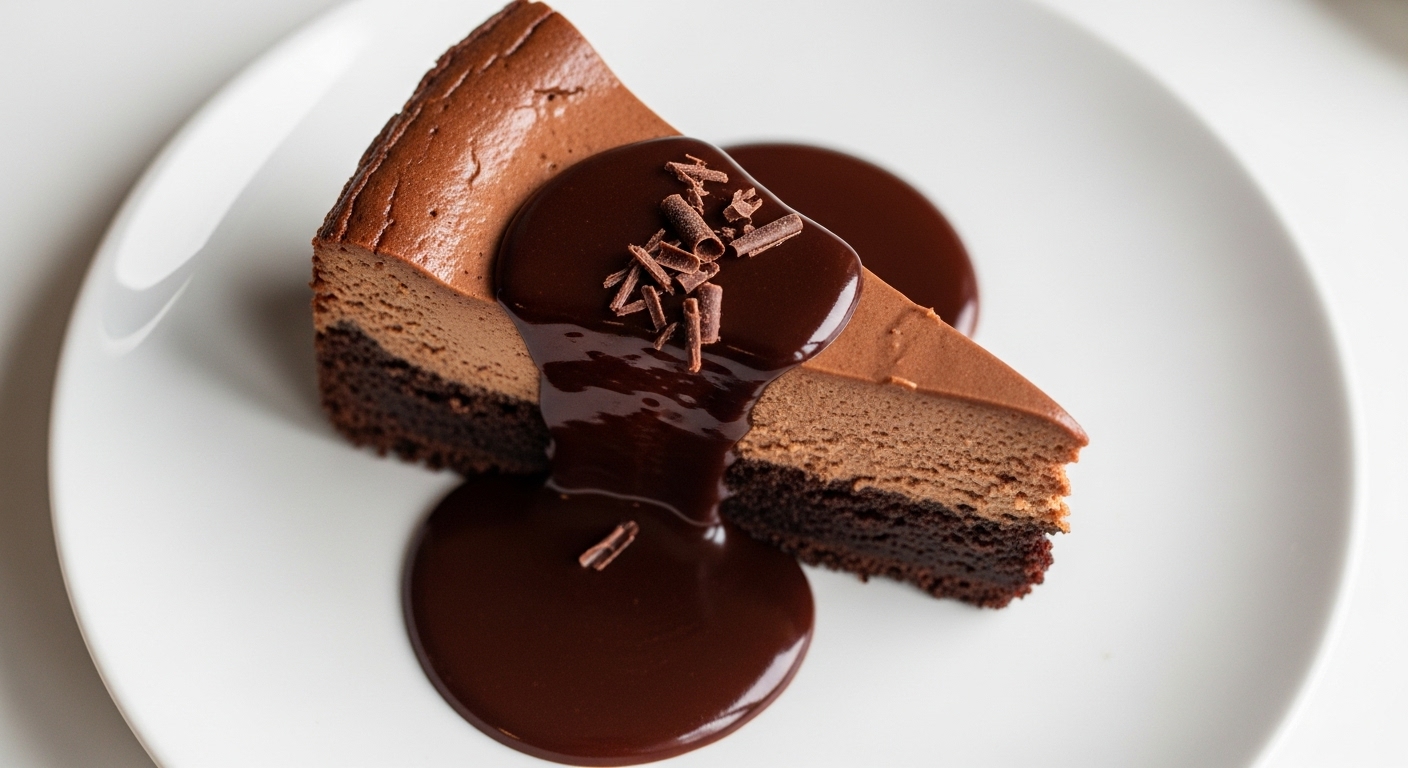
Cheesecake Factory Godiva Chocolate Cheesecake Recipe from Scratch
You can recreate Cheesecake Factory’s divine Godiva Chocolate Cheesecake by starting with a fudgy, flourless chocolate cake base, then layering a silky cream cheese filling blended with melted Godiva dark chocolate, eggs, and sour cream for richness.
Bake it gently in a water bath to keep cracks away and cool fully for a creamy texture. Top with airy chocolate mousse and glossy ganache for that indulgent finish. Keep exploring to master each decadent layer perfectly.
Key Takeaways
- Use softened cream cheese, granulated sugar, eggs, sour cream, and fold in melted Godiva dark chocolate for rich cheesecake batter.
- Bake cheesecake layer in a springform pan at 325°F with a hot water bath for 50–65 minutes until edges set and center jiggles slightly.
- Prepare an optional flourless chocolate cake base with high-quality dark chocolate, butter, eggs, sugar, and cocoa powder as a fudgy crust alternative.
- Make mousse by folding whipped cream and stiff egg whites into melted chocolate and butter mixed with egg yolks; prepare ganache by mixing hot cream with chopped chocolate.
- Assemble layers by chilling the base and cheesecake, then add mousse; finish with ganache or whipped cream for authentic Cheesecake Factory presentation.
Godiva Chocolate Cheesecake Recipe Components
| Component | Key Ingredients | Temperature | Timing | Technique |
|---|---|---|---|---|
| Flourless Chocolate Base | 4 oz dark chocolate, ½ cup butter, ¾-1 cup sugar, 3 eggs, ½ cup cocoa powder | 325-350°F | 10-30 minutes | Melt chocolate with butter, add eggs one by one, mix in cocoa until smooth and glossy |
| Cheesecake Layer | 3 packages cream cheese (softened), 1 cup sugar, 5 eggs (room temp), 12 oz Godiva chocolate, ½ cup sour cream | 325-350°F | 50-65 minutes | Beat cream cheese and sugar, add eggs individually, fold in melted chocolate, use water bath |
| Chocolate Mousse | Godiva dark chocolate, butter, egg yolks, whipped egg whites, whipped cream | N/A (no bake) | Chill 2+ hours | Melt chocolate, fold in whipped whites and cream for light, airy texture |
| Ganache Topping | Heavy cream, high-quality chocolate (1:1 ratio) | 90-110°F | 5-10 minutes | Heat cream to simmer, pour over chocolate, whisk until glossy and smooth |
| Cooling Process | Assembled cheesecake | Start at 325°F, reduce to off | 1 hour door ajar + overnight refrigeration | Cool gradually to prevent cracks, chill for firm, creamy texture |
Ingredients Needed for the Godiva Chocolate Cheesecake
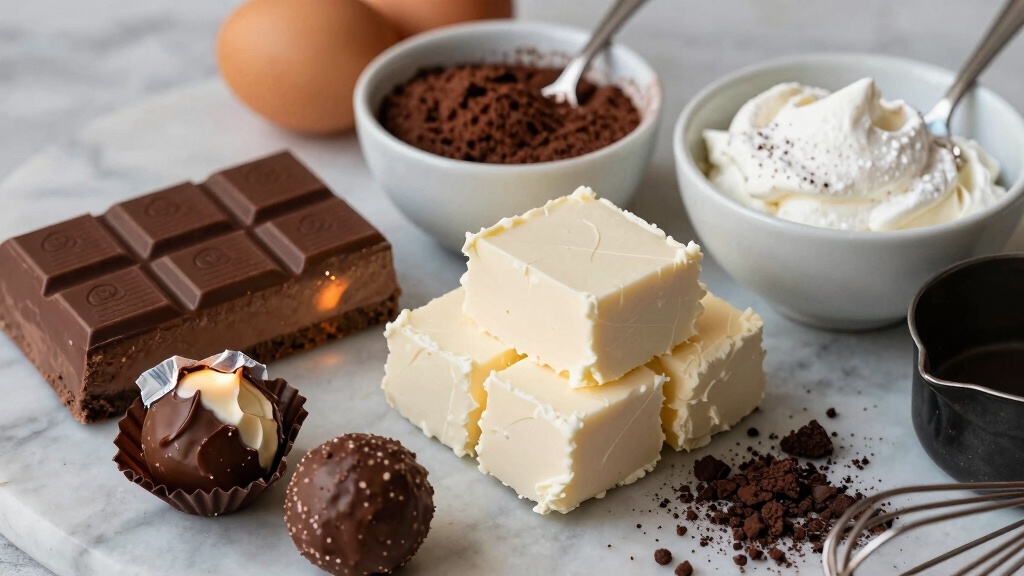
To whip up the rich and velvety Godiva Chocolate Cheesecake, you’ll need to gather a handful of key ingredients that bring this dessert to life.
Gather key ingredients to create the rich, velvety Godiva Chocolate Cheesecake that truly delights.
Start with 12 ounces of dark Godiva chocolate for that signature deep, luscious flavor. Three bricks of softened cream cheese add the creamy texture you’re craving, balanced perfectly by a cup of granulated sugar to cut chocolate’s bitterness. The quality of ingredients plays a crucial role in achieving the perfect texture and taste.
Five large eggs at room temperature provide the structure and richness essential for a smooth cheesecake, while a teaspoon of vanilla extract adds subtle depth.
To intensify the chocolate taste, include a quarter cup of cocoa powder and half a cup of sour cream for tanginess and smoothness. Using room temperature ingredients like cream cheese, eggs, and sour cream ensures a smooth, lump-free batter and helps prevent cracks in the cheesecake.
Preparing the Flourless Chocolate Cake Base
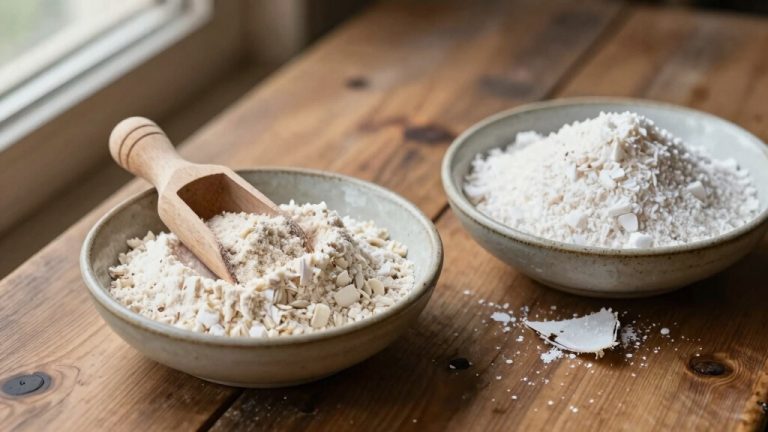
To create a delicious flourless chocolate cake base, you’ll want to start with some high-quality chocolate. Trust me, it makes a difference! You’ll also need butter, eggs, sugar, and just a little bit of cocoa powder to add some extra depth to the flavor. Be sure to use 60–70% cocoa semi-sweet chocolate chips for the best fudgy texture and rich chocolate flavor.
Now, when you’re ready to bake, preheat your oven to about 350°F. Pour that rich, fudgy batter into your pan and let it bake for around 25 minutes. Keep an eye on it! You’re looking for those edges to set while the center remains slightly soft.
Getting the timing just right is key to nailing that perfect base for your Godiva chocolate cheesecake. Using proper temperature control ensures even baking and the ideal texture.
Ingredients for Flourless Base
Although flourless chocolate cake bases rely on a simple list of ingredients, selecting the right ones is essential to achieving that rich, dense texture and deep chocolate flavor you want.
Start with about 4 oz of high-quality dark chocolate, like Godiva or semi-sweet, melted gently with ½ cup of butter to create a creamy, glossy foundation.
Stir in ¾ to 1 cup granulated sugar for sweetness and structure, then add three large eggs one by one to bind and moisten the batter.
Finally, mix in ½ cup unsweetened cocoa powder to intensify flavor without adding sweetness. For added flavor depth, some bakers enhance their chocolate bases by incorporating cinnamon or nuts to introduce subtle nuances.
Each ingredient plays a vital role, so use fresh, room-temperature eggs and pure cocoa to maintain that perfect fudgy, dense base essential for your decadent cheesecake.
Using pure, fresh ingredients with no extra sugars or additives ensures the best flavor and texture in your flourless chocolate cake base.
Baking Temperature and Time
When you bake the flourless chocolate cake base, controlling the oven temperature and timing becomes your most essential task.
Start by setting your oven between 325°F and 350°F. 350°F works well to form a firm crust without overbaking, similar to how maintaining optimal baking temperatures is crucial in sourdough baking.
Bake the base for 10 to 30 minutes until it’s set and slightly puffed at the edges. For the cheesecake layer, bake longer at 325-350°F for 50 to 65 minutes until the edges are firm but the center jiggles gently. Place the wrapped springform pan into a larger baking pan filled halfway with hot water for a hot water bath to ensure even baking and prevent cracks.
To avoid cracks, lower the temperature after initial baking or use a water bath.
After baking, cool the cake gradually with the oven door ajar for about an hour, then refrigerate overnight.
This careful timing and temperature control guarantees a smooth, creamy, and crack-free base.
Making the Creamy Godiva Cheesecake Layer
Whip together softened cream cheese and sugar until smooth and fluffy, setting the foundation for your luscious Godiva cheesecake layer. Beat on low speed to avoid lumps, then add eggs one at a time, blending gently to keep the batter silky and prevent curdling. Ensuring all ingredients are at room temperature helps promote a smooth emulsion for the best texture.
Slowly fold in cooled melted Godiva dark chocolate, ensuring rich cocoa flavor is evenly dispersed. Enhance the mixture’s texture and depth by stirring in vanilla extract and sour cream, which add moisture and a subtle tang while reducing cracking during baking. Many bakers find that using bittersweet chocolate instead of chips helps avoid speckling in the baked cheesecake layer.
Keep eggs and cream cheese at room temperature to help the ingredients emulsify smoothly. Mix just until combined; overmixing can create cracks. This creamy cheesecake batter pours beautifully over your crust, ready to bake into a decadent layer that’s firm yet irresistibly soft.
Crafting the Chocolate Mousse and Ganache Toppings
Alright, let’s dive into making that delicious chocolate mousse and ganache topping!
First, you’ll want to melt some rich Godiva chocolate. It’s all about getting that smooth texture! Using high-quality chocolate with at least 60% cocoa ensures the mousse and ganache have the perfect rich flavor.
Once it’s melted, you’ll carefully fold in whipped cream and egg whites. This step is crucial because it helps create a light, airy mousse that’s just divine.
Now, onto the ganache!
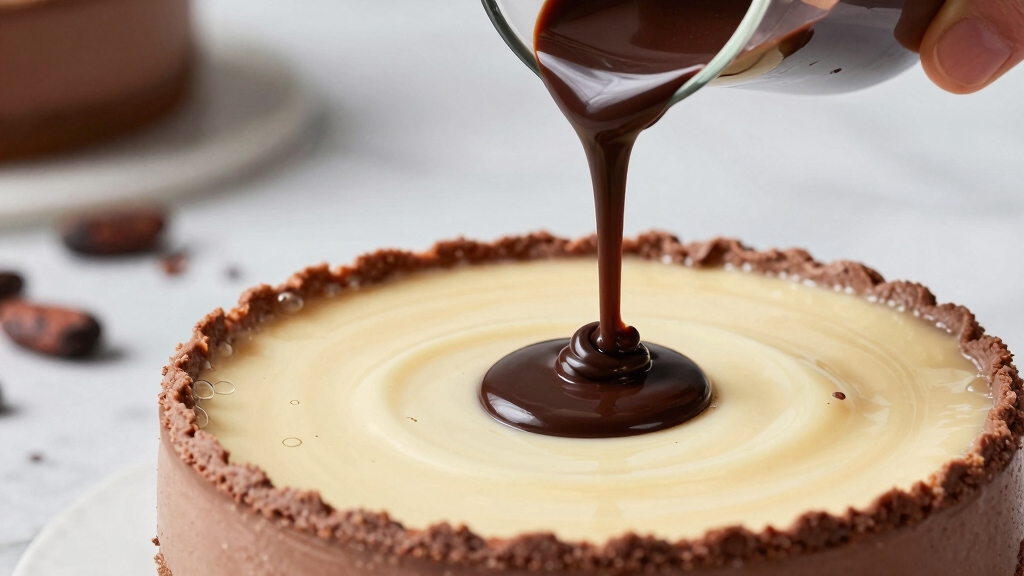
You’ll pour hot cream over chopped chocolate and give it a good stir. Keep mixing until it’s glossy and smooth—trust me, this part is so satisfying!
Mousse Preparation Steps
Since the mousse layer adds the signature lightness and rich chocolate flavor to the Godiva Chocolate Cheesecake, mastering its preparation is essential.
You’ll start by melting Godiva dark chocolate and butter until smooth, then gently mixing in egg yolks to bind the base. Next, whip egg whites with cream of tartar and sugar to stiff peaks, ensuring a stable, airy structure.
Finally, fold in whipped heavy cream for volume and silkiness, combining all components carefully to keep the mousse light.
Follow these key steps:
- Melt chocolate and butter, then mix in egg yolks.
- Whip egg whites with cream of tartar and sugar until stiff peaks form.
- Gently fold in whipped cream and egg whites to maintain airiness.
Spread the mousse evenly and chill for at least two hours before serving. Using an accurate thermometer during melting helps ensure smooth chocolate without overheating.
Ganache Making Tips
Mastering the mousse sets a rich foundation, but perfecting the ganache elevates your Godiva Chocolate Cheesecake to an irresistible finish.
Heat your cream just to a gentle simmer; avoid boiling to prevent separation or graininess. Pour the hot cream over finely chopped, high-quality chocolate in a glass or metal bowl; let it sit for 5 to 10 minutes for smooth melting. The classic 1:1 chocolate-to-cream ratio ensures a soft-setting ganache that holds its shape beautifully when chilled. Using a digital thermometer can help ensure you reach the ideal temperature without overheating.
Once cooled to about 90-110°F, whisk gently in one direction until glossy and uniform. Resist over-whisking to keep a silky texture without air bubbles.
Adjust thickness by varying your cream-to-chocolate ratio and test consistency before applying. If lumps form, carefully use an immersion blender or reheat gently in a double boiler.
Baking and Cooling Instructions for Perfect Texture

When baking your Godiva Chocolate Cheesecake, controlling temperature and timing is essential to achieve that irresistibly smooth and crack-free surface.
Start by baking at 325°F (163°C) to guarantee gradual cooking. Optionally reduce to 250°F for an extra 45 minutes to perfect the texture. Watch for edges set with a slightly wobbly center to avoid dryness. Using a digital baking thermometer can help ensure precision in maintaining these temperatures.
Bake gently at 325°F, then lower to 250°F to achieve that perfect, creamy texture.
Once baked, follow these cooling steps for the best texture:
- Cool in the oven with the door ajar for 1 hour to prevent cracks from thermal shock.
- Transfer to a wire rack until room temperature.
- Refrigerate at least 6 hours or overnight to fully set and develop flavor. This recipe is make-ahead friendly, allowing you to prepare it in stages without compromising quality.
Assembling the Layers for a Stunning Presentation
Although assembling a multi-layered Godiva Chocolate Cheesecake might seem intimidating, careful layer preparation guarantees a stunning presentation that’s as impressive as it’s delicious.
Start by using a springform pan to achieve clean sides and easy removal. Bake and fully cool your dense chocolate brownie base before evenly spreading the creamy cheesecake layer with an offset spatula.
Chill this layer partially to set it firmly, preventing blending. Next, gently pour your airy chocolate mousse on top, preserving distinct layers.
After chilling the entire cheesecake thoroughly, remove the pan’s sides carefully to maintain sharp edges. For a polished finish, add ganache or whipped cream garnishes.
Using the right bakeware with even heat distribution can significantly improve the texture and appearance of layered desserts.
Tips and Variations for Customizing Your Cheesecake
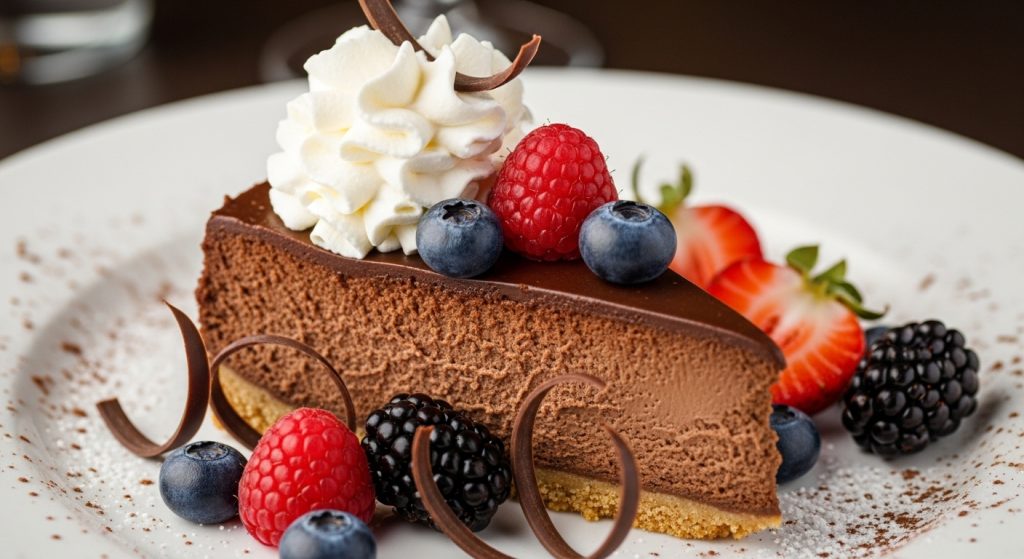
To make your Godiva Chocolate Cheesecake truly your own, you can customize nearly every element from the rich chocolate base to the airy mousse topping.
Start by tailoring the chocolate intensity: swap Godiva dark chocolate for semi-sweet or milk varieties to suit your taste. Next, experiment with the crust; try a flourless chocolate cake base for a fudgy, gluten-free option or add crushed nuts for crunch.
Finally, personalize the mousse by adjusting sugar levels or folding in coffee or liqueur for a sophisticated twist.
- Vary chocolate types and mix-ins to control richness and flavor depth.
- Choose crust ingredients like Oreo cookies or homemade graham crackers for texture variety.
- Adapt mousse sweetness and structure using different cream and sugar ratios.
You can also enhance your dessert presentation by incorporating festive wrappers and packaging options when gifting or serving.
Frequently Asked Questions
Can I Freeze the Godiva Chocolate Cheesecake for Later?
Absolutely, you can freeze the Godiva Chocolate Cheesecake for later. It’s like preserving a delicious relic from the past!
Just make sure it’s completely cooled before wrapping it tightly in plastic wrap or foil. Then pop it in a freezer-safe container.
Freeze it whole for best texture, and defrost it slowly in the fridge when you’re ready. This way, you’ll keep that rich, creamy flavor intact and enjoy your dessert anytime.
What Is the Best Way to Transport the Cheesecake Without Damage?
To transport your cheesecake without damage, keep it in its original springform pan and place it inside an inverted container for stability.
Use non-slip mats or cushioning beneath the box to prevent sliding.
Always transport it flat and upright, avoiding tilting.
Maintain a cool, consistent temperature with ice packs nearby but not touching the cake.
Handle gently, secure the box in your vehicle’s flat area, and avoid sudden movements to keep your cheesecake perfect.
How Long Does the Cheesecake Keep Fresh in the Refrigerator?
You can keep your cheesecake fresh in the refrigerator for up to 5 days.
Make sure to store it between 36°F and 41°F and cover it tightly with plastic wrap or an airtight container to lock in moisture and flavor.
After 5 days, the texture and taste may start fading, so enjoy it quickly.
Always check for any unusual smells or mold before digging in to stay safe and savor every bite.
Can I Make This Cheesecake Dairy-Free or Vegan?
Yes, you can make this cheesecake dairy-free or vegan by swapping traditional cream cheese with plant-based options like cashew or soy-based cream cheese.
Use coconut cream or non-dairy sour cream instead of dairy versions, and replace eggs with flaxseed gel or aquafaba for structure.
Choose vegan dark chocolate to avoid milk ingredients.
Keep in mind, the texture and flavor might differ slightly, but these substitutions create a delicious, allergy-friendly treat you’ll love.
Time to Bake Your Godiva Cheesecake Masterpiece
Now that you’ve mastered the layers of this rich Godiva Chocolate Cheesecake, remember, “good things come to those who wait.”
Taking your time with each step guarantees every bite melts smoothly on your tongue, delivering that perfect balance of creamy, chocolaty bliss.
Don’t rush the chilling; it’s key to the texture and flavor. Enjoy the process as much as the dessert itself, and watch your creation become the star of any gathering.