Chocolate Chip Sourdough Bread: Irresistible Baking Bliss
Chocolate chip sourdough bread is a delightful blend of tangy sourdough flavor and sweet chocolate chunks. You’ll start by mixing active sourdough levain with warm water, strong bread flour, and sea salt.
After incorporating your favorite chocolate chips, let the dough rise until it doubles, ensuring it’s airy and bubbly. Shape your loaf and bake it in a preheated Dutch oven for a crispy crust.
Once baked, enjoy it warm with butter or toast it for a tasty treat. This versatile recipe allows for creative variations, making it perfect for any occasion. There’s plenty more to try.
Key Takeaways
- Use strong bread flour for the best structure, and consider replacing up to 50% with whole wheat for added nutrition.
- Incorporate 100g to 200g of chocolate chips for varying sweetness levels and consider adding dried fruits for a unique twist.
- Perform stretch and folds every 30 minutes during bulk fermentation to strengthen gluten and improve dough structure.
- Bake in a preheated Dutch oven at 450°F, covered for 30 minutes, then uncovered for 10-15 minutes for a golden crust.
- Store bread at room temperature for up to four days, or freeze for longer preservation while avoiding refrigeration to prevent staling.
Ingredients and Flour Choices
When crafting chocolate chip sourdough bread, choosing the right ingredients, especially flour, is key to achieving the perfect texture and flavor. A strong bread flour with a higher protein content is your best bet. This type of flour promotes better gluten development, giving your bread that desirable structure.
Additionally, incorporating bakers bench knives can help you effectively shape your dough for a more uniform loaf. You can also replace up to 50% of the bread flour with whole wheat flour for a nuttier flavor and added nutrition. If you’re aiming for an impressive oven spring, consider adding essential wheat gluten to your mix.
When it comes to the chocolate chips, semi-sweet ones are a popular choice for balancing sweetness and richness. However, feel free to experiment with dark, milk, or even white chocolate chips to suit your taste. You won’t need any additional sweeteners since the chocolate chips provide ample sweetness.
Adjusting the quantity of chips can help you achieve your desired sweetness level—100g for a subtle touch or 200g for a sweeter bite. For a twist, think about incorporating dried fruits like raisins or cherries by reducing the chocolate chips to 100g and swapping in an equal weight of dried fruit for a delightful flavor complexity.
Dough Mixing and Preparation
To achieve a beautifully textured chocolate chip sourdough bread, start by properly mixing and preparing your dough. Begin by combining 100g of active sourdough levain with 375g of warm filtered water in a large mixing bowl. This guarantees your dough is well-hydrated. Gradually mix in 250g of strong bread flour and 8g of finely ground sea salt until no dry flour remains, forming a shaggy dough.
| Step | Description |
|---|---|
| Combine Levain | Mix 100g of sourdough levain with 375g of water |
| Add Flour & Salt | Gradually incorporate 250g flour and 8g salt |
| Autolyse Phase | Let the dough rest for 30 minutes for hydration |
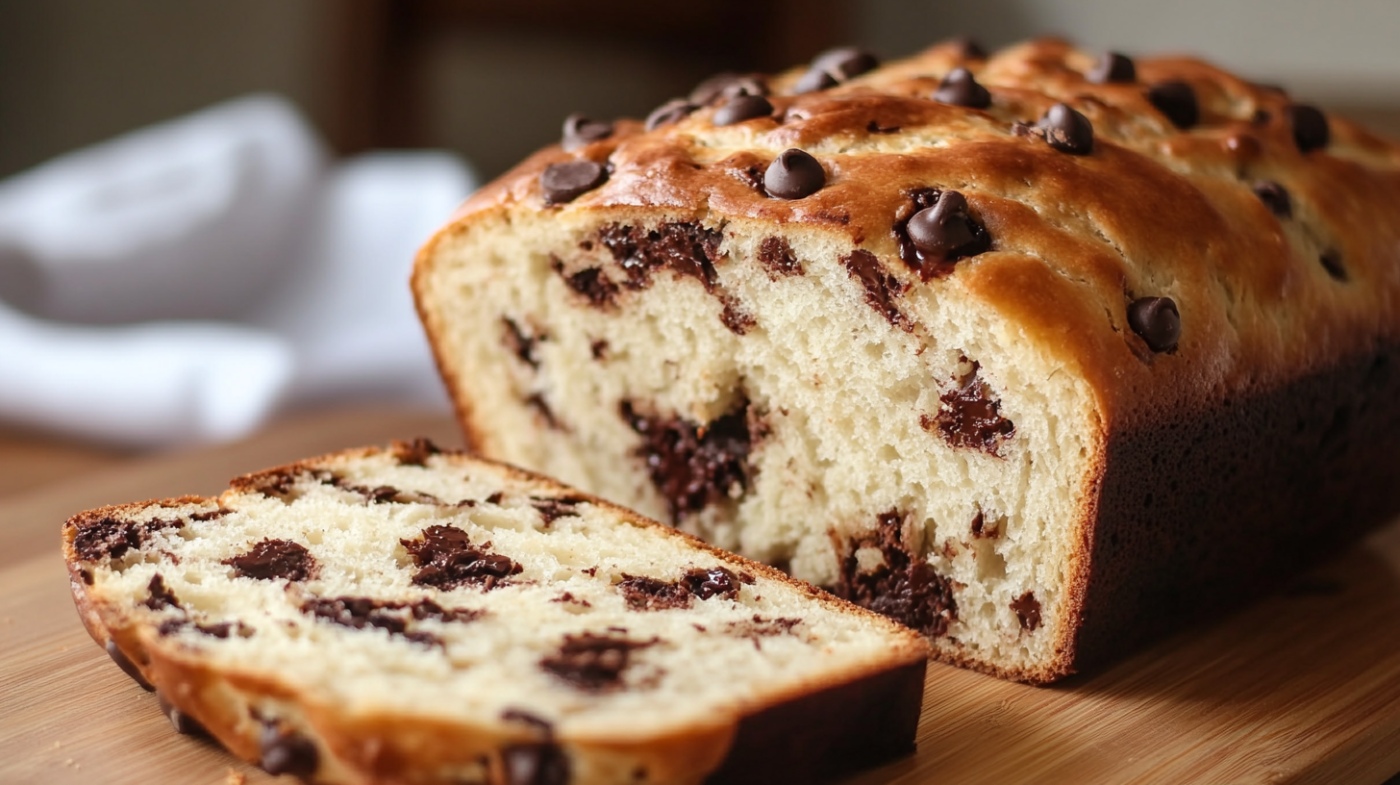
After mixing, allow the dough to rest for 30 minutes during the autolyse phase, promoting gluten development. Next, gently stretch and fold the dough to incorporate about 100g to 200g of chocolate chips, distributing them evenly throughout. To build strength, perform a series of stretch and folds every 30 minutes for 4-5 sets, watching for the dough to double in size and show visible bubbles. This preparation sets the stage for a delightful baking experience.
Bulk Fermentation Techniques
Bulk fermentation is the heart of your sourdough process, where the dough transforms and flavors deepen over a 2 to 4-hour period.
Maintaining an ideal dough temperature between 74 to 78°F (23 to 25°C) is essential for optimal yeast and bacterial activity, as noted in temperature management tips.
Keep an eye out for signs of readiness, like a wobbly texture and bubbly surface, as you perform stretch and folds to build that all-important gluten structure.
Importance of Bulk Fermentation
The importance of bulk fermentation in sourdough bread making can’t be overstated; it’s a pivotal stage that transforms a simple mixture of flour and water into a flavorful, airy loaf. Typically lasting 2 to 4 hours at room temperature, this stage allows your dough to rise 20-50%, developing both incredible flavor and texture.
To enhance the sourness of your bread, consider using whole grain flours, which can promote the growth of acetic acid-producing bacteria, intensifying the flavor profile sourdough sourness explained.
During bulk fermentation, you’ll want to stretch and fold the dough every 30 minutes. This technique helps build the gluten structure, enhancing the dough’s strength and elasticity. As you handle the dough, remember to keep your hands wet to prevent sticking and maintain its integrity—excessive deflation can hinder your loaf’s final rise.
If you’re looking to deepen the flavor, consider cold fermentation. By placing the dough in the refrigerator for 8 to 36 hours, you allow the flavors to mature, resulting in an even more complex taste profile in your finished loaf.
The care you give during this essential stage influences the final outcome, so embrace the process and watch your dough transform into something extraordinary. Bulk fermentation isn’t just a step; it’s the heart of your sourdough journey.
Signs of Readiness
Knowing when your dough is ready can make all the difference in sourdough bread making. During bulk fermentation, you’ll want to observe a few key signs to ascertain your dough has reached its peak. Here’s what to look for:
| Sign | Description |
|---|---|
| Dough Size | The dough should ideally double in size, indicating sufficient fermentation has occurred. |
| Visible Bubbles | Look for bubbles forming on the surface and throughout the dough, signaling active fermentation. |
| Texture | When you gently poke the dough, it should feel airy and wobbly, showing successful gluten development. |
| Shape | A well-fermented dough will have a slightly domed shape and spring back slowly when pressed. |
| Fermentation Time | Total bulk fermentation can vary from 4 to 6 hours at room temperature or longer if cold fermented. |
Techniques for Structure Building
Building structure during fermentation is essential for achieving that perfect loaf of chocolate chip sourdough bread. Bulk fermentation is where the magic happens, allowing gluten to develop and the dough to gain strength.
To enhance this process, you should perform multiple sets of stretch and folds every 30 minutes—typically 4-5 times over 2-3 hours. This technique helps incorporate air and strengthens the dough, setting you up for a delightful texture. A variety of sourdough innovations can also inspire unique flavor combinations to elevate your baking experience.
Keep an eye on your dough; it’s ready for shaping when it has doubled in size and shows visible bubbles, indicating that proper fermentation has occurred. If you’re looking to deepen the flavors and improve the structure even more, consider cold fermentation in the refrigerator for 8-36 hours. This slow fermentation process enhances the bread’s complexity.
Also, don’t forget to monitor your dough’s hydration level. Higher hydration leads to a more open crumb, while lower hydration creates a denser loaf.
Shaping the Dough
How do you guarantee your chocolate chip sourdough bread takes shape beautifully? Start by lightly dusting your work surface and hands with flour to prevent sticking. This will make handling the dough much easier. Pre-shape your dough into a round boule or batard, then let it rest for about 20 minutes. This resting period relaxes the gluten, making your final shaping more manageable.
During the proofing stage, use a banneton or a floured bowl to maintain the dough’s shape and structure. Ascertain you’ve got enough flour in the banneton to prevent sticking, but be cautious not to overload the dough itself—keeping it hydrated is key for a delightful texture.
If chocolate chips start popping out during shaping, gently fold the dough to reintegrate them without overworking it. Here’s a quick reference table for your shaping process:
| Step | Tip |
|---|---|
| Dusting | Lightly flour your hands and surface |
| Pre-shape | Form a boule or batard, rest for 20 mins |
| Proofing | Use a banneton or floured bowl |
| Handling chips | Gently fold chips back into the dough |
Baking Instructions

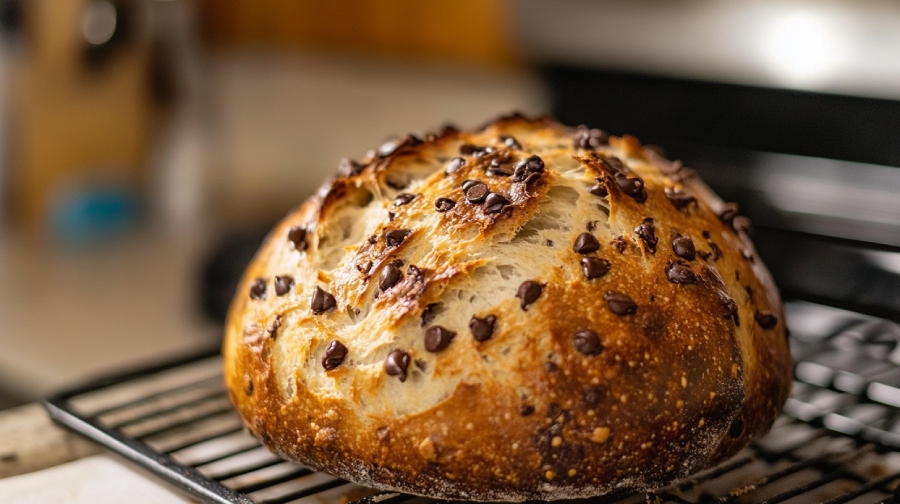
Once your dough has beautifully shaped and proofed, it’s time to bring it to life in the oven. Begin by preheating your oven to 450°F (235°C) with a Dutch oven inside. This step is vital for creating that perfect crust, as a Dutch oven retains heat well and helps generate steam for the best baking results.
While the oven heats up, carefully transfer your dough from the banneton onto a parchment-lined surface. Use a sharp knife or a lame to score the top of your loaf; this allows for controlled expansion during baking. Understanding the role of steam in sourdough baking can elevate your results, contributing to a golden crust and enhanced flavor the role of steam.
Once the oven is ready, carefully place your dough into the preheated Dutch oven, cover it, and bake for 30 minutes. This covered baking will create steam, promoting a lovely oven spring.
After 30 minutes, remove the lid, and let it bake uncovered for an additional 10-15 minutes. Keep an eye on it; you’re aiming for a beautifully golden-brown crust.
Once baked, remove the bread from the oven and let it cool on a wire rack for 4-6 hours. This cooling period is essential for achieving the ideal texture and flavor. Slicing too soon may result in gumminess, so be patient—you’ll be rewarded with delightful chocolate chip sourdough goodness!
Serving Suggestions
What better way to enjoy your chocolate chip sourdough bread than by pairing it with delightful toppings? Start your day with a spread of creamy butter or rich cream cheese for a breakfast that’s both indulgent and satisfying. The addition of flavor enhancements can elevate your experience even further.
If you’re in the mood for something sweeter, slather on some Nutella, and watch that chocolatey goodness melt into the warm bread.
Toasting slices of your loaf enhances its flavor and gives it a delightful crunch—perfect for drizzling with honey, layering on jam, or topping with fresh fruit.
At brunch gatherings, serve your chocolate chip sourdough warm; it pairs beautifully with savory dishes like eggs or quiches, creating a delightful contrast on the table.
For dessert lovers, this bread shines when served with a scoop of vanilla ice cream or a dollop of whipped cream, elevating your chocolate experience to new heights.
And if you find yourself with leftovers, don’t fret! Transform them into decadent French toast for a unique twist on a classic breakfast dish that everyone will love.
Storage and Variations
To keep your chocolate chip sourdough bread fresh, store it in a sealed bag at room temperature for up to four days, or freeze slices in airtight bags for longer enjoyment.
You can also play around with flavors by mixing in nuts, dried fruits, or spices like cinnamon to create your perfect loaf.
Don’t forget that a sprinkle of flaky sea salt before baking can elevate the taste to a whole new level!
Proper Storage Techniques
Storing chocolate chip sourdough bread properly is essential for preserving its delightful texture and flavor. To maintain freshness, keep your bread in a sealed bag at room temperature and aim to enjoy it within four days. For longer storage, wrap it tightly in plastic wrap or aluminum foil and freeze it. When done right, your bread can last several months in the freezer.
Here’s a quick guide to help you with storage techniques:
| Storage Method | Duration | Tips |
|---|---|---|
| Sealed bag at room temperature | Up to 4 days | Consume for ideal taste and texture |
| Wrapped and frozen | Several months | Thaw at room temp before serving |
| Avoiding refrigeration | Not recommended | Refrigerating leads to staling |
When you’re ready to enjoy frozen bread, thaw it at room temperature, then toast or warm it in the oven for a few minutes to restore its crustiness. Remember, never refrigerate your sourdough; it’ll only rob it of moisture and joy.
Flavor Variations Suggestions
Indulging in chocolate chip sourdough bread opens the door to a world of flavor variations that can elevate your baking experience.
Start by experimenting with different types of chocolate chips—dark, milk, or white—to customize the sweetness and flavor. For a more textured bite, try using chopped chocolate bars instead.
To add complexity, consider incorporating dried fruits like raisins, blueberries, or cherries. Simply reduce the chocolate chips to 100g and replace them with an equal weight of dried fruit for a fruity twist.
For a warm touch, mix in a teaspoon of cinnamon or sprinkle flaky sea salt on top before baking, creating a delightful contrast with the chocolate.
Don’t forget to add nuts like walnuts or pecans for an extra crunch that complements the soft bread and rich chocolate.
When it comes to storage, keep your leftover chocolate chip sourdough bread in a sealed bag at room temperature for up to four days.
If you want to preserve it longer, freeze slices to maintain their delicious texture and flavor.
Frequently Asked Questions
Can I Use Dark Chocolate Instead of Semi-Sweet Chips?
Absolutely, you can use dark chocolate instead of semi-sweet chips! Just adjust the quantity to balance sweetness, and keep an eye on baking times, as dark chocolate’s richness can alter your bread’s perception of doneness.
How Do I Know My Sourdough Starter Is Active?
To know your sourdough starter’s active, check for bubbles and a doubled size within 4-6 hours after feeding. If it floats in water and smells pleasantly tangy, it’s ready to use for baking.
What Can I Substitute for Bread Flour?
You can substitute all-purpose flour for bread flour but expect a different texture. Whole wheat flour works too, up to 50%, while gluten-free blends require adjustments. Remember to tweak hydration levels for best results!
How Long Does It Take to Rise?
As you watch the dough swell and stretch, anticipation builds. It typically takes 4 to 6 hours for the first rise, but cold fermentation can extend that to a tantalizing 8 to 36 hours.
Can I Add Nuts or Other Ingredients to the Dough?
Sure, you can definitely add nuts or dried fruits to your dough! Just chop larger nuts for even distribution, and keep total add-ins under 200g to guarantee your dough rises beautifully. Enjoy experimenting!
A Sweet Nostalgia: Chocolate & Sourdough
A sweet aroma fills the air as you pull that golden, chocolate-studded sourdough from the oven, reminding you of childhood moments spent baking with loved ones. Each bite blends rich chocolate with tangy dough, creating a delicious harmony that feels like a warm hug.
Coincidentally, it’s in these simple acts of baking that we find connection and joy. So, as you savor your creation, remember that sometimes the best moments arise from the most unexpected combinations.


