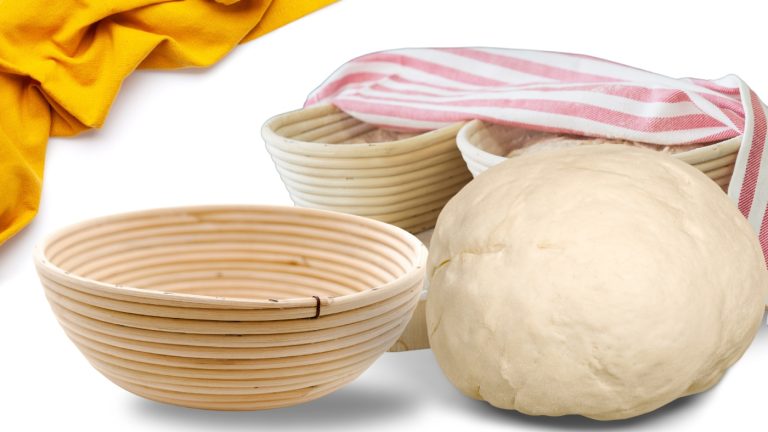
Sourdough Honey Oat Bread: The Sweet Simplicity of Flavor
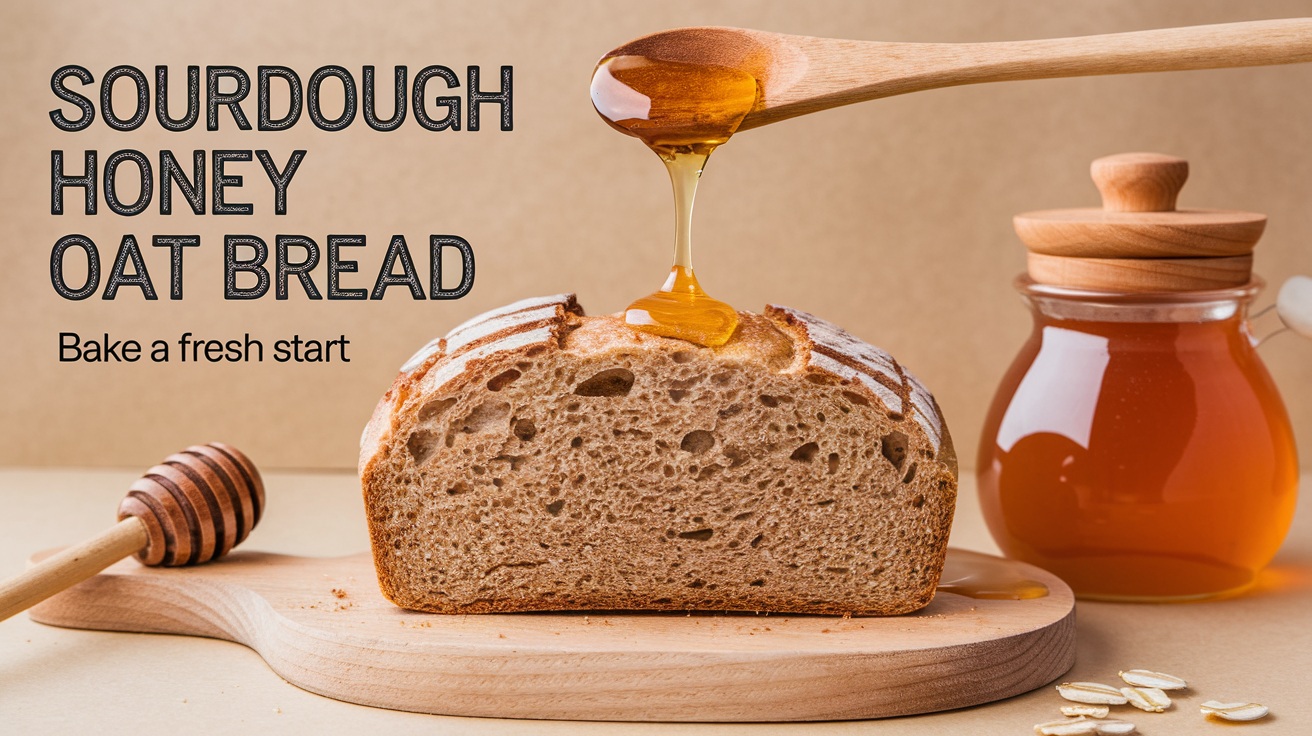
Sourdough honey oat bread offers a delightful blend of flavors and textures. You’ll need an active sourdough starter, rolled oats, and about half a cup of honey for sweetness.
Combine these with flour and water, knead until smooth, then let the dough rise for several hours. This bread is unique for its tangy notes and hearty oats.
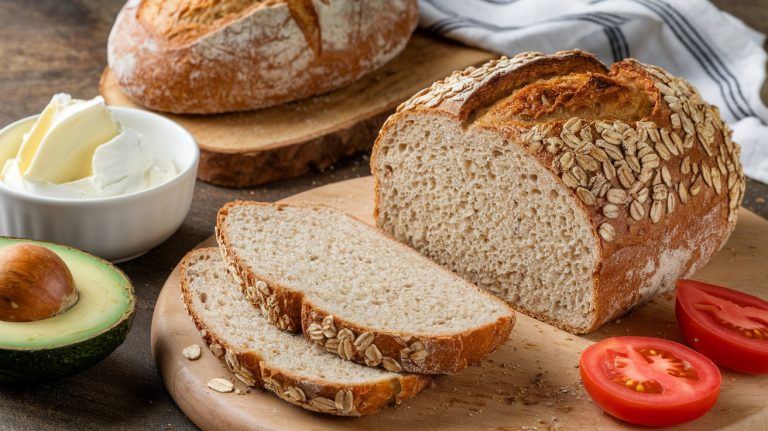
After baking, you’ll find a golden crust and a soft, airy inside, perfect for various meals. As you explore, you’ll discover tips for enhancing flavor or storing your delicious creation for the days to come.
Key Takeaways
- Combine 70g white flour, 30g whole rye flour, and 100g water to create an active sourdough starter before baking.
- Incorporate 1 1/4 cups of active starter, ½ cup honey, and rolled oats for added texture and sweetness.
- Allow dough to rise for 6 to 8 hours, ensuring it nearly doubles in size for optimal texture.
- Preheat oven to 375°F and bake bread for 25-28 minutes until golden brown and reaching an internal temperature of 190°F.
- Store bread in a breathable bag on the counter for about a week or freeze for long-term freshness.
Sourdough Starter Essentials
Creating a robust sourdough starter is the foundation of your baking journey. Start by mixing 70g of white flour with 30g of whole rye flour, and add 100g of water. This combination sets the stage for a thriving culture.
Aim for a 100% hydration ratio, ensuring your starter remains wet and active. Temperature plays an important role, so keep your mixture warm, ideally around 75°F to 80°F. Within a few days, you should notice bubbles forming, a sign that fermentation is working its magic.
When your starter becomes bubbly, has a pleasant sour aroma, and a looser consistency, it’s ripe and ready for feeding. Feed your starter twice daily, discarding a portion before adding fresh flour and water to maintain balance. A mix of whole-grain rye and white flour will enhance its strength, so selecting quality flour will ensure a more flavorful and healthier starter. Keeping your starter active and viable involves regular feedings and monitoring its development.
Remember to store the starter in a clean jar with a loose lid, allowing for airflow while preventing contamination.
Key Ingredients for Bread
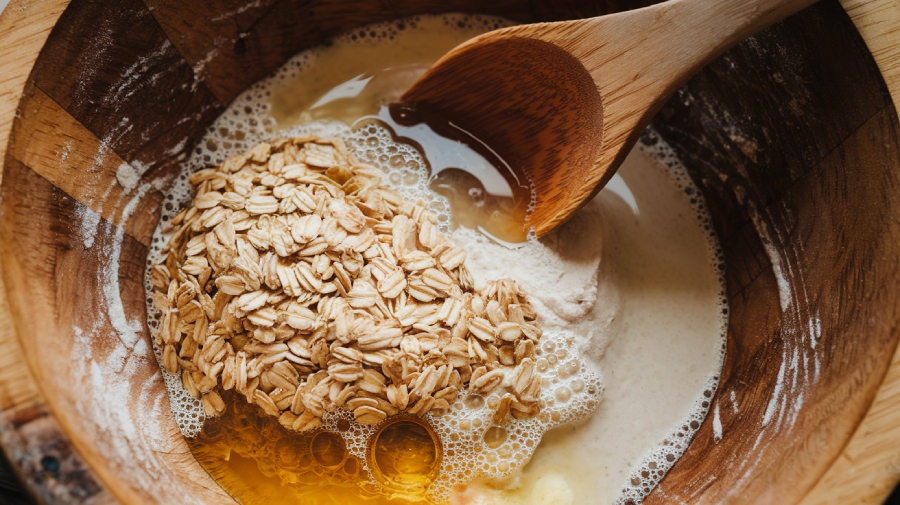
To achieve the perfect sourdough honey oat bread, knowing the key ingredients is vital. Each element contributes to the overall flavor, texture, and rise of your bread. Here’s a breakdown of the primary ingredients you’ll need:
| Ingredient | Details |
|---|---|
| Sourdough Starter | 1 1/4 cups active/fed or 100g unfed/discard |
| Rolled Oats | Use rolled or quick oats for texture |
| Honey | ½ cup for sweetness; adjust based on preference |
| Water | Essential for hydration |
| Flour | Whole wheat flour, bread flour, or a mix |
When selecting your sourdough starter, consider using one that’s been fed recently for the best results. The oats will add a delightful chewiness, while honey enriches the flavor profile. Natural fermentation enhances the overall health benefits of the bread, making it easier to digest.
Water is your primary liquid, ensuring the dough maintains the right consistency. Finally, the choice of flour plays a significant role in structure, so feel free to experiment with combinations.
Preparation Steps
When preparing your sourdough honey oat bread, each step is essential for achieving the desired flavor and texture. Start by combining water, honey, and butter in a saucepan, heating it until everything dissolves.
Next, stir in rolled oats and let the mixture cool slightly. In a large bowl or stand mixer, mix your sourdough starter with the remaining water. Add the egg, honey-oat mixture, salt, yeast (if using), and some initial flour. Gradually incorporate the rest of the flour until a soft dough forms.
Knead the dough for 5 to 8 minutes until it’s smooth and non-sticky. Allow it to rest for 30 minutes to autolyse, enhancing the dough’s structure. You can use a Danish dough whisk for effective mixing, or knead by hand about 20 times. If you prefer, a stand mixer can assist in the initial mixing. This process is crucial for developing the soft crumb texture that the bread is known for. Additionally, maintaining a healthy starter is vital for achieving the desired dough rise.
Once the dough has doubled, divide it in half and shape each portion into a loaf, placing them seam side down in loaf pans or bannetons. Brush the tops with melted butter and preheat your oven to 350°F about 20 minutes before baking.
Rising and Proofing Process
The rising and proofing process transforms your dough into a light, airy loaf, essential for achieving that perfect sourdough honey oat bread. Start with the initial rise, letting your dough rest for about 1 hour until it doubles in size. If you want to extend this process, refrigerating the dough overnight can enhance the flavors and texture.
During the bulk fermentation, which lasts 3 to 4 hours, your dough may spread more than commercial yeast bread. You’ll know it’s ready when it feels airy and bouncy, and looks noticeably fuller. Additionally, the long fermentation involved in sourdough helps break down gluten, making it easier to digest. Maintaining an ideal fermentation temperature ensures optimal yeast and bacterial activity, which is vital for dough development.
After this, divide and shape your dough into loaves, placing them in loaf pans or bannetons for the proofing stage. Cover them and allow them to rise again until they’re puffy and almost double in size—this typically takes 1 to 3 hours.
Keep an eye on temperature and verify your sourdough starter is active. Proper hydration of flour and oats, along with effective gluten development through stretch and fold techniques, will greatly impact your dough’s rise.
Once you’ve achieved those visual cues and feel, you’re ready for the next step.
Baking Instructions and Tips
To achieve the perfect Sourdough Honey Oat Bread, you’ll need to pay close attention to your oven’s temperature settings and dough preparation techniques. Start by preheating your oven and preparing the loaves for baking with proper slashing and oiling.
Using a Dutch oven is highly recommended, as it helps create an environment for excellent crust development. With a few essential baking tips and tricks, you’ll guarantee your bread comes out beautifully risen and evenly cooked. Additionally, using whole grains in your recipe enhances the nutritional value of the bread.
Oven Temperature Settings
For ideal baking results, preheating your oven to 375°F is essential, especially if you’re aiming for that perfect loaf of Sourdough Honey Oat Bread.
Preheat your oven for about 20 minutes to guarantee even baking. If you’re at a lower altitude, consider adjusting the temperature to 350°F.
Here are some key tips to get you started:
- Monitor Baking Time: Bake the bread for 25-28 minutes, or until the bottoms are a rich golden brown.
- Check Internal Temperature: Use a thermometer to guarantee the internal temperature reaches about 190°F; this helps avoid underbaked centers. Additionally, remember that the fermentation process enhances digestibility, making your bread easier to enjoy.
- Adjust for Your Oven: Every oven performs differently, so be prepared to make slight adjustments to achieve peak results.
- Add Moisture: Placing a pan of water in the oven can help create humidity, enhancing your bread’s texture.
Dough Preparation Techniques
Achieving the perfect Sourdough Honey Oat Bread starts with proper dough preparation techniques.
Begin by mixing your active sourdough starter, water, oil, salt, and honey until everything’s well combined. Then, add the flours and oats, mixing until no dry flour remains.
Let the dough rest for 30 minutes to autolyze; this allows the whole grains to absorb the water effectively. This step enhances the dough’s gluten development, contributing to a better texture. Knead the dough about 20 times until it comes together, using a wooden spoon or dough spoon for the initial mixing.
Next, place your dough in a warm environment and let it rise until nearly doubled, which should take about 6 to 8 hours. This process is crucial for developing the soft, buttery texture of the bread.
After bulk fermentation, pre-shape the dough into a light bowl and let it rest for 20 minutes. Shape it into your desired form, whether a batard or sandwich loaf, using a bench knife for precision.
Finally, allow the shaped dough to rise again until doubled, which will take 1 to 3 hours.
Baking Tips and Tricks
When baking Sourdough Honey Oat Bread, maintaining ideal conditions is essential for achieving a delicious loaf. Follow these tips to guarantee your bread rises beautifully and bakes perfectly.
- Temperature Control: Keep your dough in a warm environment around 82°F for best rising.
- Rise Times: Monitor your rise times. If you’re using the yeast-added method, expect 1 to 1.5 hours for the first rise and 45 minutes to an hour for the second. For the sourdough-only method, allow 1 to 3 hours.
- Soak Your Oats: Before mixing, soak the rolled oats to help retain moisture and prevent a dry loaf.
- Oven Prep: Preheat your oven to 350°F (or 375°F) at least 20 minutes before baking. Brush the loaves with an egg wash or honey wash and sprinkle with oats for a beautiful finish.
Flavor Enhancements and Variations
When you’re looking to elevate your Sourdough Honey Oat Bread, consider ingredient substitutions that can transform the flavor profile. For instance, swapping bread flour for rye or freshly milled wheat berries introduces a hearty, rustic taste.
Additionally, pairing flavors like honey with toasted muesli creates a delightful breakfast option that’s both nutritious and satisfying. Incorporating whole wheat flour can further enhance the bread’s nutritional value while adding a distinct flavor. The use of whole grains increases fiber content, supporting gut health and overall nutrition.
Ingredient Substitutions
In crafting your sourdough honey oat bread, ingredient substitutions can elevate both flavor and texture. Experimenting with different ingredients allows you to tailor your bread to your preferences. Here are some suggestions to take into account:
- Flour Substitutions: Replace 100g of bread flour with whole wheat or rye flour for a heartier loaf. Alternatively, use freshly milled wheat berries for a country-style flavor.
- Sweetness Adjustments: If you prefer a less sweet loaf, reduce the amount of honey, or swap it for maple syrup, keeping in mind the resulting flavor change.
- Starter Variations: Use an active sourdough starter for ideal rise, but if you’re running low, discard starter can still work—just expect a different texture.
- Oat Options: Choose between rolled oats, quick oats, or old-fashioned oats to achieve the desired texture in your bread.
Flavor Pairing Ideas
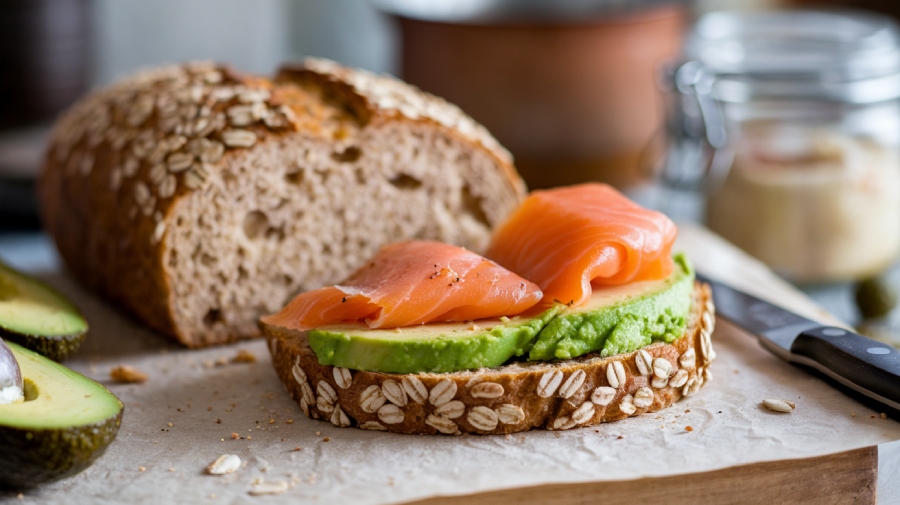
Elevating your sourdough honey oat bread with thoughtful flavor pairings can transform a simple loaf into a culinary delight. Consider the endless possibilities that can enhance your experience, whether you lean towards savory, sweet, or aromatic variations.
The fermentation process used in sourdough not only develops flavor but also creates a unique texture that complements various toppings. Additionally, using discarded starter can enhance the flavor profile of your bread while minimizing waste.
Here’s a simple guide to help you explore these pairings:
| Savory Pairings | Sweet Enhancements | Herb & Spice Variations |
|---|---|---|
| Poached eggs and bacon | Toasted with butter and tea | Chopped fresh herbs (rosemary, thyme) |
| Grilled cheese sandwiches | Fresh fruits (strawberries, blueberries) | Grated garlic |
| Avocado and smoked salmon | French toast with maple syrup | Sesame seeds |
You can also experiment with unique textures and flavors. Add dried cranberries or nuts for crunch, or consider infusing honey with lavender for a fragrant touch.
Storing and Serving Suggestions
To guarantee your Sourdough Honey Oat Bread stays fresh and enjoyable, proper storage and serving methods are essential. Here’s how to keep your bread at its best:
- Fresh Storage: Keep it on the counter for about a week in a breathable bag or wrapped in a cloth.
- Fridge Storage: If you need it to last longer, pop it in the fridge for up to two weeks.
- Freezer Storage: For long-term storage, wrap it tightly in plastic wrap, place it in a ziplock freezer bag, and freeze for 3 to 5 months. Thaw it at room temperature when you’re ready to enjoy.
- Cutting and Serving: Always cut the bread just before serving to maintain its freshness.
When it comes to serving, this bread shines in many ways. Toast it for breakfast with homemade butter and tea, or use it as the base for delicious open sandwiches.
It’s also fantastic for French toast and grilled cheese sandwiches, adding a unique sweetness. For a savory twist, serve it under poached eggs for a delightful breakfast option. Additionally, freezing sourdough bread can enhance its health benefits through resistant starch formation, making it a nutritious choice for your meals.
Frequently Asked Questions
Can I Use Gluten-Free Flour for This Recipe?
Yes, you can use gluten-free flour for this recipe. Just verify you select a combination of gluten-free flours like teff, millet, or sorghum to achieve a balanced flavor and texture.
When you substitute, be aware that the dough may behave differently, so pay attention to hydration levels.
Allow the bread to cool completely before slicing to enhance its texture.
With careful adjustments, you can create a delightful gluten-free version that’s light and airy!
How Do I Know if My Sourdough Starter Is Active?
Wondering if your sourdough starter’s ready? Start by checking its volume; it should double within 4-6 hours after feeding.
Look for bubbles breaking on the surface, forming a honeycomb structure when tilted.
Take a whiff—does it smell pleasantly yeasty?
If the texture’s thick, like warm peanut butter, you’re on the right track.
Finally, a floating test can confirm its readiness. If it floats, it’s active and keen to help you bake!
What Can I Substitute for Honey in This Recipe?
If you’re looking to substitute honey, consider using maple syrup in a 1 to 1 ratio for a similar sweetness, or black strap molasses at half the amount for a richer flavor.
Agave nectar works well too, matching honey’s consistency.
Golden syrup can add a caramel touch, while brown rice syrup requires a slight increase in quantity.
Just keep in mind the sweetness levels and adjust accordingly to maintain balance in your recipe.
How Do I Store Leftover Sourdough Honey Oat Bread?
You’ll find that bread can lose freshness within 48 hours if not stored properly.
To keep your leftover bread tasting great, wrap it in a tea towel or place it in a linen bag, ensuring air circulation. Store it in a cool, dark place at room temperature.
If you need to keep it longer, slice and freeze it in an airtight bag. Avoid refrigeration, as it can cause mold faster.
Enjoy your bread!
Can I Freeze Sourdough Honey Oat Bread for Later Use?
Yes, you can freeze bread for later use. First, cool it completely at room temperature to prevent freezer burn.
Wrap the loaf tightly in two layers of plastic wrap, then place it in a zip-top bag, removing excess air.
For sliced bread, freeze slices individually on a baking sheet before transferring them to a bag.
Store bread in the freezer for up to three months, ensuring it maintains its freshness and texture.
A Bread Worth Baking Again and Again
As you slice into your warm sourdough honey oat bread, you’ll discover a symphony of flavors that dance on your palate. This bread isn’t just a loaf; it’s a demonstration of your patience and creativity. Each bite reveals the fruits of your labor, blending the nutty oats with a touch of sweetness.
With proper storage, it’ll remain fresh, inviting you back for more. Enjoy this delightful creation, and let it become a cherished staple in your kitchen.

