Buttermilk Sourdough Bread: Discover the Unique Flavor
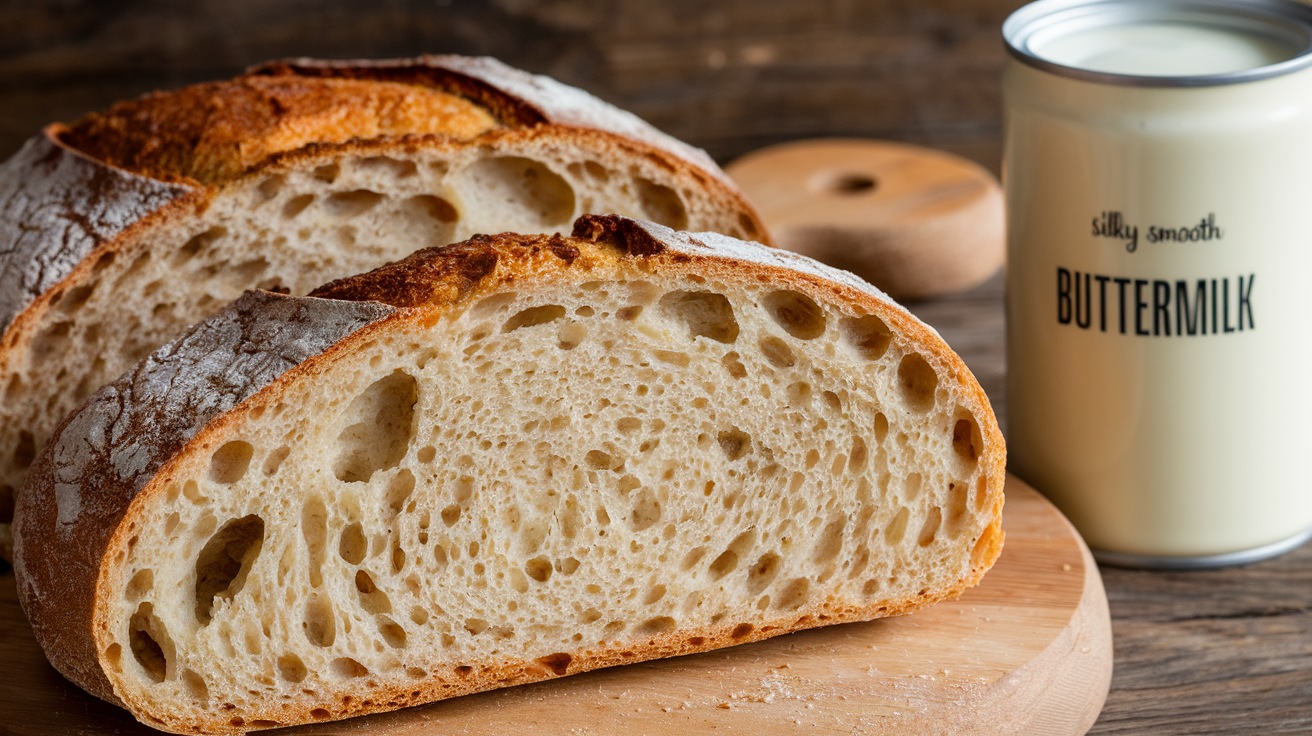
Buttermilk sourdough bread starter elevates your baking by adding a tangy flavor and improving texture. To create it, mix buttermilk with flour and a dash of yeast.
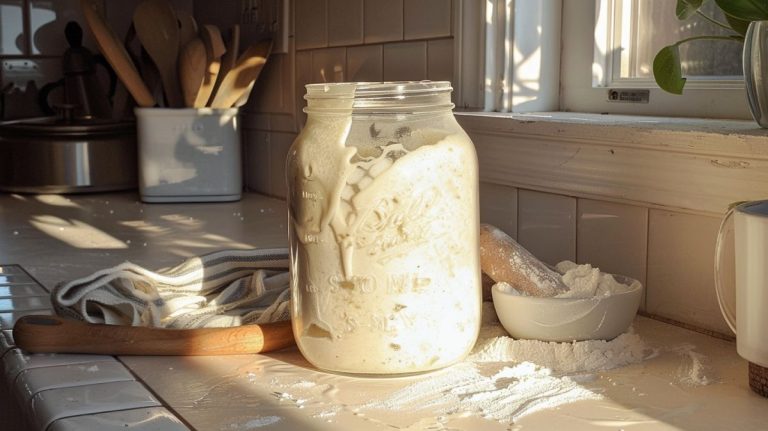
This combination fosters fermentation, capturing wild yeasts that work together to leaven your bread. Regular feedings keep your starter active; you’ll notice bubbles and a pleasant sour aroma as signs of health.
Your dough will thrive when combined with flour, water, and salt. Bake it to a delightful golden brown, and you’ll savor the unique taste. Stay tuned for tips for maintaining your starter and perfecting your baking process.
Key Takeaways
- A buttermilk sourdough starter combines buttermilk, flour, and a dash of yeast, creating a unique culture for leavening bread.
- Buttermilk’s live cultures enhance fermentation, contributing to bread’s flavor and texture.
- Maintain a consistent feeding schedule with flour and water to keep the buttermilk sourdough starter healthy.
- Store the starter in a non-porous container with a loose lid to prolong its vitality.
- The starter can be refrigerated, allowing for flexibility in baking schedules while preserving its quality.
Essential Ingredients for Bread
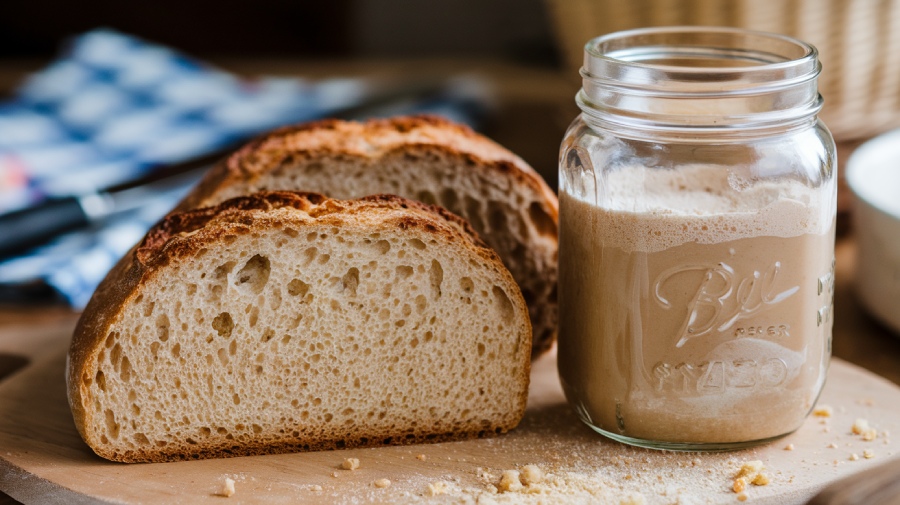
When it comes to baking bread, understanding the essential ingredients is key to achieving the perfect loaf. You’ll find that each component, from flour to yeast, plays a crucial role in the structure and flavor of your bread.
Additionally, the quality of flour can significantly impact the final result. Furthermore, using an active sourdough starter can enhance the flavor and rise of your bread.
Key Components
First up is flour, the backbone of your dough. High-protein bread flour creates that delightful gluten structure, trapping air bubbles and giving your bread its airy volume. Choose wisely among different types, as each offers unique characteristics.
Next, there’s water, a significant player that activates yeast and forms gluten bonds. The right temperature matters; too hot can kill the yeast, while too cold slows it down. Use chlorine-free water, especially for sourdough, to keep those natural yeasts thriving. The use of warm water (105-115°F) is crucial as it activates yeast effectively and ensures optimal fermentation.
Speaking of yeast, it’s the magic ingredient that makes your dough rise. Whether you opt for active dry, instant, or wild yeast, proofing it first guarantees it’s alive and ready to work its wonders.
Lastly, don’t forget salt. It enhances flavor and strengthens gluten while controlling yeast growth.
Ingredient Substitutions Explained
Ingredient substitutions can make or break your bread-making experience, allowing you to customize your recipe based on what you have on hand.
By understanding how each component interacts, you can create a loaf that suits your taste and dietary needs.
Here are some key substitutions to evaluate:
- Bread Flour vs. All-Purpose Flour: Opt for bread flour for a chewier texture, as it typically has a higher protein content that contributes to fluffiness.
- Homemade Buttermilk: Mix a bit of vinegar with regular milk if you’re out of buttermilk.
- Whole Wheat Flour: A partial swap with all-purpose flour adds nutrition and flavor.
- Active Sourdough Starter: If you don’t have one, commercial yeast can help, but wild yeast is preferred for authenticity.
- Butter Variations: Use salted or unsalted butter based on your flavor preference; just remember it’ll affect the saltiness of your bread.
Keep the total flour content consistent for proper hydration, and adjust buttermilk amounts to control tanginess. Additionally, using a buttermilk starter can enhance the flavor profile of your bread, providing a unique tanginess that complements the other ingredients.
Preparing the Buttermilk
To prepare buttermilk for your sourdough bread, you’ll want to make certain it’s at room temperature for best results. Start by taking the buttermilk out of the fridge and letting it sit for about an hour.
If you’re in a hurry, you can speed up the warming process by placing the buttermilk in a small bowl surrounded by warm water in a larger bowl for around 30 minutes.
For your recipe, you’ll need 300g of buttermilk and 50g of water. If you find you have less buttermilk, simply adjust by adding more water—like using 200g of buttermilk and 150g of water.
While full-fat buttermilk is preferred for its rich flavor, low-fat options work too. Remember, buttermilk’s acidity not only contributes a delightful tang but also helps create a tender crumb in your bread. This is important because tenderness and flavor are essential qualities in sourdough bread.
If buttermilk isn’t available, you can easily substitute it with regular milk or make a quick version by adding a splash of vinegar to the milk.
Just make certain your buttermilk is fresh, as this key ingredient distinctly elevates your sourdough experience.
Mixing the Dough
With your buttermilk prepared and at the right temperature, you’re ready to start mixing the dough. Gather your ingredients and let the fun begin!
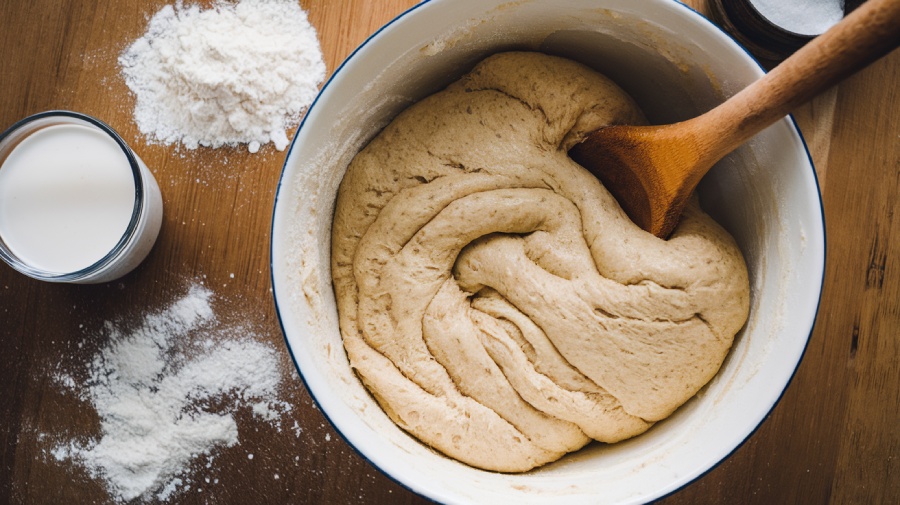
In a large bowl or stand mixer, combine the buttermilk, sourdough starter, honey, and melted butter. Once mixed, add flour and salt until a shaggy dough forms. If you’re using a stand mixer, attach the hook and knead the dough for about 8 minutes until it’s tacky and shows a good windowpane. During this time, it’s important to monitor your dough’s temperature as it can affect the fermentation process.
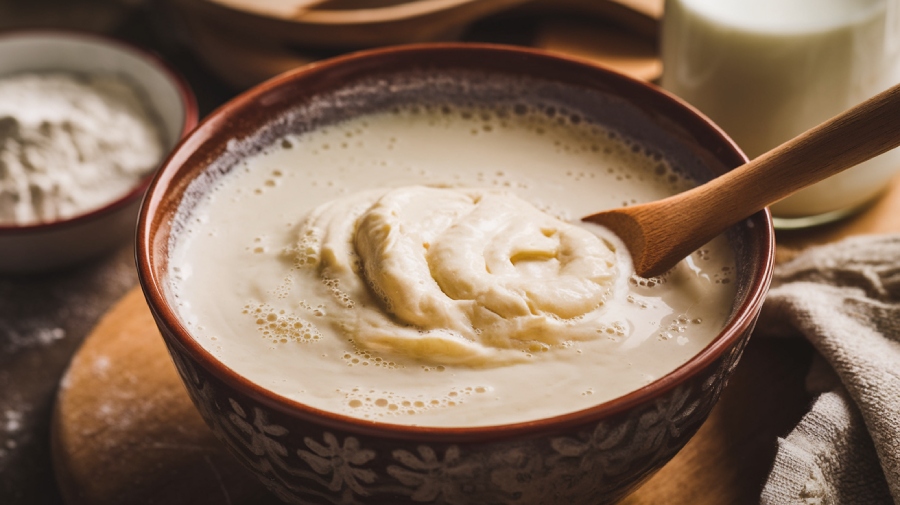
Here’s what you’ll need for this part of the process:
- Room temperature buttermilk and water for ideal mixing
- A digital scale for precise measurements
- A large mixing bowl or a stand mixer with a hook attachment
- Flour and salt to create a balanced dough
- Cling film or a damp towel to cover the bowl later
As you mix, be gentle yet vigorous, ensuring you incorporate oxygen into the dough, which helps with fermentation. A healthy starter is essential for a successful dough because it contains active wild yeast that contributes to the rise and flavor of your bread.
Rise and Fermentation Process
As you begin the rise and fermentation process, you’ll witness the magic of transformation as your dough develops flavor and texture.
Start by placing your dough in a lightly greased bowl, covering it with a lid, damp towel, or plastic wrap. Find a warm spot, like on top of your stove or refrigerator, to encourage fermentation. Depending on the temperature, this bulk fermentation can take anywhere from 5 to 12 hours. Refrigeration can pause the fermentation process, allowing you to manage your baking schedule more effectively. The ideal fermentation temperature is often around 70-80% hydration, which significantly enhances the dough’s texture.
Keep an eye on your dough; you’ll know it’s ready when you see visible bubbles and it has doubled in size. If your kitchen’s on the cooler side, don’t hesitate to let it ferment overnight at room temperature for best results. You may also utilize your oven’s proofing function, ensuring the temperature stays below 86°F (30°C).
For added strength, consider incorporating the stretch and fold technique during this phase.
Remember, the environment plays a key role—ambient temperature and wild yeasts can influence your dough’s rise. Patience is essential, so check regularly and adapt your timing as needed based on your starter’s activity and the surrounding conditions.
Shaping the Dough
After your dough has risen beautifully, it’s time to shape it into its final form. Start by preparing a clean surface, ensuring you have everything you need at hand.
Gently remove the dough from the bowl, taking care to keep its structure intact. Dust your countertop with rice flour to minimize gluten interaction, placing the sticky underside facing up for easier handling. Buttermilk contributes to a velvety soft crumb, enhancing the overall texture of your bread. Using a quality proofing basket can significantly improve the dough’s rise and texture by providing proper conditions for fermentation.
Here’s how you can shape your dough:
- Let the dough rest for 30 minutes before shaping.
- Gently knead it 5–6 times to enhance its texture.
- Open the dough into a rectangle, then roll it into a tight log shape.
- Pinch the ends to seal the log securely.
- Place the shaped dough into a lined 9-inch by 5.5-inch loaf pan.
Baking Your Bread
The success of your buttermilk sourdough bread hinges on ideal baking conditions, which play a crucial role in achieving that perfect crust and tender crumb. Start by preheating your oven to 350°F and 375°F. Bake the bread for 45 to 55 minutes, ensuring the internal temperature reaches between 190°F and 210°F for optimal doneness.
Consider these essential baking techniques:
| Baking Factor | Recommendation |
|---|---|
| Egg Wash | Optional for enhancing browning |
| Baking Vessel | Use a loaf pan or Dutch oven |
| Lid Usage | Cover for the first 30 minutes at 450°F |
| Cooling Method | Cool completely on a wire rack |
Ensure your bread rises in a warm environment, avoiding refrigeration. The bulk rise should take 10-12 hours, followed by a second rise of 2-4 hours. For best results, score the dough before baking to improve appearance.
Finally, let your bread cool completely before slicing to maintain its texture.
Tips for Success
Focus on key practices that boost fermentation and flavor to craft a successful buttermilk sourdough starter. These essential tips will set you on the path to a bubbly and flavorful starter.
- Use organic and unbleached flour: This helps capture wild yeast effectively, which is crucial for fermentation. Additionally, using high-quality, food-grade ingredients ensures a safe and successful fermentation process.
- Buttermilk is key: The live cultures in buttermilk kickstart the fermentation process, giving your starter a tangy flavor. Additionally, using a bubbly sourdough starter contributes to a more robust fermentation environment.
- Maintain a clean environment: Clean jars and utensils prevent unwanted bacteria from hindering your starter’s growth. Opting for durable glass containers can enhance cleanliness and ease of use.
- Monitor consistency: Aim for a thick pancake batter-like texture by adjusting your flour and water ratios.
- Stir vigorously: Oxygen is your friend; stirring the mixture well promotes healthy yeast growth. Incorporating a temperature control method can further enhance the fermentation process.
Variations and Substitutions
Experimenting with variations and substitutions can elevate your buttermilk sourdough bread to new heights. If you don’t have buttermilk on hand, mix regular milk with a tablespoon of lemon juice or vinegar and let it thicken for about five minutes. This simple combination mimics the tangy flavor and texture of buttermilk.
Alternatively, using buttermilk left over from making butter or cultured butter can enhance your bread with rich butterfat and complex flavors.
For your starter, if you’re in a pinch, you can use 1 teaspoon of instant yeast instead of an active sourdough starter. Keep in mind that this will alter the flavor and rising time.
To create a buttermilk starter, combine buttermilk, flour, and a dash of yeast, revitalizing it before use. Active sourdough starters can also provide a unique flavor profile and improve the bread’s texture.
You can also adjust your dough’s hydration by using less buttermilk and supplementing with water. To balance the sourness, sweeten your bread with honey or maple syrup.
Frequently Asked Questions
How Can I Tell if My Sourdough Starter Is Active?
To tell if your sourdough starter is active, look for a noticeable rise in size after feeding—ideally, it should double or triple within 4-6 hours.
You’ll see bubbles forming on the surface and sides, indicating fermentation. The aroma should be pleasantly tangy, without any off-putting smells.
Perform the float test; if it floats in water, it’s at peak activity.
Can I Use Store-Bought Buttermilk for My Starter?
Oh sure, you can use store-bought buttermilk for your starter—if you enjoy living on the edge!
It adds moisture and a delightful tang, softening your dough like a warm hug. Just mix it with your usual ingredients, but remember to balance it carefully; too much can lead to a soggy disaster.
If you’re feeling adventurous, try homemade buttermilk for a richer flavor.
Either way, your bread will thank you!
What Type of Flour Is Best for Sourdough Bread?
When it comes to sourdough bread, you’ll want to choose high-protein flour, ideally between 12-15%.
Bread flour or high-protein options, like King Arthur or Central Milling, work best for creating a strong gluten structure.
Avoid low-protein flours, as they won’t give you the rise and texture you’re looking for.
Don’t hesitate to experiment with blends, mixing in ancient grains for unique flavors while maintaining the strength needed for great sourdough!
How Long Does It Take to Make Buttermilk Sourdough Bread?
Imagine the aroma of freshly baked bread wafting through your kitchen.
It takes about 12 to 20 hours to make buttermilk sourdough bread, from mixing to baking. After a quick knead, let the dough rise for 5 to 12 hours, then shape it and allow for a second rise of 1.5 to 4 hours.
Can I Freeze Buttermilk Sourdough Bread for Later Use?
Yes, you can freeze buttermilk sourdough bread for later use!
Just wrap the whole loaf tightly in plastic wrap, then place it in a freezer-safe bag.
For individual slices, freeze them on a baking sheet first, then transfer to a bag.
Frozen bread stays fresh for up to three months.
When you’re ready to enjoy it, simply thaw at room temperature or toast slices straight from the freezer for a quick snack!
Tangy, Golden, Perfect Buttermilk Sourdough
In the end, nurturing your buttermilk sourdough starter is like tending a garden; with patience and care, it flourishes into something beautiful. Just as a seed transforms into a vibrant plant, your starter evolves, developing rich flavors and a delightful aroma.
Each loaf you bake tells the story of your journey, filled with warmth and creativity. So, roll up your sleeves, embrace the process, and savor the satisfaction of crafting your very own artisanal bread.

