Can You Make Sourdough Bread in a Bread Machine?
Yes, you can make sourdough bread in a bread machine.
This method simplifies baking while delivering a fluffy loaf that is perfect for any meal. You’ll need an active sourdough starter, water, unsalted butter, bread flour, sugar, and salt.
Layer the ingredients correctly in your machine and let it handle the kneading and rising. This is a cost-effective choice, too, as it saves you money compared to bakery prices.
Plus, you’ll enjoy enhanced digestibility and flavor. If you’re curious about tips and techniques to perfect your loaf, there’s more to explore.
Key Takeaways
- Yes, you can make sourdough bread in a bread machine, simplifying the baking process for a fluffy loaf.
- An active sourdough starter is essential for fermentation and flavor in the bread.
- Use high-quality bread flour and adjust water based on starter consistency for optimal dough texture.
- Follow your bread machine’s settings for extended kneading and rising cycles to enhance fermentation.
Recipe Overview and Benefits
Making sourdough bread in a bread machine not only simplifies the baking process but also results in a deliciously fluffy loaf that’s perfect for any meal or occasion.
With a reliable bread machine sourdough recipe, you can easily create a soft, buttery loaf with a hint of sweetness. The process is straightforward: follow the specific order of ingredients and utilize the machine’s dough cycle, letting the machine handle the kneading and rising.
An active starter is key to achieving that delightful sourdough flavor while ensuring a high-rising loaf with a tender crumb. Plus, it’s incredibly cost-effective—averaging just $0.75 to $1 per loaf—significantly less than the $7 to $8 you’d spend at a bakery.
You’ll quickly realize why this method is popular, as positive community feedback reflects an average rating of 4.49 from 299 votes. With minimal effort, you can impress family and friends with homemade bread that elevates any meal, making your kitchen the heart of deliciousness.
Ingredients and Nutritional Information
To create delicious sourdough bread, you’ll need a few key ingredients that work together harmoniously.
Think of bread flour, ripe sourdough starter, and filtered water as your foundation for flavor and texture.
Plus, understanding the nutritional benefits will help you appreciate each slice even more!
Essential Ingredients Breakdown
When crafting sourdough bread, you’ll rely on essential ingredients like water, unsalted butter, bread flour, granulated sugar, salt, and an active sourdough starter, each playing a crucial role in the bread’s flavor and texture.
Here’s a quick breakdown of these key components:
- Water: Use filtered water to enhance the fermentation process and achieve ideal flavor.
- Unsalted Butter: Adding unsalted butter enriches the dough, giving it a tender crumb and deliciously rich taste.
- Bread Flour: With its higher protein content, bread flour is your go-to for creating that airy, fluffy texture that makes sourdough so delightful.
- Granulated Sugar: This sweetener not only feeds your sourdough starter but also adds a subtle sweetness that balances the tanginess of the bread.
Don’t forget the essential pinch of salt, which enhances overall flavor and helps strengthen the dough structure.
When using a bread machine, these ingredients combine seamlessly, allowing you to enjoy homemade sourdough bread with minimal fuss.
Happy baking!
Nutritional Benefits Overview
Sourdough bread offers a range of nutritional benefits, making it a wholesome addition to your diet with its unique fermentation process that enhances digestibility and boosts vitamin and mineral availability.
The ingredients commonly used, like bread flour and unsalted butter, contribute to a rich nutritional profile. A typical 1-pound loaf contains around 203 calories, 34 grams of carbohydrates, 5 grams of protein, and 5 grams of fat, giving you a balanced option for meals.
The fermentation process not only creates that delicious tangy flavor but also introduces beneficial bacteria, which can improve your gut health. This process breaks down gluten and phytic acid, making nutrients more accessible and easier to digest. Plus, the higher protein content from bread flour helps create that delightful fluffiness you love in sourdough.
Incorporating sourdough bread into your diet can be a satisfying way to enjoy flavors while reaping health benefits. Whether enjoyed with a spread of unsalted butter or as a base for your favorite toppings, sourdough bread can be a nutritious choice that supports overall well-being.
Instructions for Making Sourdough Bread
Making sourdough bread in a bread machine involves a few essential ingredients and a straightforward step-by-step process.
You’ll layer everything carefully in the machine, ensuring the active sourdough starter sits at the top for ideal mixing.
Once you follow the baking cycle, you’ll be rewarded with a delicious loaf that’s perfect for any occasion.
Essential Ingredients Overview
To successfully create delicious sourdough bread in your bread machine, you’ll need to gather a few essential ingredients that work harmoniously together. Each ingredient plays a crucial role in the fermentation process, ensuring your dough rises beautifully.
Here’s what you’ll need:
- Flour: Start with 1 2/3 cups (200g) of high-quality flour, which forms the backbone of your bread.
- Sourdough Starter: Use 1 1/3 cups (301g) of ripe sourdough starter or discard to provide the natural yeast needed for fermentation.
- Water: Pour in approximately 285ml of water to achieve a 65% hydration dough, adjusting based on your starter’s consistency.
- Yeast: For added strength, include 1 teaspoon of active dry or instant yeast, which helps kickstart the fermentation process.
With these ingredients in your bread machine, you’ll set the stage for a flavorful and textured sourdough loaf.
Remember to monitor your dough during the initial kneading phase, ensuring it reaches that perfect shaggy consistency, and make adjustments as necessary for optimal outcomes.
Step-by-Step Baking Process
You’ll start the baking process by carefully layering the ingredients in your bread machine, ensuring that each component is added in the right order for ideal results.
Begin with warm water and melted unsalted butter, followed by whole wheat flour, granulated sugar, and salt. Finally, incorporate your active sourdough starter to kickstart the fermentation process, enhancing flavor and texture.
Once everything’s in place, activate the kneading function for about 25 minutes. If you want an even better rise, consider an optional second knead cycle to promote peak gluten formation.
After kneading, it’s time to let your dough rise. Allow it about 6 hours, keeping an eye on its consistency to confirm it’s reaching the desired volume.
Once the dough has risen beautifully, follow your bread machine’s specific baking instructions to complete the process.
You’ll soon be rewarded with a delicious loaf of sourdough bread, full of character and flavor. Enjoy the satisfaction that comes from making your own bread, knowing that each step you took contributed to an irresistible homemade treat!
Sourdough Starter Preparation
Preparing a sourdough starter is a rewarding process that lays the foundation for delicious, homemade bread. With just a bit of patience, you’ll cultivate a living culture that transforms your baking. Here’s how to get started:
- Choose Your Flour: Use wholegrain dark rye flour to feed the starter, as it’s rich in nutrients promoting yeast and bacteria growth.
- Mix Your Ingredients: Combine equal weights of your starter, flour, and water. For example, if you keep 40g of starter, add 40g of flour and 40g of water.
- Feed Regularly: If you’re baking daily, keep the starter at room temperature and feed it 1-2 times a day. For weekly bakers, refrigerate it and feed it before use.
- Observe Its Growth: A healthy, active starter should double in size every 6 hours. If it flattens on top, it’s time for feeding.
With a well-maintained sourdough starter, you’ll be ready to make sourdough bread in your bread machine, enhancing your baking experience and flavor. Happy baking!
Sourdough Bread Making Process
Start by layering the ingredients in your bread machine, beginning with water, melted butter, and dry components like flour, sugar, and salt, before adding your active sourdough starter. This careful order guarantees proper mixing and hydration.
Set your bread machine for a kneading cycle that lasts about 25 minutes; consider a second knead for the best results, as it enhances gluten formation.
Once the kneading is complete, the dough will undergo bulk fermentation. Allow the dough to rise for approximately 6 hours, keeping an eye on its size. You’ll know it’s ready when it has doubled, which is essential for achieving that perfect high-rise loaf.
During the initial kneading, monitor the dough’s consistency and adjust if necessary—add a bit of water if it’s too dry or a sprinkle of flour if it’s too wet.
After the rising time is up, your bread machine will bake your sourdough. The result? A fluffy, flavorful loaf that’s sure to impress.
Once it cools, slice it up and enjoy the fruits of your labor!
Equipment and Settings for Sourdough
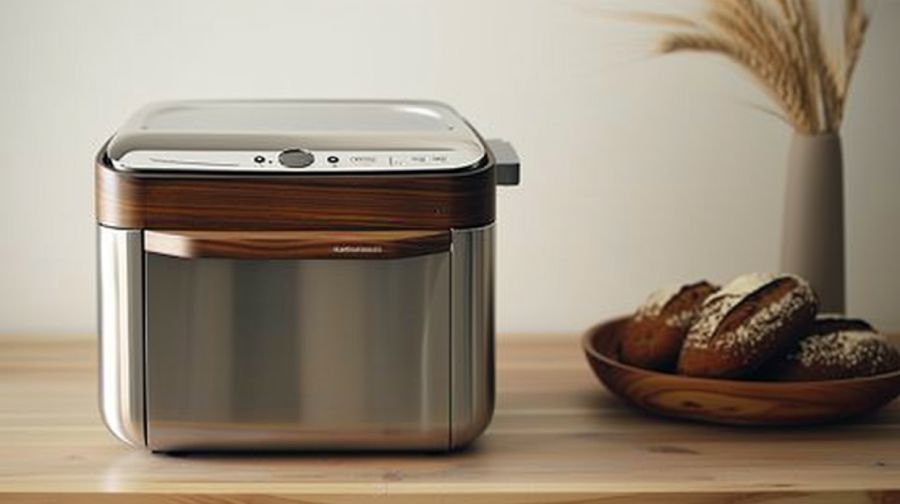
When selecting a bread machine for sourdough, look for models that offer extended kneading and rising cycles to support the unique fermentation process of this artisanal bread.
Here are some key features to take into account:
- Extended Settings: To accommodate sourdough’s fermentation needs, choose a machine with a long rising cycle, like the French Bread setting.
- Dough Monitoring: After about 10 minutes of kneading, monitor your dough. It should be shaggy enough for proper development, so be prepared to make necessary adjustments.
- Ingredient Order: Always check the manufacturer’s instructions for your bread machine. Typically, you’ll want to add liquids first, followed by dry ingredients.
- Baking Shift: For the best crust and texture, consider switching from your bread machine to a Dutch oven at 230°C (450°F).
Common Challenges and Solutions
Even with the right equipment and settings, making sourdough in a bread machine can present challenges that require attention and adjustments.
One common issue is dough consistency. If your dough feels too wet, gradually adding more flour during kneading can help achieve a manageable texture. Conversely, if it’s too dry, spritzing with water can enhance crust color and moisture retention during baking.
Another challenge is over-proofing. If you notice your loaves sinking, monitoring proofing times closely and adjusting the amount of your active sourdough starter accordingly is essential. A weak starter can lead to poor rise and texture, so always verify yours is bubbly and active before you begin.
Check your dough visually after about 10 minutes of kneading. This allows you to make necessary baking adjustments to prevent under-kneading.
Finally, remember to select the appropriate bread cycle on your machine that accommodates the longer fermentation times required for sourdough. This will guarantee the best possible results in your homemade bread.
With these tips, you’ll tackle any challenges that come your way!
Tips for Success
How can you guarantee your sourdough bread turns out perfectly every time? Follow these essential tips to elevate your baking experience with bread machines:
- Use an Active Sourdough Starter: Make certain your starter is bubbly and full of life. This guarantees ideal fermentation and a great rise.
- Adjust Water Quantity: Depending on your starter’s dough consistency, a wetter starter might need less water. Keep an eye on the texture!
- Monitor Dough Consistency: Watch the dough during kneading. It should achieve a shaggy texture; if it looks too dry or wet, adjust accordingly.
- Enhance Gluten Development: Consider running two kneading cycles. This helps build the structure of your bread, making it light and airy.
Experimenting with various flour types, like a mix of white and whole wheat, can further customize the flavor and texture of your sourdough.
Remember, each bread machine might behave differently, so don’t hesitate to tweak the process.
With these tips, you’re well on your way to baking sourdough bread that impresses every time!
Frequently Asked Questions
Is It Worth It to Make Your Own Sourdough Bread?
Making your own sourdough bread is absolutely worth it! You save money, customize flavors, and enjoy fresher loaves. Plus, engaging in this rewarding craft deepens your connection to baking and releases your creativity.
Are Bread Machines Good for Sourdough?
Yes, bread machines are fantastic for sourdough! They handle kneading and fermentation effortlessly, ensuring consistent temperature for perfect gluten development. You’ll enjoy a well-risen, flavorful loaf without the usual hands-on hassle of traditional methods.
Is Sourdough Bread Harder to Make Than Regular Bread?
You might find sourdough bread a bit harder to make than regular bread. Its longer fermentation, reliance on a starter, and unique techniques require more attention and skill, but the rewarding flavors make it worthwhile.
Can You Make Sourdough Bread in an Electric Oven?
Sure, you can make sourdough bread in an electric oven! Just prepare your dough, let it rise, and bake it in a preheated Dutch oven for a delicious, crusty result that’ll impress everyone.
Bread Machine Magic
So, as you immerse yourself in the world of sourdough with your trusty bread machine, you might stumble upon the perfect loaf on a rainy afternoon—how fitting!
The warm, comforting aroma will fill your kitchen, making it feel like home. You’ll find that the process isn’t just about baking; it’s about creating memories.
Embrace the quirks, cherish the imperfections, and let your bread machine work its magic.
Who knows? Your next favorite recipe might be just a rise away!

