Why Is My Sourdough Starter Bubbling But Not Rising: Tips for Fixing a Stalled Sourdough Starter
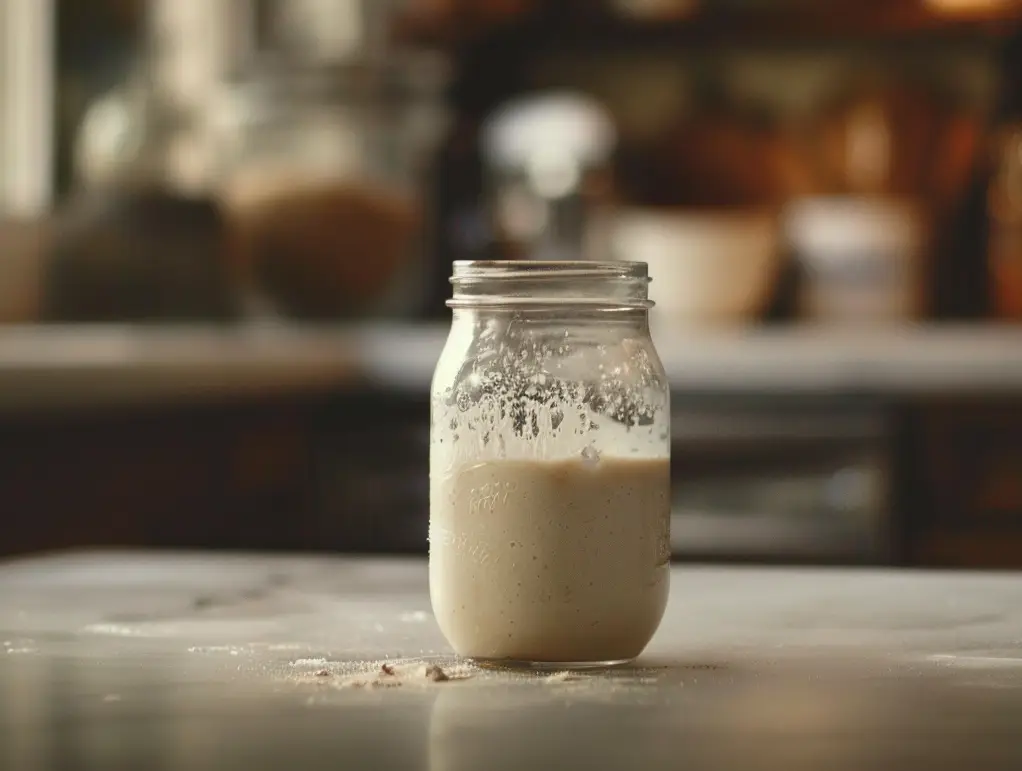
It’s fun to bake with sourdough starters, but it can be a bit tricky to figure out what they’re doing sometimes. Occasionally, you might have a starter bubbling away, showing all the signs of life, but it just won’t rise.
What could be the culprit behind your starter’s refusal to rise? Maybe it’s just feeling down and needs a hug? Or it’s just being rebellious like a teenager! Ha Ha Ha
It might take some detective work, but don’t worry; we’ll help you figure out what could be happening and how to fix it.
The refusal of your sourdough starter to rise could result from various factors, including a too-warm or too-cold environment, an imbalance in the flour-to-water ratio, inadequate feeding frequency, insufficient flour, or contamination.
Let’s look at possible reasons why your sourdough starter is bubbling but not rising and some troubleshooting tips for fixing it. Consider us your sourdough consultancy to help you master your bread-baking skills.
From adjusting the feeding schedule to checking the temperature, we’ll ensure your sourdough starter is back on track. Let’s find out what’s wrong with your sourdough starter and how to fix it.
Understanding the Sourdough Starter Science
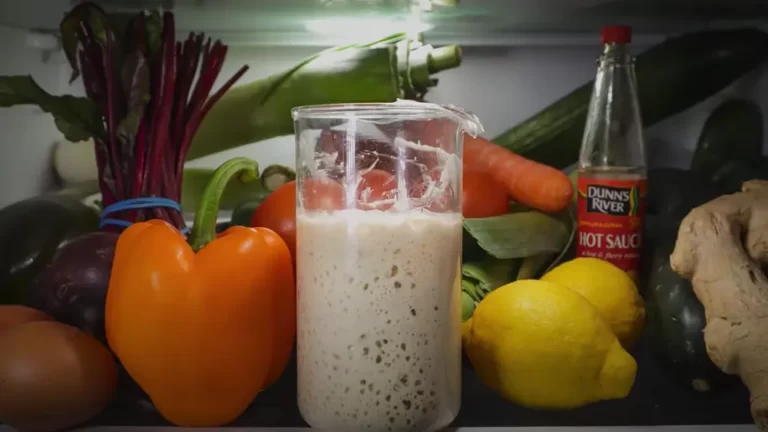
With its tangy flavor and rustic texture, sourdough bread owes its unique characteristics to the intricate dance of microorganisms within the sourdough starter. This fascinating process, rooted in natural fermentation, transforms simple ingredients into a flavorful masterpiece.

Sourdough starters are living cultures of wild yeast and lactic acid bacteria. When flour and water combine, they provide the ideal environment for these microorganisms to thrive. This process is far from instantaneous; it requires time, patience, and the right conditions to unfold fully.
Over time, the microorganisms consume the sugars in the flour, producing carbon dioxide gas and alcohol, which creates the airy texture of sourdough bread. Lactic acid bacteria produce lactic acid, which gives sourdough its signature tanginess.
Water, flour, and time are all crucial ingredients in the sourdough starter process. Water hydrates the flour, creating a medium for microbial activity.
Flour provides nutrients for the microorganisms to feed on. Time, often measured in days or weeks, allows the microorganisms to adapt, multiply, and develop distinct flavors.
Picture your sourdough starter as a bustling city with a diverse population of microorganisms. This microbial community comprises various bacteria and yeast species, each with its role in fermentation.
Like each person in a city has a role, these microorganisms work together to create a lively fermentation environment. The yeast in your starter produces carbon dioxide, causing the dough to rise. Meanwhile, bacteria, including lactobacilli, generate acids that give sourdough its unique tang and preserve it against spoilage.
Your sourdough starter is not just a collection of mixed ingredients but a living ecosystem that brings flavor and life to your creations. And the success of your bread depends on the delicate balance of wild yeast, bacteria, water, flour, and time.
That’s why it’s important to understand the science behind sourdough starters and troubleshoot any issues.
Now, let’s dive into the possible explanations for why your starter is bubbling but not rising and how to fix it.
Identifying the Reasons Why Is My Starter Culture Only Bubbling but Not Rising as It Should?
Let’s discuss some things that can cause a sourdough starter not to rise.
Factors Affecting Starter Consistency and Rise
Consistency and Water Content
It’s all about consistency if you want your starter to rise well. The starter can efficiently produce and trap carbon dioxide by having a balanced consistency, which helps the dough rise.
Even if the surface looks bubbly, too much water in a starter can hinder carbon dioxide trapping. When there’s too much water in the starter, all the carbon dioxide rises to the surface and forms bubbles, leaving none inside to help it rise.
It might be a good idea to adjust the dough consistency. A little less water or more flour can help you get the right consistency. The better the consistency, the more carbon dioxide the starter will produce and trap.
It’s important to note that even though a starter may not rise, it doesn’t necessarily mean it’s unhealthy. Give it some time, and your bread might still rise nicely.
Keeping Your Starter Warm and Fuzzy
Keeping your sourdough starter at the right temperature is key to keeping it healthy and active because temperature greatly impacts how well it rises. Yeast are little munchkins that love to eat and grow, and they do it best at a temperature between 70°F and 77°F (21°C – 28°C). This creates the perfect environment for a healthy and consistent fermentation process.
One way to ensure consistent temperature control is to use a thermometer to measure the temperature of your starter. This can help you identify any temperature fluctuations and adjust accordingly.
You can also use a place that keeps a steady temperature, like a proofing box or a warm spot in your kitchen. For example, putting your starter next to your fridge or oven can give it a cozy, warm spot to grow.
Wrapping the starter jar in a heating pad helps maintain a controlled temperature range. You could also use warm water (around 80-90°F) in your feedings to boost the starter.
Another factor that affects temperature control is the type of flour used in your starter. Whole-grain flour generates more heat during fermentation than refined flour, which can lead to higher temperatures. Therefore, if you are using whole-grain flour, you may need to adjust the temperature to prevent over-fermentation.
Another important thing to note is that temperature adaptability is influenced by the age of your starter and the specific strains of microbes present. Some strains are more resistant to temperature fluctuations and can thrive in a wider range of temperatures, while others are more delicate and require more specific conditions.
Older and stronger starters can handle a wider range of temperatures. A healthy starter with a thriving community of microbes can withstand both hot and cold temperatures. Such a starter, nurtured over time, can exhibit consistent rise and fermentation even in unexpected environments.
Contamination and Signs of Bad Bacteria
Contamination is a serious risk for cultivating yeast or bacterial starters. Starters are sensitive to the environment around them and can get contaminated easily.
Your entire batch can be ruined if this happens. Knowing the signs of contamination is important, and taking action quickly to avoid potential losses.
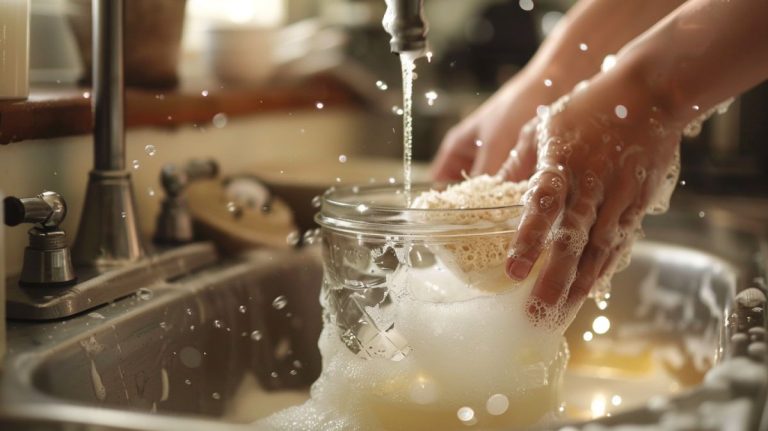
Keep your hands clean and use high-quality ingredients when making sourdough starter; otherwise, it could get contaminated. If your starter is contaminated, you’ll know. It’ll start to look, smell, and taste gross. You might see mold or the dough might turn a weird color. If you see any of these signs, it’s time to toss your starter and start over.
One of the most obvious signs of contamination is an unusual smell. If your starter has an off odor, some bad bacteria have likely taken over. Likewise, if you see any mold or discoloration, that’s another sign that something has gone wrong.
You may notice that the texture of your starter changes or that the color of the liquid or dough has become discolored. All of these signs should be taken seriously and acted upon immediately.
If any of these signs are present, discarding the contaminated starter and starting over is important may be tempting to save the batch, but it’s a bad idea.
Once contamination has occurred, it can be difficult to control, and further growth can result in even more severe contamination that could be dangerous to consume.
So, follow the proper sanitation protocols to avoid contamination in the first place.
Flour Selection and Feeding Ratios
Flour Choice and Nutrient Content
The type of flour you choose is essential to cultivating a successful sourdough starter. It’s both a nutrient source and a catalyst for the microbial community in the starter. The starter’s composition greatly influences the vigor and flavor profile of the bread.
You can’t just rely on white flour since it’s low in nutrients. While many non-organic flours are fortified with vitamins and minerals, white flour has a lower nutrient density than whole grains. A starter fed only white flour might lack the robust nutrition it needs to grow and ferment.
If you want to boost your starter’s nutrient content, add whole-grain flour. It keeps all the fiber, vitamins, and minerals from the whole grain. Rye flour stands out as a superfood for sourdough starters. Its unique enzyme profile boosts fermentation activity, so it rises faster and tastes better.
You can make your starter more resilient and flavorful by adding rye flour. Use a combination of white, whole wheat, and rye flour in your starter feedings, gradually increasing the rye flour proportion over time. As a result, you’ll be able to acclimate your starter to rye’s unique properties.
Also, the quality of your water can affect fermentation. The bacteria in your starter can be killed by chlorine, so it’s best to use filtered or bottled water instead.
Feeding Ratios and Measurement Accuracy
Sourdough starters need the right feeding ratios to stay healthy. Feeding your starter a balanced amount of food affects its activity, rise, and overall health.
For instance, feeding a starter too much can make it acidic, while feeding it too little can weaken it. Therefore, it’s important to keep an accurate feeding schedule.
The rookie mistake most bakers make is measuring ingredients by cups, which leads to inconsistent results due to flour density, moisture content, and packing. It can mess up the starter’s development because the balance it needs to grow is off.
To avoid this problem, a digital scale is a must-have for accurate and consistent feeding ratios. A more accurate way to measure flour and water is by weight, which helps bakers make consistent loaves and fine-tune the nutrition of their starters.
Even if you feed your sourdough starter at the same intervals, switching to a digital scale has made it grow and rise faster. It shows how crucial it is to take accurate measurements for a healthy starter.
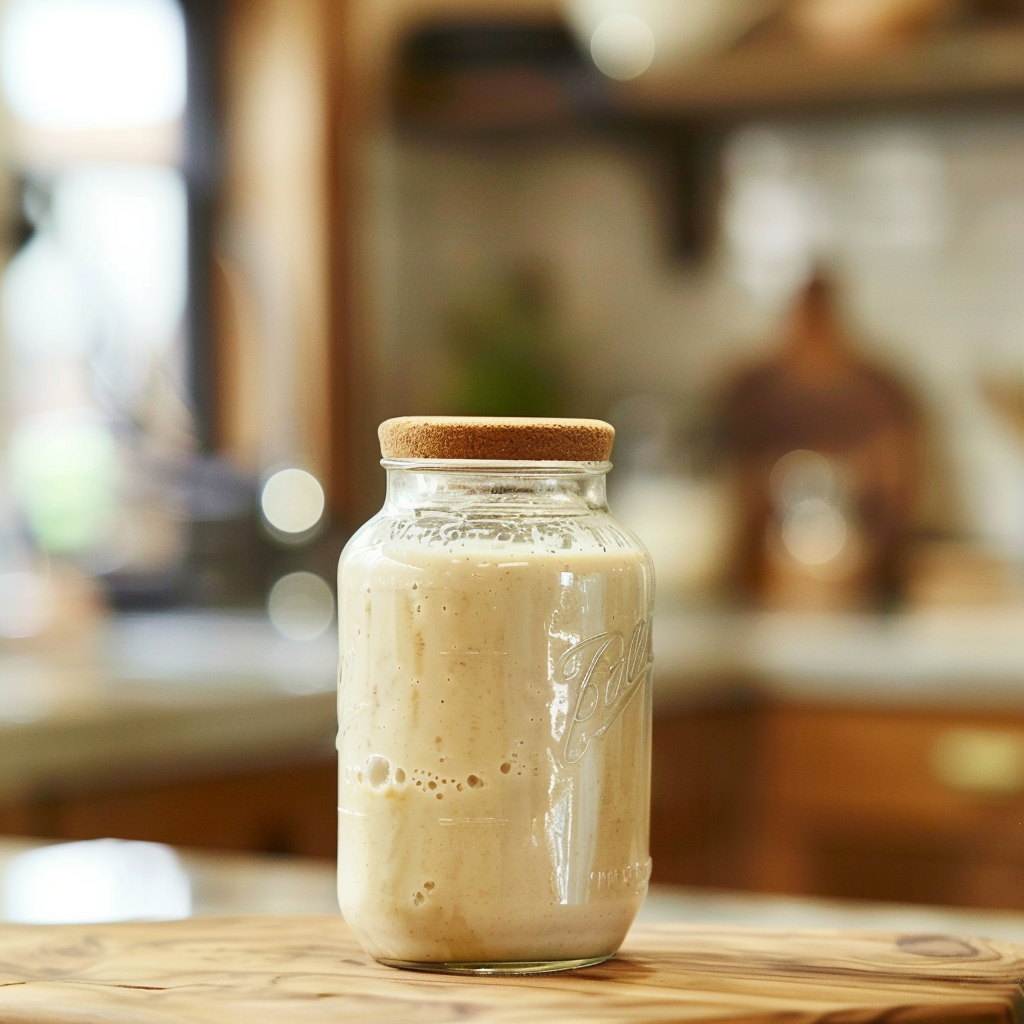
Airtight Storage
Airtight containers create a stable environment for your starter, keeping it safe from dust and bacteria that can ruin it.
Store your dough mix at the right temperature for the season – cooler temperatures in winter will slow fermentation, while warmer temperatures in summer will speed it up. Too much rising can make the dough heavy and dense. Conversely, letting it rise too slowly can make it sour. Therefore, it’s important to find a balance.
Make an airtight environment for the dough to rise, such as plastic wrap, to ensure the correct temperature and humidity. You can also use a proofing box or warm oven to help maintain the proper temperature.
Taking Care of Your Newborn Starter Child
Initial Growth and Probiotic Adaptation
The Pause Button: It’s a Starter’s Quirk, Not a Crisis
Hold on to your aprons because your new sourdough sidekick might hit the snooze on the growth spurt for a couple of weeks. It’s like your starter’s taking a catnap before the epic rise.
Imagine your starter as a tiny universe of critters. Those probiotics? They’re like the quirky inhabitants adjusting to their new digs. So, give them time to feel at home and do their magical dance.
Feed, Feed, and More Feed:
Your starter is the ultimate foodie, always ready for a bite. Think of your starter like a toddler on a candy spree – it always wants to eat!
And during this growth spurt, you gotta feed it! Give your starter plenty of food to fuel its probiotic party.
Most starters will need to be fed twice a day. Feed your baby as often as it needs, day and night.
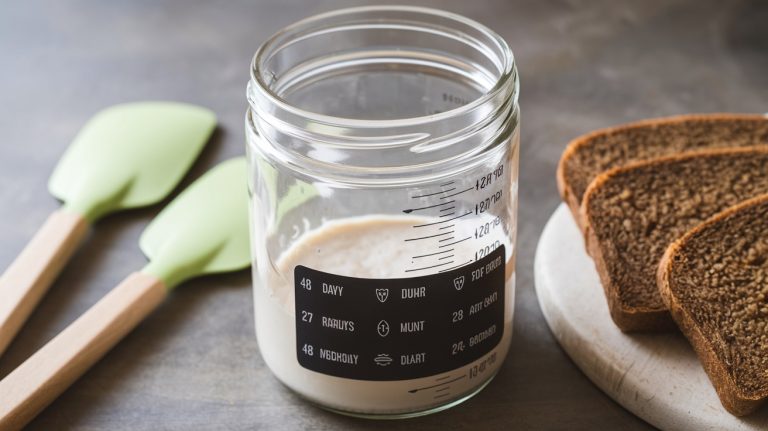
Catching the Rise: A Foolproof Method
Don’t miss out on the rise. Here’s how to avoid potential collapse.
– Prepare your starter in a bowl and transfer it to a clean jar.
– Securely fasten a rubber band around the jar, leaving a visible marker.
– Observe the rise and fall of your starter above or below the rubber band.
Flour Fusion and Transition Tales
Young Starter Wonders: Understanding the Bubbles
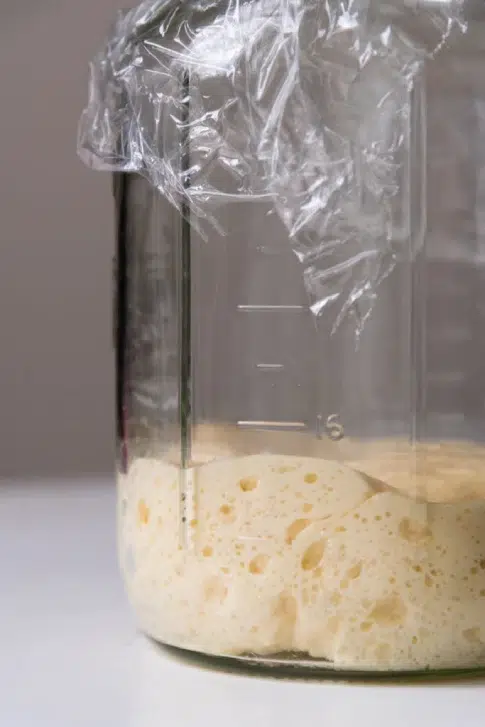
A young starter may exhibit a batter-like texture where gas can escape. This is completely normal.
The focus at this stage is on developing the yeast culture, so a few bubbles popping up here and there is a good sign. Keep feeding your starter with equal parts flour and water to maintain its vitality.
Patience is Key: New Starters Take Time
Is this your first venture into starter creation? Creating a sourdough starter takes time, so be easy on yourself if it doesn’t double in size immediately.
Some starters can take several weeks to a month to fully establish themselves. So sit back, relax, and enjoy the process.
Troubleshooting Stagnant Growth
Has your previously reliable starter stopped doubling in size after feeding? Two possible culprits may be inadequate feeding or excessive water usage.
What should you do?
– Try adjusting the feeding schedule and water ratio. Ensure your starter is well-fed and achieves the right dough-like consistency for the optimum rise.
– Make measuring your water and flour by weight a priority by investing in a scale.
Lack of Structure, Lack of Yeast
Is your starter thin and lacking the right structure for proper gas retention? It could be due to various factors, including the type of flour used and the makeup of your starter’s matrix.
Choosing the right type of flour is crucial to creating the perfect matrix for gas expansion in your starter. Using high-protein flour like bread flour can result in a sturdy and well-structured dough, whereas using low-protein flour like pastry flour can give a delicate and cake-like texture.
If your starter is stiff, it could be due to the high amount of rye flour used in its initial creation. Rye flour contains more proteins and starches that feed the yeast in a starter, resulting in a quick response from the yeast. However, this also means the starter is denser than one made with white bread flour.
To solve this issue, increase the amount of water you add to your feedings by 10-20%. You can also add a bit more white bread flour to help lighten up the consistency. Over time, these changes should make your starter more active and less dense.
A bacteria-dominated starter can also hinder yeast growth, producing thin and underdeveloped dough. One solution is to give your starter more time to flourish, allowing for a greater balance of yeast and bacteria to develop. You can also thicken the consistency by reducing the water in your starter.
Rise and Shine My Baking Buddy: Let’s Get Baking
The sourdough journey is a rollercoaster of flour, patience, and delightful surprises. Sometimes, even the best-laid plans encounter a bumpy detour. But remember, even when things don’t go as planned, it’s all part of the flavorful adventure.
Consistency is the key to sourdough baking. The right blend of flour and water is the key to your starter’s success. And your environment plays a huge role in nurturing your microbial friends.
To improve the flavor of your starter, try quality flour types. Don’t rush your yeast, give it time to grow and develop, and be patient. The result will be a delicious sourdough experience with distinct flavor and texture.
In your hands lies the power to coax wonders from flour and water. Getting a perfect loaf might take a few tries, but every knead, rise, and bake brings you closer. The trials and triumphs of the sourdough journey make it so special.