
The Mystery Behind Sourdough Starter Mold: What to Look For and How to Avoid It?
Sourdough baking has existed for thousands of years and is still a favorite pastime. Keeping a sourdough starter healthy takes time and attention.
It’s like raising a child. Watch it grow, feed it often, and provide a consistent environment for it to thrive. But even the most attentive sourdough parent can run into mold problems.
While mold growth may seem small, it can have significant consequences, including health risks and an unpleasant taste. It’s no secret that a sourdough starter is vulnerable to mold due to its open-air and moist environment, making it susceptible to unfriendly bacteria and fungi.
But have you ever wondered what specific types of mold can grow on your starter, how to identify them, and what the risks are?
Sourdough starters are a complex blend of yeast and bacteria that can add a ton of flavor and texture to your bread. However, mold invading the same culture can quickly turn your beauty into a horror story.
But don’t worry.
We’ll show you how to spot mold in starters, what to do if you see it, and how to prevent it from growing in the first place. We’ll also talk about common mistakes that lead to mold growth, like poor hygiene practices, neglecting starters, and feeding them too much.
So, let’s figure out what sourdough starter mold is and how to prevent it.
Sourdough Starter Mold, Yeast, or Other Growths: What to Look for?
Mold and other mysterious things can ruin a delicate balance in a sourdough starter. It’s a living thing so it can get moldy at any time. Mold comes in many forms and colors, from fuzzy patches to unusual textures.
Mold cannot be confused with yeast, a fungus type. Yeasts are beneficial and needed for sourdough development, whereas molds can be harmful and often have a foul smell.
Mold on your starter is a sign of trouble. But fear not, those yeast and bacterial cultures in a healthy starter are usually mold-fighting superheroes.
If the villains breakthrough, discard the affected portion, scrub the jar, and start all over again. Therefore, knowing these two organisms’ differences is crucial to preventing or eliminating mold growth.
Remember that some starters can look weird or have strange colors, textures, or smells without mold. It’s usually because of beneficial bacteria and yeasts, not mold mycotoxins.
These yeasts help create unique flavors in your sourdough bread and are key to a successful starter. Let’s look at molds and yeasts and how to spot them.
Yeast Story
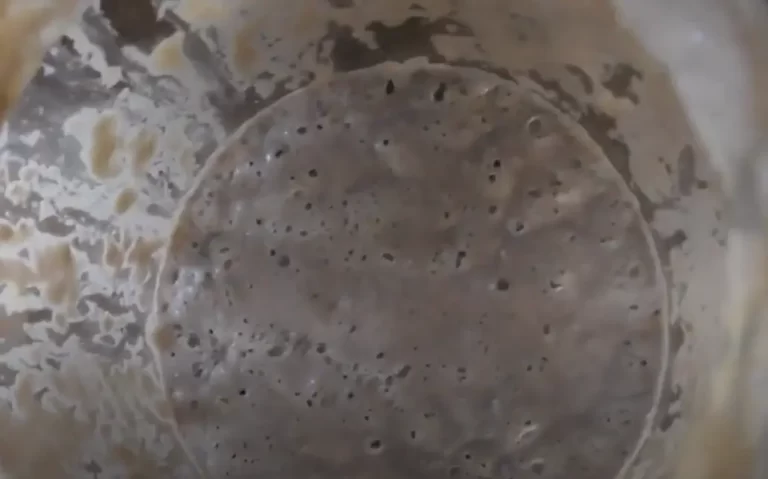
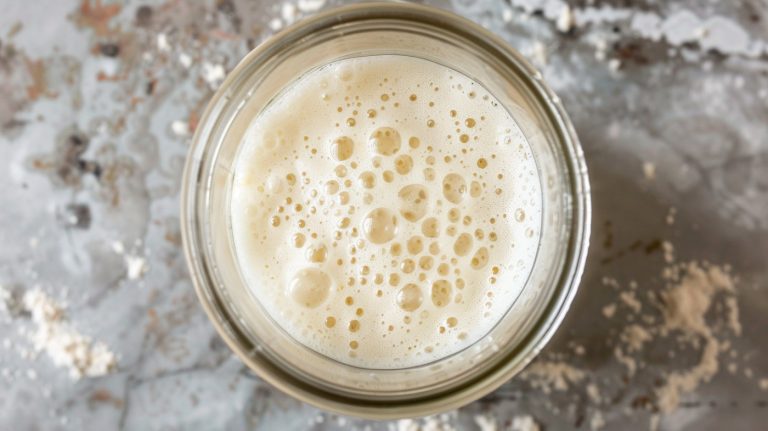
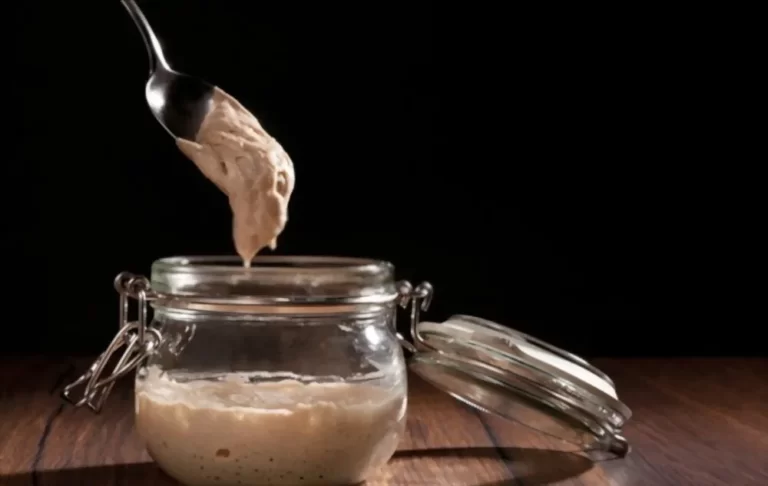
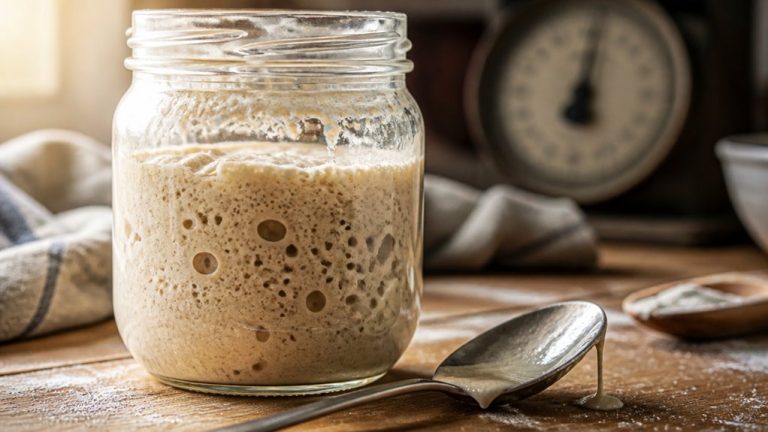
Yeast, in contrast to the horror story of mold, is an essential part of sourdough baking. It can look like tiny bubbles that appear as your starter ferments and grows. These bubbles should be small and white.
Yeast can appear on the sides of the container, on top, and under the surface of your starter. It often forms in a creamy, foamy liquid that appears white to pale yellow with a mild, yeasty smell.
If you see bubbles inside your starter, it’s a good sign that it’s healthy and active.
Spotting Mold on Your Starter
Mold, an ancient and tenacious organism, can infiltrate your starter under certain conditions and can thrive in various environments. Mold isn’t just a surface problem; its sneaky spores can spread swiftly, and its thread-like fingers (hyphae) can delve deep.
Molds are opportunistic organisms, so even small changes can create a hospitable environment, like poor hygiene or improper storage. So, recognizing mold’s presence is paramount, as it can compromise flavor and safety.
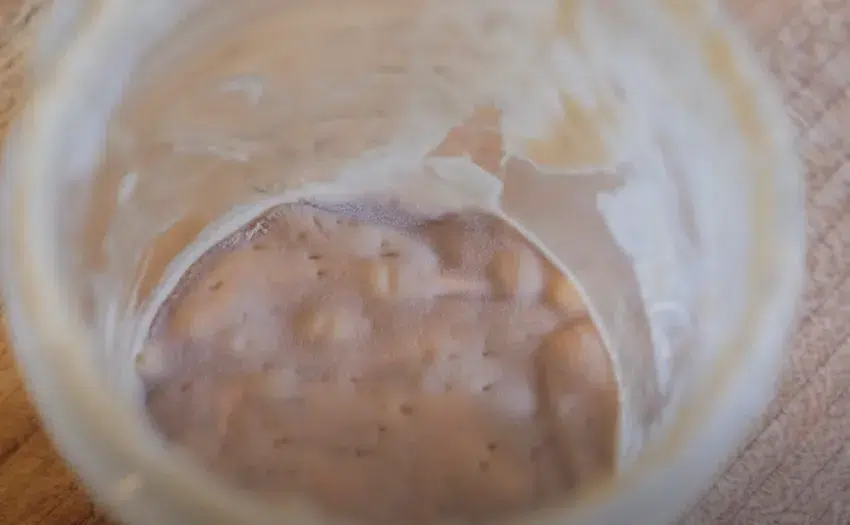
Mold often appears as fuzzy patches on the surface or edges of your starter, with shades ranging from white to dark green or black. For example, if you see green, white, or black fuzz, that’s mold. It can also appear in other forms, such as dark spots, slimy textures or a strange odor. Dry on top with a black spot underneath or a pinkish-white hue are other common signs of mold.
The message? Act fast. Discard your starter and start fresh with a new one.
Kahm Yeast: The Subtle Impostor
Kahm yeast is often mistaken for mold. Kahm yeast’s thin, whitish film might be confusing at first.
However, it’s not mold; it’s free-range yeast and its unwelcome aroma hints at its presence. You have to distinguish between the two because Kahm yeast, though manageable, is not the guest you want at your sourdough party.
Pink/Orange Streaks
Streaks of pink or orange, similar to fiery brushstrokes on a canvas, have their mysteries. Serratia marcescens, a bacteria with an unpleasant smell, causes the streaks.
When you see this vivid warning sign, take action immediately because it hides potential dangers that must be dealt with immediately.
And what causes a sourdough starter to develop a pinkish film or orange streaks? It usually happens when there isn’t enough oxygen for the bacteria and yeasts to thrive.
It’s a sign of neglect, so ensure your starter is always fed on time and given the best possible environment to flourish.
Hooch
If your starter looks like it’s been on a night out and has a hangover with a clear or brownish liquid layer, that’s hooch. It’s shouting, “Feed me!”
Mix it back in or skim it off, depending on your bread-making style. Too much hooch can lead to an alcoholic-tasting loaf, so monitor the situation and keep it in check.
Other Molding Signs
If you don’t observe any previously mentioned signs but still detect an unpleasant smell, there may be some hidden mold. Keep in mind that not all molds have visible patches.
Mold and other nefarious organisms can form colonies beneath the surface of your starter, creating a smelly surprise. Use your nose to detect weird smells; it may help you detect problems before they get out of hand.
Why did My Sourdough Starter Mold?
Sourdough starters can get moldy for many reasons. Mold is a fungus that thrives in moist, warm environments like yeast.
Let’s break down a few conditions that can invite this unwanted guest to your sourdough party:
Ingredient Quality: Mold can develop in sourdough starters if the ingredients, particularly the flour, are of poor quality or contaminated. Using expired or stale ingredients like old flour or outdated commercial yeast can introduce contaminants.
Water Quality: The type of water used, such as unfiltered or chlorinated tap water, can impact the microbial balance in the starter and contribute to mold growth. The microorganisms in the water can overpower the beneficial bacteria and yeast in your starter, leaving it vulnerable to mold.
Utensil Hygiene: Using dirty or inadequately cleaned utensils and containers during the feeding and maintenance of the starter can introduce mold spores. Sharing utensils or containers between the sourdough starter and other food items can introduce mold or contaminants.
Lack of Personal Hygiene: Insufficient kitchen cleanliness, including handwashing and the cleanliness of the workspace, can lead to cross-contamination and mold issues. Tending to the starter without considering good hygiene practices can create a breeding ground for mold.
Feeding Neglect: A hungry starter isn’t a happy starter. Mold can take over when the natural yeasts and bacteria in the starter aren’t fed regularly and lose their potency.
Infrequent feeding or improper feeding schedules can weaken the microbial culture in the starter, making it more susceptible to mold. The starter needs to be kept alive with regular feedings.
Feeding Excess: Overfeeding a starter can introduce more bacteria and yeast than the starter can handle, causing it to become overwhelmed and fall victim to mold growth. It can cause it to become too acidic and reduce the microbial balance.
Overhydration: A too-wet or overhydrated starter can provide an environment for mold to grow. The excess moisture creates a breeding ground for mold and other undesirable organisms.
Too much water during feeding can dilute the microbial population, reducing its ability to fend off mold spores.
Improper Storage Conditions: Failing to store the starter in a suitable environment, which includes consistent temperature and proper ventilation, can create conditions favorable for mold development.
Environmental Stress: Extreme conditions, such as temperature or humidity fluctuations, can stress the microbial balance within the starter, making it vulnerable to mold.
pH Imbalance: Sourdough starters rely on a specific pH level to keep the good bacteria and yeast thriving while suppressing the bad ones. If something throws this balance off, opportunistic bacteria like Serratia marcescens can take over.
Preventing and Responding to Mold Growth in Your Sourdough Starter
Let’s navigate the time to discover how to keep those moldy guests away from your sourdough starter.
Pinpointing Mold’s Mischief:
As discussed above, mold growth in a sourdough starter can result from a few culprits. Take some time to identify the cause or sources of contamination and address them immediately.
Monitor your starter’s environment, temperature, humidity, and light exposure to make sure it is getting optimal conditions. Once you’ve recognized and addressed any underlying issues, it’s time to respond.
Keeping Your Starter Fighting Fit:
To prevent mold growth, keep your sourdough starter “fighting fit.” This means paying close attention to its feeding schedule and ensuring it has a suitable environment to thrive in.
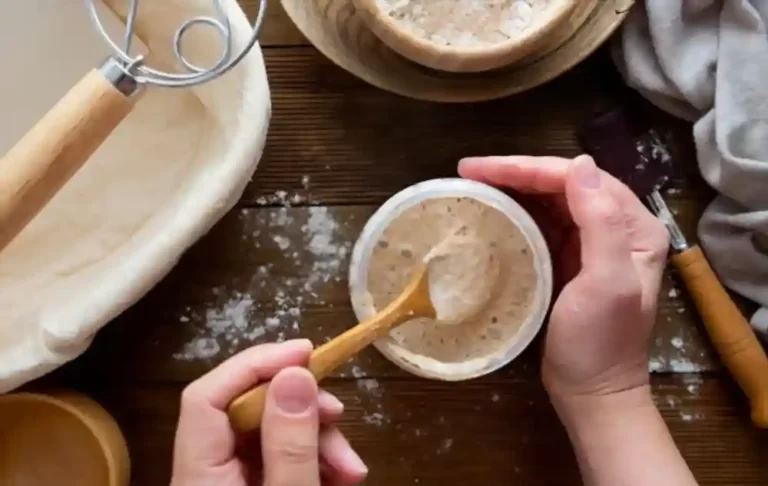
Avoid Cross-Contamination: Cleanliness is next to goodliness. Ensure your jars, spoons, and hands are clean before diving into your starter.
To keep contaminants from entering your starter, avoid using utensils that have been in contact with other ingredients or foods. Keep separate containers and spoons dedicated to handling your starter, and clean them thoroughly between uses.
Make sure your starter has a clean and dry place to thrive.
Consistent Feedings: Think of your starter as a baby, feed it regularly, and watch for hunger cues (like hooch on top). If water accumulates at the top, it’s time for a feed.
Have a routine. Schedule your feedings, and remember: a happy starter is a bubbly starter.
Optimal Temperature: Keep the starter at an appropriate temperature for fermentation. Cooler temperatures (around 70°F or 21°C) are ideal for maintaining a healthy starter while inhibiting mold growth.
Starter Maintenance: Maintain a proper hydration level in your starter. A wetter, more hydrated starter may be less prone to mold growth than a stiff one.
Don’t play the guessing game. Use accurate measurements to maintain a balanced starter.
Stirring and Scraping: Regularly stir or scrape the surface of your starter to discourage mold growth. This helps distribute the microbial cultures and oxygenate the mixture.
Proper Storage: Store your sourdough starter in an airtight container to prevent airborne contaminants from entering. Ensure that the container is clean and sanitized. A glass container is great for starters, but plastic works too.
The best vessel is a tall one with a wide mouth. Use the lid of your vessel to store the starter, or wrap a small piece of plastic around the top with a rubber band. A square of clean fabric tied with a rubber band around the top of the jar will also work, but it may cause the starter to dry out.
Also, keep your starter away from strong odors or ingredients that can reduce microbial balance. Choose a storage location free from drafts and direct sunlight, as extreme temperature fluctuations can stress the starter and make it more susceptible to mold.
The Ingredient Impact:
The quality of ingredients in your starter can mean the difference between a resilient, mold-resistant mix and a susceptible one. Using top-notch, organic flour and chlorine-free water can significantly reduce the risk of contamination.
I prefer to use organic, stone-ground flour for my starters. This type of milling produces a coarser grind that retains more flavor and nutrition than refined flours, which can alter the microbial balance in your starter. Rye flour is also a great option, as it provides more food for the yeast and bacteria.
Also, opt for chlorine-free water to avoid any chlorinated contaminants. If you don’t have access to chlorine-free water, boiling and cooling the tap water before using it can help reduce the risk of contamination.
Skimming or Mixing in Hooch:
If you observe hooch in your starter, don’t panic. You can skim it off or mix it back into the starter before feeding. If there is too much hooch, you may need to discard some of the mixture and feed it with fresh flour and water.
The Ultimate Tip:
While life can get busy, don’t abandon your starter too long. You might come back to a wild, overgrown, moldy mess.
Instead, if you need a break, refrigerate your starter; this slows down its activity. When you’re ready to start baking again, feed your starter like normal, and it will be ready to use in no time.
What to Do When You Encounter Mold on Your Sourdough Starter?
Seeing mold on your sourdough starter can be scary, but don’t worry, it’s not the end of the world.
Mold can grow on your sourdough starter for various reasons, like exposure to contaminated surfaces, improper storage, or insufficient feeding. Regardless of the reason, the most important thing to do when encountering mold on your sourdough starter is to take immediate action.
Skimming over mold or other unusual developments is not a good idea. The potential spread of contaminants can cause mold to multiply and grow in your starter, which negatively affects its flavor and quality.
Therefore, it is always best to discard any visibly affected portions of your starter. Not only will you eliminate any potential contaminants, but you’ll also be able to refresh and rejuvenate your starter.
Let’s save your starter if you find yourself with a moldy one despite your best efforts:
- Assess Your Starter: Assess the extent of the mold spread before removing any affected starter parts.
- Discard the Affected Parts: If it’s just a little bit, scoop it out and throw it away.
- Feed Your Starter: Refresh your starter with some fresh flour and water. This will nourish the beneficial bacteria and yeast, which can help eliminate any mold spores in the mix.
- Monitor Progress: Keep an eye on your starter and discard if the mold persists or reappears.
- Toss Your Starter and Start Again: If the mold spreads throughout your starter or continues to reappear, you might have to toss it and start over. Sourdough starter mold is tricky, so err on the side of caution.
If you’re wondering when to throw your starter away for good, here are a few things to think about.
- If mold has spread through your starter and produces a distinct, unpleasant smell, then it’s time to throw it out.
- Similarly, it might be time to start over if your starter isn’t growing or showing any activity after a feeding cycle.
- And, if you see purple or black fuzzy mold growths on your starter, then it’s definitely time to throw it out and start over.
Remember that prevention is key when it comes to handling sourdough starters. Taking the necessary steps to keep your starter healthy and free from contamination will help ensure a quality product each time you bake with it.
How do I know if my refrigerated sourdough starter is bad?
Always check on your refrigerated sourdough starter before using it, especially if it’s been sitting for a while. Check these signs to see if your starter is in trouble:
- Mold Growth: Spot colors like pink, green, black, or white? That’s mold. Discard the starter.
- Off-Putting Odor: A rancid or very strong nail polish remover smell? It’s a bad sign.
- Texture Changes: Overly watery or a stark separation of solids from liquid? That’s not normal.
- Stagnancy: No bubbles or rise after a few feedings? It might be dead.
- Hooch Overload: A little liquid (hooch) is okay. A lot repeatedly? Your starter’s starving.
Always trust your senses; if something seems off, it’s best to be cautious and start fresh.
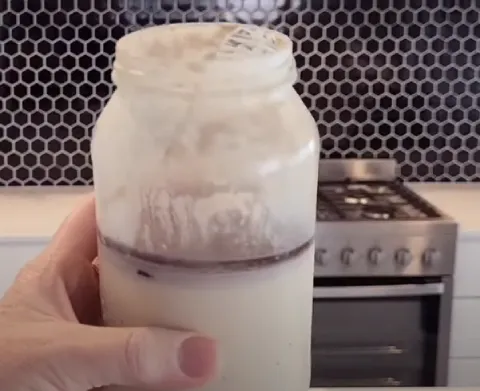
What is the GREY liquid in my sourdough starter?
The grey liquid on your sourdough starter is called “hooch.” It’s a by-product of the fermentation process and is essentially an alcoholic liquid that forms when the starter hasn’t been fed in a while.
The appearance of a hooch indicates that your starter is hungry and needs feeding. You can pour off the hooch or stir it back into the starter before feeding.
The presence of hooch is normal and nothing to be alarmed about. While you don’t want the starter to become saturated with hooch, having a bit of liquid on top of your starter is perfectly acceptable. Just keep an eye on it and feed your starter regularly.
Why did my sourdough bread mold so fast?
Several factors could cause sourdough bread to mold quickly:
High Humidity: A damp environment can accelerate mold growth. Storing bread in areas with high humidity can lead to faster spoilage.
Warm Temperatures: Warmth promotes mold growth. If your bread is stored in a warm spot, it can mold more quickly.
Contamination: If your bread comes into contact with mold spores, perhaps from a contaminated surface, tool, or even the air, it can mold faster.
Residual Starter: If your sourdough starter had any mold or unwanted bacteria, even if not visible, it could transfer to the bread and lead to premature mold.
Lack of Preservatives: Sourdough bread, especially homemade, doesn’t contain commercial preservatives, making it more susceptible to mold than many store-bought breads.
To extend the life of your sourdough bread, store it in a cool, dry place, and consider using a bread box or paper bag rather than a plastic bag. If you know you won’t eat it quickly, freezing is a great option.
No More Moldy Frustrations
Got mold? Don’t despair, it’s the sourdough’s way of keeping you on your toes.
A happy starter is the secret sauce behind that perfect loaf. Think of it like a pet – feed, pamper, and no moldy sleepovers.
Mold can be an issue with sourdough starters, but it’s nothing to worry about. Keep your starter in good shape to prevent mold growth and enjoy deliciousness.
Be on the lookout for signs of contamination, and trust your senses. After all, the road to great bread is paved with fewer moldy surprises.
So, watch that starter, chuckle at the challenges, and make every loaf a legend: happy baking and less scraping.

Thanks for the information, however, it is not clear to me when Serratia marcescens appears and the meaning of “take immediate action”. I am having the sign of pink streaking and by “taking immediate action”, does that mean throwing out the starter completely, or skimming it off the top, then placing the starter in a clean container and keep feeding? I have done the latter with some success, but it has reared its ugly head again. What do you suggest?
Thanks
Hello Mark,
Thank you for reaching out with your concerns. It’s understandable to be cautious when you notice pink streaking, as it can be a sign of contamination.
Serratia marcescens typically appear in environments that are moist and rich in starch or carbohydrates, which, unfortunately, makes a sourdough starter a potential habitat. The phrase “take immediate action” is indeed crucial here. It generally means addressing the issue as soon as you notice it to prevent any health risks and to save your starter if possible.
Regarding your specific situation, if you’ve already tried skimming off the contaminated part and transferring the starter to a clean container, but the problem persists, it might be a sign of deeper contamination. In such cases, it’s often safer to discard the entire starter. While it’s disheartening to start over, it ensures that you’re not risking the growth of harmful bacteria.
For future prevention, ensure that your starter is kept in a clean container and that you follow good hygiene practices during feeding and handling. Also, consider the environment where you store your starter; it should avoid potential contaminants.
Suppose you’re attached to your current starter and want to try saving it again. In that case, you might consider removing a small, uncontaminated portion from the very center, transferring it to a new container, and beginning the feeding process anew. However, do this cautiously and monitor the starter closely for any signs of contamination.
I hope this helps, and I wish you the best with your sourdough-baking endeavors. If you have any more questions or need further assistance, feel free to ask.
Best regards,
Karen.