Quick Sourdough Pizza Recipe with No Knead Dough
You can whip up a quick sourdough pizza by mixing your active starter with flour, water, salt, and oil.
Let the dough rest and stretch for up to a few hours to develop gluten and flavor.
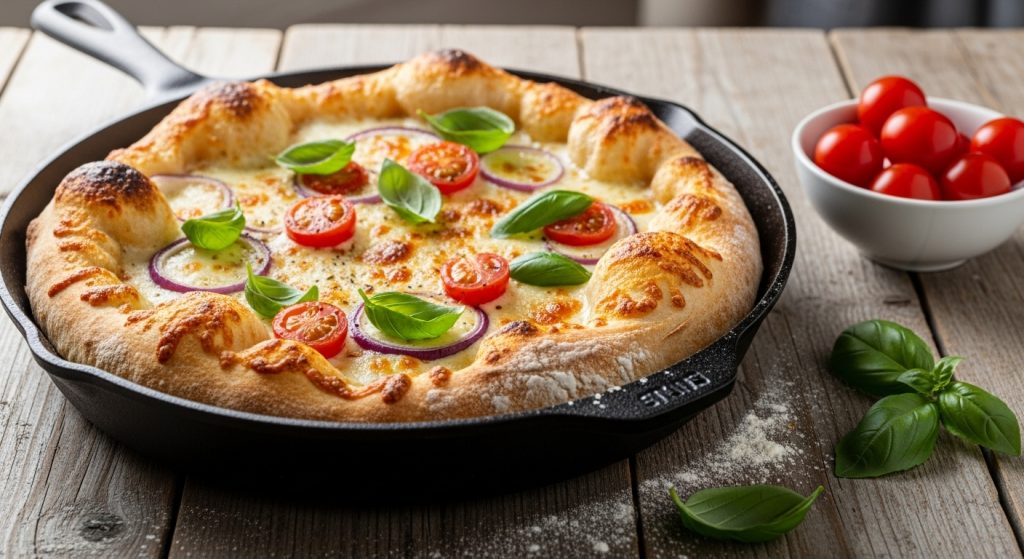
Shape it into a hot, oiled cast iron skillet to get a crispy, golden crust.
Top with your favorite sauce and cheese, then bake at high heat for a perfect balance of chew and crunch.
Discover how to tailor every step for your ideal pizza.
Key Takeaways
- Use 100–260g active sourdough starter with 360–623g flour and 185–375g water for a high-hydration, sticky dough.
- Mix ingredients, rest dough 20–30 minutes, then perform 2–4 stretch and folds to build gluten strength quickly.
- Preheat a 12-inch cast iron skillet, oil it, and shape dough inside for a crispy, caramelized crust.
- Prepare quick tomato sauce with tomato paste, garlic, oregano, and seasoning, then spread evenly on par-baked dough.
- Bake pizza at 500°F–550°F for 10–15 minutes, optionally broiling 2–3 minutes for extra crispiness.
Simple and Quick Sourdough Pizza Recipe: At-a-Glance Guide
| Ingredient/Step | Detail/Amount | Purpose/Benefit |
|---|---|---|
| Active Sourdough Starter | 100–260g | Gives natural tang and chewy texture |
| Flour (bread or all-purpose) | 360–623g | Structures dough, forms crispy crust |
| Water | 185–375g (filtered or room temp) | Proper hydration for airy crumb |
| Salt | 10–20g | Balances flavor and gluten strength |
| Oil (olive/vegetable) | 40–55g (about 3 Tbsp) | Tenderizes crust, aids caramelization |
| Optional Sweetener | 1–2 tsp sugar or honey | Speeds fermentation, deepens browning |
| Mix & Rest | Mix well, 20–30 min rest | Hydrates flour, begins gluten formation |
| Stretch & Folds | 2–4 times during rest | Builds gluten for airy, chewy texture |
| Skillet Prep | 12” cast iron, preheated & oiled | Ensures golden, crisp crust |
| Sauce | 1/2 cup tomato paste, garlic, herbs | Quick, flavorful base |
| Toppings | Mozzarella, optional meats/veggies | Personalize your pizza |
| Bake | 500–550°F for 10–15 min | Achieves crisp crust, melty cheese |
| Final Touch | Broil 2–3 min, finish with herbs | Extra crunch and aromatic boost |
Ingredients Needed for Quick Sourdough Pizza
When you’re ready to make quick sourdough pizza, gathering the right ingredients is key to achieving that perfect balance of flavor and texture.
Start with an active sourdough starter, roughly 100 to 260 grams, and choose either bread or all-purpose flour, between 360 and 623 grams.
Add 185 to 375 grams of filtered or room-temperature water to hydrate the dough properly.
Salt, about 10 to 20 grams, not only seasons but also regulates yeast activity.
Incorporate 3 tablespoons (40-55 grams) of olive or vegetable oil to tenderize and enrich the crust.
Optional enhancers like sugar or honey can speed fermentation and deepen browning.
For toppings, keep it simple with tomato sauce, mozzarella, and a drizzle of olive oil to finish.
Using a 75% hydration level relative to flour weight ensures a tender, airy crust that is characteristic of high-quality sourdough pizza.
These essentials set you up for a quick, flavorful sourdough pizza.
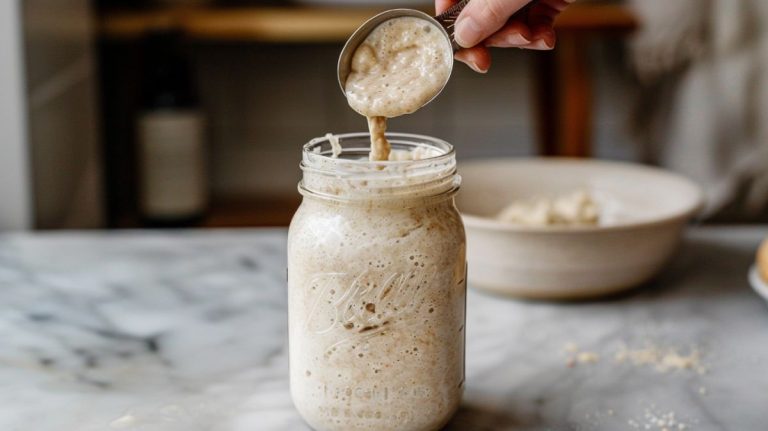
Preparing the Sourdough Starter
Gathering ingredients sets the stage, but creating your sourdough starter brings the pizza dough to life. Start by mixing equal weights of unbleached flour (a blend of all-purpose and whole wheat) and room temperature, preferably dechlorinated water.
This mixture will collect beneficial bacteria and wild yeast from the environment, which are essential for natural leavening. Many bakers find that using a sourdough base can also contribute to a lower glycemic index in the final dough.
Use a glass or ceramic container with a breathable cover to encourage natural fermentation. Keep the starter in a warm spot (70–75°F) and feed it daily by discarding half, then adding fresh flour and water.
| Ingredient/Tool | Purpose |
|---|---|
| Unbleached flour | Yeast development & flavor |
| Kitchen scale | Precise measurement |
| Breathable cover | Airflow & contamination control |
Watch for bubbles, doubling volume, and a tangy aroma, signs your starter’s ready to fuel your pizza dough.
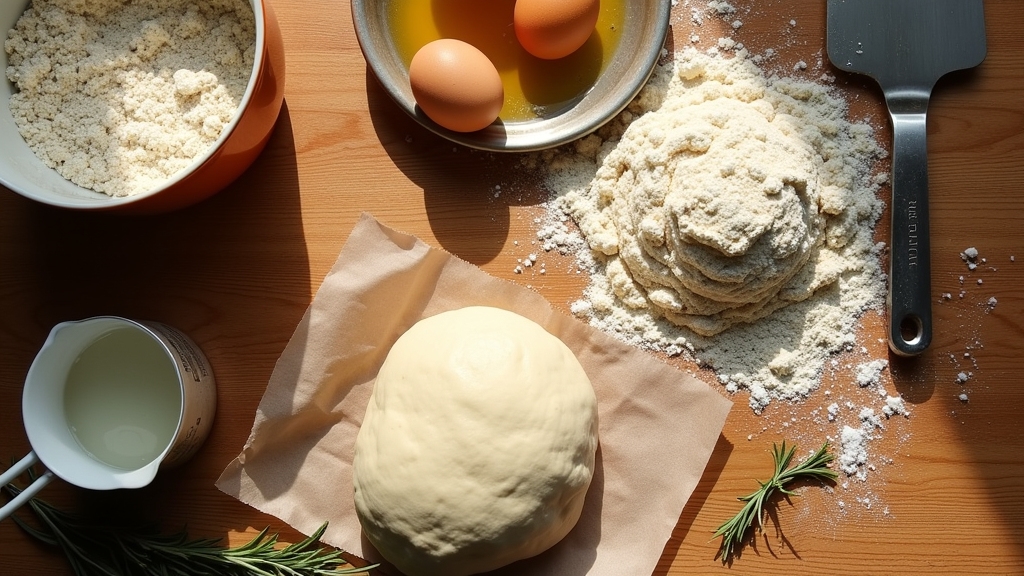
Mixing the Dough Without Kneading
Alright, let’s get started! First, you want to dissolve your active sourdough starter completely in some water. Once that’s done, go ahead and stir in the flour and salt. This should give you a nice, sticky, shaggy dough—it’s a good sign that you’re on the right path. This initial mixture and rest is similar to an autolyse process, which improves dough extensibility and flavor.
Now, grab a wooden spoon and mix it all together vigorously. You’ll want to keep going until you don’t see any dry flour left. But hey, don’t stress about kneading just yet! The dough’s tackiness is actually what you’re aiming for. Mixing vigorously helps incorporate all ingredients evenly and starts gluten formation, which is essential for dough structure initial fermentation.
After you’ve mixed it well, let it rest uncovered for about 20 to 30 minutes. This little break will help hydrate and relax the dough, making it a lot easier to handle later on. During this rest, enzymes like amylase begin breaking down starches, aiding yeast nourishment and dough development.
Plus, it sets the stage for some fantastic gluten development!
Ingredients Combination Order
Although mixing sourdough pizza dough without kneading might seem unusual, combining the ingredients in the right order guarantees a smooth, well-hydrated base.
Start by dissolving your active sourdough starter in lukewarm water, activating the yeast and ensuring even distribution. Using a digital baking scale can help measure the water and starter precisely for consistent results.
Next, add salt to this mixture, stirring thoroughly to avoid salt concentration that can inhibit fermentation.
Once fully combined, slowly incorporate flour in one or two additions, stirring rapidly with a large spoon until the dough forms a shaggy, slightly sticky mass. This quick, vigorous mixing hydrates the flour evenly without developing the dough like kneading would.
Scrape the sides to gather all ingredients, setting the stage for ideal gluten development during resting and folding phases later. Using bread flour with higher protein content is recommended to yield a chewier crust.
This precise order ensures your dough ferments beautifully and forms a perfect pizza crust.
Achieving Sticky Dough
Mixing your sourdough pizza dough without kneading hinges on achieving the right sticky texture, which sets the stage for natural gluten development. This approach resembles how moisture and texture influence bakery-quality cake mixes to achieve optimal crumb quality.
Start by combining water, salt, and active starter, stirring gently.
Add flour all at once, mixing until no dry spots remain.
Aim for 70-80% hydration to create a wet, sticky dough that ferments well and develops gluten naturally during resting. This dough will undergo an overnight bulk fermentation that allows it to double in size and develop flavor.
| Aspect | Tip | Result |
|---|---|---|
| Hydration | Use 70-80% water | Sticky, extensible dough |
| Mixing | Stir gently, no kneading | Preserves dough structure |
| Resting | Autolyse 20-30 minutes | Enhances stickiness, gluten |
This sticky dough promotes elasticity and a light, airy crust without toughening or overworking.
Resting Before Shaping
When you let your sourdough pizza dough rest after mixing, you give the gluten strands a chance to relax. This makes the dough easier to stretch and shape without snapping back. Using a dough whisk during mixing helps incorporate ingredients evenly without overworking the dough.
This resting period, usually 20 to 30 minutes at room temperature, enhances dough extensibility. It allows you to form a thinner crust without tearing. Par-baking is a key step later on that helps achieve a soft yet crisp crust texture.
Cover the dough with plastic wrap or a damp towel to keep it hydrated and prevent drying. Resting also evens out hydration and reduces stickiness, so you won’t need to knead or apply much force during shaping.
A gentle “jiggle” of the dough ball signals it’s ready to handle. By incorporating rest before shaping, you ensure a supple, cohesive dough that’s easier to stretch and yields a superior sourdough pizza crust.
Resting and Stretching the Dough
Mastering the art of resting and stretching the dough is key to achieving a perfectly textured sourdough pizza crust. Rest your dough at room temperature (68-70ºF) for 30 minutes to 8 hours, allowing the yeast to ferment and the gluten to relax.
Maintaining this temperature range helps optimize the dough’s fermentation control. During this period, performing stretch and folds helps develop the dough’s strength without overworking it, which is essential for a chewy crust.
Use the stretch and fold technique every 30 minutes during the initial rest to build strength without heavy kneading. After bulk fermentation, shape your dough into balls and let it rest again for 4-6 hours to puff and relax further, making stretching easier.
| Step | Action | Result |
|---|---|---|
| Initial Rest | 30 min – 8 hours | Fermentation begins |
| Stretch & Fold | 2-4 times, 8 folds each | Strengthens gluten |
| Bulk Fermentation | Overnight (optional) | Flavor deepens |
| Shaping | Divide & form balls | Prepares for final proof |
| Final Rest | 4-6 hours | Dough relaxes and puffs |
Preparing the Pizza Sauce
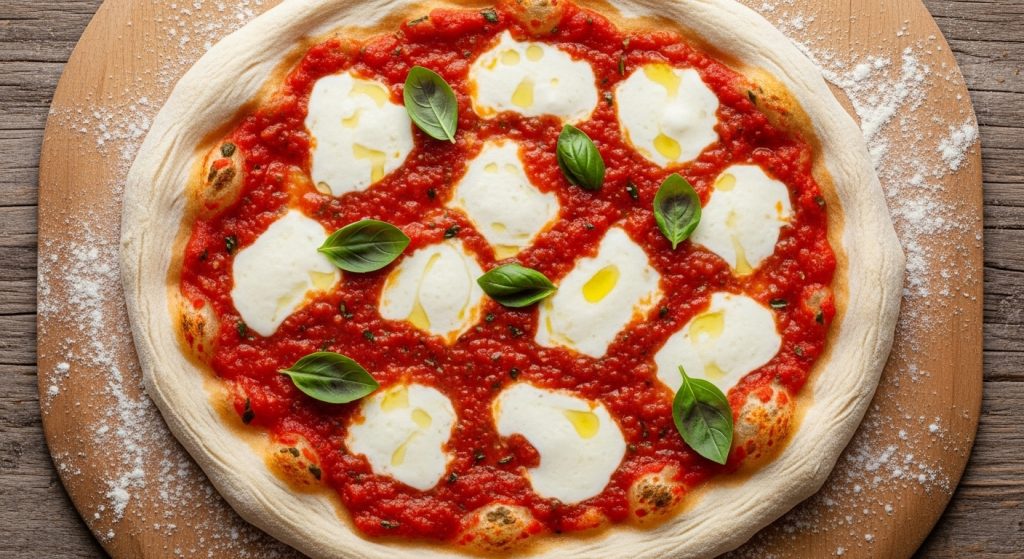
Although crafting the perfect pizza sauce might seem straightforward, selecting the right ingredients and preparation method can transform your sourdough pizza from good to exceptional.
Start with a tomato base. Tomato paste thickens and intensifies flavor, while diced or crushed tomatoes add texture. Fresh minced garlic or garlic powder brings aromatic sharpness, complemented by dried herbs like oregano and Italian seasoning. You can substitute tomato sauce with blended diced tomatoes or fresh tomatoes if desired, but tomato paste is essential for thickness and cannot be omitted.
Balance acidity with a pinch of sugar and enhance depth with onion powder, black pepper, or smoked paprika. You can mix your sauce raw for quick use or simmer briefly to deepen flavors and thicken consistency.
Blend to your preferred texture, tasting and adjusting seasoning as you go. Keep your sauce thick enough to avoid soggy crusts, and store leftovers airtight in the fridge for up to five days or freeze for longer. For best preservation, store the sauce in an airtight glass jar in the refrigerator for up to two weeks or freeze for up to three months to maintain freshness.
Choosing and Preparing Toppings
Selecting the right toppings brings your sourdough pizza to life, balancing flavors and textures that complement the tangy crust and vibrant sauce. Choosing toppings with varying moisture content is important to maintain the dough’s consistency and avoid sogginess.
Start with classic mozzarella for melt and mildness or try goat cheese for tangy creaminess paired with piquant peppers. Using cheeses like mozzarella contributes to the open crumb structure that makes the crust airy and light.
Classic mozzarella melts beautifully, while goat cheese adds tangy creaminess, perfect alongside piquant peppers.
Add mushrooms for earthiness, peppadew or padrón peppers for sweet heat, and Kalamata olives for salty depth. Using small, uniform mozzarella cubes ensures even baking and optimal melt.
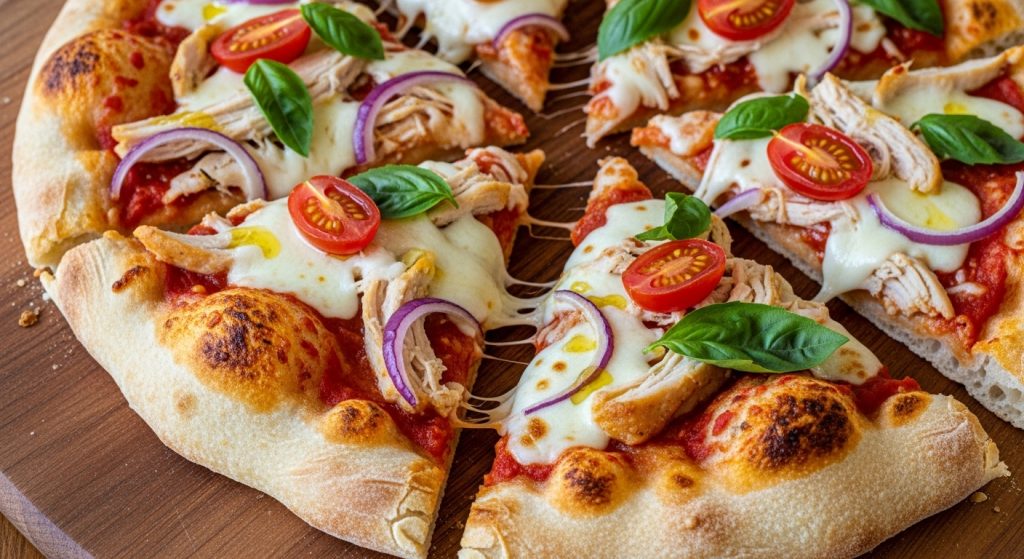
For meats, pepperoni and Italian sausage bring savory spice, while prosciutto or shredded chicken add delicate saltiness, often best after baking. Incorporating toppings after baking preserves their texture and flavor, especially with delicate additions.
Distribute toppings evenly, leaving a 1-inch crust border to ensure crispness and avoid sogginess.
Par-baking the dough with sauce first protects toppings from burning. This method benefits from a preheated oven at 550°F, which achieves the best crust texture and cooking results.
Finally, finish with fresh basil or arugula after baking to add aromatic freshness and a peppery bite, elevating every slice.
Preheating and Using a Cast Iron Skillet
When you preheat your cast iron skillet properly, you set the stage for a perfectly crispy sourdough pizza crust that rivals your favorite pizzeria.
Start by heating your oven to 425°F–450°F, or higher if your equipment allows, ensuring it’s fully hot before baking. Use a 12-inch cast-iron skillet for best results. This temperature range aligns well with the recommended heat for melting and crisping in dishes like baked brie in sourdough.
Meanwhile, warm the skillet on the stovetop over medium heat for about five minutes.
Brush about a tablespoon of olive oil evenly inside the skillet to prevent sticking and promote browning.
Press room-temperature dough directly into this hot, oiled surface, shaping it evenly to the edges.
This preheating method creates a beautifully caramelized crust with a satisfying crunch.
Baking the Pizza for Optimal Crispiness
With your cast iron skillet properly heated and your dough shaped, it’s time to bake the pizza at high temperatures to lock in that perfect crispiness. Set your oven between 260°C and 288°C (500°F to 550°F) to promote rapid moisture evaporation and trigger the Maillard reaction, which browns and crisps the crust. This high heat is essential to achieve the desired crust development and rise characteristic of sourdough pan pizza.
Bake the pizza for 10 to 15 minutes, rotating it halfway through for even cooking. Avoid placing the dough on cold surfaces to prevent sogginess.
For extra crunch, broil the pizza for 2 to 3 minutes at the end, watching closely to avoid burning.
Once out, transfer the pizza to a heat-proof rack to keep steam from softening the crust’s base. This ensures every bite stays satisfyingly crisp and golden.
Tips for Customizing Your Quick Sourdough Pizza
Although sourdough pizza shines on its own, customizing toppings and flavors lets you create a pie that truly satisfies your cravings. Choose toppings like fresh mozzarella, basil, or prosciutto to balance sourdough’s tang.
Use room temperature ingredients to keep the crust crisp. Combine creamy cheeses with crisp veggies for texture contrast, and avoid watery toppings to prevent sogginess. For best texture and rise, use bread flour when preparing the dough.
Season your dough with Italian herbs or garlic powder, and brush crust edges with olive oil for extra crispiness. Experiment with alternative cheeses or bold flavors like caramelized onions.
Adjust dough thickness to control chewiness, or par-bake for stable topping layers.
Finally, finish with fresh herbs or a sprinkle of red pepper flakes to add brightness and heat.
Crafting a personalized pizza masterpiece every time is within your reach.
Frequently Asked Questions
Can I Use Whole Wheat Flour Instead of All-Purpose Flour?
Yes, you can use whole wheat flour instead of all-purpose, but expect a denser, chewier crust with a nuttier flavor.
You’ll need to increase hydration by about 5-10% since whole wheat absorbs more water. Mixing it half-and-half with all-purpose flour helps balance texture and rise.
Also, give your dough extra fermentation time to develop gluten and flavor, making it easier to stretch and enhancing that hearty, wholesome taste.
How Do I Store Leftover Quick Sourdough Pizza Dough?
You should store your leftover sourdough pizza dough in an airtight container or a plastic bag, tightly sealed to keep it from drying out.
Before wrapping, rub a little olive oil on the dough’s surface to lock in moisture.
Pop it in the fridge, where it’ll stay fresh for up to 3-5 days.
If you want to keep it longer, freeze it wrapped well, then thaw in the fridge before using.
Is It Possible to Freeze the Prepared Sourdough Pizza Dough?
Freezing your sourdough pizza dough is like pressing pause on a delicious symphony. You can save those flavors for later.
You can freeze it right after bulk fermentation or shaping into dough balls. Just portion it out, squeeze air from airtight bags, and stash it in the freezer.
When ready, thaw it slowly in the fridge overnight to keep that dough lively and ready to rise beautifully for your next pizza night.
What Type of Sourdough Starter Discard Works Best for This Recipe?
You’ll want to use fresh, unfed sourdough discard that’s less than 7-10 days old for the best flavor and rise.
Aim for a 1:1:1 hydration ratio (starter:flour:water) to keep your dough balanced and easy to work with.
Using discard at room temperature helps avoid excessive sourness and guarantees good fermentation.
This gives your pizza crust that perfect tang and chewiness without risking a dense or overly acidic result.
Can I Bake the Pizza Without a Cast Iron Skillet?
Yes, you can absolutely bake your pizza without a cast iron skillet.
Use a preheated baking stone or steel to get that crispy, golden crust you love. Heavy, dark pans or rimless baking sheets work well too; just par-bake the crust first to avoid sogginess.
Remember to preheat your oven to its highest setting and use parchment paper for easy transfer.
With these tweaks, your pizza will come out deliciously crisp and flavorful every time!
Master Restaurant Quality at Home Pizza in Under an Hour
Now that you’ve mastered this quick sourdough pizza, you’re part of a growing trend. Did you know homemade pizzas have surged by over 60% in popularity since 2020?
With your no-knead dough and cast iron skillet, you’re crafting crispy, flavorful pizzas faster than ever. Experiment with toppings and sauces to make each pie uniquely yours.
Enjoy the delicious satisfaction of homemade sourdough pizza that’s both easy and impressively tasty every time.