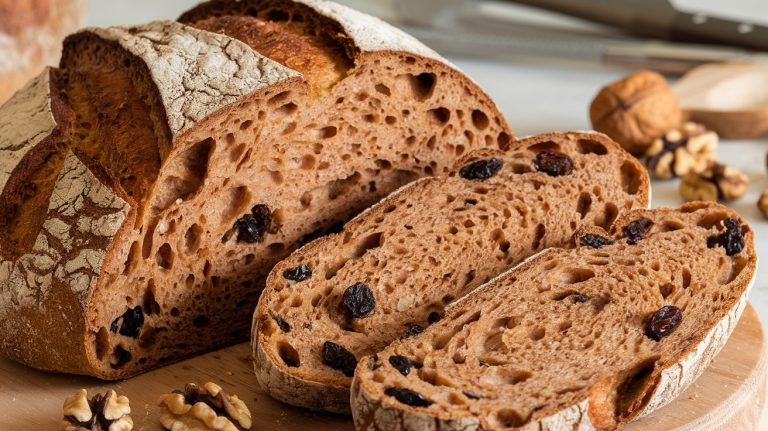
Low Hydration Sourdough Recipe: Easy Guide for Perfect Crust
To bake low hydration sourdough, use 50–65% water relative to flour by weight for a firm, less sticky dough. Mix flour and water first, autolyse for 1+ hour at 75–80°F.
Then incorporate starter (5–25% flour weight) and salt (1.8–2%). Perform six stretch-and-folds during bulk fermentation to develop gluten.
Shape gently with minimal flour and bake in a preheated Dutch oven at 500°F, finishing uncovered for a golden crust. Master these steps and you’ll enhance crumb texture and flavor control.
Key Takeaways
- Use 50-65% hydration with flour weight for a firm, less sticky dough that’s easier to shape and score.
- Autolyse flour and water for 1+ hours at 75–80°F before adding starter and salt to improve hydration and dough strength.
- Perform six stretch-and-folds during bulk fermentation every 15–30 minutes to develop gluten and promote even crumb structure.
- Bulk ferment at a warm, draft-free spot until dough doubles and bubbles appear, then shape gently with minimal flour.
- Bake in a preheated Dutch oven at 500ºF covered, then uncovered at 400–475ºF, scoring dough for controlled oven spring.
Best Low Hydration Sourdough Bread Recipe at a Glance
| Ingredient / Step | Amount / Range | Details & Tips |
|---|---|---|
| Flour | 100% (base weight) | Use bread flour or mix with whole wheat for more flavor |
| Water | 50–65% of flour weight | Lower hydration = firmer, less sticky dough |
| Starter | 5–25% of flour weight | Typically 100% hydration starter (equal flour & water) |
| Salt | 1.8–2% of flour weight | Strengthens gluten, controls fermentation |
| Autolyse | 1+ hour at 75–80°F | Mix flour + water only, rest covered |
| Stretch & Folds | 6 total rounds | First 3 every 15 mins, last 3 every 30 mins |
| Bulk Fermentation | Until dough doubles, bubbles appear | Keep warm (75–80°F), draft-free |
| Shaping | Pre-shape → final shape (boule/bâtard) | Gentle handling, minimal flour |
| Proofing | Room temp or retard in fridge overnight | Refrigeration enhances flavor |
| Baking | Dutch oven, 500°F preheat, then 400–475°F | Covered first, then uncovered for golden crust |
| Result | Dense crumb, chewy crust, easier shaping | Ideal for sandwiches & toast |
The Science of Low Hydration Dough
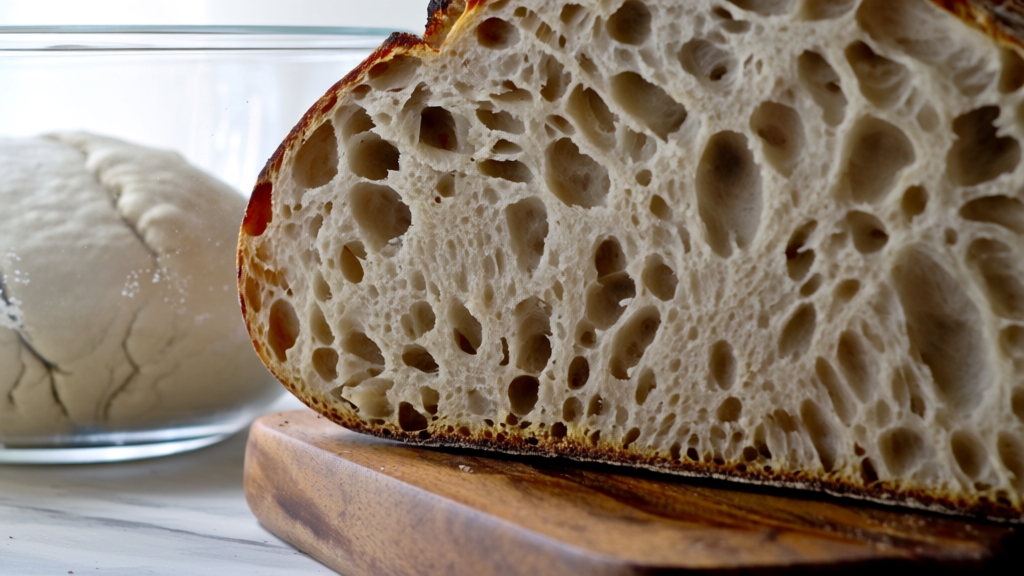
Although low hydration doughs contain less than 65% water relative to flour weight, they demand careful handling due to their stiffness and reduced gluten hydration. Using a precise baking scale ensures accurate ingredient measurements critical for consistent dough results.
Low hydration doughs, under 65% water, require careful handling because of their stiffness and limited gluten hydration.
You’ll find these doughs typically range between 50% and 60% hydration, creating a firm, less extensible matrix. This limits gluten network flexibility, resulting in a dough that’s less sticky but also less stretchy.
When you mix or knead, expect to apply more effort to develop gluten properly. The reduced free water slows fermentation and yields a denser crumb with small, uniform air pockets, ideal for structured breads like sourdough sandwich loaves. Low hydration doughs are typically high gluten and require kneading and time for gluten development.
Handling benefits from light flouring and robust techniques such as slap-and-fold to build strength.
Understanding this balance helps you manage dough behavior, texture outcomes, and fermentation timing effectively in your baking process.
Essential Ingredients and Ratios
You’ll need to carefully balance flour and water ratios to achieve the desired dough hydration. Typically, this ranges between 60% and 76% for low hydration sourdough. This lower hydration level produces a denser loaf with a more closed crumb, making it easier to handle for beginners. Using a digital scale ensures accurate measurement of ingredients for consistent results.
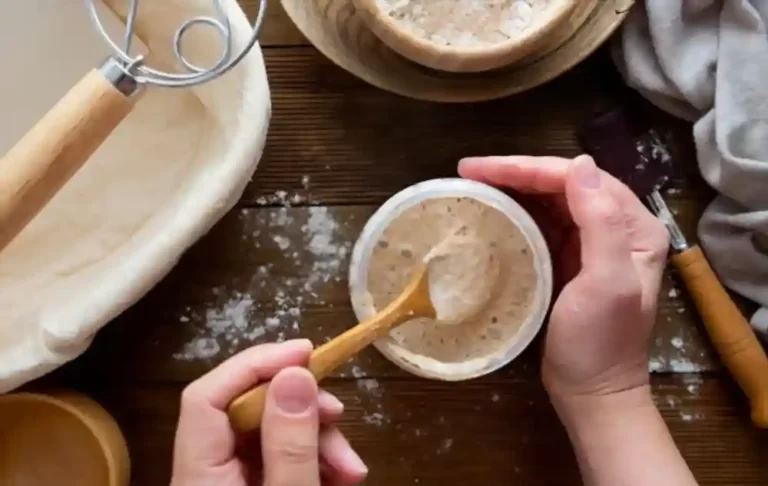
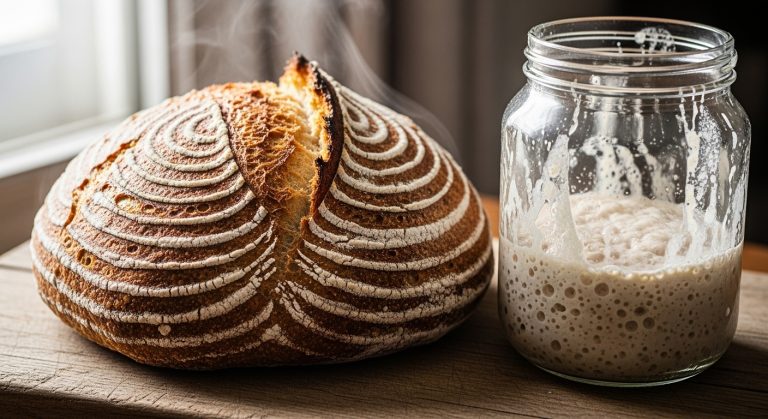
Incorporate the starter at 5-25% of the total flour weight. Adjust for its hydration to maintain consistent dough consistency. Sourdough starters are typically kept at 100% hydration, meaning equal parts water and flour, which is important for calculating overall dough hydration.
Salt should be precisely measured at 1.8% to 2% of flour weight. This helps regulate fermentation and strengthen gluten structure. Precise measurement and timing can improve dough texture and flavor development.
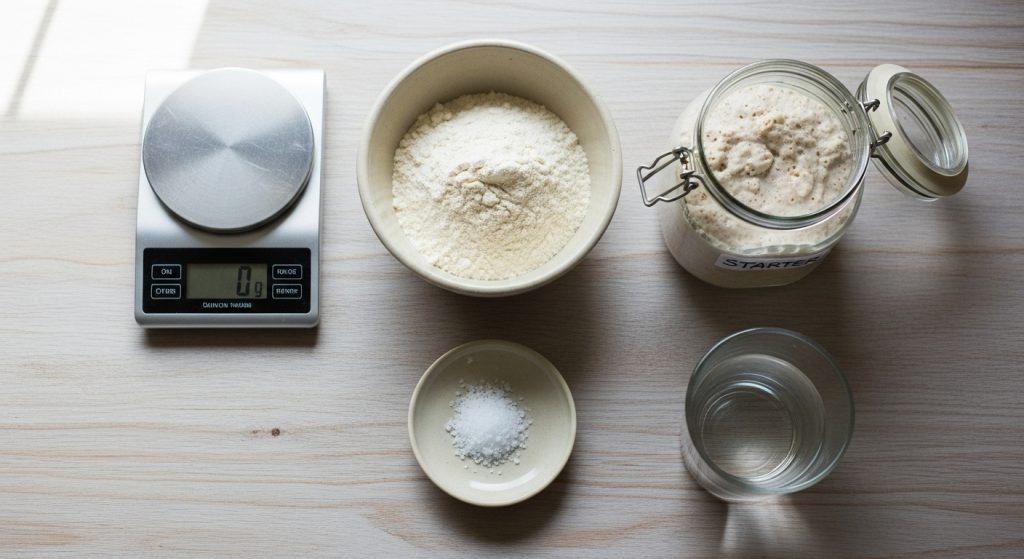
Flour and Water Ratios
When calculating sourdough hydration, you measure the water weight as a percentage of the flour weight, including both the recipe and starter contributions. Use the formula: (Water ÷ Flour) × 100 = Hydration %.
For low hydration sourdough, target 60%-65%, which yields a firmer, less sticky dough.
Consider these points carefully:
- Include starter’s flour and water in total weights for accuracy.
- Adjust hydration based on flour type; whole wheat absorbs more water than all-purpose.
- Low hydration doughs are easier to shape but produce denser crumb.
- Precise weighing ensures consistent dough texture and fermentation behavior.
- Slight hydration tweaks impact crumb openness, crust, and handling characteristics.
Mastering these ratios empowers you to replicate and customize your low hydration sourdough reliably.
Using accurate measuring tools can greatly enhance the precision of your ingredient ratios and overall baking results.
Starter and Salt Percentages
Balancing starter hydration and salt percentages shapes the performance and flavor of your low hydration sourdough. Use a 100% hydration starter for ease, or a stiffer 50%-65% hydration starter to enhance tanginess and fermentation control.
A 100% hydration starter typically has equal parts water and flour by weight, making it easier to incorporate into your dough. The use of a natural sourdough starter leverages wild yeasts and bacteria to develop unique flavors and textures.
Remember, starter hydration affects dough consistency and fermentation timing, so factor it into total hydration calculations. Maintaining salt at 1.8%-2.2% of total flour weight regardless of dough hydration optimizes gluten strength and controls yeast activity to prevent over-proofing.
Although stiffer starters ferment slower, salt percentages remain consistent, ensuring balanced flavor and dough structure. Precise adjustment of starter feeding ratios allows you to tailor flavor and fermentation speed.
Consistent salt levels maintain dough integrity in the dense, low hydration matrix you’re working with. This balance is key to achieving the ideal texture and taste in your sourdough.
Preparing the Dough Step-by-Step
Start by precisely measuring and mixing your room temperature water, active starter, and oil.
Gradually incorporate the flour to achieve a shaggy dough.
Let the mixture rest for 30 minutes during autolyse to allow proper hydration.
Then, use systematic stretch and fold techniques throughout bulk fermentation to develop gluten strength.
Monitor dough expansion carefully during this process.
Maintaining a consistent fermentation temperature will enhance flavor development and improve the dough’s rise.
Mixing and Autolyse
Although it might seem simple, mixing flour and water to initiate autolyse requires careful technique to guarantee complete hydration without developing gluten prematurely. You’ll want to mix thoroughly yet gently, ensuring all flour particles absorb water evenly.
Avoid adding salt or starter now, as they inhibit enzymatic activity crucial for starch breakdown and gluten relaxation. Cover the dough to prevent drying and maintain a temperature near 75–80°F (24–26°C) for ideal enzyme function. This temperature range promotes optimal enzymatic activity during autolyse.
Typical autolyse lasts from 1 to several hours, longer for whole wheat or low hydration doughs. This process enhances gluten structure by activating enzymes that improve dough quality.
- Use a dough whisk to incorporate flour fully
- Measure water precisely, reserving some for later
- Avoid kneading to prevent early gluten formation
- Maintain consistent temperature during rest
- Cover dough with plastic wrap or a reusable lid
This stage primes your dough for improved extensibility and fermentation.
Folding and Fermentation
When you begin folding your dough, you activate and strengthen the gluten network essential for structure and rise. Use the stretch and fold technique, performing six rounds: the first three every 15 minutes, the last three every 30 minutes.
This schedule allows gluten to relax between folds, improving extensibility. The folding process is particularly effective in strengthening bread dough by enhancing gluten development. This method is preferred over intensive kneading as it develops gluten gently while preserving dough hydration.
Maintain a consistent temperature of 75°F to 80°F for ideal fermentation. Cover the dough to prevent drying. Maintaining the dough temperature within this range promotes optimal yeast activity during the bulk fermentation stage.
Each fold strengthens gluten, incorporates air, and ensures ingredient uniformity, promoting an even crumb.
Monitor fermentation by observing bubbles, volume increase, and tactile lightness. Adjust intervals based on dough hydration and environment.
After folding, bulk fermentation proceeds several hours until the dough feels resilient and airy. Proper folding and controlled fermentation culminate in a well-developed dough ready for shaping and baking.
Fermentation and Proofing Techniques
Because low hydration sourdough doughs ferment more slowly, you’ll need to carefully manage each stage of fermentation and proofing to guarantee proper gluten development and ideal crumb structure.
Start bulk fermentation once the dough is mixed; expect longer times as yeast activity slows with less water. This slower fermentation process is typical with hydration levels below 70%, which produce a denser crumb and longer fermentation times. Using a countdown timer can help you keep precise track of fermentation stages.
Begin bulk fermentation immediately after mixing; anticipate extended fermentation due to reduced yeast activity in low hydration dough.
Perform multiple stretch-and-folds—typically six rounds spaced 15–30 minutes apart—to strengthen gluten.
Monitor dough volume until it roughly doubles and surface bubbles appear, signaling readiness.
For proofing, maintain a warm, draft-free environment with humidity control to prevent drying, but avoid overheating to reduce collapse risk.
Consider retarding proof in refrigeration for flavor enhancement, noting that it extends proof time.
- Bulk fermentation duration varies; aim for dough doubling
- Six stretch-and-fold cycles improve gluten network
- Proof in humid, warm, draft-free conditions
- Watch for surface bubbles and volume increase
- Refrigerate proof to deepen flavor, slow fermentation
Shaping and Handling Tips
Handling low hydration sourdough dough requires a firm but gentle approach since its lower water content makes it less sticky and easier to shape. Use wet or lightly floured hands to prevent sticking during stretch and fold or shaping steps.
Doing stretch and folds directly in the bowl simplifies management and reduces mess, improving dough cohesion and elasticity. Incorporating ingredients such as sunflower seeds or herbs can also enhance flavor and texture in your dough.
Pre-shape by stretching edges outward and folding over the center (letter fold) to form a cohesive ball. Then, rest the dough for 5–10 minutes to relax the gluten.
For final shaping, apply the envelope technique—fold edges inward to create surface tension—or roll gently for bâtard shapes. Utilize a bench scraper and floured surface minimally to avoid deflation or excess dryness. Using sourdough mixes with a long shelf life can help ensure consistent results in your bread-making.
Maintain smooth, deliberate movements to preserve gas bubbles and gluten integrity. If the dough feels stiff, allow brief rests to improve extensibility.
Cover the dough during rests to prevent drying and use proofing baskets for structural support.
Baking Instructions and Tips
Although baking sourdough demands close attention to temperature and timing, mastering these variables guarantees ideal crust development and crumb structure.
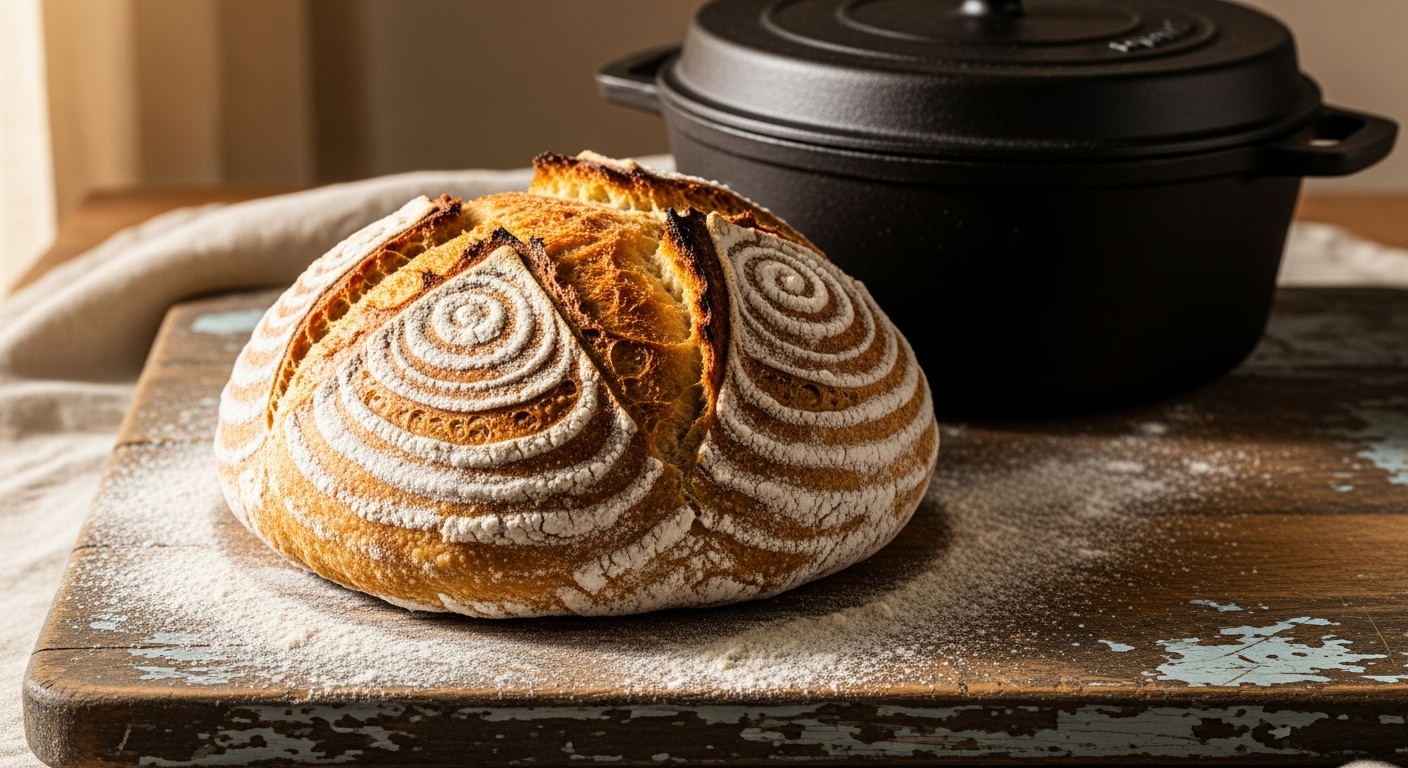
Begin by preheating your oven to 500ºF (260ºC) with a Dutch oven inside to capture steam and enhance oven spring. Bake covered for 20–30 minutes, then remove the lid, reduce temperature to 400–475ºF, and continue baking until the crust is golden and crisp.
Using a lower-hydration dough means you can achieve bakery-style ridges without the need for a liner. For best results, use a digital baking thermometer to ensure your oven maintains the correct temperature throughout the process.
Remember to cool the bread fully before slicing to stabilize the crumb.
Key baking tips:
- Score dough with a sharp lame after dusting with flour to control expansion.
- Use parchment paper to transfer dough without deflation.
- Perform covered baking for steam retention.
- Preheat baking vessel thoroughly for intense heat transfer.
- Adjust baking times based on crust color and oven performance.
Benefits of Low Hydration Sourdough
Mastering baking techniques like temperature control and steam retention sets the stage for exploring how dough hydration impacts your sourdough’s characteristics.
Low hydration sourdough, with 50-65% water by flour weight, yields a stiffer dough that’s easier to handle and shape, reducing stickiness and simplifying scoring. This firmness ensures consistent mixing and folding without advanced skills. It also facilitates easier addition of toppings like spreads or ingredients, enhancing versatility.
The resulting bread features a tight, dense crumb with uniform air pockets, enhancing sliceability and structural integrity—ideal for sandwiches and toasting.
Additionally, the crust develops a thick, chewy texture with intensified caramelization, supporting bread stability.
Fermentation times shorten, allowing you precise control over sourness and flavor complexity.
The dough’s firmness also accommodates mix-ins without compromising integrity.
Frequently Asked Questions
Can I Substitute Whole Wheat Flour for All-Purpose in Low Hydration Dough?
Yes, you can substitute whole wheat flour for all-purpose in low hydration dough, but you’ll need to adjust hydration carefully. Whole wheat absorbs more water due to bran, so increase water gradually to maintain dough consistency.
Start with 25-50% substitution, extend autolyse to soften bran, and use stretch-and-folds to strengthen gluten.
Expect denser crumb and faster fermentation, so monitor dough behavior closely and adjust fermentation time accordingly.
How Does Room Temperature Affect Fermentation Time for Low Hydration Sourdough?
Room temperature directly influences fermentation time by accelerating or decelerating microbial activity. For every 15°F (8°C) increase, fermentation roughly doubles.
At 25°C (77°F), expect about 6.5 hours to reach 75% volume increase, while at 30°C (86°F), it shortens to 5 hours.
If your room is warmer, reduce fermentation time to prevent overproofing; if cooler, extend it.
Always adjust based on dough feel and elasticity, not volume alone.
Is It Necessary to Use a Dutch Oven for Baking Low Hydration Sourdough?
You don’t necessarily need a Dutch oven to bake low hydration sourdough, but it does improve crust texture and oven spring by trapping steam and heat.
Alternatives like baking stones with steam trays or covered pans can work, though results vary. Since low hydration doughs are firmer and less reliant on steam, you can achieve good quality without one.
However, using a Dutch oven simplifies temperature control and enhances crust consistency.
What Is the Best Way to Store Leftover Low Hydration Sourdough Bread?
You should store leftover low hydration sourdough bread at room temperature, placing it cut-side down on a wooden board or inside a bread box to maintain crumb moisture and crust crispness for 1-2 days.
Avoid refrigeration, as it accelerates staling and dries the bread.
For longer storage, slice and freeze portions in airtight bags, then thaw and toast before eating to restore texture and flavor effectively.
Can I Freeze Low Hydration Sourdough Dough Before Baking?
Yes, you can freeze low hydration sourdough dough before baking. Coincidentally, its firmer structure helps maintain shape during freezing.
To do this, fully ferment and shape the dough, then wrap it tightly in plastic to prevent freezer burn. Freeze for up to two weeks.
Thaw it slowly in the fridge overnight before baking, allowing a final proof for best rise and texture.
This method preserves flavor and convenience efficiently.
Your Perfect Low Hydration Loaf Is Just One Bake Away
Now that you’ve mastered the precise ratios and techniques of low hydration sourdough, you’re on the brink of baking bread with unparalleled structure and flavor.
But don’t stop here—experiment with fermentation times and shaping methods to discover its full potential. The next loaf could reveal a crust and crumb you never expected.
Keep refining your process; the perfect low hydration sourdough is just one careful adjustment away.

