How to Wrap Sourdough in Parchment Paper: Oven to Presentation
To wrap your sourdough in parchment paper, ensure your loaf is fully cooled to maintain its crust. First, wrap it tightly in plastic wrap to seal in freshness.
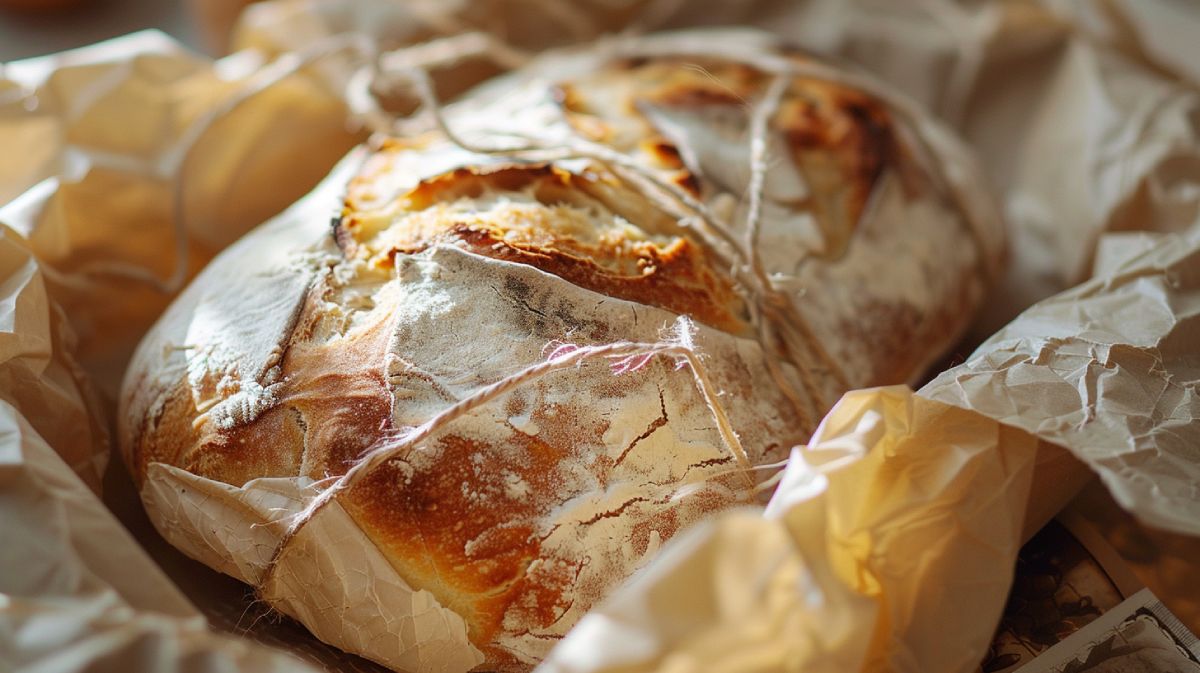
Next, cut a piece of parchment paper about 2-3 inches longer than the loaf. Lay the loaf in the center, fold the edges over the top, and tuck the corners to create triangular ends. Finally, secure it with twine for a charming finish.
This not only protects the bread but also elevates your gift presentation. Keep going to discover tips on enhancing your sourdough gifts further.
Key Takeaways
- Cut parchment paper 2-3 inches longer than the loaf for complete coverage and secure wrapping.
- Fold the wide edges together over the loaf to create a snug wrap.
- Flip the loaf over to keep the folded seam on the bottom for a neat finish.
- Fold corners inward to form triangular shapes at each end, creasing firmly for stability.
Materials Needed
To wrap your sourdough effectively, you’ll need a few essential materials: parchment paper, plastic wrap, scissors, and twine.
Start with parchment paper, which not only provides breathability but also helps prevent moisture buildup. This is vital for keeping your loaf fresh and maintaining its crusty exterior. Make sure to cut the parchment paper to be 2-3 inches longer than your loaf, allowing for proper coverage and easy folding.
Next, gather your plastic wrap. While parchment paper is great for breathability, plastic wrap offers an additional layer of protection when you want to seal in freshness.
You’ll also need scissors to trim the parchment paper and plastic wrap to the right size.
Initial Preparation
Before you start wrapping your sourdough, gather all the necessary materials, like plastic wrap, parchment paper, twine, and scissors.
Make sure your loaf is visually appealing and fully cooled to keep it fresh.
A well-prepared loaf sets the stage for a successful wrapping process, ensuring your bread stays delicious and delightful.
Gather Necessary Materials
Gathering the right materials is essential for successfully wrapping your cooled sourdough loaf, so make certain you have parchment paper, plastic wrap, scissors, and twine at hand.
Start with a beautiful loaf of sourdough bread; its artisan appearance enhances your gift’s overall presentation.
Next, grab a roll of plastic wrap. Make sure it’s large enough to cover the entire loaf securely, protecting it from moisture and keeping it fresh.
You’ll also need parchment paper, which should be cut to a size that’s 2-3 inches longer than the loaf. This extra length allows for effective wrapping and a polished look.
Don’t forget your scissors! These will help you cut the parchment and plastic wrap to the right sizes.
Finally, have some twine ready to tie everything together neatly. While you want your wrapping to look nice, focus on a simple technique that prioritizes functionality and protection over perfection.
With these materials gathered, you’re set to give your sourdough bread the care it deserves, ensuring it stays fresh and delightful until it reaches its destination.
Choose Appropriate Loaf
Selecting the right loaf of sourdough is crucial, as it sets the stage for a delightful gift that showcases both quality and care. Here are some tips to help you choose the perfect loaf:
- Check for Adequate Cooling: Make certain the sourdough has cooled completely to prevent moisture buildup. This guarantees the bread retains its texture and flavor.
- Consider Visual Appeal: Opt for artisan sourdough with unique scoring patterns or crust color. A visually striking loaf enhances the overall presentation of your gift.
- Match the Size: Choose a loaf that suits the recipient’s needs. A smaller loaf might be ideal for an individual, while a larger one works well for a family.
- Accommodate Dietary Restrictions: If your recipient has dietary preferences or restrictions, confirm that the sourdough aligns with their needs. This thoughtful consideration shows you care.
Ensure Proper Cooling
Let your sourdough loaf cool completely at room temperature for at least an hour to lock in its fresh flavor and maintain that delightful crusty exterior. This cooling period is essential, as it prevents moisture buildup inside the wrapping, which can lead to a soggy loaf.
To achieve ideal cooling, place your bread on a wire rack. This promotes even air circulation around the loaf, guaranteeing that the crust remains perfectly crisp while the interior stays soft. If you wrap the bread while it’s still warm, condensation will form inside the wrap, compromising the texture that you worked hard to create.
A well-cooled loaf not only tastes better but also makes the wrapping process smoother and more visually appealing. You’ll find it easier to handle and prepare for gifting or storage. Plus, when you take the time to guarantee proper cooling, you enhance the overall eating experience, allowing that delightful sourdough flavor to shine through.
Step 1: Wrap in Plastic Wrap
To keep your sourdough fresh, start by wrapping it tightly in plastic wrap.
This step is essential for sealing out air and preventing staleness, so make sure you use a piece that’s large enough to cover the entire loaf.
Focus on wrapping it securely without squishing, ensuring that it maintains its beautiful shape for the next phase.
Importance of Plastic Wrap
Wrapping sourdough in plastic wrap is essential for preserving its freshness and texture, shielding it from unwanted air and moisture that can lead to staleness.
Using plastic wrap effectively maintains the quality of your loaf, ensuring it stays delicious for days.
Here are four key reasons why plastic wrap is imperative:
- Prevents Air Exposure: A tight seal keeps air away, reducing the risk of drying out your loaf.
- Maintains Texture: When you wrap snugly, you avoid air pockets that can compress the bread and affect its texture.
- Protects Toppings and Crusts: If your sourdough has toppings or a delicate crust, plastic wrap helps prevent damage during the wrapping process.
- Sanitation: While aesthetics aren’t a priority here, ensuring your bread is protected from contaminants is essential for safe consumption.
Proper Wrapping Techniques
Using a large sheet of plastic wrap, you can create a protective barrier that keeps your sourdough fresh and delicious for days. Start by laying the plastic wrap flat, guaranteeing it’s big enough to cover the entire loaf. Gently place the loaf in the center, then pull the wrap tightly around it. Be careful not to handle the bread too much; you want to maintain its beautiful shape and crusty exterior.
As you wrap around, make certain the cling wrap is snugly sealed. This prevents moisture loss and keeps contaminants at bay while allowing a hint of breathability. Remember, though, that less is more. Avoid excessive layers of plastic wrap, as this can lead to a soggy loaf instead of preserving its delightful crunch.
While it might be tempting to focus on aesthetics, prioritize functionality at this stage. Your main goal is to guarantee the loaf is well-protected for storage or gifting. With these proper wrapping techniques, your sourdough will remain fresh and ready to delight anyone who takes a bite.
Step 2: Wrap in Parchment Paper
Start by cutting a piece of parchment paper that’s 2-3 inches longer than your sourdough loaf to confirm it’s completely covered. This extra length guarantees that your loaf stays protected during transport and storage.
Here’s how to wrap it effectively:
- Fold the wide edges of the parchment paper together over the loaf, creating a snug and secure wrap.
- Flip the loaf over so the folded seam is on the bottom. This helps maintain stability and keeps everything in place.
- Fold the corners of the parchment paper inward to form a triangular shape at each end. This reinforces the wrap’s structure and prevents any unwanted shifts while you carry it.
- Crease the folds firmly to maintain the shape of the parchment paper, which helps keep your sourdough secure during transport.
Step 3: Tie With Twine
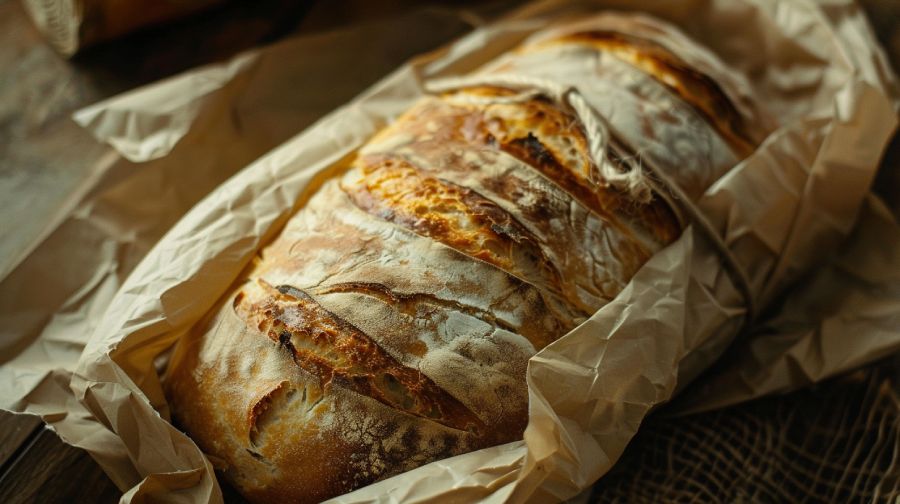
To secure your beautifully wrapped sourdough loaf, place it on a twine that’s long enough to create a charming bow on top.
Start by crossing the ends of the twine to form an X underneath the loaf. This step not only provides stability but also makes the wrapping process a breeze.
Next, gently flip the loaf over so the twine is now positioned above the parchment paper, allowing you to easily fasten the wrap.
Now, tuck the twine loops under the loaf to prevent any slippage. This guarantees your sourdough stays snug and secure while you work on the finishing touches.
Once you’ve adjusted the twine to your preferred tightness, take a moment to shape the bow. You can make it as big or small as you like, adding a personal touch to your presentation.
Presentation Techniques
Enhancing the presentation of your wrapped sourdough loaf not only elevates its aesthetic appeal but also makes it a delightful gift that captures attention and conveys care. You can make your loaf stand out with these simple yet effective techniques:
- Tie with Twine: A rustic twine bow adds charm and keeps your wrap secure, making it look inviting and thoughtful.
- Fresh Herbs: Adding a sprig of rosemary or thyme not only beautifies the wrap but also infuses the bread with a delightful aroma, enhancing the sensory experience.
- Handwritten Tag: Include a personal message on a handwritten tag. This small touch conveys your thoughtfulness and makes the gift more meaningful.
- Layering: Consider layering the parchment paper with a decorative napkin. This provides added texture and visual interest, making your wrapped sourdough loaf even more appealing.
Storage Tips
Proper storage is essential for keeping your sourdough fresh and flavorful, ensuring that each slice retains its delightful texture and taste. With the right techniques, you can enjoy your sourdough for days or even weeks. Here are some practical storage tips to keep in mind:
- Room Temperature: For short-term storage, wrap your sourdough in parchment paper and keep it at room temperature. This method preserves its crusty exterior and chewy interior.
- Refrigeration: If you need to store it longer, you can refrigerate your sourdough. Just remember, while this extends freshness, it may alter the texture, making it denser.
- Freezing: For extended storage, wrap the sourdough tightly in plastic wrap or aluminum foil, then freeze it. This helps prevent freezer burn, ensuring you can enjoy your bread later.
- Avoid Sunlight: Always store your sourdough in a cool, dry place away from direct sunlight. This helps maintain its flavor and prevents mold growth.
Frequently Asked Questions
Can You Wrap Sourdough Bread in Parchment Paper?
Yes, you can wrap sourdough bread in parchment paper. It breathes well, preventing moisture buildup while keeping that crusty exterior intact. Just cut, fold, and secure it for perfect protection and rustic charm.
Why Is My Sourdough Sticking to the Parchment Paper?
About 30% of bakers experience sticking issues with sourdough. If your bread’s sticking to parchment, it’s likely due to residual heat or moisture. Let it cool completely and dust the paper with flour for better results.
Can You Wrap Dough in Parchment Paper?
Yes, you can wrap dough in parchment paper! It breathes well, prevents moisture buildup, and keeps the dough’s crust intact. Just cut it larger, fold the edges, and secure the ends for protection.
Can You Cover the Sourdough Starter With Parchment Paper?
Covering your sourdough starter with parchment paper is like placing a fragile flower under a glass dome—it suffocates. Instead, opt for a breathable cloth to guarantee your starter thrives and ferments properly while staying protected.
The Perfect Wrap for Freshness and Appeal
Wrapping your sourdough in parchment paper keeps it fresh and adds a rustic touch to your presentation.
Did you know that nearly 37% of people say homemade bread is the best gift they’ve ever received?
By following these steps, you can elevate the appeal of your sourdough, whether you store it or share it with loved ones.
So, grab that parchment paper, and let your sourdough shine—it deserves to be celebrated.

