How to Use a Foodsaver Vacuum Seal: The Pro Hacks
To use your FoodSaver vacuum seal, first place it on a stable surface and plug it in. Prepare your bag by cutting it to size, leaving extra space at the top, and guarantee it’s clean and dry.
Load the open end into the Vacuum Channel, then lock the lid. Select the appropriate mode for your food type—Dry, Moist, or Pulse—and press the Vacuum & Seal button.
The machine will remove air and seal the bag, keeping your food fresh six times longer. Curious about maximizing your FoodSaver’s potential? There’s plenty more to discover about this versatile tool.
Key Takeaways
- Place the Foodsaver on a stable surface, plug it in, and familiarize yourself with the controls before starting.
- Prepare the bag by cutting it to size, leaving 3 inches from the food to the open end.
- Choose the appropriate mode: Dry for dry foods, Moist for juicy items, or Pulse for delicate foods.
- Insert the bag’s open end into the Vacuum Channel, lock the lid, and press the Vacuum & Seal button to start the process.
- Regularly clean and maintain the Foodsaver to ensure optimal performance and longevity.
Prepare Your Foodsaver
To get your Foodsaver ready for action, start by placing it on a stable, flat surface to confirm it operates smoothly. This guarantees that you won’t experience any mishaps while sealing your food.
Next, plug in the appliance but keep it turned off for now. Familiarize yourself with the essential controls: the Seal Button, Mode Button, and Latch. Knowing what each button does will make the process easier and more efficient.
Before diving into the vacuum sealing, check that all parts are clean and dry. This is vital for peak performance and food safety. A quick glance at the user manual for your specific model can provide helpful insights tailored to your device. Additionally, remember that using a Foodsaver can lead to significant cost savings by reducing food waste over time.
Once you’ve confirmed everything’s in order, you’re one step closer to preserving your food like a pro. Getting your Foodsaver prepped properly sets the stage for successful vacuum sealing.
Setting Up the Bag
Setting up the bag is an essential step in ensuring your vacuum sealing process is efficient and effective. Begin by placing the FoodSaver roll inside the unit’s internal storage space. Pull out enough bag material until it rests on top of the sealing strip.
Now, close the lid and turn the latch to the Operate position. Press the Seal Button to seal the open end of the bag, and wait patiently for the Seal Indicator Light to turn off. Once it does, turn the latch to the Open position to remove your sealed bag.
Next, it’s time to cut the bag to size. Pull out enough material for your contents, making sure to leave at least 3 inches of space between the food and the open end. Use the bag cutter to achieve the proper length, then place the open end into the Vacuum Channel.
Align the bag so it lies flat and wrinkle-free across the seal bar. Close the lid tightly, and you’re ready to initiate the sealing process by pressing the Seal or Vacuum Button. Additionally, ensure you are using custom bag sizes to maximize efficiency and space savings when vacuum sealing.
Selecting the Food Type
Once your bag is ready for use, the next step is selecting the right food types for vacuum sealing. Almost any food item can be vacuum sealed, but choosing wisely will maximize freshness and shelf life.
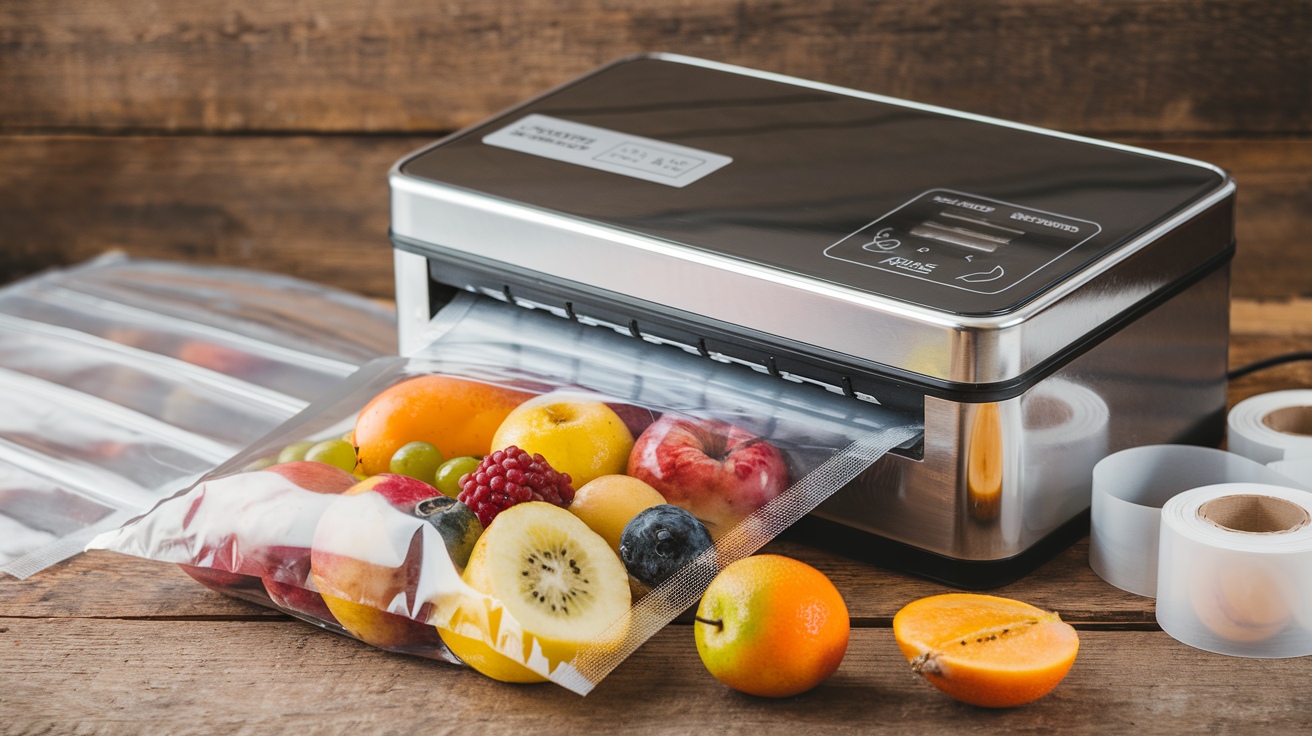
Fresh produce like vegetables and fruits, especially seasonal ones, benefit greatly from vacuum sealing, preserving their color and nutrients. Meat and fish are also excellent candidates, as sealing prevents freezer burn while keeping them tender and juicy.
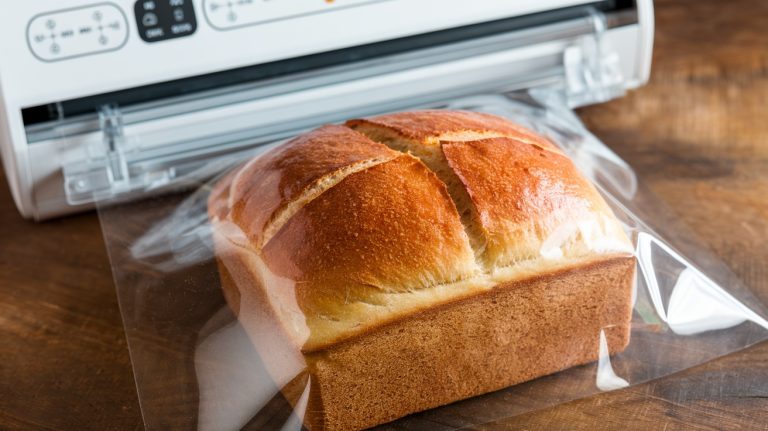
For delicate items such as berries or baked goods, handle them with care. Consider using containers or specific vacuum settings to avoid crushing. Vacuum sealing can extend shelf life approximately tenfold, making it an effective preservation method.
You’ll want to blanch vegetables like broccoli or cabbage beforehand to prevent gas buildup in the bag.
Don’t overlook grains, legumes, and dry goods—they’ll stay fresh and safe from pests when sealed properly. If you enjoy coffee or tea, vacuum sealing can keep their rich flavors intact for longer.
Initiating the Sealing Process
Now that you’ve selected your food type, it’s time to prepare your FoodSaver for sealing.
Start by placing the open end of the bag into the designated Vacuum Channel, ensuring it’s centered for an effective seal. This process is essential for preserving the flavor and freshness of your homemade sauces.
Once everything’s in place, lock the lid and get ready to press the Vacuum & Seal button to kick off the process.
Appliance Preparation Steps
Preparing your FoodSaver vacuum sealer is essential for achieving the best results when sealing food. Start by opening the appliance lid; just turn the latch to the open position and lift the lid.
If you’re making bags from a roll, position the roll inside the unit’s internal storage space. Pull out enough bag material to your desired length, then press the Seal Button to create a bottom seal.
Next, close the lid, making sure the bag aligns with the sealing strip. Lock the lid by turning the latch to the operating position.
Now, you’re ready to initiate the sealing process: press the Vacuum & Seal Button. The motor will run, vacuuming the bag, and it’ll automatically seal when finished. Keep an eye on the Seal Indicator Light—it’ll turn off once the sealing is complete. Vacuum-sealed food can last up to five times longer than food stored in a standard manner, making this process very beneficial.
After sealing, let your FoodSaver cool down for about 20 seconds. Remember, for liquid or soft foods, it’s best to freeze them beforehand to prevent any mess.
Bag Placement Tips
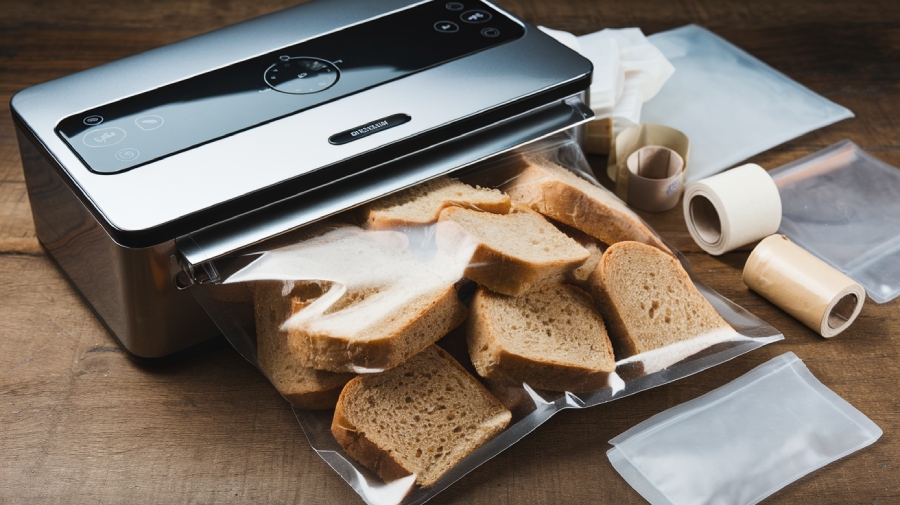
Aligning your bag correctly is essential for a successful vacuum sealing process. Start by placing the open end of the bag into the Vacuum Channel.
Verify the edge of the bag fits into the center of the black oval vacuum channel, extending beyond the first dark strip for an effective seal. The top of the bag should sit right in the center of the dark gray ring for ideal sealing. Proper sealing techniques are crucial for extending shelf life and maintaining food quality.
Here are some quick tips to keep in mind:
| Tip | Details |
|---|---|
| Positioning | Place the open end into the Vacuum Channel. |
| Bag Alignment | Align the bag’s edge with the black oval channel. |
| Bag Placement | Verify the top of the bag is centered in the gray ring. |
| Smoothness | Smooth out contents to prevent punctures. |
| Locking the Lid | Close the lid and use the latch to secure it. |
Once everything’s in place, hold the bag’s front edge with your fingertips and press the Vacuum & Seal Button to initiate the process. Your Foodsaver will automatically switch to seal mode once the vacuuming is complete, making certain your food is securely sealed for storage!
Selecting Food Settings
When you’re ready to initiate the sealing process, you’ll want to carefully select the appropriate food settings to guarantee ideal results.
Start by placing your items in the bag, making certain there are at least three inches of space between the contents and the top. Open the appliance lid and insert the bag’s open end into the Vacuum Channel, then close the lid and secure it with the latch.
Next, it’s time to choose your food setting. For dry foods, select the Dry Mode. If you’re sealing moist or juicy items, switch to Moist Mode. For delicate foods, use Pulse Mode, allowing you to control the vacuum manually. If you’re preparing for sous-vide cooking, activate Sous-Vide Mode for optimized vacuuming. Remember to consider the specific features of your FoodSaver model to enhance your sealing experience.
Once you’ve made your selection, press the Vacuum & Seal Button and watch as the motor runs, vacuuming out the air until the bag is fully sealed.
Using the Handheld Sealer
Using a Foodsaver Handheld Sealer can transform your food storage experience by keeping items fresh for longer.
To get started, turn the latch to the Operate position and gently pull the sealer from the appliance. Disassemble it by removing the clear bottom portion for canisters and jar sealers. Before sealing, verify the rubber gasket inside the lid is clean and free from food debris.
Position the handheld sealer over the zipper bag or container valve, ensuring it sits flat. Select the vacuum mode by pressing the Mode button until the indicator light turns on. Press the Handheld button to initiate the vacuum process, making sure to press firmly against the air valve for an effective seal. Additionally, ensure the zipper is completely closed; this prevents sealing problems that could compromise the vacuum.
Hold the button until the vacuum completes, then check the seal for any wrinkles or gaps that could let air back in. If you encounter issues, verify the zipper is closed, the vacuum nozzle is centered, and the gasket is intact.
Safety Precautions
To guarantee a safe and effective vacuum sealing experience, it’s essential to follow specific safety precautions. Ignoring these can lead to accidents, injuries, or spoilage of your food.
By being mindful of the following guidelines, you can enjoy the benefits of vacuum sealing without worry:
- Read all instructions before using your Foodsaver to understand its features and limitations.
- Avoid touching the sealing strip while the appliance is in operation to prevent burns.
- Keep the appliance dry. Don’t immerse the cord, plugs, or appliance in water to avoid electric shock.
- Supervise children closely when the vacuum sealer is in use, as it’s not suitable for them or those with reduced capabilities. Additionally, remember that vacuum sealing creates a low-oxygen environment that helps extend the shelf life of your food.
Additionally, always unplug the device when not in use, and allow it to cool before cleaning or attaching parts.
Remember, vacuum sealing isn’t a substitute for proper food storage methods, so keep perishables refrigerated or frozen.
Maintenance Tips
To keep your FoodSaver in top shape, establish a regular cleaning schedule that fits seamlessly into your routine. After each use, give the machine a quick wipe-down and check for any debris that could affect its performance.
Proper storage techniques also play an essential role; make sure to store your unit in a dry place to prevent any moisture damage. Additionally, be mindful of moisture management by regularly emptying the moisture tray to ensure continuous operation.
Regular Cleaning Schedule
Maintaining your FoodSaver vacuum sealer is essential for ensuring its longevity and peak performance. Establishing a regular cleaning schedule will keep your appliance in top shape and ready for action.
Here are some key tasks to incorporate into your routine:
- Daily Cleaning: Empty and wash the removable drip tray, and check the gaskets for any food residue.
- Weekly Deep Cleaning: Inspect and clean the vacuum channel and accessory port, ensuring there are no blockages. Regular cleaning of gaskets is essential for optimal performance.
- Monthly Maintenance Check: Look for any signs of wear or damage in the appliance, and replace gaskets if necessary.
- General Maintenance: Clean the appliance regularly and avoid immersing it in liquid.
Proper Storage Techniques
After you’ve established a regular cleaning routine for your FoodSaver vacuum sealer, it’s time to focus on proper storage techniques that can enhance your vacuum sealing experience. Proper bag preparation is essential; guarantee the open end of the bag is inside the drip tray with the curl facing down.
Leave at least three inches of material between the contents and the top of the bag, and avoid overfilling, especially with liquids. Use FoodSaver brand bags for best results. Additionally, using the four custom settings allows you to optimize the vacuum sealing process depending on the type of food being sealed.
Here’s a quick reference table for your storage practices:
| Technique | Tips | Importance |
|---|---|---|
| Bag Preparation | Avoid sharp items and leave space | Prevents punctures and guarantees sealing |
| Vacuuming Liquids | Freeze liquids before sealing | Protects appliance from damage |
| Accessory Use | Center jar sealers and check rims | Guarantees proper sealing |
| Gasket Maintenance | Clean rubber gaskets regularly | Maintains performance |
Troubleshooting Common Issues
Occasionally, you might encounter issues while using your FoodSaver vacuum sealer, but don’t worry—most problems are straightforward to troubleshoot.
Here are some common issues and quick fixes to get you back on track:
- Power Issues: Make sure the unit’s plugged in and the outlet’s functional. If no lights appear, check the connection.
- Sealing Problems: If bags aren’t sealing, inspect for wrinkles or food debris around the seal area. Verify the bag is not overfilled. It’s essential to ensure the seal indicator shows sealing is complete before proceeding.
- Vacuum and Air Valve: If the vacuum pump’s running but the bag isn’t evacuating, adjust the bag and make sure the open end’s down inside the Vacuum Channel.
- Container Issues: For containers not vacuuming, confirm the rubber gasket’s clean and the rim’s free from cracks.
If you see a flashing red LED, it means the unit’s overheated. Just wait 20 seconds between seals, and let it cool for 20 minutes if necessary.
Exploring Common Uses
When it comes to maximizing the benefits of your FoodSaver vacuum sealer, understanding its versatile uses can transform how you store and prepare food. This handy appliance doesn’t just preserve food; it revolutionizes meal prep and organization. By removing air, it helps keep your fruits, vegetables, and meats fresh longer, preventing spoilage and freezer burn.
You can simplify meal planning with vacuum-sealed bags, perfect for portion control and easy access to prepped meals. Plus, it’s a game changer for bulk storage—whether it’s grains, spices, or even leftovers, you can reduce waste greatly. The Roll Storage feature allows you to keep vacuum sealing rolls readily available, making the sealing process even more efficient.
Want to enhance flavors? Use your FoodSaver for marinating. It locks in those delicious seasonings quickly.
And if you’re into sous vide cooking, it’s essential for maintaining precise temperature control, ensuring perfect results every time.
Frequently Asked Questions
Can I Reuse Vacuum-Sealed Bags?
Did you know reusing vacuum-sealed bags can cut your plastic waste by nearly 50%? You can reuse bags, but it’s essential to guarantee safety.
Avoid reusing bags that held raw meat or dairy due to contamination risks. Instead, stick to those used for fruits, veggies, or dry goods.
Always clean them thoroughly and inspect for damage. Proper sterilization and storage will help you extend their life while minimizing environmental impact.
How Long Can Vacuum-Sealed Foods Last?
Vacuum-sealed foods can last considerably longer than non-sealed options.
In the freezer, they stay fresh for 2-3 years, while non-sealed foods only last 6-12 months.
In the refrigerator, vacuum-sealed items typically remain good for 1-2 weeks, compared to just a few days for non-sealed.
In your pantry, vacuum-sealed dry goods can last 1-2 years, offering you a great way to extend the life of your food and reduce waste.
Is Vacuum Sealing Safe for All Food Types?
You might think vacuum sealing is a free-for-all for any food, but that’s not the case.
While it works wonders for meats, fruits, and dry goods, some items, like raw onions and fresh garlic, are best left out of the vacuum bag due to botulinum risks.
Always guarantee your sealing process is clean and your food is stored properly.
Safety first, or you might end up with more than just delicious meals!
Can I Vacuum Seal Liquids Without Spills?
Yes, you can vacuum seal liquids without spills!
Start by freezing the liquid in an ice cube tray to solidify it. This prevents any mess during sealing.
When you’re ready, place the frozen cubes into a vacuum seal bag, ensuring the pouch’s opening is free of debris.
Angle the bag slightly to keep the liquid away from the sealing area.
With these tips, you’ll achieve a perfect seal every time, hassle-free!
What Should I Do if the Seal Fails?
Imagine you’re preparing a big family dinner and suddenly, your vacuum sealer fails to seal the marinated chicken.
If that happens, first check the bag size—make certain it’s adequate. Then, inspect for any wrinkles along the sealing strip.
If it’s still not sealing, clean the gasket and confirm the lid’s properly latched.
Finally, allow the machine to cool down if it’s been working continuously. A little maintenance goes a long way!
Preserve, Savor, Repeat: The Art of Vacuum-Sealing Simplified
Using a FoodSaver vacuum sealer transforms your kitchen into a fortress of freshness, much like a time capsule preserving moments. Just as a well-sealed jar keeps memories intact, your vacuum-sealed foods maintain flavor and nutrition, ready for the next culinary adventure.
Remember, every time you seal a bag, you’re not just storing food; you’re saving time and reducing waste. So go ahead, embrace the art of sealing, and savor the goodness you’ve preserved for days to come.

