How To Rehydrate Sourdough Starter and Make It Into a Healthy Baking Buddy?
Do you want to make your own delicious sourdough bread from scratch? Then rehydrating a dry sourdough starter is the perfect way to begin.
Rehydrating your sourdough starter is easy and only takes a few days. It’s like watching a science experiment unfold right before your eyes as you watch the starter transform into a bubbly, active mass.
As for how to rehydrate the sourdough starter, it involves feeding the starter with equal parts flour and room temperature water over five to six days. The first day will involve creating an initial mixture that is wetter than pancake batter, which will gradually become thicker over time as it ferments.
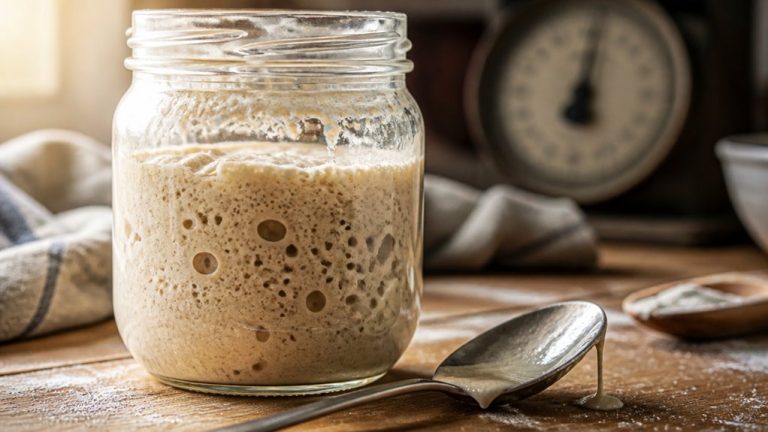
As the days go on, you’ll notice bubbles forming in the mixture, which indicates fermentation has begun and your starter is coming alive. On Day 6, your active starter should be ready for use with bubbles forming on top of its surface, a pleasant yeasty smell, and beautiful irregular holes when baked.
Your dough may require additional feedings depending on how often it gets used, so monitor it during each stage. If needed, you can also create multiple starters by splitting off some of the original mixtures each time it gets fed or by adding new flour/water mixtures every couple of days.
This way, you’ll always have an abundance of active starters ready to bake with. Whether you’re an experienced baker or a beginner, this exciting process will provide you with much satisfaction and the tastiest homemade sourdough bread.
Let’s transform your dry sourdough starter into an active baking buddy and revive it.
How to Rehydrate Sourdough Starter? The Easy Step-by-Step Process
Preparation and Gather Supplies:
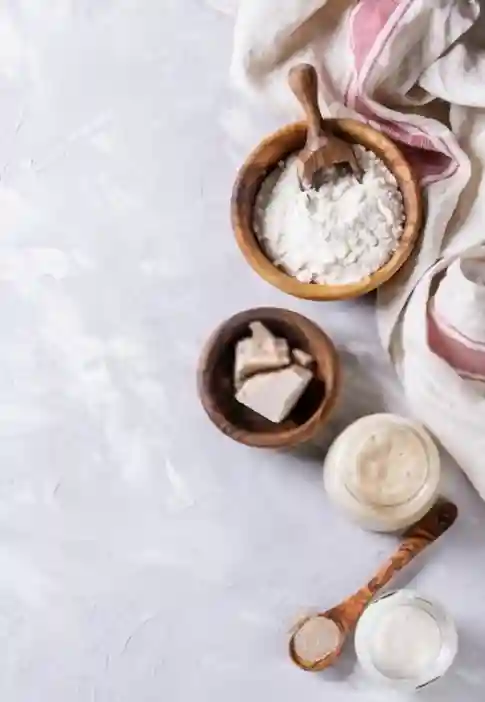
Before you start the process, you must prepare a few items you’ll need.
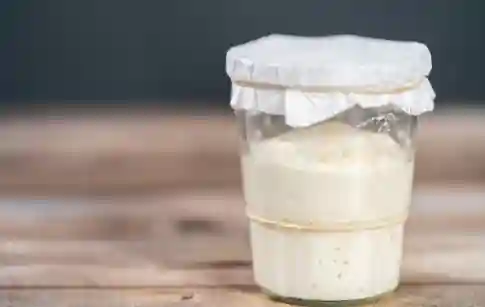
- To begin with, you’ll need a small glass Mason jar with a lid or something similar for the initial activation process. Once this process is complete, you can transfer your starter to a larger glass container for ongoing storage, such as a 1 to 2-liter glass flip-top container.
- About ½ tablespoon of dry sourdough starter is enough to rehydrate and create a viable starter.
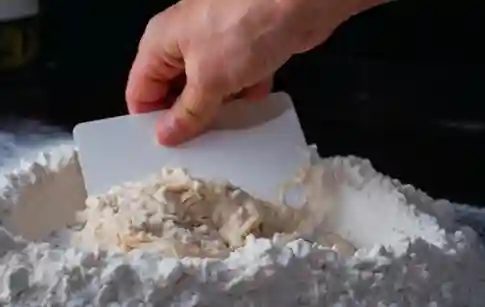
- To activate your starter, also known as ‘feeding’, you’ll also need organic unbleached white bread flour or all-purpose flour (depending on what type of starter you’re making), which is the main ingredient used when feeding your starter. You can also use whole wheat flour, but avoid using self-rising flour since it contains baking powder and salt.
- And lastly, you’ll need room temperature water with no chlorine or fluoride, such as distilled, filtered, or reverse osmosis (RO) water. Tap water may contain too many chemicals and will impede the fermentation process.
Remember, using non-chlorinated, lukewarm water and clean utensils is essential to prevent any unwanted bacteria from contaminating your starter.
- Finally, make sure to have a clean mixing bowl and a larger jar or container handy for when your starter is ready to be transferred.
Now that you’ve gathered all the necessary supplies, we can reactivate our sourdough starter.
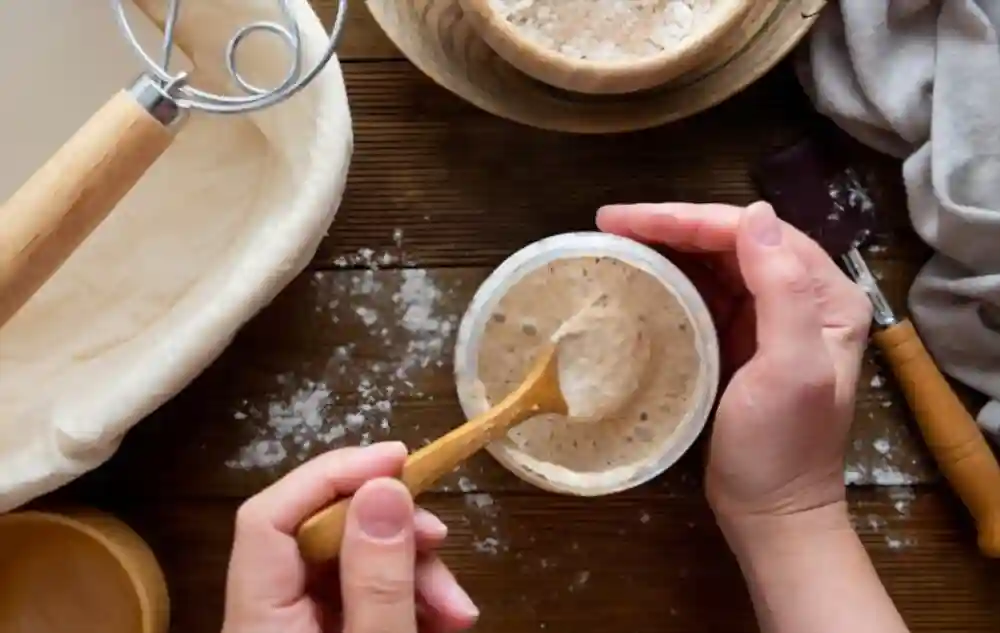
Reactivating Sourdough Starter
Reconstituting a dried sourdough starter might sound complicated, but it’s a straightforward process that only takes a few minutes each day. Here’s a step-by-step guide that you can follow to reactivate your dried sourdough starter:
Day One: Rehydrating Sourdough Starter
- To make this process as easy as possible, pick a time to start the feeding process that is convenient and easy to remember.
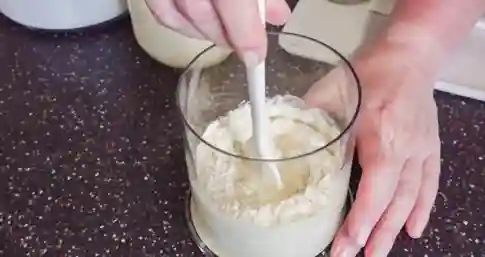
- Mix 1/2 tablespoon of dried sourdough starter powder or flakes with 1.5 tablespoons of filtered lukewarm water in a clean pint-sized jar. Stir the mixture until it’s well combined.
- Add 1 tablespoon of flour to the mixture and mix it well.
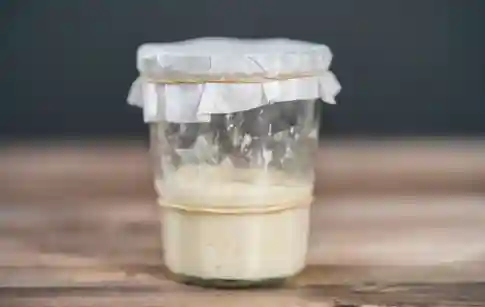
- Cover the jar with a lid (BPA-free plastic is best) or seal it using a plate, plastic wrap/beeswax wrap to keep it fresh and prevent mold.
- Then place it in a warm location (around 70-75°F) for 24 hours.
Day Two: Feeding The Starter
You can see too few bubbles forming on the surface of your starter, which is normal since it’s still in its early stage.
- After 24 hours, remove the lid or cover from the jar and discard half of the starter mixture. This is called ‘discarding,’ and creating a balanced mix within your starter is essential.
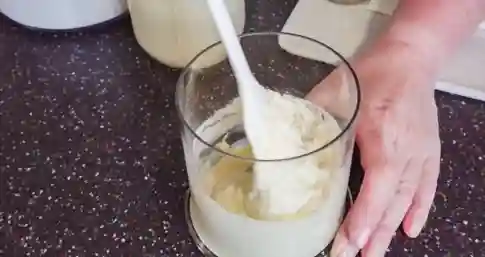
- Add 1 tablespoon of flour and 2 teaspoons of water to the starter from Day 1.
- Stir the mixture until all ingredients are evenly distributed throughout the starter dough, and cover the jar again.
- Continue to keep it at a warm temperature for 24 hours.
Day Three: Refreshing The Starter
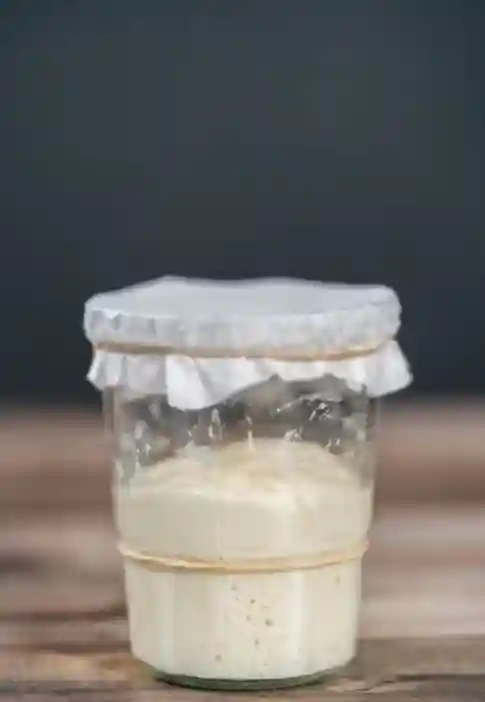
You can see the sign of active fermentation in your starter, the bubbles, sour smell, and froth on top. But it still needs some refreshing to get back to its full strength.
- So, repeat the feeding process from Day 2 (1 tablespoon of flour and two teaspoons of water).
- Cover the jar and let it sit in a warm location for another 24 hours.
Day Four: Reaching Desired Strength
Your starter should now be almost ready to use. You can see large bubbles on the surface and a pleasant sour smell from your starter.
As it receives more nutrition, it becomes stronger and healthier. But, it still does not reach the desired strength.
It needs one more feeding session to reach its full potential.
- Add 1/3 cup of flour and 1/4 cup of water to the starter.
- Mix the mixture well and cover it again.
- Give it another 24 hours in a warm place.
Day Five: Final Feeding
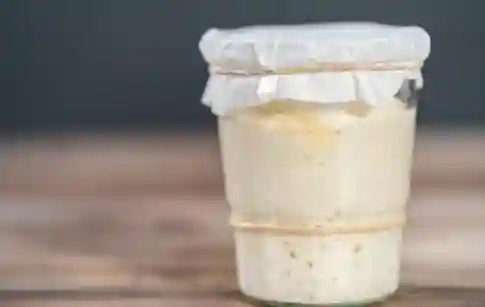
Your starter should now be ready to use. You can see clear signs of active fermentation in your starter, with large bubbles and a pleasant sour smell like a bakery.
It’s time to give it one final feeding before using it in your favorite recipes.
- Transfer the starter from the jar to a clean mixing bowl.
- Add 1 scant cup of fresh flour and 1/2 cup of water to the starter.
- Mix the mixture thoroughly and transfer it to a new, larger container, such as a 1 to 2-liter glass flip-top jar.
- Let it sit at room temperature for a few hours and watch for activity (bubbles, rising, and falling).
- Once the starter is actively bubbling, rising, and falling, it’s ready to use. You can test if it’s active by dropping a small spoonful of starter into a bowl of lukewarm water.
If it starts floating, then your starter is ready.
If you’ve followed these steps, by day 5, your starter should be active, bubbly, and ready to use. Remember that your starter will need regular feedings to stay active and continue fermenting, so be sure to monitor it and adjust the amount of flour and water as needed.
Also, monitor your starter’s activity level and adjust the amount of flour and water accordingly. If you want to keep your starter active and healthy, it’s best to feed it every couple of days. You can enjoy delicious sourdough bread and pastries for years with regular feeding and maintenance.
It’s Active! So What’s Next?
Congratulations on getting your sourdough starter active and bubbly. You must be feeling pretty proud of yourself.
But what comes next might be on your mind. To keep your sourdough starter healthy and happy, you’ll need to feed it regularly.
Keeping your starter well-fed is essential because if you leave it unfed for too long, it will shrink down and develop a layer of hooch, which is a sign that it’s hungry. If you forget about it for too long, it may even die.
How often you feed your starter depends on how you store it. If you keep it at room temperature, you’ll need to feed it once or twice daily, which requires much work and flour.
We recommend this option only for serious bakers who use their starter frequently. Alternatively, you can store your starter in the refrigerator, which only requires feeding it once every week or two. This is the option we prefer, and it works great!
If you’re unsure what to do next, put your active starter in the refrigerator for now and return to it when you’re ready to bake again. Be sure to feed it regularly to keep it alive and well. Your sourdough starter is a valuable tool in your baking arsenal that lasts years.
When you’re ready to bake your favorite sourdough bread, you’ll only need a small amount of starter, around half or one full cup. If your original container holds more than that, use the excess for another day and store the rest in the refrigerator until needed.
To prepare your starter for baking, take it out of the refrigerator and feed it with one scant cup of flour and 1/2 cup of water. Let it sit in a warm location for a few hours before using it in your recipe.
With some patience and attention, you’ll have an active sourdough starter ready to use whenever you want to make delicious bread.
Resolving Potential Issues as Soon as Possible
Gaining insight into potential issues and resolving them promptly can be challenging, but troubleshooting is possible with the right approach. A few common issues you may encounter when working with your sourdough starter are:
Why Isn’t My Starter Bubbling?
Your starter may not be bubbling if you haven’t sufficiently fed it or allowed it to sit in a warm area for an adequate amount of time. Give it another feeding and use lukewarm water before checking for activity again.
Ensure you’re feeding your starter regularly and giving it enough time to become active.
Why My Starter isn’t Rising?
If your starter isn’t rising, it may not have enough available food and oxygen. Try feeding it a few times with equal parts flour and water and then wait for a few hours or overnight to see if it rises. Also, make sure you’re using the right type of flour, as some flours can be better for sourdough starters than others.
What is the Dark Liquid Layer on Top of My Starter?
The liquid layer is known as “hooch” and is a sign that your sourdough starter is hungry. If you don’t feed it regularly, the hooch will accumulate, making your starter smell unpleasant.
To get rid of the hooch, feed it with fresh flour and water and stir until everything is incorporated. Discard some of the starters and repeat this process every two days until the hooch disappears.
If none of these solutions work, starting a new batch of sourdough starters may be time.
Why does it Smell Bad?
If your sourdough starter smells bad, it may be caused by a bacterial infection or contamination. You can try stirring in a tablespoon of sugar or honey to help revive the bacteria and give them more food.
Also, clean any utensils you may have used with hot water and dish soap before using. If you’re noticing an off smell coming from your starter, try mixing in some freshly ground grain and see if that helps. If the smell persists, it’s likely time to start a new starter.
What If My Starter is Moldy?
Mold can be caused by temperature fluctuations or too much moisture in your kitchen. To avoid this issue, store your starter in an airtight container and keep it away from any heat sources. Sourdough starters are alive and ever-changing, so don’t be afraid to experiment and learn from the process.
How Long Can Sourdough Starter Last Without Being Fed?
It is very resilient and can last for months without being fed. If stored properly in the refrigerator, sourdough starter can last up to several months without being fed.
However, it’s best practice to feed your starter once a week or every two weeks to ensure that the yeast and bacteria remain active. If you want to keep your starter for extended periods of time without feeding it, it’s a good idea to keep it in the refrigerator.
This will slow down the yeast and bacteria’s metabolic activity, allowing your starter to last for months without needing to be fed.
It’s That Easy to Reactivate a Dry Starter!
It’s amazing how simple and satisfying it is to reconstitute a dried sourdough starter. Sourdough starter is a living organism; you can keep it alive for years with the right care and attention.
If you’re serious about baking bread, learning how to make and maintain a sourdough starter is essential. Rehydrating a dry sourdough starter is a simple and enjoyable process that anyone can do.
Just follow the steps outlined in this guide, and you’ll be able to wake up your sourdough starter and bring it back to life. The end result will be a delicious and tangy bread that you’ll be proud to share with your friends and family.
It’s important to keep an eye on your starter and give it the attention and care it needs to thrive. With a little patience and perseverance, you can bake the perfect sourdough bread you’ve always dreamed of.
So, get ready to roll up your sleeves, and let’s start baking!