How to Proof Sourdough Without Basket: Perfect Results from Everyday Items
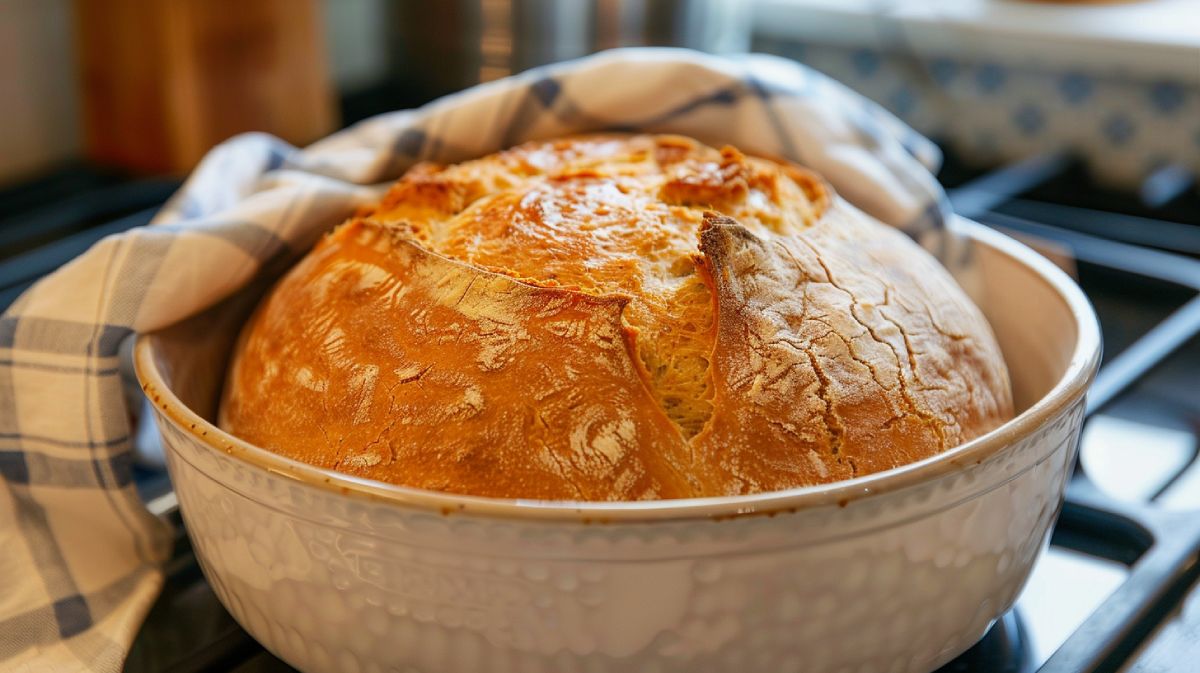
You can easily proof sourdough without a basket using everyday items like a bowl lined with a heavy linen cloth. This setup provides a non-stick surface while supporting your dough’s structure.
Dust the cloth with flour to prevent sticking, and opt for materials that promote airflow, like colanders lined with cloth. For a unique shape, you might also consider using terracotta pots or ricotta baskets.
Each alternative lets your dough rise beautifully while enhancing texture and flavor. Stick around to discover more handy tips and techniques for perfecting your sourdough baking.
Key Takeaways
- Use a heavy linen cloth-lined bowl to provide support and prevent sticking during proofing.
- Dust the cloth with flour, semolina, or rice flour for a non-stick surface.
- Colanders can be effective if lined with cloth to enhance airflow during proofing.
- DIY proofing baskets can be created using pleated heavy linen tea towels for unique shapes.
The Preferences of Proofing and Baskets
Proofing is the essential resting phase where your dough rises and develops flavor, setting it apart from the earlier bulk fermentation stage. During this critical time, the yeast goes to work, producing carbon dioxide that stretches the gluten, creating bubbles that enhance your sourdough’s texture.
Using a proofing basket, or banneton, isn’t just a formality; it provides important structure and airflow, allowing your dough to rise appropriately. The unique design of a proofing basket helps maintain the shape of your dough while promoting an even rise. Without it, you might find your sourdough collapsing, resulting in a denser loaf.
Bannetons come in various sizes and shapes, so choosing the right one for your dough is key. The correct size guarantees ideal airflow, which aids in achieving that coveted light and airy texture.
While there are alternatives to proofing baskets, they may not support your dough in the same way. You want to make sure that your sourdough gets the best possible rise and structure, making the proofing phase as effective as it can be.
Alternatives to Proofing Baskets
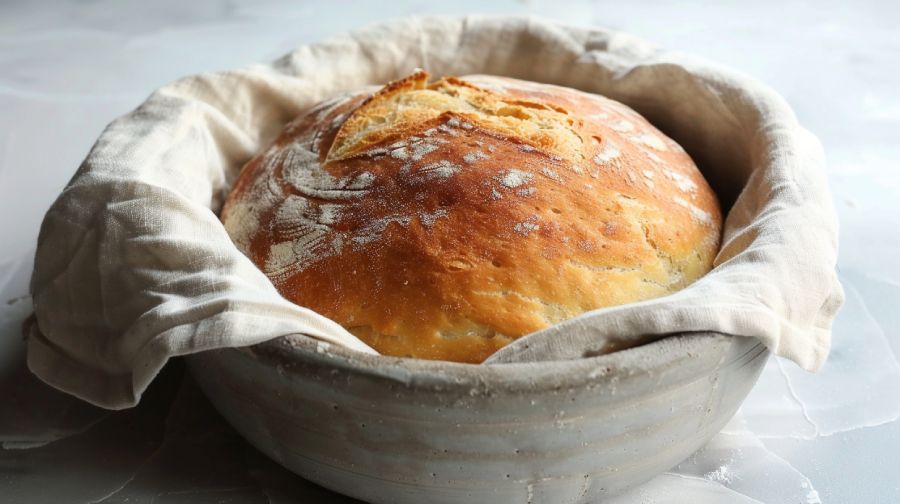
If you find yourself without a proofing basket, don’t worry—there are several creative alternatives that can help your dough rise beautifully while maintaining its shape.
One great option is to use a bowl lined with a heavy linen cloth. This provides a non-stick surface that prevents dough from sticking and supports the dough’s structure. Wicker baskets can also work, but make sure they’re made of natural materials and lined to avoid any sticking issues.
Colanders are another excellent choice, especially the smaller ones, as they promote airflow during proofing. Just remember to line them with cloth to prevent moisture retention.
If you’re feeling crafty, consider making your own DIY proofing baskets by pleating a heavy linen tea towel and securing it. This innovative solution is both budget-friendly and effective.
For a unique twist, try using terracotta pots or ricotta baskets lined with cloth. These options can create interesting shapes for your artisan-style loaves while ensuring proper proofing.
With these alternatives, you can confidently proof your bread without a traditional proofing basket and still achieve fantastic results!
Best Practices for Cloth Usage
Choosing the right cloth for lining your proofing alternatives can greatly influence the outcome of your sourdough, so it’s important to select lightweight fabrics like cotton or linen that effectively prevent sticking. These thin fabrics allow your proof dough to breathe while making sure it doesn’t cling to the cloth, which can be a frustrating setback.
To create a non-stick surface, dust the clean cloth with a mix of regular flour and a bit of semolina, rice flour, or cornmeal. This blend works wonders in preventing your dough from sticking during the proofing process. It’s essential to verify that your cloth is clean and free from any residues, as this maintains dough quality and prevents contamination.
Avoid fuzzy materials like terry cloth towels; they can cling to your dough and create sticking issues. Regularly check the condition of your clothes and replace them as necessary to guarantee ideal proofing results and hygiene.
Baking Techniques for Sourdough
Proper baking techniques are just as important as the proofing process, guaranteeing your sourdough emerges with a beautiful crust and delightful flavor.
To start, you can use a mixing bowl lined with kitchen towels instead of traditional proofing baskets. Dust it generously with flour to prevent sticking, allowing the dough to rise properly during the final rise.
Remember that a clean surface is key when it’s time to shape the dough. Work quickly and gently, then transfer your shaped dough onto a baking tray.
If you don’t have a Dutch oven, you can still achieve that artisan-style crust: preheat your oven to 500°F (260°C) with a steam tray in place. A clever trick is to place ice cubes in a metal cake pan to generate steam during baking.
Before you bake sourdough, score the dough with a serrated knife. This allows for proper expansion and guarantees a beautifully crusted loaf.
Frequently Asked Questions
What Can I Use Instead of a Proofing Basket for Sourdough?
You can proof sourdough using a clean, floured bowl lined with cloth, a wicker basket, or even a colander. Just make certain they provide enough support and airflow for your dough to rise beautifully.
How Do You Proof Dough Without a Proofing Basket?
Proofing dough without a basket is like finding a hidden treasure. You can use a bowl lined with cloth, lightly dusted with flour or even a colander for good airflow and shape retention.
Can I Let My Sourdough Proof on the Counter?
Yes, you can leave proof of your sourdough on the counter. Just make sure the surface’s clean, dusted with flour, and keep an eye on the dough until it doubles in size. Enjoy the process!
Can You Proof Sourdough in a Wooden Bowl?
You can absolutely proof sourdough in a wooden bowl, but remember, it needs a cloth lining to prevent sticking and moisture absorption. Proper dusting helps, ensuring your dough rises beautifully without losing its shape.
No Proofing Basket? No Problem
To sum up, proofing sourdough without a basket isn’t only possible but can lead to delicious results.
For instance, imagine a home baker who uses a simple bowl lined with a floured kitchen towel, achieving a perfectly risen loaf that’s crusty on the outside and soft within.
By embracing alternative methods and honing your techniques, you can create beautiful sourdough that rivals any artisan bakery.
So, don’t let the lack of a basket hold you back—experiment and enjoy the journey.

