How to Make Cultured Butter: A Rich, Tangy Delight to Try
To make cultured butter, start with high-quality heavy cream and add a culturing agent like yogurt with live cultures. Let this mixture sit at room temperature for 24-48 hours until it thickens and smells slightly sour.
Chill it for another day, then churn the cream in a stand mixer or food processor for 5-10 minutes until the butter clumps together and separates from the buttermilk. Rinse the butter under cold water to remove residual buttermilk, then shape and store it.
This process boosts your dishes and opens the door to different flavor variations you can explore later.
Key Takeaways
- Combine high-quality heavy cream with a culturing agent like yogurt and let it sit at room temperature for 24-48 hours to ferment.
- Use a stand mixer, food processor, or traditional churn to churn the cultured cream for 5-10 minutes until the butter separates from the buttermilk.
- Rinse the butter under cold water several times to remove residual buttermilk; then pat dry to prevent rancidity.
- Knead salt into the butter at a ratio of 0.5-1% of the butter’s weight for enhanced flavor and shelf life.
- Store the cultured butter in the refrigerator for up to a month or freeze it for three months, ensuring proper wrapping.
What Is Cultured Butter?
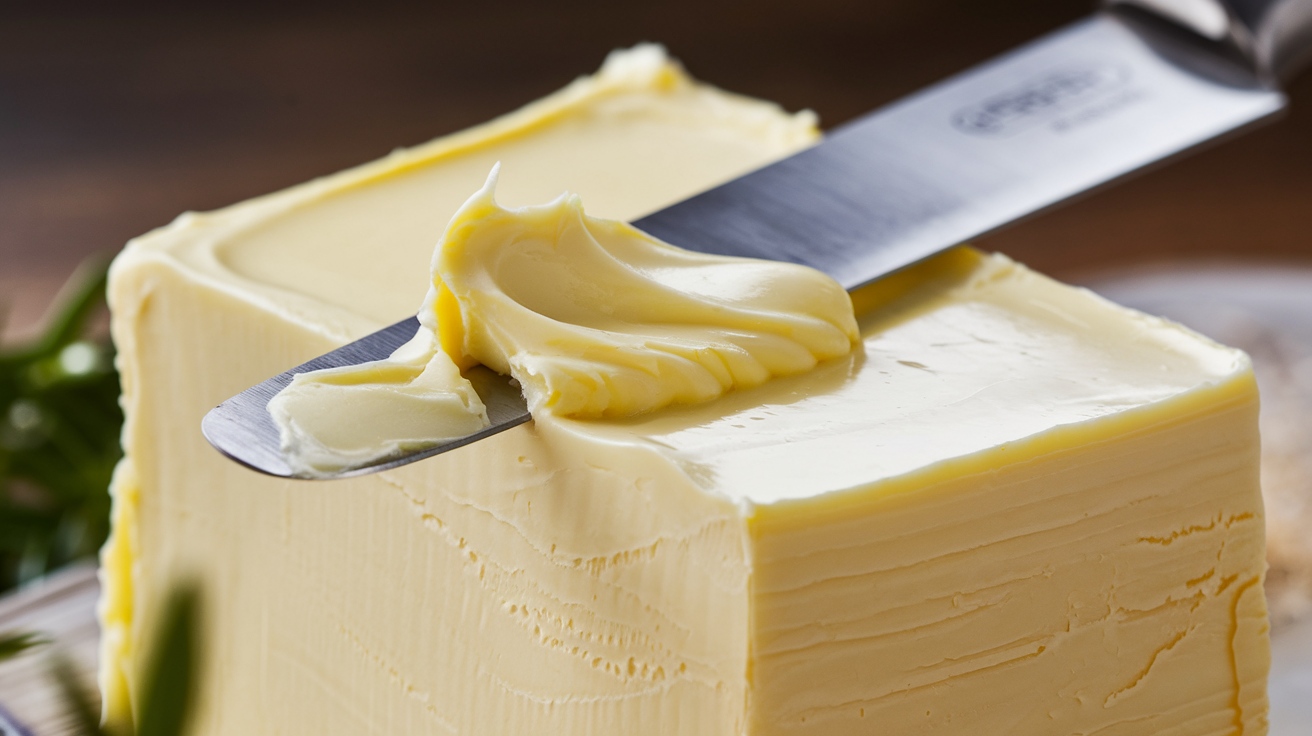
Cultured butter is a delightful twist on traditional butter. It’s crafted from cream fermented with live bacterial cultures. This fermentation process not only develops a distinctively tangy flavor, similar to yogurt but also enriches the butter’s overall profile, making it more complex and enjoyable.
The heavy cream used typically has a higher butterfat content—around 82%—which results in a wonderfully creamy texture that elevates your culinary creations.
In European cuisine, cultured butter shines, whether you’re spreading it on fresh bread or incorporating it into recipes that call for a rich, buttery taste. The unique characteristics of cultured butter make it an ideal choice for both sweet and savory dishes.
Plus, making homemade cultured butter is a rewarding endeavor that’s often more economical than purchasing store-bought options. You gain greater control over the flavor and quality of ingredients, allowing you to customize your butter to your liking.
With its smooth consistency and rich flavor, cultured butter promises to transform your dishes, turning everyday meals into gourmet experiences. So, whether you’re a seasoned chef or a home cook, this delightful addition will surely impress.
Ingredients You’ll Need
Gathering the right ingredients is essential for crafting delicious cultured butter at home. Start with 600 ml of high-quality heavy whipping cream, ensuring it’s not ultra-pasteurized. This choice markedly enhances the flavor and texture of your butter.
Next, you’ll need 70 g of plain unsweetened yogurt that contains live cultures. These cultures act as the key component for the fermentation process, transforming the cream into something extraordinary.
If yogurt isn’t on hand, you can substitute it with cultured buttermilk or sour cream, both of which provide the necessary live cultures for a successful fermentation.
Adding optional salt can elevate the taste for those who love a bit of seasoning; aim for a ratio of 0.5-1% of the butter’s weight after churning.
Quality Cream Importance
When it comes to making cultured butter, the quality of your cream plays a pivotal role. Using high-quality heavy cream is crucial; it shouldn’t be ultra-pasteurized and ideally be 100% grass-fed to enhance both flavor and nutritional profile.
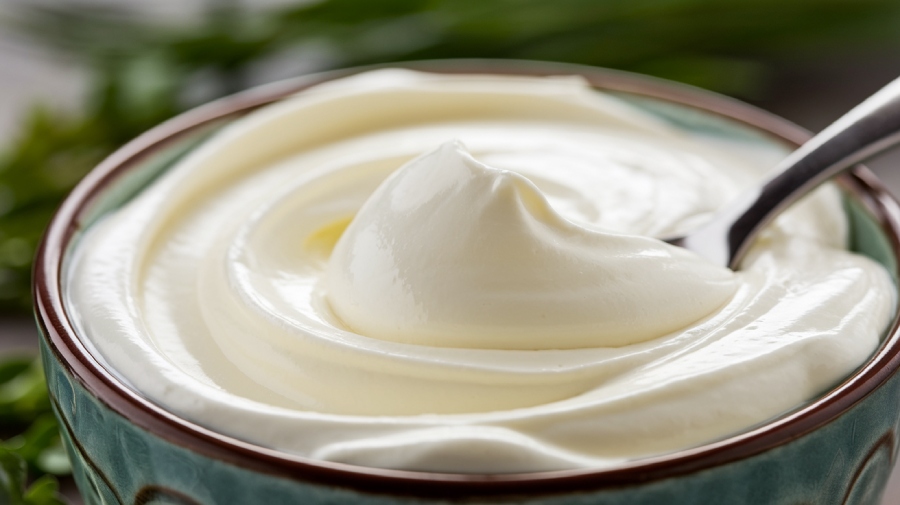
The cream’s butter fat content notably impacts the final product, with homemade cultured butter typically boasting around 82% fat when made from quality cream.
To guarantee you achieve that delightful tangy flavor, you’ll also need to introduce live bacterial cultures. Here are some key points to reflect on:
- Choose fresh, high-quality heavy cream for the best results.
- Look for pasteurized cream that hasn’t been ultra-pasteurized.
- Incorporate fresh cultured buttermilk or yogurt with active cultures for fermentation.
- Think about using plain unsweetened yogurt, cultured sour cream, or crème fraîche as culturing agents.
- Remember, the overall flavor, color, and texture of your cultured butter will greatly depend on the cream you select.
Optional Flavor Variations
Creating flavored cultured butter opens up a world of culinary possibilities that can elevate your dishes to new heights. You can easily customize your butter by adding fresh herbs, like chives, dill, or rosemary, at about 1 tablespoon per cup of butter for that fragrant finish.
For a bright twist, incorporate citrus zest—think lemon or orange—using roughly 1 teaspoon per cup to awaken your taste buds.
If you’re looking for something sweet, mix in honey or maple syrup, starting with 1-2 tablespoons per cup, and adjust to your liking.
For a savory kick, consider adding spices like smoked paprika or garlic powder, using about 1 teaspoon per cup of butter.
Don’t forget about cheese! Crumbling in 1 ounce of feta or blue cheese per cup will give your butter a rich and complex flavor profile that complements many dishes.
Feel free to experiment with these variations to create unique recipes tailored to your palate.
Equipment Required
To successfully make cultured butter, you’ll need a few key pieces of equipment that streamline the process. Having the right tools on hand will make your experience more enjoyable and efficient.
- Stand mixer or food processor: These are essential for whipping the fermented cream until the butter separates from the buttermilk.
- Tight-lidded container: Use this to culture the cream mixture at room temperature during fermentation.
- Fine-meshed sieve or cheesecloth: You’ll need one of these to strain the buttermilk from your freshly made butter.
- Mixing bowl and spatula: These will help you handle and incorporate any additional ingredients, like salt, into your butter.
- Yogurt maker (optional): While not necessary, this can assist in maintaining a consistent temperature during the culturing process, ensuring ideal fermentation conditions.
Culturing the Cream
Culturing the cream is a delightful process that transforms ordinary ingredients into a rich, tangy base for your butter. To start, combine high-quality heavy whipping cream (avoid ultra-pasteurized) with a culturing agent like plain yogurt or cultured buttermilk in a tight-lidded container.
Make sure the cream-to-culturing agent ratio is about 10-12% for ideal fermentation and flavor development.
Once mixed, let the container sit at room temperature, ideally between 70°F and 75°F, for 24 to 48 hours. During this time, the mixture will thicken and develop that delightful tangy flavor.
You’ll know fermentation is complete when the cream has a thick texture and a slightly sour aroma, signaling the presence of live bacterial cultures.
After culturing, don’t forget to refrigerate the mixture for an additional 24 hours. This step enhances the flavor, preparing your cultured cream for the next exciting phase: churning into butter.
Churning the Butter
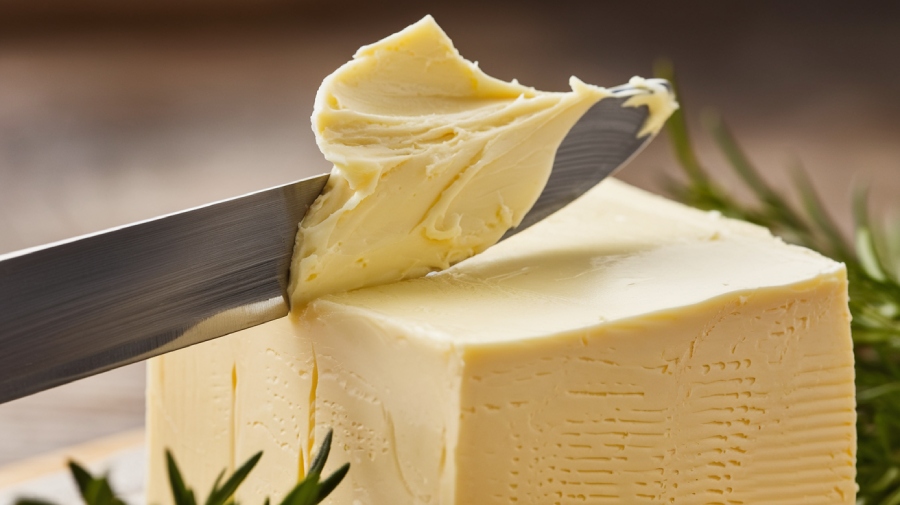
When it comes to churning butter, the technique and duration can make all the difference in texture and flavor.
You’ll want to experiment with different methods, whether using a stand mixer or a traditional churn, to find what works best for you.
Aim for about 5-10 minutes of mixing to achieve that perfect separation of butter and buttermilk, ensuring a rich, creamy result.
Churning Techniques Comparison
Churning butter at home offers you a delightful opportunity to explore different techniques and find the one that suits your style best. Each method has its perks, whether you’re a fan of gadgets or prefer a hands-on approach.
Here’s a quick comparison of popular techniques:
- Stand Mixer with Whisk Attachment: Ideal for ease, you can make butter in about 5-10 minutes, achieving a smooth process.
- Food Processor: Using this method, you can whip up cultured butter in just 3-5 minutes on high speed. Just be careful not to overfill to prevent splatter.
- Mason Jar: For a traditional touch, shaking fermented cream in a jar works too, though it demands more effort and time.
- Mixing Speed: Start slow to avoid a mess, then gradually increase the speed for efficient butter formation.
- Straining: After churning, strain the butter through a fine-meshed sieve or cheesecloth to separate the buttermilk, which you can save for baking or cooking.
Ideal Churning Duration
After you’ve chosen your preferred churning technique, it’s time to focus on the ideal duration for churning the butter. Typically, you’ll want to churn the cream for about 5 to 10 minutes on medium speed. During this time, watch for the critical moment when the butter separates from the buttermilk, resulting in grainy butter clumps.
Here’s a quick overview of the churning process:
| Time (Minutes) | Process Stage | Desired Texture |
|---|---|---|
| 0 – 5 | Cream starts to thicken | Smooth, whipped cream |
| 5 – 7 | Butter clumps form | Grainy, separated |
| 7 – 10 | Buttermilk separation | Clumps of butter |
| 10+ | Over-mixing occurs | Airy, undesirable butter |
| Check often | Adjust mixing as needed | Consistent texture |
Keep in mind that the cream should be chilled to around 50°F (10°C) before you start. If you’re using a stand mixer, cover the bowl with a kitchen towel to prevent splattering. Monitor carefully to avoid over-mixing, which can ruin the texture of your butter.
Washing and Storing Butter
Washing and storing freshly made cultured butter is essential for preserving its quality and flavor. After churning, you’ll want to wash the butter under cold water to remove any residual buttermilk.
Repeat this rinsing process until the water runs clear, typically taking about 4 to 6 rinses for peak freshness. Once rinsed, pat the butter dry with a kitchen towel to eliminate excess moisture, helping to prevent rancidity during storage.
Next, knead salt into the butter, using a ratio of 0.5-1% of the butter’s weight, to enhance flavor and extend its shelf life. Shape the butter into logs or blocks using butter paddles or parchment paper, making sure all buttermilk is expelled for the best quality.
When it comes to storage, consider these tips:
- Store the cultured butter in the refrigerator for up to one month.
- Freeze it for up to three months for longer preservation.
- Use proper wrapping to maintain its flavor and texture.
- Label and date your butter for easy identification.
- Always check for any signs of spoilage before use.
Ways to Use Cultured Butter
Cultured butter adds a delightful tang and richness to your culinary creations, transforming everyday dishes into gourmet experiences. Its tangy taste makes it an ideal spread for sourdough bread, enhancing the flavor of both the bread and any toppings you choose.
When it comes to baked goods, using homemade cultured butter can elevate cookies, pastries, and cakes with a rich texture that’s hard to resist.
In cooking, cultured butter shines in sauces, lending a depth of flavor and creaminess to pasta or vegetable dishes. When sautéing or pan-frying, its higher fat content allows for better heat retention, infusing meats and seafood with an irresistible taste.
Just a dollop can turn simple mashed potatoes or steamed veggies into something extraordinary, adding that coveted richness and a hint of tang.
You can also explore the world of compound butter by mixing cultured butter with herbs, spices, or citrus zest. These flavorful toppings can enhance grilled meats or be spread on warm bread, bringing a unique twist to your meals.
Frequently Asked Questions
What Is the Difference Between Butter and Cultured Butter?
The main difference between butter and cultured butter lies in their fermentation process.
When you taste cultured butter, you’ll notice a tangy flavor from live bacterial cultures, unlike the neutral taste of regular butter.
Cultured butter’s higher butterfat content makes it creamier and richer, enhancing your baking and spreading experiences.
Plus, it may offer probiotics that benefit your gut health, setting it apart as a flavorful, nutritious choice for your culinary creations.
Is Cultured Butter Worth It?
Absolutely, cultured butter‘s worth it!
You’ll love the rich, complex flavor that fermentation brings, adding a delightful tang to your dishes. Plus, it’s often more economical than store-bought organic options, saving you money.
With higher fat content and beneficial probiotics, it not only enhances your baking but also boosts nutritional value.
Once you try homemade cultured butter, you might find it hard to go back to regular butter! Enjoy that gourmet touch!
How Do You Make Cultured Butter From Whole Milk?
So, you think making cultured butter‘s a walk in the park, huh? Well, let’s jump in!
Start by warming whole milk to room temperature, then stir in a culture like buttermilk. Let it sit until it thickens—no peeking!
After 24-48 hours, churn it for about 10 minutes until the butter separates. Rinse away the buttermilk, knead in some salt, and voilà!
You’ve got yourself some delicious, tangy cultured butter ready to spread.
How Long Does Cultured Butter Last?
Cultured butter lasts quite a while if you store it right!
As long as it’s sealed properly, it can be stored in the fridge for up to a month and maintain its delicious flavor and texture.
If you freeze it, it can hang around for about three months, though the quality might dip.
Just make sure to rinse out all the buttermilk to prevent rancidity, and keep an eye out for any off odors or mold.
Enjoy!
Boosting Flavor and Health Benefits at Home
Making cultured butter is a rewarding culinary adventure that transforms simple ingredients into a creamy delight. Did you know that cultured butter contains about 25% more beneficial bacteria than regular butter, boosting its flavor and health benefits?
As you savor your homemade creation, you’ll appreciate its rich, tangy taste and silky texture, perfect for spreading or cooking. So go ahead and indulge in the artisanal experience of crafting your own cultured butter—your taste buds will thank you.

