How to Crisp up Soggy Pizzelles: Restore the Perfect Crunch
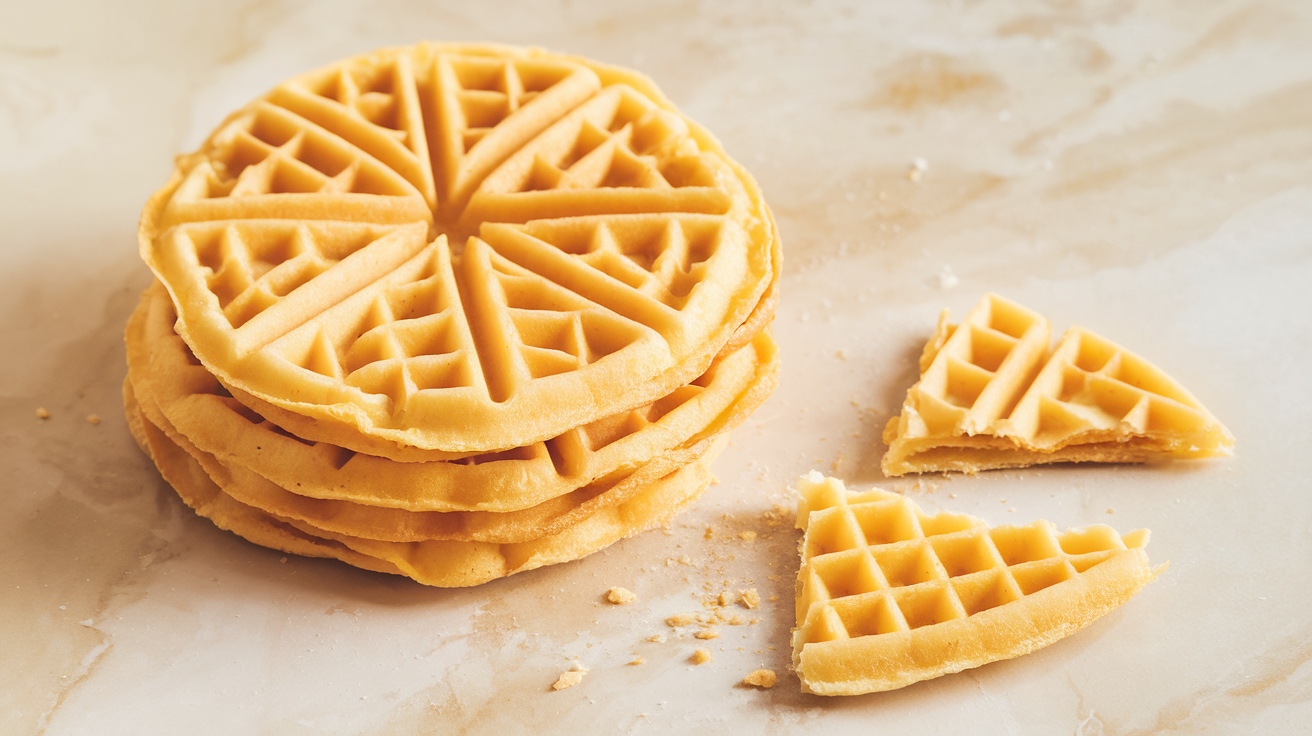
To crisp up soggy pizzelles, preheat your oven to 350°F (175°C) and bake them for about 5-7 minutes until they regain their crunch. Alternatively, place the soggy pizzelles in a preheated pizzelle iron for 10-15 seconds.
You can also air dry them on a wire rack in a low humidity environment, allowing air to circulate around them. After any of these methods, let the pizzelles cool completely to achieve the best texture.
Each technique can greatly improve your pizzelles, and there’s plenty more to discover about keeping them perfectly crisp.
Key Takeaways
- Preheat your oven to 350°F (175°C) and bake soggy pizzelles for 5-7 minutes to restore crispiness.
- Use a toaster by placing pizzelles on the rack and monitoring closely to prevent burning.
- Spread soggy pizzelles on a wire rack in low humidity to allow for natural air drying.
- Preheat the pizzelle iron and place soggy cookies inside for 10-15 seconds to regain their crunch.
- Ensure pizzelles cool completely after re-crisping to maintain optimal texture.
Causes of Soggy Pizzelles
Often, soggy pizzelles can stem from a few common mistakes in their preparation. First, consider your batter composition. If you’ve used too many eggs or melted butter without balancing them with sugar, your pizzelles might lack that crispy texture.
Overmixing your batter also thickens it, resulting in density that dampens crispiness. Additionally, traditional pizzelles are known for their thin, crisp texture, which is what you should aim for. Using high-quality non-stick surfaces in your pizzelle maker can also contribute to better results by ensuring even cooking.
Next, pay attention to your cooking techniques. If the pizzelle iron isn’t at the right temperature, your pizzelles won’t crisp up properly. Make sure to preheat it adequately; otherwise, you’ll end up with uneven cooking. Undercooking or overcooking your pizzelles can lead to a soggy outcome, so keep an eye on the timing.
Lastly, how you handle and store your pizzelles matters too. If you don’t let them cool properly on a wire rack, moisture can accumulate, ruining their crispiness.
Additionally, storing them in a humid environment or sealing them in an airtight container without ventilation can cause them to lose that delightful crunch.
Preparing the Pizzelle Maker
Before you start whipping up a batch of delicious pizzelles, it’s crucial to properly prepare your pizzelle maker. First, make sure it’s thoroughly heated. If you’re using a modern electric model, preheat it for a few minutes. For cast iron makers, heat each side over a gas flame for five minutes. To test the temperature, drop a few drops of water onto the plates; if they sizzle, you’re ready to go.
Next, lightly mist the non-stick surfaces with cooking spray and wipe off any excess to prevent sticking. If you’re using a cast iron maker, rub the surfaces with sandpaper to remove any rust, then season it with vegetable oil before your first use. This seasoning step is particularly important for achieving the best results when making pizzelle cookies.
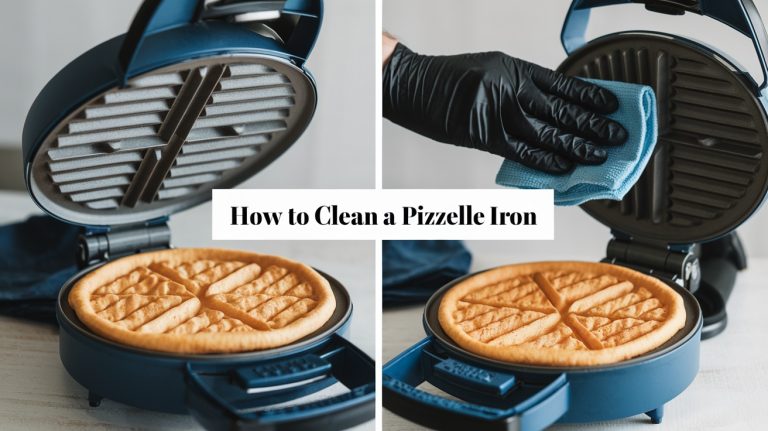
After each cooking session, wipe away crumbs and leftover spray with a paper towel or cloth.
Remember to unplug the pizzelle maker when it’s not in use to avoid electrical shock. Handle it carefully, using the handle and plastic parts, and allow it to cool before cleaning.
For storage, wrap the power cord securely around the maker, making sure it’s safe and ready for your next pizzelle adventure.
Achieving the Right Batter Consistency
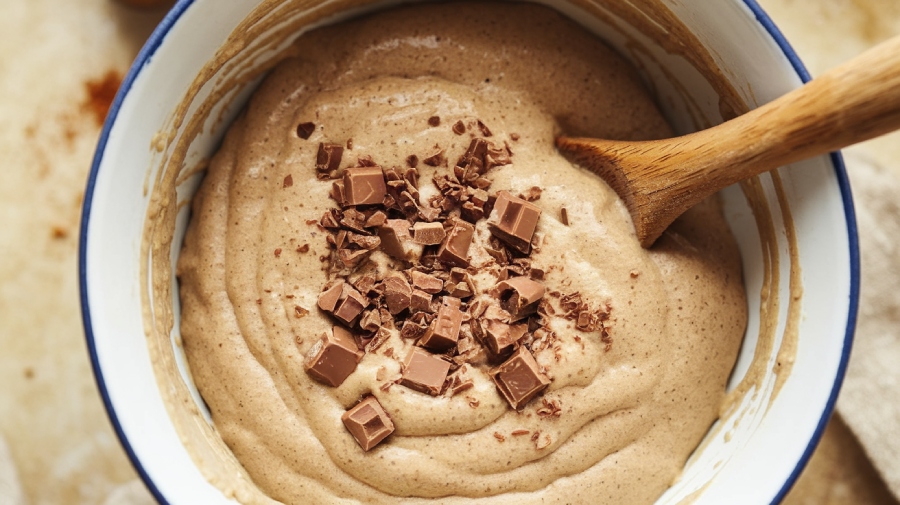
Achieving the right batter consistency is essential for making perfect pizzelles that are crispy on the outside and tender on the inside. To get there, focus on the key ingredients and their ratios, guaranteeing you measure accurately. For a standard batch, you’ll typically need:
- 6 eggs for richness
- 1 1/2 cups of sugar for sweetness
- 3 1/2 cups of flour for structure
- 4 teaspoons of baking powder for leavening and crispiness
When mixing, be mindful of your techniques. Gradually add the dry ingredients to the wet to avoid over-mixing. Start mixing at low speed, whisking the eggs and sugar thoroughly before introducing the flour.
Sifting your dry ingredients guarantees even distribution. Additionally, using room temperature eggs can improve the mixing process and batter consistency significantly.
Pay attention to the batter’s texture; it should be thick yet pourable, resembling thin pancake batter. If it’s too sticky, consider adding more flour, but do so cautiously.
Allow the batter to rest to let the flour absorb the liquid, which can help stabilize it. Remember, testing small batches is key to perfecting your pizzelle batter consistency before you cook!
Effective Cooking Techniques
To achieve perfectly crisp pizzelles, start by preheating your pizzelle maker properly; this guarantees even cooking and prevents sticking. Keep a close eye on the cooking time, aiming for 30 to 45 seconds until they turn a lovely golden color.
Finally, don’t skimp on quality ingredients, as they greatly impact the final texture and flavor of your pizzelles. The traditional method of pressing batter between hot iron plates creates a unique texture that is essential for achieving that crispness.
Preheat Pizzelle Maker Properly
Properly preheating your pizzelle maker is essential for achieving perfectly crisp cookies every time. Start by making sure your maker is heated to the right temperature before you even mix the dough. This initial preheat saves time and sets the stage for success.
Here’s how to do it effectively:
- Preheat thoroughly: Heat the iron until it begins to steam and smoke slightly.
- Use a non-stick spray: Lightly spray the maker with non-stick cooking spray for easy removal of cookies.
- Parchment paper: Place parchment paper underneath to catch any overflowing batter, as using high-quality parchment paper options can further enhance your baking experience.
- Timer setup: Use two timers—one for preheating (about 5-7 minutes) and another for cooking.
Don’t forget to flip the iron every time your timer goes off to make sure of even heating. Adjust your preheating time based on the kitchen’s ambient temperature, if necessary. Additionally, remember that preheating the pizzelle iron is crucial for even cooking, which greatly contributes to the final texture of your cookies.
Monitor Cooking Time Carefully
Often overlooked, monitoring cooking time is essential for creating pizzelles that are perfectly crisp. Cooking time usually ranges from 30 to 50 seconds, depending on your desired crispiness and the temperature of your iron. Each pizzelle iron may have its quirks, so it’s imperative to practice to find that ideal timing.
Keep an eye on the steam release; when it stops, it’s your cue to check for that golden-brown color. Opening the iron too early can lead to sticking batter and poorly formed cookies. To avoid this, use a timer or your phone to measure the cooking time accurately.
As you experiment, adjust the amount of batter you use—1 to 3 tablespoons is ideal based on your iron’s size and how thick you want the pizzelles. Additionally, allowing batter to rest overnight may enhance flavor and improve texture.
Use Quality Ingredients
Using quality ingredients is essential for crafting pizzelles that aren’t only delicious but also boast the perfect texture. When you choose fresh and high-quality components, you’ll notice a significant difference in the final product.
Here’s what you should focus on:
- Fresh Eggs: They provide the necessary structure and moisture.
- Granulated Sugar: It caramelizes beautifully, enhancing both texture and sweetness.
- All-Purpose Flour: This balances strength and tenderness, ensuring your pizzelles hold their shape.
- Vegetable Oil or Unsalted Butter: Oil makes your pizzelles lighter and crispier, while butter adds a rich flavor. Each pizzelle contains approximately 100 kcal which contributes to its delightful taste. Additionally, using high-protein flour can enhance texture and crispiness in your pizzelles.
Incorporating these ingredients properly is just as important. Start by beating the eggs and sugar until the mixture lightens in color.
Gradually mix in your liquid ingredients like oil and extracts for a smooth batter. Then, gently fold in the dry ingredients to eliminate lumps and ensure an even distribution of flavors.
Re-Crisping Methods
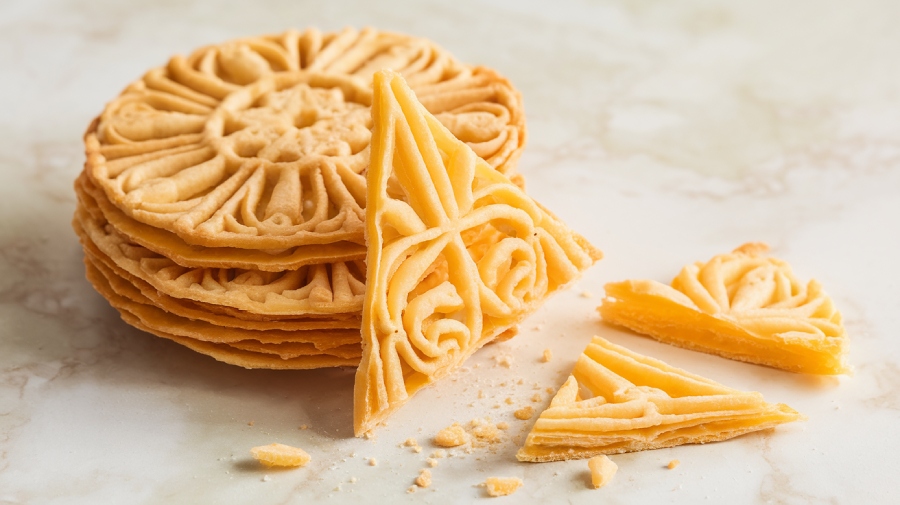
To revive the delightful crispiness of soggy pizzelles, several effective re-crisping methods are at your disposal.
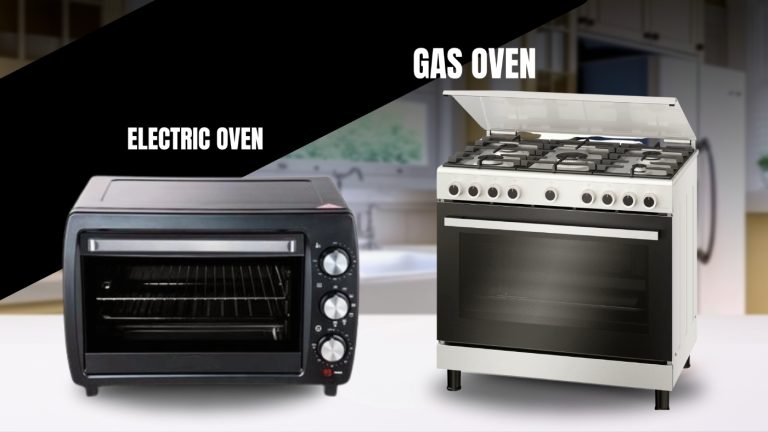
The oven method is a reliable choice. Preheat your oven to 350°F (175°C) and arrange the pizzelles in a single layer on a baking sheet. Bake for 5-7 minutes, keeping an eye on them to guarantee they reach your desired crispiness. Let them cool completely before serving. This method works well because pizzelle cookies are traditionally known for their intricate designs and crisp texture, which are essential for an enjoyable eating experience.
For a quicker option, use a toaster or toaster oven. Place the pizzelles directly on the rack for even heating. Monitor closely to prevent burning, adjusting the heat as necessary until you achieve that perfect crunch.
If you prefer a gentler method, air drying can work wonders. Spread the pizzelles out on a wire rack in a low-humidity area, allowing air to circulate around each cookie. This process helps maintain the pizzelle’s light and crisp texture. Leave them to dry for several hours, checking periodically for crispiness.
Lastly, don’t overlook the pizzelle iron. Preheat it and place a soggy pizzelle inside for 10-15 seconds. Check for crispiness and repeat if necessary, handling with care to avoid breaking.
Tips for Maintaining Crispiness
Maintaining the crispiness of pizzelles after baking is essential for enjoying their delightful texture. To guarantee your pizzelles remain crisp, follow these key tips:
- Cool Completely: Always cool pizzelles on a wire cooling rack. This prevents moisture from building up, which can happen if you leave them on a baking sheet.
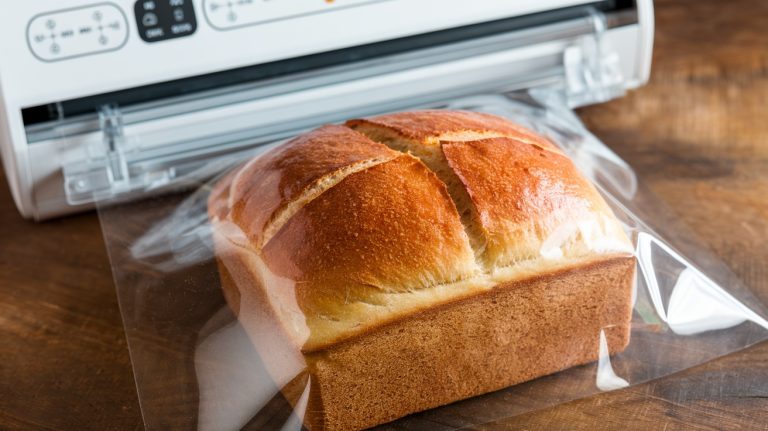
- Store Properly: After they’ve cooled, transfer your pizzelles to an airtight container. Ensure they’re in a single layer to avoid crushing. Classic Italian pizzelles are particularly sensitive to humidity, so proper storage is crucial.
- Control Humidity: Keep your pizzelles in a dry environment. If you live in a humid area, consider using a dehumidifier or placing them in airtight containers.
- Handle Gently: When handling pizzelles, be gentle to avoid breaking them. Store them away from direct sunlight and moisture sources.
Frequently Asked Questions
Can I Freeze Pizzelle for Later Use?
Absolutely, you can freeze pizzelle for later use! In fact, they maintain their best quality for up to three months when frozen.
First, make sure they’re completely cool. Then, wrap each one individually in plastic wrap and store them in freezer bags, removing excess air.
When you’re ready to enjoy them, simply thaw at room temperature. For an extra crisp, warm them briefly in the oven before serving.
Enjoy your delicious pizzelle!
How Long Do Homemade Pizzelle Last?
Homemade pizzelle last up to two weeks at room temperature when stored in airtight containers.
If you want to keep them longer, freezing is your best option; they can remain good for up to three months.
Just make sure they’re completely cool before storing to prevent moisture buildup.
Avoid refrigerating them, as that can lead to sogginess.
Always keep them away from moisture to maintain their delightful crispness.
What Flavors Can I Add to Pizzelle Batter?
When you’re ready to elevate your pizzelle game, think of flavors that can transform your batter into a delightful experience.
You can infuse anise for that classic touch, or brighten things up with lemon zest.
For something unique, try a combination of orange zest and chocolate.
If you’re feeling adventurous, jalapeno adds a surprising kick.
Don’t forget seasonal spices like cinnamon or pumpkin spice to create a cozy, festive vibe.
Enjoy experimenting!
Can I Use a Different Flour for Pizzelle?
Yes, you can definitely use a different flour for pizzelle! All-purpose flour works well, but if you’re looking for alternatives, whole-grain or gluten-free blends can be substituted without much hassle.
Just keep in mind that gluten-free flour might require a bit of adjustment to the liquid content. If you opt for coconut flour, be careful—it’s absorbent and may thicken your batter too much.
Always experiment to find your perfect texture!
How Can I Tell When Pizzelle Are Done Cooking?
Did you know that pizzelle typically cooks in just 30 seconds to 2 minutes?
To tell when they’re done, look for a lightly golden brown color and listen for the sizzling sound fading.
Once steam releases, carefully check for doneness by opening the iron. If your iron has an indicator light, use it as a guide.
Crisp and Satisfying: Perfecting Your Pizzelles
By following these steps, you can transform your soggy pizzelles into crispy delights that crackle like autumn leaves underfoot. Remember, the right batter consistency and effective cooking techniques are your allies in this culinary quest.
If you ever find your pizzelles losing their crunch, don’t fret—re-crisping methods can bring them back to life. With a little care and attention, you’ll maintain their crispiness and enjoy perfect pizzelles with every bite.

