How to Clean Sourdough Starter Jar: From Hooch to Hygiene
Clean your sourdough starter jar thoroughly to keep the culture thriving. Start by discarding excess starter, then use warm, soapy water and a dedicated scrub brush to clean the jar. Rinse thoroughly with warm water. Pay close attention to detail, making certain every bit of dried starter is removed. Air dry completely before refilling to prevent mold. For deeper cleaning, use vinegar or baking soda.
Regularly maintaining your jar guarantees a healthy starter, free from contamination. If you’re curious about handling hooch or dealing with other maintenance tips, there’s so much more you can master to keep your sourdough perfect.
Key Takeaways
- Rinse the jar with chilled water, then dispose of excess starter.
- Scrub the jar with warm, soapy water using a dedicated brush or sponge.
- Rinse thoroughly with warm water and dry the jar completely before refilling.
- Use vinegar or baking soda for stubborn residue or odors.
- Regularly inspect and clean the jar to prevent contamination and maintain a healthy starter.
Necessary Supplies
To clean your sourdough starter jar effectively, you’ll need to gather warm water, mild unscented soap, a scrub brush or sponge, clean towels or paper towels, and optionally, vinegar or baking soda for a thorough deep clean. Warm water is vital as it helps dissolve the dried starter residue, making the cleaning process smoother and more efficient. The mild, unscented soap guarantees that no unwanted flavors or residues are left behind, maintaining the integrity of your future sourdough batches.
Using a scrub brush or sponge is necessary for tackling those stubborn bits of residue clinging to your sourdough starter jars. The bristles of a scrub brush can reach into crevices and corners that a sponge might miss, ensuring a complete clean. Alternatively, a sponge offers gentle yet effective scrubbing action, perfect for jars with delicate surfaces.
For a deeper clean, you can turn to vinegar or baking soda. These natural cleaning agents work wonders in eliminating any lingering odors or tough stains that soap and water alone mightn’t remove.
Immediate Cleaning Method
After gathering your cleaning supplies, let’s explore the immediate cleaning method to efficiently maintain your sourdough starter jar. The key to a clean jar every time lies in understanding how to handle the remnants of your starter mixture. Start by rinsing the jar with chilled water. This prevents the gluten in the mixture from becoming doughy and sticking to the jar, making it easier to clean.
Here’s a step-by-step approach:
- Rinse with Chilled Water: Begin with chilled water to dissolve any residual flour and water mixture.
- Dispose of Mixture: Pour out the fluid mixture that forms after the chilled water rinse.
- Final Rinse with Hot Water: Follow up with a hot water rinse to ensure thorough cleaning.
- Dry and Store: Let the jar dry completely before storing it for your next use.
This method guarantees that your jar is spotless and ready for fresh flour and water, keeping your sourdough starter healthy and active.
Cleaning Process
To keep your sourdough starter thriving, follow these steps:
Start by discarding any excess starter from the jar.
Then, scrub the jar thoroughly using warm soapy water, ensuring every bit of residue is removed and rinsed away.
Discard Excess Starter
Regularly getting rid of extra sourdough starter is vital for maintaining the best balance of flour and water in your jar. By removing the additional starter, you make sure your sourdough culture has ample space to thrive. This practice is crucial to keeping your sourdough starter jar clean and maintaining a healthy sourdough culture.
When you discard excess starter, you’re not just making room; you’re also preventing overcrowding, which can lead to inconsistent feeding and potential mold growth. Properly managing the quantity of starter in your jar ensures the active bacteria and yeasts have the right environment to flourish, resulting in a more robust and reliable culture.
Here’s how you can effectively discard extra starter:
- Measure the amount needed: Before feeding, determine how much starter you need for your next bake.
- Remove the surplus: Scoop out the extra starter until you have the desired amount left in the jar.
- Store or use the discard: You can store the discarded starter in the fridge for future use or incorporate it into recipes like pancakes or crackers.
- Feed the remaining starter: Add fresh flour and water to the remaining starter to keep it active and healthy.
Scrub and Rinse
Once you’ve discarded the excess starter, scrub the sourdough starter jar with warm soapy water to remove any lingering residue. Grab a scrub brush or a sponge and tackle every nook and cranny of the jar. Focus on the areas where the starter might’ve dried and hardened. A thorough cleaning ensures that no old starter remains, which could otherwise compromise the health of your new batch.
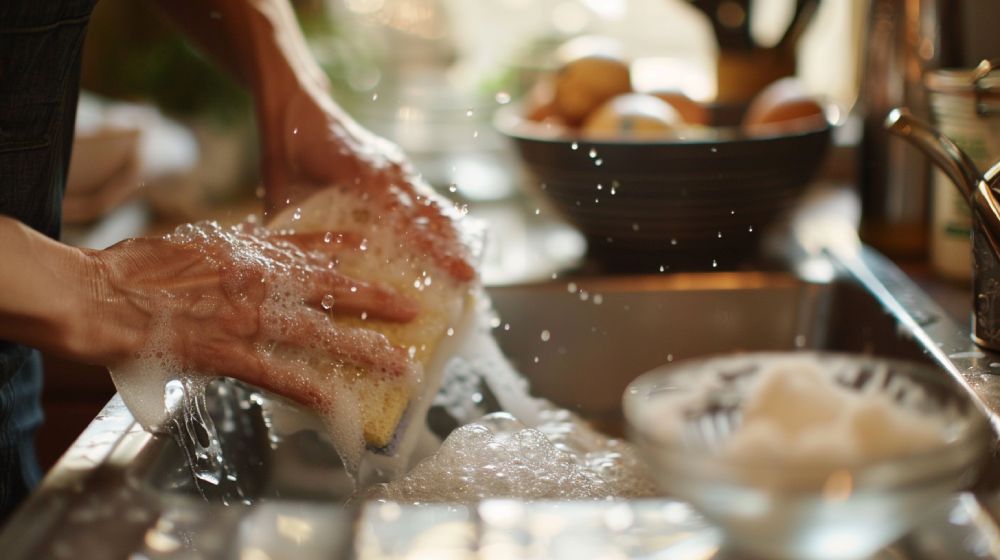
Next, rinse the jar with warm water to guarantee all soap is removed. Soap residue can be harmful to your sourdough starter, so keep rinsing until the water runs clear and there’s no slickness to the jar’s surface. Your goal is a jar clean enough to welcome a fresh batch of starter without any contamination.
Attention to detail is crucial here. Regular cleaning of your sourdough starter jar prevents mold growth and keeps your starter thriving. Use a dedicated brush or sponge that’s strictly for this purpose to avoid cross-contamination. This step might seem tedious, but it’s necessary for maintaining the delicate balance needed for a healthy, active starter. Keep your jar clean, and you’ll be rewarded with a robust sourdough starter.
Dry Before Refilling
Maintaining that your sourdough starter jar is completely dry before refilling is crucial to sustaining a healthy and thriving starter. Moisture buildup can lead to mold growth, compromising the integrity of your starter and potentially ruining all your hard work. After scrubbing and rinsing, take the time to dry the jar thoroughly.
First, use a clean, dry cloth to wipe down the sides and bottom of the jar. Make sure all corners and crevices are free from any lingering dampness. Residual water can dilute the fresh flour and water mixture, affecting the starter’s consistency and vibrancy.
To ensure the jar is perfectly dry:
- Air dry: Leave the jar upside down on a drying rack for at least an hour.
- Use a hairdryer: Blow warm air into the jar to speed up the drying process.
- Paper towels: Use paper towels to absorb any remaining moisture.
- Oven method: Place the jar in an oven preheated to a low temperature for a few minutes.
Frequency of Cleaning
You don’t need to clean your sourdough starter jar daily, or even every few days, to maintain a healthy and active culture. In fact, over-cleaning can disrupt the natural balance of yeast and bacteria in your starter. Instead, after each feeding, use a spatula to scrape down the sides of the jar, and wipe off any excess starter with a paper towel or damp cloth. This keeps the jar clean enough and helps avoid unnecessary waste.
Here’s a quick reference table to guide you:
| Task | Frequency | Tools Needed |
|---|---|---|
| Scrape down jar sides | After feeding | Spatula |
| Wipe excess starter | After feeding | Paper towel/damp cloth |
| Deep clean jar | Every few weeks | Dish soap, water |
| Remove excess starter | Before feeding | Spoon |
| Add fresh flour and water | Every feeding | Measuring cups |
Tips for Maintenance
After establishing a cleaning routine, focusing on a few key maintenance tips will ensure your sourdough starter flourishes and remains healthy. To start, always store your starter in a clean jar. Regularly cleaning your sourdough jar is essential to prevent contamination and maintain a robust culture.
Embrace the two jar method: keep two jars on hand, rotating them to always have a clean one ready. This minimizes downtime and keeps your starter in top condition. Avoid using metal containers, as the acids in your starter can react with metal, potentially harming your culture. Instead, opt for glass or food-grade plastic jars. Keep your jars covered loosely to allow airflow while preventing the buildup of pressure.
Here are some actionable tips to maintain a healthy sourdough:
- Dedicated Spoon: Use a designated spoon for stirring to avoid cross-contamination.
- Labeling: Label your jars with dates to track feedings and monitor your starter’s health.
- Two Jar Method: Rotate between two jars to keep one always clean.
- Airflow: Cover jars loosely to allow proper airflow and pressure regulation.
Dealing With Contamination
When contamination strikes, immediately identifying and addressing mold, pink, or orange streaks in your sourdough starter is vital to preserving its health. If you see mold, pink, or orange discoloration, discard the starter and thoroughly clean the jar. Use hot, soapy water to scrub the jar, then rinse it well and let it air-dry. This ensures that no lingering spores or bacteria can impact your next batch.
Contamination often occurs due to improper cleaning or environmental factors. To avoid this, always start with a clean jar. Make sure your hands and utensils are also clean before handling the starter. If you notice hooch, the liquid layer that can form on your starter, it’s important to evaluate its color. Clear hooch can be stirred back in, enhancing the sour flavor, but black or discolored hooch signifies contamination and should be discarded.
Regular hooch production, especially in a new starter, may indicate underlying issues. Troubleshoot by adjusting feeding schedules or storage conditions. Pay close attention to these signs to maintain a robust and healthy sourdough starter.
Your vigilance in keeping a clean jar and addressing contamination promptly will reward you with a thriving, vibrant starter.
Handling Hooch
When you see hooch forming on your sourdough starter, it’s essential to identify its type.
Clear hooch can be stirred back in to enhance the tang, while black or discolored hooch signals that it’s time to discard and refresh your starter.
Regular hooch production, especially in a new starter, might mean you need to troubleshoot your feeding routine for a healthier, more robust culture.
Identifying Hooch Types
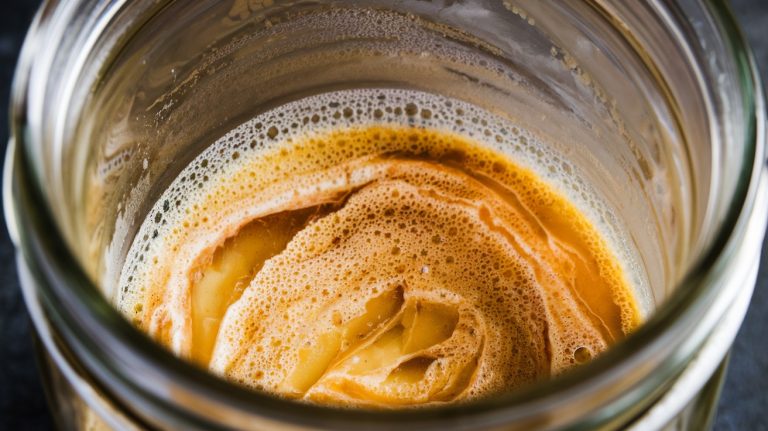
Identifying and handling hooch is crucial for maintaining a vibrant and healthy sourdough starter. Hooch, the liquid that sometimes forms on top of your starter, signals that the wild yeast and bacteria are running low on food. Recognizing the different hooch types can help you take the right steps to keep your starter robust and thriving.
- Clear Hooch: This is the most common and safe type to encounter. You can stir it back into the starter, which will intensify its sour flavor.
- Black or Discolored Hooch: This indicates that your starter might be in distress. Discard this hooch and feed your starter promptly.
- Regular Hooch Production: If you notice hooch forming frequently, especially in a new starter, it may mean the feeding routine needs adjustment.
- Absence of Hooch: In a well-fed and healthy starter, hooch isn’t a common occurrence, which means you’re doing everything right.
Always make sure you’re using a clean jar to house your starter. This prevents contamination and supports the wild yeast and bacteria in maintaining a balanced ecosystem. Properly identifying and handling hooch will keep your sourdough starter in peak condition.
Managing Hooch Accumulation
Effectively managing hooch accumulation guarantees your sourdough starter remains strong and flavorful, demanding a keen eye and timely interventions. Hooch, a liquid composed of alcohol and water, forms on top of your sourdough starter when it’s hungry. Clear hooch can be stirred back into the starter, enhancing its tangy flavor. However, if you notice black or discolored hooch, discard it before feeding as it can compromise starter health.
To handle hooch accumulation, make sure you’re feeding your starter regularly. In a new starter, frequent hooch may indicate you need to adjust feeding frequency or the storage temperature. A warmer environment accelerates fermentation, leading to quicker hooch formation. Conversely, cooler temperatures slow this process.
It’s also essential to use a clean jar for your starter. Transferring your starter to a clean jar every week or so helps prevent unwanted bacterial growth and maintains best starter health. Regularly inspecting your starter for hooch and understanding its implications will keep your sourdough culture active and thriving.
Frequently Asked Questions
How to Sterilise a Jar for Sourdough Starter?
To sterilize your sourdough starter jar, wash it in hot, soapy water. Rinse thoroughly to remove soap residue, and let it air dry completely. Avoid bleach or harsh chemicals; they can harm your starter.
Can You Wash Sourdough Starter Down the Sink?
Why risk clogging your drain? You shouldn’t wash sourdough starter down the sink. Its sticky texture can cause serious plumbing issues. Instead, discard excess starter in the trash or compost, then wipe the jar clean.
Do You Need to Change Sourdough Starter Jar?
You don’t need to change your sourdough starter jar unless it’s contaminated or damaged. Maintaining the same jar with regular cleaning will suffice. It’s not mandatory to switch jars frequently for a healthy, thriving starter.
How to Clean Sourdough Supplies?
You’ll want to soak your sourdough supplies in cold water first. Use a mild, unscented soap and scrub thoroughly. Rinse with warm water, then dry completely. For deep cleaning, use vinegar or baking soda.
Immediate Cleaning: The First Step to a Healthy Sourdough Culture
Keeping your sourdough starter jar clean is crucial for a healthy, thriving culture. Like a well-tended garden, regular maintenance—immediate cleaning, proper supplies, and mindful frequency—ensures your starter flourishes.
Don’t forget to tackle contamination promptly and manage hooch effectively. By following these detailed steps, you’ll nurture your sourdough starter with the passion and care it deserves, resulting in delicious, consistent bakes.