High Hydration Sourdough Recipe for Open Crumb Bread
To make high hydration sourdough, aim for over 70% water relative to flour, including starter water, to create a slack, extensible dough with an open crumb. Use 2% salt by flour weight and handle the sticky dough with folding rather than kneading to build gluten.
Cold proof 12-15 hours, bake covered at 450-500°F, then uncovered for a glossy, elastic crust. Mastering hydration and shaping guarantees consistent, moist crumb and crust texture.
Exploring the full process reveals key details for success.
Key Takeaways
- High hydration sourdough contains over 70% water relative to flour, producing a slack, sticky dough with an open, moist crumb.
- Calculate hydration as (total water weight ÷ total flour weight) × 100%, including starter water and flour for accuracy.
- Use gentle folding and coil or lamination techniques to develop gluten without tearing the high hydration dough.
- Cold proof the shaped dough for 12-15 hours, then bake covered at 450-500°F for a glossy, elastic, and crispy crust.
- Maintain salt at about 2% of flour weight to regulate fermentation and enhance flavor in the high hydration dough.
Easy High Hydration Sourdough Bread Recipe Ingredient Ratios
| Ingredient | Percentage (Baker’s %) | Weight (grams) | Notes & Tips |
|---|---|---|---|
| Bread Flour | 100% | 1000g | High-protein flour recommended for strength |
| Water | 80–82% | 800–820g | Adjust based on flour type & environment |
| Sourdough Starter | 20% (at 100% hydration) | 200g | Active, fed starter for best fermentation |
| Salt | 2% | 20g | Regulates fermentation, enhances flavor |
Hydration Levels in Sourdough
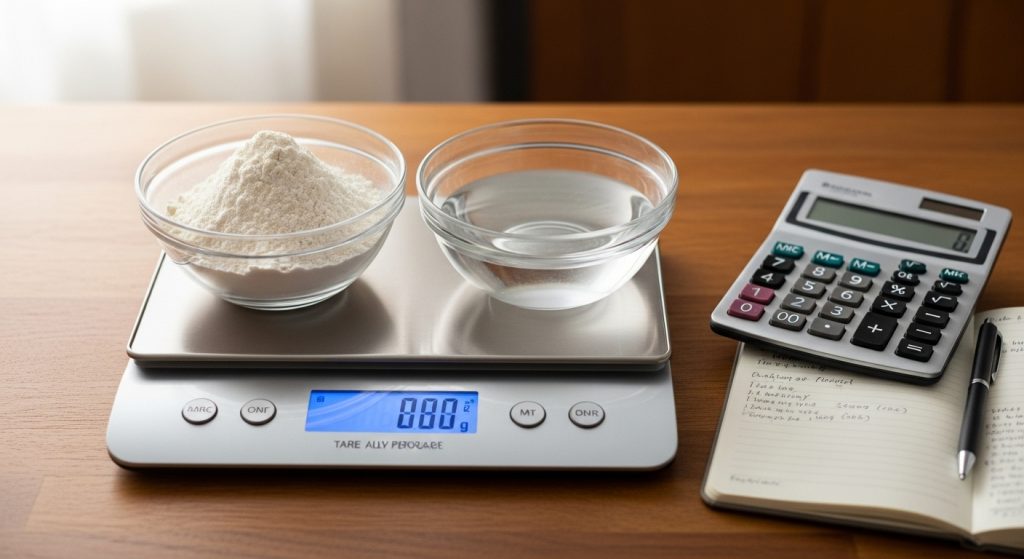
How do you quantify the water content in your sourdough to achieve consistent results? You calculate hydration by dividing the total water weight by the total flour weight, then multiplying by 100 to get a percentage.
Include the flour and water in your starter when measuring total ingredients. For example, if your dough has 750g water and 1050g flour, hydration is (750/1050) × 100 = 71.4%. Accurate measurements and ingredient balance are crucial for achieving optimal dough consistency and avoiding issues like crumbliness.
This precise calculation helps you scale recipes and compare hydration levels using baker’s percentages.
Understanding hydration is critical because it directly affects dough texture, fermentation, and crumb structure. It also influences key aspects like crumb openness and crust characteristics, which define the bread’s final quality. Proper hydration contributes to a balanced structure, much like how protein content supports the texture and nutritional value in other food preparations.
Essential Ingredients and Their Ratios
Understanding the precise hydration level sets the stage for selecting and balancing the ingredients in your sourdough.
Grasping your dough’s exact hydration is key to perfecting ingredient balance in sourdough baking.
For high hydration dough—typically above 80%—you’ll need to carefully measure each component to maintain dough consistency and flavor development. This recipe features an 82% hydration, which is higher than typical recipes that average around 70%. The hydration percentage influences the moisture content and texture of the bread, contributing to an airier loaf.
- Flour: Use a high-quality bread flour as your 100% baseline; optional whole wheat or rye flours can add complexity. Incorporating whole grain flour can enhance the flavor profile through increased microbial diversity.
- Water: Incorporate 80% or more water relative to flour weight, including water from your starter.
- Sourdough Starter: Add up to 20% of total flour weight; ensure it’s active and at 100% hydration for predictable fermentation. Remember that a 100% hydration starter contains equal parts water and flour, so its weight should be divided accordingly in your calculations.
- Salt: Add 2% of the flour weight to regulate yeast activity and enhance taste.
Adjust these ratios according to your environment and starter strength to optimize dough performance. Regular feeding and maintenance of your starter are essential to keep the microbial community active and ensure consistent fermentation results.
Characteristics of High Hydration Dough
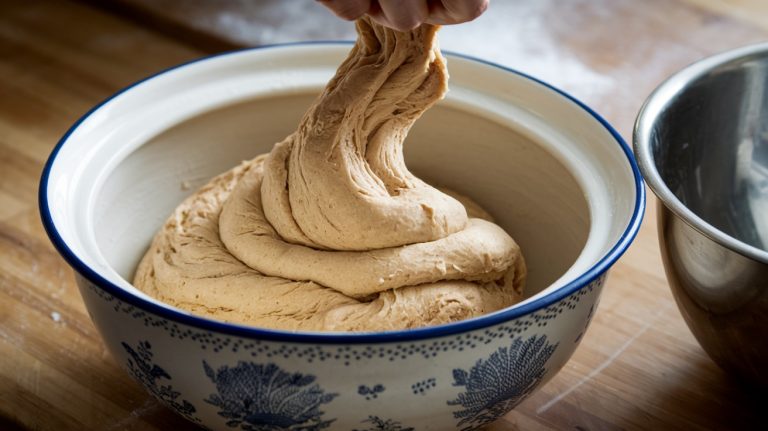
Although high hydration doughs contain more than 70% water relative to flour weight, their behavior and characteristics differ markedly from lower hydration doughs. You’ll notice the dough becomes particularly slack, sticky, and loose, lacking the structural integrity of drier doughs. Managing the dough’s extensibility and elasticity balance is crucial to maintaining its shape and rise during handling.
This increased water content enhances extensibility, enabling greater gas retention and expansion, which produces an open crumb with large irregular holes. The crumb remains moist and tender, contributing to a lighter mouthfeel. Nurturing a starter offers a rewarding experience and deeper understanding of sourdough.
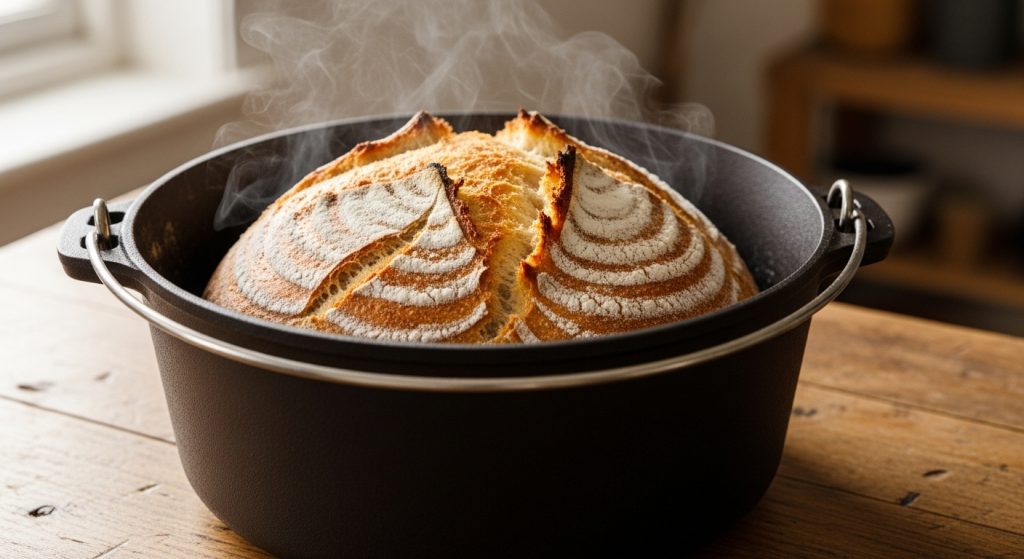
Meanwhile, the crust forms a thin, crisp, yet elastic layer. Higher hydration also prolongs fermentation by accelerating enzymatic activity, intensifying sourdough’s complex flavors.
Accurate hydration calculation must include the water and flour in the starter. This strongly influences dough behavior and final bread quality, making it a critical parameter in recipe formulation. A thriving starter is essential for fermentation and successful bread baking.
Techniques for Handling and Shaping
When handling high hydration sourdough, using proper tools and techniques is essential to maintain dough integrity and achieve ideal structure. Avoid grabbing the dough; instead, let it stick lightly and move naturally with your hand using quick, confident motions. Managing hydration levels is crucial because high hydration results in a wetter, stickier dough that requires careful handling to prevent tearing.
Employ folding methods rather than kneading to build gluten strength without tearing. Use tools like bench knives and bowl scrapers to manipulate sticky dough, reducing excessive direct contact.
Fold dough to strengthen gluten and use bench knives or scrapers to handle sticky, high hydration dough gently.
Shape the dough by pre-shaping into a rough round, resting, then final shaping to build surface tension critical for oven spring.
- Use a bench knife to prevent sticking and aid gentle manipulation.
- Fold dough using coil and lamination folds to develop elasticity.
- Pre-shape and rest the dough to relax gluten.
- Stretch outer layers carefully during final shaping to build tension.
Step-by-Step Baking Process
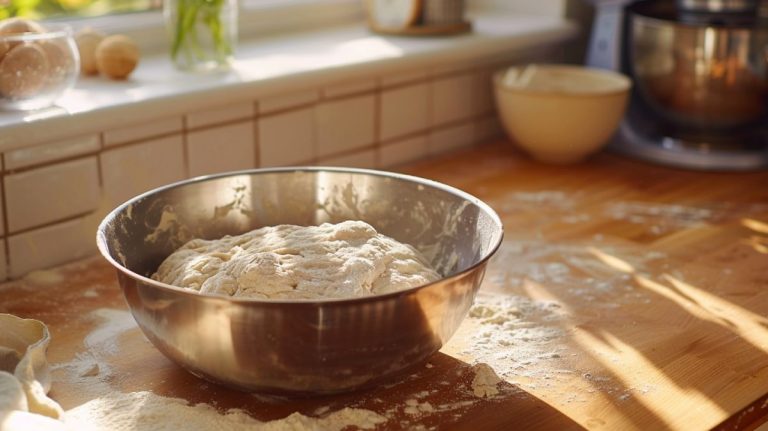
Before you begin the baking process, guarantee your dough has completed bulk fermentation and undergone the necessary stretch and fold cycles to develop gluten structure. This process is essential for handling the high hydration dough effectively.
After bulk fermentation, let the dough rest uncovered for 15-20 minutes to relax gluten.
Shape it tightly into a boule or batard, managing stickiness carefully, then place it seam-side up in a floured banneton or tea towel-lined bowl. Gentle handling is crucial because the dough will be more slack due to the 80% hydration, requiring care to preserve air bubbles.
Refrigerate for 12-15 hours for cold proofing. Remove dough an hour before baking to warm slightly.
Preheat your oven with a Dutch oven or baking stone at 500°F (260°C) for at least one hour.
Score the dough just before baking to control expansion.
Bake covered at 450-500°F for 20-30 minutes, then uncovered for 15-20 minutes.
Cool on a wire rack at least one hour before slicing. This cooling period helps prevent a soggy crumb by allowing moisture to redistribute and the crumb to set properly.
Flavor Profile and Final Bread Qualities
Since high hydration markedly influences sourdough characteristics, you’ll notice that the bread’s flavor profile deepens with extended fermentation times enabled by extra moisture. This hydration level boosts microbial and enzymatic activity, enriching acidity and developing balanced sour and sweet notes. This effect is similar to how the fermentation process in sourdough mixes lowers the glycemic index, enhancing health benefits.
The final loaf exhibits a tender crumb and a thin, crisp crust with enhanced caramelization. Key qualities include a complex tangy aroma with subtle malt sweetness from starch conversion. Understanding the precise hydration calculation ensures consistency in achieving these qualities.
You’ll also find an open, airy crumb featuring large, irregular holes and a soft, moist texture. The crust is glossy and elastic, crisping without toughness and delivering a satisfying chew and crackle.
Additionally, the bread enjoys prolonged freshness due to moisture retention, keeping the crumb soft for days. Handling techniques ensure ideal gluten development, oven spring, and structural integrity.
Frequently Asked Questions
How Do I Store High Hydration Sourdough Bread to Keep It Fresh Longer?
To keep your high hydration sourdough fresh longer, store it at room temperature in a breathable container like a cloth bag or bread box to maintain crust texture and crumb moisture. Avoid airtight plastic bags initially to prevent sogginess.
For mid-term storage, use linen or beeswax-lined bags. In humid climates, prioritize airflow to reduce mold risk.
Freeze fully cooled, sliced portions in airtight bags for long-term storage and revive by lightly moistening and reheating.
Can I Substitute Different Flours in a High Hydration Sourdough Recipe?
Yes, you can substitute different flours, but you’ll need to adjust hydration levels carefully. Whole wheat and rye absorb more water, so increase hydration by 5-10%.
Lower protein flours require reduced hydration to maintain structure.
Expect changes in dough elasticity and fermentation time.
Use autolyse and gentle folding techniques to develop gluten effectively.
Monitor dough feel and adjust starter and fermentation accordingly to achieve ideal crumb and crust characteristics.
What Equipment Is Best for Beginners Baking High Hydration Sourdough?
You’ll want a reliable digital scale for precise flour and water measurements, essential in hydrated doughs. Use plastic dough scrapers to mix and handle sticky dough without tearing.
Clear, straight-sided fermentation containers let you monitor rise accurately. For baking, a Dutch oven traps steam, aiding crust formation.
Finally, banneton baskets support dough shape during proofing, preventing spreading. These tools together simplify handling and improve consistency for beginners.
How Does Ambient Temperature Affect Fermentation Time in High Hydration Dough?
Ambient temperature affects fermentation time like a dimmer switch controls light intensity—you’ll see fermentation speed up as temperatures rise, especially above 86°F, causing your dough to ferment faster but risk overproofing and stickiness.
Below 68°F, fermentation slows, leading to longer rise times and denser crumb.
To maintain control, you should adjust hydration, starter percentage, and water temperature to keep dough temperature steady between 75–78°F for consistent fermentation.
Are There Common Mistakes to Avoid When Baking High Hydration Sourdough?
Yes, you want to avoid overhydration, which makes dough sticky and hard to handle. Use a digital scale for precise flour-to-water ratios. Don’t neglect flour type differences; adjust hydration accordingly. Make sure proper mixing to fully incorporate water and flour.
Control dough temperature and fermentation time carefully to prevent over-proofing. Finally, give the dough enough resting time for water absorption and maintain your starter’s strength for consistent fermentation.
From Sticky Dough to Stunning Loaf
Mastering high hydration sourdough transforms your baking like a symphony, where each precise ratio and technique harmonizes to create an open crumb and crisp crust.
You’ll handle the dough with confidence, using gentle folds and timely shaping to maintain its delicate structure.
By controlling hydration and fermentation, you achieve a bread with complex flavor and an airy texture.
This recipe equips you to bake sourdough that’s both technically sound and irresistibly delicious.