Golden Corral Yeast Rolls Recipe: Bakery Magic at Home
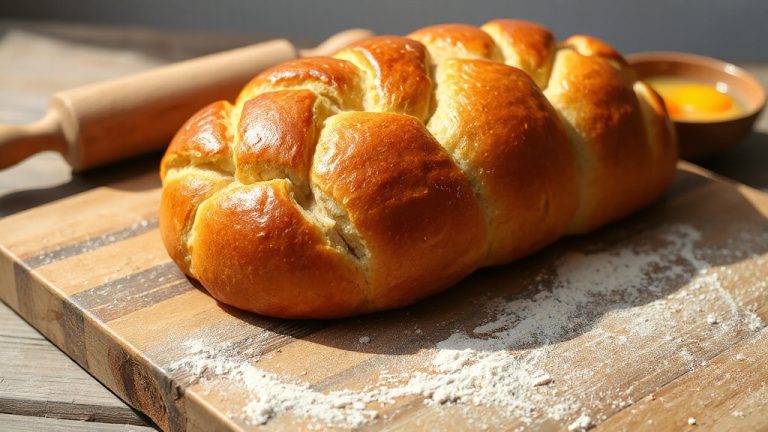
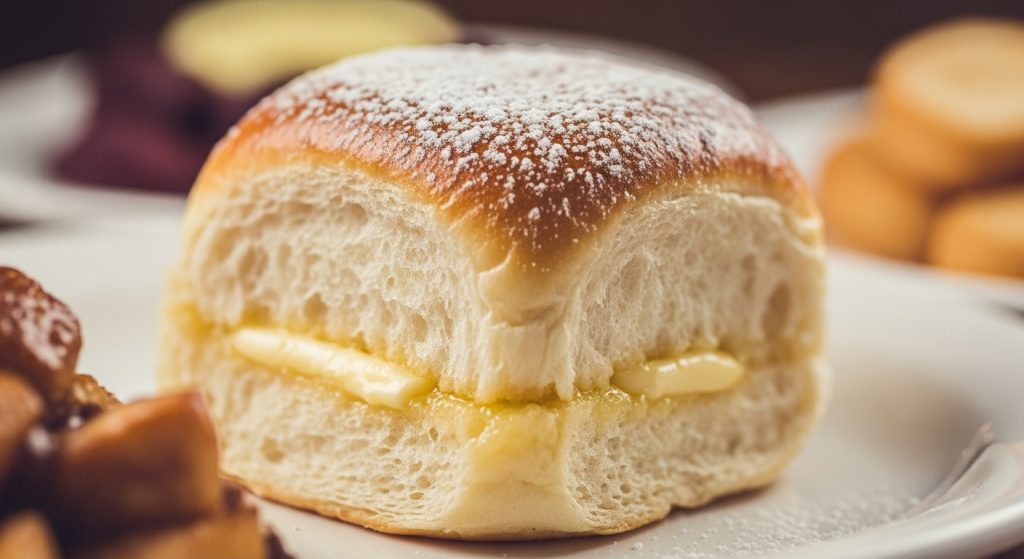
Picture this: warm, golden rolls that practically float off your plate, their buttery aroma filling your kitchen just like at Golden Corral.
These legendary yeast rolls require just basic pantry ingredients and two simple rising techniques to achieve that perfect balance of crispy exterior and cloud-like interior that has made Golden Corral famous.
This game-changing recipe breaks down every crucial step, from activating yeast to achieving the ideal golden-brown finish.
No more settling for store-bought disappointments or expensive restaurant visits. Your family is about to discover why these homemade masterpieces will become your most requested recipe.
Key Takeaways
- Activate yeast in 105°F–110°F water with sugar until foamy for proper fermentation and rise.
- Combine cooled scalded milk, melted butter, sugar, salt, and egg with yeast for a soft, elastic dough base.
- Knead dough until smooth and stretchy, then let rise in a warm area (75–80°F) until doubled, about 1–1.5 hours.
- Shape dough into 1.5–1.75-inch balls, arrange in greased pans, cover, and proof again for a soft texture.
- Bake rolls at 350°F–375°F for 15–20 minutes until golden, then brush with melted butter for a tender crust.
Complete Recipe Table for Golden Corral Yeast Rolls
| Ingredients | Process |
|---|---|
| For Yeast Activation: | |
| 1 packet (2¼ tsp) fast-acting yeast | Dissolve yeast in warm water (105°F-110°F) |
| ¼ cup warm water | Add pinch of sugar to feed yeast |
| 1 tsp granulated sugar | Let sit for 5-10 minutes until foamy |
| For Dough: | |
| 1 cup milk | Scald milk to near boiling, then cool to lukewarm |
| ¼ cup butter | Melt butter and mix with sugar and salt |
| 2 tbsp granulated sugar | Combine with cooled milk and yeast mixture |
| 1 tsp salt | |
| 1 large egg | Add egg last for smooth, even mixing |
| 2½-3 cups bread flour | Gradually add flour to form soft, elastic dough |
| ½ cup whole wheat flour | Mix until dough pulls away from bowl |
| Optional:1 tbsp vital wheat gluten | Enhances chewiness and rise |
| For Finishing: | |
| 2 tbsp melted butter | Brush on rolls immediately after baking |
Ingredients Needed for the Rolls
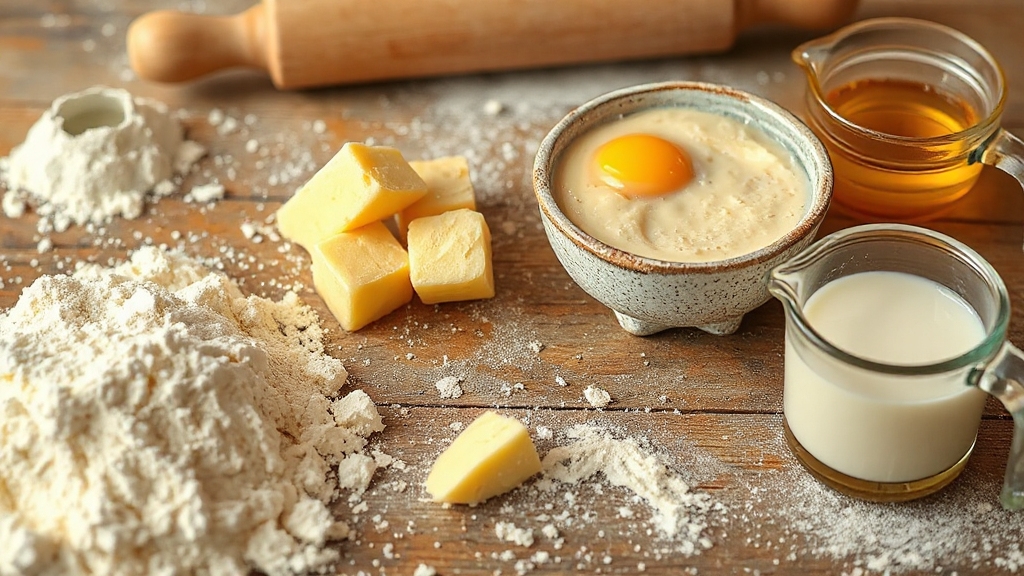
Before you begin mixing, gather all the ingredients carefully to guarantee your Golden Corral yeast rolls turn out perfectly soft and flavorful. You’ll need fast-acting yeast to create that perfect rise, along with a mix of bread and whole wheat flours for texture and a subtle nutty taste.
Gather ingredients carefully for soft, flavorful Golden Corral yeast rolls with perfect rise and subtle nuttiness.
Sugar plays a dual role: a small amount activates the yeast, while more sweetens the dough. Salt balances the flavor and controls yeast action precisely. For richness, grab butter—or margarine if you prefer—and an egg to enhance color and structure. Be sure to cool the milk to the ideal temperature before adding it to prevent killing the yeast and ensure a good rise cool to 105°F.
Don’t forget scalded milk, which helps develop gluten and deactivate enzymes, and warm water to awaken the yeast gently. Optional crucial wheat gluten can boost chewiness and rise, but it’s not essential.
Preparing the Yeast Mixture
You’ll want to start by dissolving your yeast in warm water heated between 105°F and 110°F—any hotter, and you risk killing those essential yeast cells. Adding a pinch of sugar feeds the yeast, sparking the fermentation that’s key for fluffy rolls. Let the mixture sit for about 5 to 10 minutes until it’s foamy, signaling that your yeast is active and ready to work its magic.
This initial step is crucial because using fast-acting yeast ensures a quicker rise, helping your dough double in size in about 60 minutes. Using a bread maker with a programmable delay timer can help you perfectly time the fermentation and rising process for optimal dough development.
Yeast Activation Temperature
When activating yeast for your Golden Corral yeast rolls, you’ll want to carefully monitor the water temperature to guarantee ideal yeast performance. For active dry yeast, aim for water between 100° and 110°F (38°–43°C).
This warm environment wakes the yeast, triggering enzyme activity essential for fermentation. Too cold, under 70°F, and the yeast becomes sluggish, delaying rising; too hot, above 130°F, and you risk killing those important yeast cells.
Using a thermometer ensures precision. Avoid direct contact with salt or hot ingredients that can hinder activation. Proper temperature is a key factor for baked goods that affects the yeast’s ability to release carbon dioxide and cause the dough to rise.
Sugar’s Role in Yeast
How does sugar influence the yeast mixture in your Golden Corral rolls? Sugar acts as an essential fuel, giving yeast the energy to produce carbon dioxide and ethanol, which makes your dough rise beautifully.
This process is similar to fermentation in which yeast converts sugars like sucrose and glucose into ethanol and CO₂, driving the rise of the dough through enzyme catalysis. Proper mixing with an adequate motor power and efficient kneading can help develop gluten for better dough structure.
When you add a small amount of sugar—up to about 3%—you speed up fermentation, jumpstarting yeast activity. But be careful: too much sugar, over 6%, can actually dehydrate yeast cells, slowing or even stalling fermentation.
Yeast prefers simple sugars like glucose or sucrose, which it uses immediately without breaking down complex carbs. This quick access to sugar lets your dough develop the right texture and rise consistently.
Plus, sugar impacts flavor by feeding fermentation byproducts and encourages browning during baking, giving your rolls that irresistible golden crust and subtle sweetness. Using a stand mixer with dough hook can improve the consistency of your dough for optimal rise and texture.
Timing for Yeast Proofing
Although activating yeast might seem straightforward, mastering the timing and temperature for proofing sets the foundation for perfectly risen Golden Corral yeast rolls.
You’ll want to heat water between 110°F and 115°F to gently wake up the yeast without harming it. Once mixed with sugar, let the yeast rest undisturbed for 10 to 15 minutes, watching for that telltale frothy foam signaling active fermentation. Using the right proofing vessel, such as a banneton basket, can help maintain ideal dough conditions during later stages.
Timing beyond this initial step depends on your environment: warmer rooms speed proofing, cooler temps slow it down, letting flavors deepen. It is important to distinguish this initial yeast activation from the later proofing stage after dough shaping, as each step has a unique role in fermentation and dough development.
Keep these key points in mind:
- Proof yeast in warm water (110-115°F) for 10-15 minutes until foamy.
- Let dough rise 1-2 hours at room temperature, adjusting for warmth.
- Avoid temperatures above 85°F to prevent overproofing and dough collapse.
Mixing the Dough Components
Once your yeast mixture is bubbly and active, you’re ready to combine it with the warm milk, melted butter, and sugar to create the dough’s flavorful base. Be sure the milk mixture has cooled slightly to protect the yeast’s vitality as you blend these wet ingredients together.
This careful balance sets the stage for a soft, elastic dough that’s key to those perfect Golden Corral yeast rolls. Using accurate measuring cups ensures precise ingredient ratios, which contributes to the dough’s ideal consistency. Remember to cool the milk mixture to 105F-110F before combining it with the yeast to ensure the yeast remains active and effective.
Yeast Activation Process
Before you start mixing the dough components, you’ll need to activate the yeast properly to guarantee your Golden Corral yeast rolls rise perfectly.
Begin by dissolving active dry yeast in warm water heated between 100°F and 110°F; this temperature wakes the yeast without harming it. Add about a teaspoon of granulated sugar to feed the yeast, accelerating activation. Stir vigorously to ensure even dissolution.
It is important that the water temperature is carefully controlled because proper water temperature is crucial for successful baking outcomes. Using a specialized gluten-free setting on your bread machine can further optimize yeast activation and dough rising when baking gluten-free versions of these rolls.
After 5 to 10 minutes, look for a frothy foam layer signaling yeast is ready.
Key points to remember:
- Use warm water (100°F–110°F) to awaken yeast safely
- Add sugar to nourish yeast and speed activation
- Wait 5–10 minutes until froth forms before proceeding
Combining Wet Ingredients
When you start combining the wet ingredients, maintaining precise temperatures is essential to protect the yeast and promote ideal fermentation. Heat the milk to just scalding—around 105°F to 110°F—then cool it to lukewarm before adding it to the yeast dissolved in warm water and sugar.
This careful temperature control activates the yeast without killing it or denaturing milk proteins. Before adding the milk to the yeast, it is important to bring it to a near boil and then cool to lukewarm, a process known as scalding the milk.
Separately, melt the butter with sugar and salt, then blend this mixture with the lukewarm milk and yeast. Incorporate the egg last to ensure smooth, even mixing. Use a stand mixer with a dough hook to gently combine these wet ingredients, ensuring thorough hydration and uniform yeast distribution. This technique helps achieve the dough’s ideal soft, pliable texture.
Kneading the Dough Properly
Although kneading might seem like a simple step, it plays a crucial role in transforming your Golden Corral yeast roll dough into a smooth, elastic masterpiece. As you knead, you develop gluten, which gives the dough its structure and elasticity, allowing it to trap air and rise beautifully.
You’ll notice the dough change from sticky to silky and stretchy, signaling proper gluten formation. Use a gentle push-and-fold motion, turning the dough frequently to distribute ingredients evenly. Keep your hands lightly floured to prevent sticking without drying the dough out.
Here’s what to focus on during kneading:
- Smooth, glossy surface without cracks
- Dough stretches without tearing (try the windowpane test)
- Dough pulls cleanly away from the bowl, feeling slightly tacky
First Rise and Dough Handling
Since the dough’s texture and rise depend heavily on environment and handling, you’ll want to place it in a generously greased bowl that allows for ample expansion without crowding. Turn the greased side of the dough up to prevent drying, then cover the bowl with a clean towel or plastic wrap to trap moisture and warmth. Keep it in a warm spot (not hot) for 1 to 1.5 hours until doubled in size.
Using a thermometer to maintain the ideal temperature range can significantly improve yeast activation and rise consistency. After the rise, punch down gently to release air and redistribute ingredients without overworking the dough. Using lukewarm milk in the dough helps activate the yeast and promotes a better rise. Here’s how key factors shape your rise:
| Factor | Purpose | Ideal Practice |
|---|---|---|
| Bowl size | Space for expansion | Large, greased, non-stick |
| Covering | Retain warmth/moisture | Clean towel or plastic wrap |
| Temperature | Activate yeast | Warm, 75–80°F environment |
| Rise time | Dough doubles in bulk | 1–1.5 hours, undisturbed |
| Handling post-rise | Prepare for shaping | Light punch down, brief rest |
Shaping the Rolls
After your dough has risen and you’ve gently punched it down to release the air, it’s time to prepare for shaping the rolls. Lightly flour your work surface to keep the dough from sticking. Proper sizing and spacing help maintain optimal airflow around the dough, which is crucial for preserving texture during proofing.
Divide the dough into even pieces about 1.5 to 1.75 inches wide using a bench scraper or sharp knife.
Pinch each piece into a smooth ball by rolling it between your palms, sealing seams with gentle finger pressure to avoid cracks. Don’t worry about perfect shapes; slight imperfections add a homemade feel.
Place the shaped rolls in a greased pan, spacing them so they don’t touch, allowing room for expansion during the final rise. This step is essential because the rolls will undergo a second proofing to achieve their optimal rise and texture.
Cover with a towel to keep moisture in.
- Divide dough evenly for consistent baking
- Roll into smooth balls, sealing seams
- Arrange rolls spaced in a greased pan
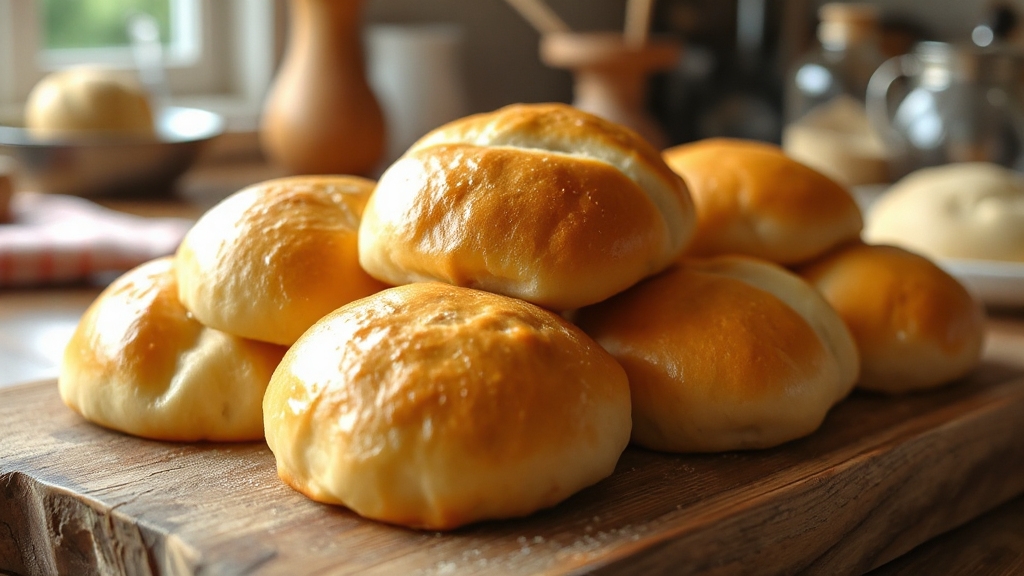
Baking Instructions
When you’re ready to bake, preheat your oven to between 350°F and 375°F to create the perfect environment for golden, tender rolls. Using an oven thermometer can help maintain consistent heat throughout baking.
Place your shaped rolls on a greased or parchment-lined baking sheet, ensuring they’ve room to expand evenly.
Arrange rolls spaced apart on a greased or parchment-lined sheet to allow even expansion during baking.
Slide them into the hot oven and bake for 15 to 20 minutes, keeping an eye on their color. These rolls are known for their slightly sweet flavor that complements many meals.
You’ll know they’re done when the tops turn a warm golden brown and develop a slight crust that’s firm to the touch.
Avoid opening the oven too often, as consistent heat is key for thorough baking.
Once baked, brush the rolls immediately with melted butter to add a glossy finish and keep the crust tender, then let them cool slightly before serving.
Tips for Perfect Soft Rolls
To achieve perfectly soft rolls every time, you’ll want to focus on several key factors that influence texture and tenderness. First, activating your yeast properly by dissolving it in warm water between 105°F and 110°F ensures a lively rise.
However, some recipes call for a slightly higher water temperature of 120-130°F to activate yeast quickly without a resting period. Using a precise digital kitchen scale to measure ingredients can significantly improve dough consistency.
Next, knead your dough until it’s smooth and elastic, about 4 to 6 minutes, but keep it slightly sticky to maintain lightness. Finally, proof the dough in a warm, draft-free spot until it doubles in size, allowing the gluten to relax and the rolls to fluff up beautifully.
- Use warm milk and softened butter for rich, tender dough
- Cover dough during rising to keep moisture and prevent crust
- Brush rolls with melted butter right after baking for lasting softness
These tips will help you create irresistibly soft, golden yeast rolls.
Frequently Asked Questions
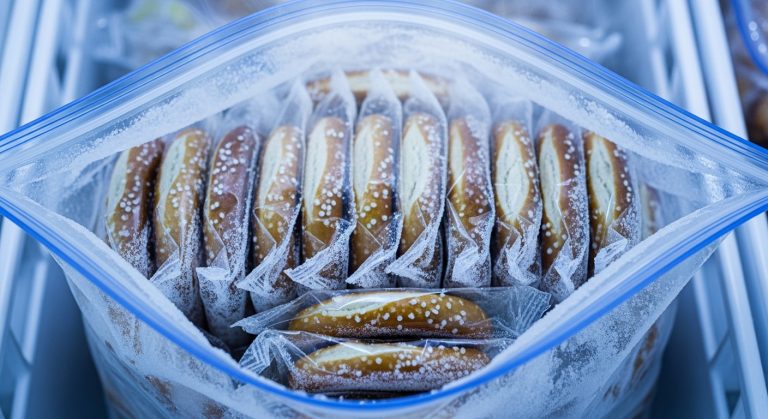
Can I Freeze the Dough Before Baking the Rolls?
Yes, you can freeze the dough before baking your rolls, but it’s best to freeze it after shaping and before the final rise. This way, the yeast stays dormant and the dough maintains better structure.
When you thaw it, give it plenty of time—about 4 to 5 hours—to rise fully.
Adding a bit more yeast before freezing helps too, ensuring your rolls still turn out fluffy and delicious despite freezing.
How Long Do Homemade Yeast Rolls Stay Fresh?
Freshness fades fast for your fluffy, fabulous yeast rolls. At room temperature, they’ll stay soft and scrumptious for about 2 to 5 days if you store them tightly wrapped or in an airtight container.
Avoid the fridge—it dries them out and speeds staling. For longer life, freeze your rolls after baking; frozen rolls keep their charm up to 6 months.
Always thaw and reheat gently to revive that perfect, pillowy texture.
What Is the Best Way to Reheat Leftover Rolls?
The best way to reheat leftover rolls is in the oven at 350°F. Wrap them loosely in foil to lock in moisture, then heat for 7-10 minutes if fresh, or 13-15 if frozen.
This method keeps your rolls soft and fluffy without drying them out.
If you’re short on time, the microwave works too—just cover with a damp paper towel and heat briefly to avoid toughness.
Can I Make These Rolls Without Eggs?
Sure, you can totally skip eggs—imagine your rolls showing up to the party without their usual golden jacket. They might be a bit denser and less rich, but you can fix that by adding applesauce or yogurt for moisture and binding.
Boost the butter and milk, knead longer, and let the dough rise patiently. Your rolls will still be soft and tasty, just with a slightly different personality that’s worth the experiment.
Are There Gluten-Free Alternatives for This Recipe?
You can definitely make gluten-free yeast rolls by swapping traditional flour with gluten-free blends like rice, tapioca, or almond flour.
You’ll want to add xanthan gum or guar gum to mimic gluten’s elasticity and boost rise.
Expect to use more liquid and possibly extra rising time.
Eggs help with structure, but you can try substitutes.
Experiment with hydration and rising for that soft, fluffy texture you’re after.
A Warm Welcome in Every Roll
Now that you’ve mastered these golden yeast rolls, you’re holding a little piece of bakery magic right in your hands. With each soft, fluffy bite, you’ll taste the love and patience kneaded into every fold.
Remember, like a symphony, the perfect roll comes from the harmony of time, warmth, and care. Keep practicing, and soon, your kitchen will smell like a Golden Corral dream come true—inviting, comforting, and utterly irresistible.