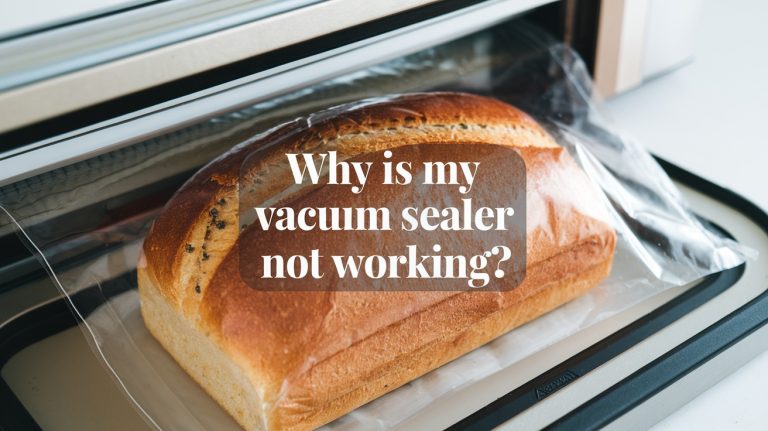
Gluten Egg Free Bread Recipe With Aquafaba (Vegan)
To make gluten-free, egg-free bread, start with a blend of brown rice, sorghum, and chickpea flours for structure and protein.
Activate yeast in lukewarm water with sugar for 5–6 minutes to get a good rise. Use psyllium husk powder or xanthan gum as binders.
Aquafaba can replace eggs for moisture and texture. Bake in a tall, nonstick pan in a warm, draft-free spot for 2–3 hours until it rises about 50%.
Learn practical tips to perfect each step for fluffy, flavorful bread.
Key Takeaways
- Use gluten-free flours like brown rice, buckwheat, and sorghum combined with binders like xanthan gum or psyllium husk for structure and moisture.
- Replace eggs with aquafaba or seed gels (chia or flax soaked in water) to maintain dough cohesion and elasticity.
- Activate active dry yeast in lukewarm water (104–109°F) with sugar for 5–6 minutes until foamy before mixing with dry ingredients.
- Proof dough in a warm, draft-free environment around 32°C for 2–3 hours until it rises about 50%, using tall-sided nonstick pans for support.
- Bake at 350–375°F with steam (hot water or ice cubes in the oven) to enhance crust texture; internal loaf temperature should reach 210°F.
Gluten Egg Free Bread Recipe Ingredient Table (Easy to Follow)
| What you need | Suggested options | Why it matters | Quick pro tip |
|---|---|---|---|
| Gluten-free flour blend | Brown rice + sorghum + chickpea (or add buckwheat) | Builds structure + flavor | Whisk well to prevent gritty pockets |
| Binder | Psyllium husk powder or xanthan gum | Adds elasticity and prevents crumbling | Mix into dry ingredients for even distribution |
| Yeast + sugar | Active dry yeast, a little sugar | Creates rise and better crumb | Bloom yeast 5–6 min until foamy |
| Warm water | 104–109°F | Activates yeast, hydrates dough | Avoid water above 120°F |
| Egg replacer | Aquafaba (or chia/flax gel) | Adds moisture without eggs | Whisk aquafaba briefly for smoother texture |
| Oil + salt | Neutral oil; fine salt | Keeps loaf tender, boosts flavor | Keep salt from direct contact with yeast early |
| Bake + doneness | 350–375°F, 40–50 min | Sets crumb, develops crust | Aim for 210°F internal temp |
Gather Essential Gluten-Free and Egg-Free Ingredients for Bread

To bake gluten-free and egg-free bread successfully, you’ll need a precise combination of specialized ingredients that replicate traditional bread’s texture and flavor.
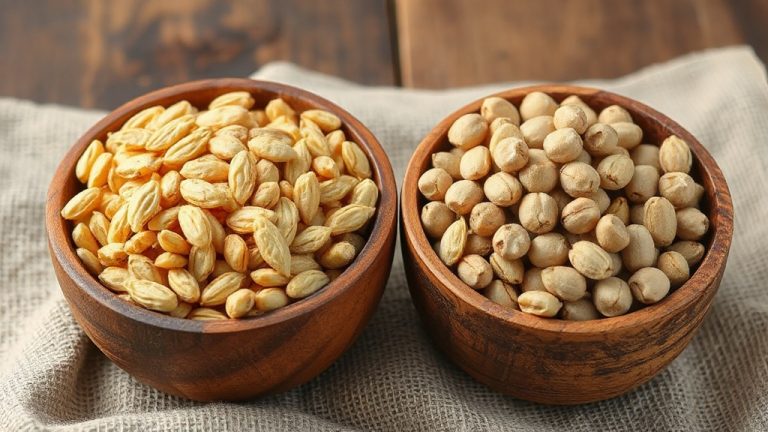
Start with gluten-free flours like brown rice flour for structure, buckwheat flour for a nutty taste and binding, and white rice flour for lightness. Incorporating a sourdough base can help lower the glycemic index and improve flavor complexity.
Chickpea flour adds plant-based protein, while sorghum flour improves chewiness. Using xanthan gum or psyllium husk powder is essential as they provide dough cohesion and structure, which are critical in gluten-free baking.
For binding agents, xanthan gum or psyllium husk powder provide dough cohesion, and tapioca starch boosts elasticity.
Aquafaba replaces eggs effectively.
Leavening requires instant yeast and baking powder for rise, with sugar feeding the yeast.
Use warm water to hydrate the mixture, and oils such as sunflower or vegetable oil to enhance moisture and tenderness.
Finally, salt balances flavors, and optional pumpkin seeds add texture.
How to Activate Yeast for a Perfect Gluten-Free Egg-Free Rise?
Activating yeast properly sets the foundation for a light and airy gluten-free, egg-free bread.
Start with active dry yeast, dissolving it in lukewarm water (104–109°F) to rehydrate the cells. This step is crucial as active dry yeast requires blooming in lukewarm water (40–43 °C / 104–109 °F) to reactivate. Adding natural sweeteners such as sugar can enhance yeast activity by providing an immediate food source for the yeast during fermentation.
Add a small amount of sugar to feed the yeast, accelerating activation.
Let the mixture sit 5–6 minutes until it bubbles or foams, signaling fermentation and readiness. During this time, the yeast undergoes aerobic fermentation, producing water and carbon dioxide that initiates dough rise.
Avoid water above 120°F, which kills yeast viability.
Instant yeast skips this step but requires careful temperature control when mixed with flour and liquids.
Always mix flour and dry ingredients before adding yeast to protect it from salt, which inhibits yeast activity. Incorporating alternative flours like nut flours can also improve the texture and nutritional profile of gluten-free bread while supporting the structure and rise of the dough.
This sequence ensures healthy yeast fermentation, producing carbon dioxide that creates the rise critical to gluten-free, egg-free bread texture.
Mix Your Gluten-Free Egg-Free Dough for Ideal Texture and Moisture

When you’re diving into gluten-free baking, it’s super important to pick the right mix of flours. I recommend starting with a balanced blend, like brown rice and chickpea flour. This combo really helps in building that much-needed structure and texture in your dough. Using extra virgin olive oil in your dough can also enhance flavor and moisture retention.
Now, here’s where it gets interesting! Since we’re skipping eggs, you’ll want to add in some binding agents to keep everything together. Xanthan gum and psyllium husk are your best friends here. They help maintain moisture and stop your dough from crumbling. Psyllium husk powder is essential in gluten-free vegan bread recipes because it forms a gel that helps the bread rise without yeast, making it an indispensable ingredient for structure and moisture retention psyllium husk powder.
Once you’ve got your dry ingredients whisked together, it’s time to get your hands dirty! Knead in the wet ingredients thoroughly. This step is crucial—it helps achieve that soft and elastic consistency we all love in a loaf.
Choosing Flour Blends
Choosing the right flour blend plays an essential role in achieving the ideal texture and moisture for your gluten-free, egg-free bread.
Blends typically combine whole grain flours like brown rice or sorghum with starches such as potato and tapioca to balance structure and tenderness.
For moisture retention, potato starch is crucial, while superfine rice flour helps prevent dryness.
You can adjust blends based on dietary needs, substituting starches or proteins accordingly.
One common blend includes brown rice flour, sorghum flour, tapioca or arrowroot starch, and potato starch, with no gums or additives included to maintain natural texture.
| Blend Name | Key Characteristics |
|---|---|
| Bakerita | 60% whole grains, 40% starches |
| Kim’s Blend | High potato starch, protein-rich |
| Mock Better Batter | Mix of brown & white rice, starches |
Selecting a blend that suits your recipe ensures dough handles well and produces tender, moist bread.
Incorporating Binding Agents
Once you’ve selected the right flour blend for your gluten-free, egg-free bread, the next step is to incorporate binding agents that hold the dough together and improve texture.
Psyllium husk powder is one of the best options, providing elasticity and moisture retention that mimics gluten’s role. Use about 2 teaspoons to replace 1 teaspoon of xanthan gum. Psyllium husks are highly hygroscopic, absorbing moisture to aid binding in gluten-free baked goods. Additionally, the fat content in your ingredients can influence the overall texture and moisture of the bread.
Chia and flax seeds also work well when ground and soaked to form gels that bind and add structure; combine 1 tablespoon of ground seeds with 3 tablespoons water for each “egg” replacement. These gels improve crumb softness and moisture retention.
While xanthan and guar gums are common, psyllium husks often yield superior bread texture and can be combined with chia or flax for enhanced binding and moisture balance in your dough.
Mixing Techniques
A well-executed mixing process sets the foundation for gluten-free, egg-free bread with ideal texture and moisture.
Start by whisking your dry ingredients: gluten-free flours, xanthan gum, yeast, and psyllium husk to guarantee even distribution and prevent clumping. Using ingredients that promote gut health can enhance the nutritional profile of your bread.
Proof your yeast in warm water with sugar until foamy, confirming its viability. This step typically takes about five minutes, aligning with the recipe’s quick prep time (five minutes of prep).
Add this mixture gradually to the dry base on medium speed, followed by aquafaba, oil, and vinegar, mixing until a shaggy, thick batter forms.
Knead the dough by hand or mixer for 5–10 minutes until it becomes smooth, cohesive, and stretchy, activating the binders for structure.
Finally, allow the dough to rest and rise covered for 2–3 hours to develop moisture and texture without overmixing, which can harm flavor and structure.
Choose the Right Pan and Create the Perfect Rising Environment

When it comes to baking, choosing the right bread pan is super important—especially if you’re working with gluten-free, egg-free dough. You’ll want to pick a pan that has extra-tall sides. This helps support that dough as it rises. Aluminum or stainless steel materials are great options because they conduct heat well. The King Arthur Perfect Gluten-Free Loaf Pan, for example, features extra-tall sides specifically designed to support gluten-free dough rise and shape.
Also, keep an eye out for nonstick surfaces and textured interiors. These features really help with even airflow and prevent the dough from sticking as it expands. Trust me, creating this kind of optimal rising environment is key. It ensures your loaf holds its shape and bakes evenly, leading to a delicious result.
Selecting Ideal Bread Pans
Selecting the ideal bread pan plays an essential role in achieving the perfect rise and texture for gluten egg-free bread.
Choose pans with tall sides, like 9″ x 5″ aluminum or steel, to support your dough’s lift and prevent collapse. Nonstick coatings such as Americoat or USA Pan silicone reduce sticking and improve browning without extra grease. Among tested pans, the USA Bakeware aluminum pan stood out for its excellent heat conductivity and ease of release.
Ceramic pans offer a nontoxic option, releasing loaves cleanly without parchment. Here’s a quick guide:
| Pan Type | Key Benefit |
|---|---|
| Aluminum (Nordicware) | Even heat, great shape support |
| Ceramic (Caraway) | Nontoxic, easy release |
| Steel-Aluminum Mix (USA Pan) | Durability, superior heat conductivity |
| Cast Iron | Durable, even baking, bulky |
Select your pan wisely to ensure consistent, well-shaped gluten-free bread every bake.
Optimizing Dough Rising Environment
How can you create the perfect environment to ensure your gluten egg-free dough rises optimally?
First, choose a warm, draft-free spot near 32°C, since yeast works fastest at this temperature. Avoid temperatures above 45°C, which kill yeast.
Preheat your oven to 200°F, turn it off, and place the dough inside for consistent warmth. Use plastic bowls with loose covers or plastic wrap to retain moisture and prevent drying. It is important to include sugar or honey in the proofing liquid as yeast food to encourage active fermentation.
Avoid cold metal or glass bowls, which cool quickly and slow rising. Expect about a 50% rise before baking; gluten-free dough typically only needs one rise after shaping.
In colder or high-altitude environments, proof longer. Tracking your kitchen’s temperature and humidity helps you adjust liquid amounts and proofing time, ensuring steady fermentation and a successful loaf.
Get Your Gluten-Free Egg-Free Dough Rising Fluffy and Light
Achieving a fluffy and light rise in gluten-free, egg-free dough starts with creating a warm, draft-free environment that encourages yeast activity without rushing the process. Maintaining precise temperature control is crucial, as higher temperatures can cause rapid fermentation leading to over-proofing.
Keep your dough in a space around 65 to 75°F, using a proofing box or covering it with a clean trash bag to maintain warmth and humidity. Using a tall-sided tin for baking provides essential support to the dough, helping prevent collapse as it rises and bakes.
Reduce yeast by 75-80% to lengthen proofing time, improving texture and flavor. Whisk psyllium husk powder with dry ingredients for essential structure and rise, and add a small amount of sugar to feed yeast early.
Proper hydration and an autolyse rest enhance dough elasticity, while minimal kneading preserves gas pockets. Increasing hydration slightly can counteract the dryness often encountered in high altitude baking, improving dough texture.
Aim for your dough to rise to about two-thirds the pan height, avoiding over-proofing to keep it from collapsing during baking.
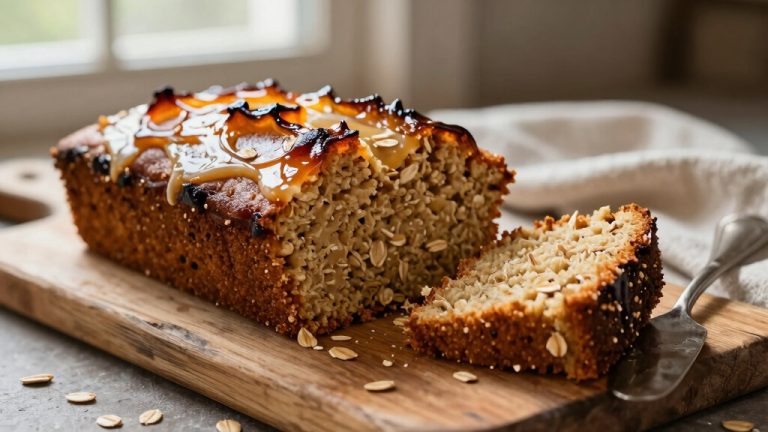
Bake Your Gluten-Free Egg-Free Bread to Perfection
Once your gluten-free, egg-free dough has risen to the right height in a warm, draft-free spot, it’s time to prepare for baking. Allowing the dough to rest properly enhances flavor and texture through gentle fermentation.
When your gluten-free, egg-free dough has risen perfectly in a warm, draft-free spot, it’s ready for baking.
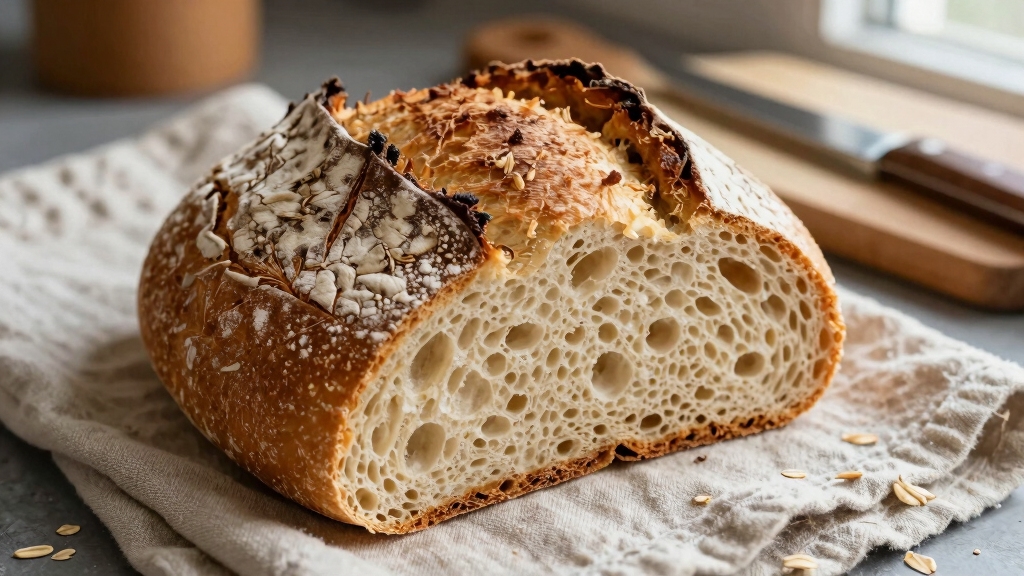
Preheat your oven to 350°F for a traditional sandwich loaf in an 8×4 or 9×5 inch greased pan. If your dough is batter-like and proofed for 20-30 minutes, set the oven to 375°F. The final loaf should develop a deep, dark brown colour to achieve the perfect crust.
Transfer the dough carefully with a wet spatula, smoothing the top and shaping as needed. For artisan styles, use a preheated Dutch oven or skillet, adding hot water or ice cubes to the bottom tray to create steam. This steam generation helps improve oven spring and crust texture.
Steam helps with oven spring and crust texture. Bake for 40-50 minutes until the internal temperature reaches 210°F, ensuring a well-browned, crunchy crust without gumminess.
Store and Serve Your Homemade Gluten-Free Egg-Free Bread
Properly storing your gluten-free, egg-free bread is essential to maintain its freshness and texture.
Cool it completely at room temperature for 1-2 hours before slicing or storing to prevent moisture buildup and sogginess. Avoid placing it in areas with frequent temperature changes to preserve its quality.
Store your bread in an airtight container or plastic bag, keeping the cut side down to minimize drying. Using plastic bags over paper bags can help retain moisture and freshness better.
Avoid refrigeration since it speeds staling through starch recrystallization. Instead, consider optimal storage conditions to extend freshness without compromising texture.
For short-term storage, a bread box keeps it fresh up to three days.
If you want to keep it longer, slice the bread fully, freeze portions in airtight bags with wax paper separators, and label with the freeze date.
Frozen bread lasts 1-2 months.
To refresh stale bread, mist slices with water and toast briefly, or reheat a whole loaf wrapped in foil at 160°C. This method helps reactivate moisture and improve the bread’s texture for better enjoyment.
Frequently Asked Questions
Can I Freeze Gluten-Free Egg-Free Bread After Baking?
Imagine you just baked an egg-free gluten-free loaf and want to store it.
Yes, you can freeze it after baking! Slice the bread first to make thawing easier.
Wrap each slice tightly in plastic wrap or parchment paper, then place them in a freezer-safe bag to prevent freezer burn.
Make sure the bread cools completely before freezing to maintain texture.
Label it with the date, and enjoy freshness for months.
What Are Common Substitutions for Psyllium Husk in This Recipe?
You can substitute psyllium husk with xanthan gum, which acts as a gluten-free binder and improves oven rise and crust color.
However, it tends to create a drier crumb and doesn’t replicate dough handling like psyllium.
Starch-based options like tapioca or potato starch only support structure when combined with eggs, so they’re less effective in egg-free recipes.
Choosing recipes formulated specifically for xanthan gum yields better results than direct substitutions.
How Do Altitude Changes Affect Gluten-Free Egg-Free Bread Rising?
Imagine baking like a medieval alchemist. Altitude changes can drastically affect your gluten-free, egg-free bread rising.
At higher elevations, lower atmospheric pressure causes dough to rise faster but less steadily, risking collapse. You’ll need to reduce leavening agents and increase liquid and flour for structure.
Faster moisture evaporation dries dough, so watch rise times closely to prevent over-proofing. Adjusting these factors helps you achieve a sturdy, well-risen loaf every time.
Is It Possible to Make This Bread Using a Bread Machine?
Yes, you can definitely make gluten-free, egg-free bread using a bread machine.
You’ll want to use the gluten-free or quick bread setting for the best results.
Make sure to layer wet ingredients first, then dry ingredients, keeping the instant yeast separate in a small well.
The machine handles mixing, rising, and baking, giving you a soft, well-risen loaf with minimal prep on your part.
Can I Add Seeds or Nuts Without Affecting Texture and Rise?
Yes, you can add seeds or nuts without negatively affecting texture or rise, but balance is key.
Ground nuts and seeds integrate smoothly, preventing dense spots. Whole seeds add crunch but may alter chewiness slightly.
Use binders like psyllium or chia to maintain dough strength and moisture. Avoid excessive amounts, as too many nuts or seeds can weigh down the loaf.
Toasting seeds enhances flavor without harming texture or rise.
Turn This Gluten Egg Free Bread Recipe Into Rolls, Buns or Toast
Now that you’ve mastered this gluten-free, egg-free bread recipe, you’re holding more than just bread. You’re holding the key to inclusive, wholesome baking.
With the right ingredients and techniques, you’ve created a loaf that rises beautifully and bakes to golden perfection without compromise.
Remember, patience and precision are your best allies in this journey. Enjoy your homemade bread as a comforting hug in every slice, nourishing both body and soul.