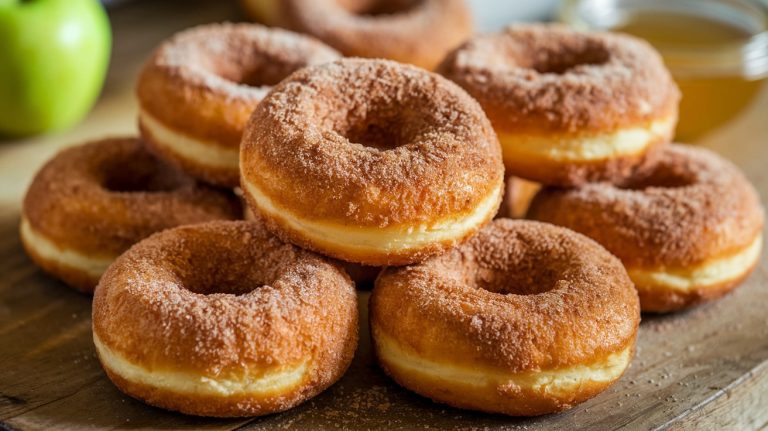
Coconut Flour Sourdough Starter: A Gluten-Free Twist
If you’re looking for a gluten-free baking alternative, a coconut flour sourdough starter is a fantastic option. Made from coconut flour and chlorine-free water, it provides a mild flavor and probiotic benefits.
As it ferments, you’ll notice bubbling and a tangy aroma, indicators of its activity. While it may take some experimenting with moisture levels, the results are worth it.
Keep exploring to discover tips on maintenance and overcoming challenges to perfect your starter.
Key Takeaways
- Coconut flour sourdough starter is a gluten-free alternative, providing a mild flavor and probiotic benefits for digestive health.
- It requires a higher liquid content due to coconut flour’s absorbency, necessitating adjustments in recipes.
- Signs of an active starter include bubbles, a tangy smell, and a significant size increase after feeding.
- Maintenance involves daily feeding at room temperature or weekly feeds if refrigerated, using a 1:1 ratio of coconut flour to water.
- Unique challenges include slower fermentation and the need for texture-enhancing additives like psyllium husk or xanthan gum.
Coconut Flour Sourdough Starter Explained
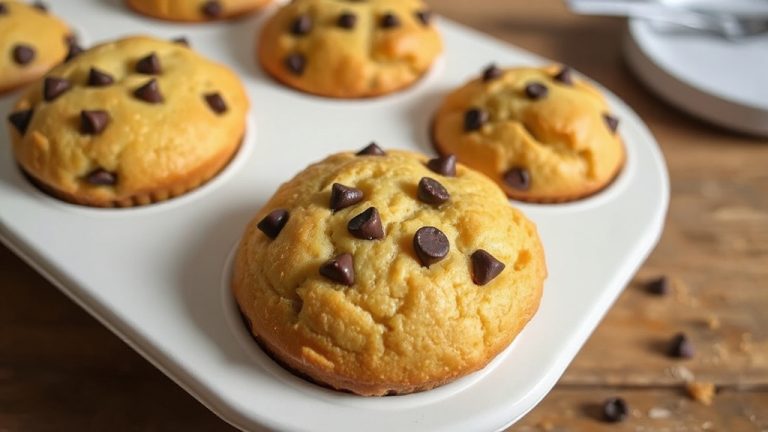
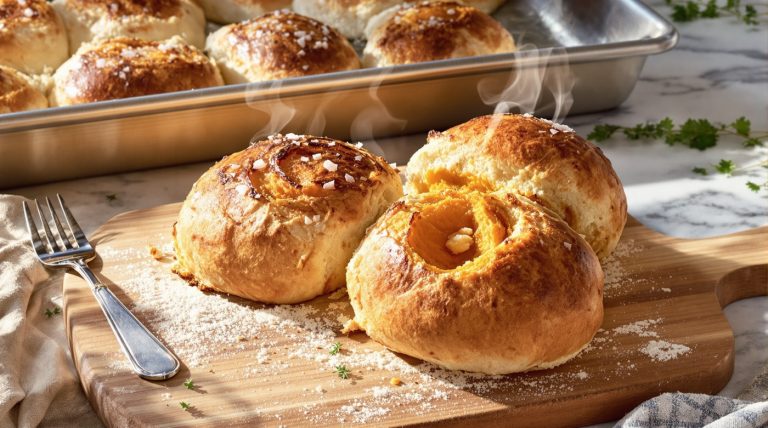
Coconut flour sourdough starter is a fascinating alternative for those looking to explore gluten-free baking. This starter boasts a mild flavor profile, enhancing your baked goods without overwhelming them.
It’s perfect for whipping up gluten-free muffins, cupcakes, and pancakes, all while providing probiotic benefits that support your digestive health. However, working with coconut flour presents unique challenges—you’ll need to adjust liquid content due to its absorbency and be patient as you experiment with achieving the right consistency.
Unlike traditional sourdough, coconut flour starters may behave differently, requiring a bit of trial and error. A wealth of information is available for those interested in mastering this unique baking technique, but don’t let that deter you; the rewards of creating delicious, gluten-free treats make the journey worthwhile!
Ingredients Needed for Coconut Flour Sourdough Starter
To create a successful coconut flour sourdough starter, you’ll need a few essential ingredients that set the foundation for fermentation.
Start with a cup of coconut flour and a cup of lukewarm, chlorine-free water; these are your must-haves. Additionally, ensure that your starter is free from major allergies to promote a healthy fermentation process. You can also consider optional additives like natural sweeteners to give your yeast a little extra boost, enhancing the flavor and activity of your starter.
Essential Ingredients Overview
Creating a successful coconut flour sourdough starter hinges on a few essential ingredients that work together to foster fermentation.
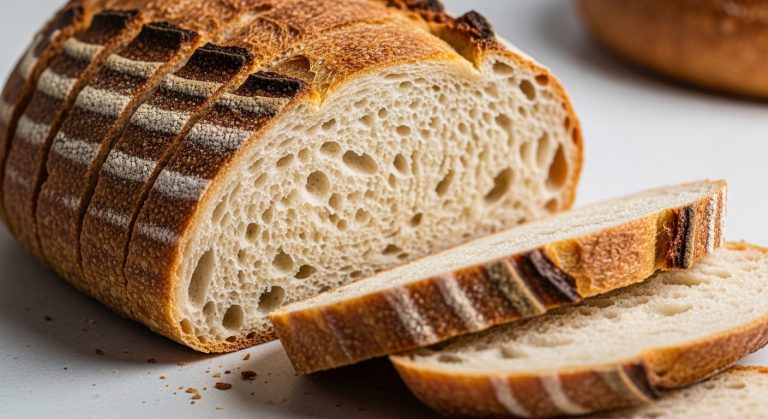
First, you’ll need coconut flour, which serves as your primary ingredient. Next, use chlorine-free water to guarantee a healthy fermentation environment. It’s important to note that the unique characteristics of sourdough include airy crumb and thick crust, which can also be influenced by your starter’s quality.
You might also consider adding a natural sweetener to feed the yeast, although it’s optional. While salt isn’t typically included in the starter, it’ll come into play later in your baking process.
Finally, wild yeast from the environment is vital, but you can use commercial yeast for quicker results.
Optional Additives Explained
Once you’ve gathered your key ingredients, you might want to explore optional additives that can enhance your coconut flour sourdough starter. These additions can elevate flavor, texture, and nutrition, making your baking experience even better. Consider these options:
- Natural Sweeteners: Honey or maple syrup to feed the yeast and enrich flavor.
- Psyllium Husk: Improves texture and binding, essential for gluten-free baking.
- Probiotics: Boosts the nutritional profile, supporting digestive health. Additionally, using a sourdough starter can help in achieving better fermentation outcomes.
Experimenting with these additives allows you to customize your starter to suit your taste and dietary needs. They can transform your coconut flour sourdough into a unique culinary creation, ensuring each loaf reflects your personal touch. Enjoy the process of discovery!
Step-by-Step Process to Create Your Starter
Creating your coconut flour sourdough starter is a simple yet rewarding process. You’ll need just a few key ingredients and a daily feeding routine to get it bubbling with life. Wild Yeast is essential for fermentation, and it will help develop the unique flavors in your sourdough. Let’s walk through the steps to guarantee your starter thrives and brings delicious flavor to your baked goods.
Ingredients Needed for Starter
To initiate your journey of making a coconut flour sourdough starter, you’ll need a few essential ingredients that work together to cultivate a thriving culture.
Here’s what you should gather:
- Coconut Flour: This is key for creating a gluten-free base.
- Chlorine-Free Water: Avoid inhibiting yeast growth with good-quality water.
- Natural Sweetener (Optional): A bit of honey or maple syrup can help feed the yeast.
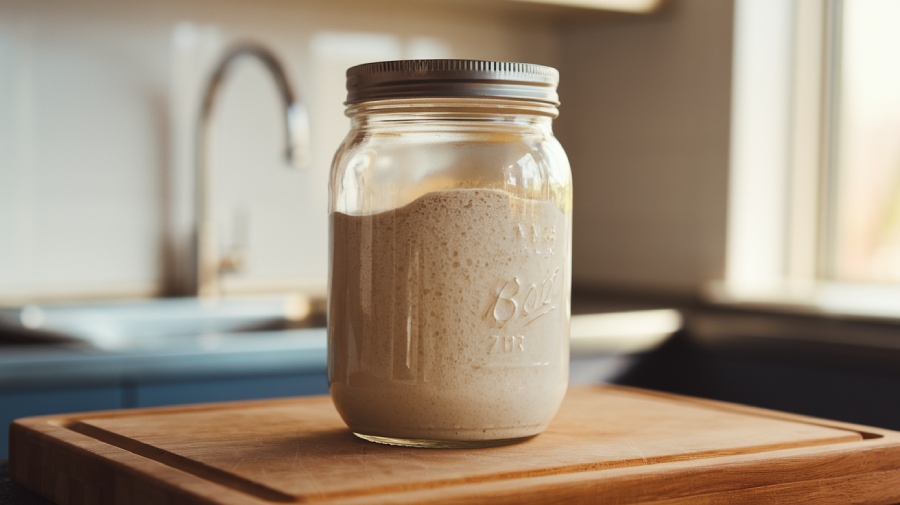
Additionally, you might want an active culture, which can be found in pre-made starters for convenience. Using a glass mason jar will enhance your fermentation process and promote optimal growth.
Remember, using a glass or plastic container and wooden utensils will enhance your fermentation process.
Daily Feeding Routine
With your ingredients ready, you can now commence on the daily feeding routine that will nurture your coconut flour sourdough starter.
Begin by mixing equal parts of your starter, coconut flour, and water—typically a 1:1:1 ratio by volume. Discard half of your starter to keep it manageable and fresh. Maintaining a balanced mixture is crucial to prevent any sour smells or overly acidic tastes from developing, as proper feeding leads to bread with an open crumb structure.
Let it rest at room temperature, observing for bubbles and a tangy aroma, signals of active fermentation. Feed it once a day, adjusting the frequency if the activity seems slow. If it’s overly active, consider reducing feedings or adjusting its environment.
Once bubbly and ready, you can use it in recipes or store it in the fridge, maintaining it with regular feedings for a healthy starter.
Signs Your Starter Is Active
When you’re nurturing a coconut flour sourdough starter, spotting signs of activity is essential to guarantee it’s thriving.
Keep an eye out for these key indicators:
- Bubbles and Foam: Look for visible bubbles forming on the surface and within the mixture, signaling fermentation.
- Volume Increase: Your starter should double or triple in size after feeding, showcasing its active fermentation.
- Tangy Smell: A delightful sour aroma with a hint of sweetness indicates a healthy balance of yeast and bacteria. Additionally, the texture should be thick and paste-like, typical of coconut flour, which absorbs water differently than traditional flours, affecting the starter’s consistency.
Benefits of Coconut Flour Sourdough
Coconut flour sourdough offers a delightful twist on traditional bread, combining the benefits of sourdough fermentation with the unique properties of coconut flour.
You’ll love the high fiber content, which aids digestion and supports a healthy gut. Plus, its low glycemic index helps regulate blood sugar levels, making it a smart choice for those watching their intake. Additionally, the high fiber content of coconut flour helps prevent constipation and promotes gut health.
Naturally gluten-free, this bread is perfect for anyone with gluten intolerance. The protein content boosts your diet, while essential minerals like iron and potassium enhance your overall health.
Common Challenges and How to Overcome Them
Creating a coconut flour sourdough starter can be a rewarding yet challenging endeavor. You might face several hurdles, but don’t worry; these can be overcome with some adjustments and patience.
Here are some common challenges:
- Absorption Issues: Coconut flour absorbs more liquid, so tweak your hydration levels.
- Lack of Gluten: The absence of gluten means you’ll need to adjust your techniques for structure. Understanding the importance of maintenance will help you keep your starter active despite these challenges.
- Slow Fermentation: Expect slower fermentation times, requiring longer proofing.
To tackle these challenges, regularly feed your starter, monitor its environment, and experiment with additional ingredients like xanthan gum.
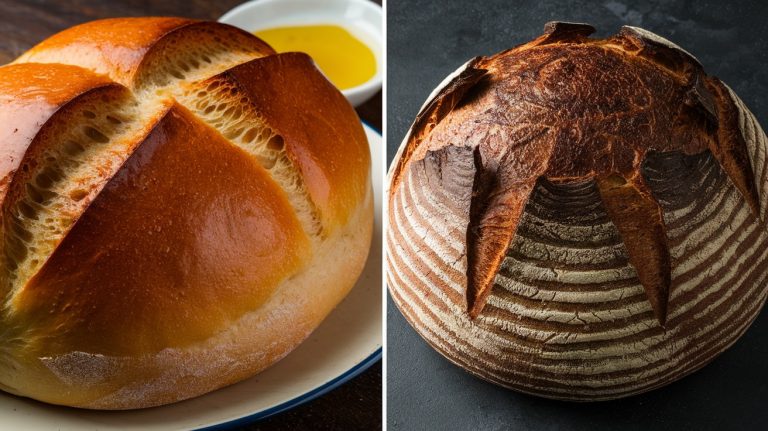
Comparing Coconut Flour and Traditional Sourdough Starters
While both coconut flour and traditional sourdough starters share a common goal of producing delicious baked goods, their differences are significant. Here’s a quick comparison to help you understand their unique qualities:
| Feature | Coconut Flour Sourdough | Traditional Sourdough |
|---|---|---|
| Flavor Profile | Mild with a tropical hint | Tangy and robust |
| Gluten Content | Gluten-free | Contains gluten |
| Texture | Denser, less elastic | Chewy and elastic |
Coconut flour offers a nutritious, gluten-free alternative, rich in probiotics and fiber. However, it may require adjustments in fermentation and baking times due to its lower gluten content, affecting the rise and texture of your baked goods. Additionally, using higher protein content flours in traditional sourdough helps develop a stronger gluten network, which is essential for achieving a desirable crumb structure.
Tips for Maintaining a Healthy Coconut Flour Sourdough Starter
For a thriving coconut flour sourdough starter, regular maintenance is key to ensuring it remains active and flavorful.
Start by feeding your starter daily if it’s at room temperature. If you prefer less frequent upkeep, storing it in the fridge and feeding it weekly works too. Additionally, adjust feeding frequency based on ambient temperature variations to promote optimal fermentation.
Here are some tips to help you maintain your starter:
- Monitor for Mold: Keep an eye out for any visible mold or off smells, which indicate it’s time to discard.
- Follow the Feeding Ratio: Stick to a 1:1 ratio of coconut flour to water when feeding.
- Look for Bubbles: Use your starter when it’s doubled in size and bubbly, showcasing its readiness for baking.
Frequently Asked Questions
Can I Use Other Flours in My Coconut Flour Sourdough Starter?
Absolutely, you can use other flours in your sourdough starter!
Experimenting with flours like soy, fava, or oat can add unique flavors and textures. Just remember, each flour has different absorbency and protein content, so you might need to adjust your water ratio.
Mixing flours not only enhances the taste but also boosts the nutritional profile.
Keep an eye on your starter’s activity to guarantee it’s thriving with the new ingredients!
How Long Does It Take to See Bubbles in the Starter?
When you start a sourdough starter, the excitement builds as you anticipate those first bubbles. You might see them within a few days, but various factors influence this.
The type of flour you use and the hydration level play essential roles. With careful feeding and attention, you’ll encourage fermentation, leading to those delightful signs of life.
Is It Necessary to Use a Natural Sweetener for Fermentation?
It isn’t strictly necessary to use a natural sweetener for fermentation, but it’s often beneficial.
Natural sweeteners like glucose and fructose support microbial activity, enhancing the fermentation process. They offer better flavor profiles and contribute to the overall quality of your product.
Artificial sweeteners, however, don’t provide the energy microorganisms need, so they can hinder fermentation.
Exploring natural options can lead to tastier and more satisfying results in your fermentation projects.
What Should I Do if My Starter Smells Off?
If your starter smells off, don’t panic—it happens to the best of us.
First, check if it’s been neglected; a hungry starter can develop unpleasant odors. Feed it regularly, ensuring it’s at room temperature.
If you spot any mold or discoloration, it’s time to discard it. Adjust the water and flour ratios to maintain a healthy balance.
Keeping a clean environment also helps prevent these issues from cropping up again.
Can I Store My Starter in the Refrigerator?
Yes, you can store your sourdough starter in the refrigerator! This method slows fermentation, reducing the need for frequent feedings.
Just make sure you feed your starter before placing it in an airtight container to keep it hydrated.
It can last up to three weeks without feeding, but after refrigeration, it might take a few feedings to revive it.
Always check for any signs of spoilage before using it again!
Bubble, Rise and Bake with Confidence!
In summary, nurturing a coconut flour sourdough starter can be a deliciously rewarding journey. With just a few simple ingredients and a bit of patience, you’ll be crafting mouthwatering loaves that could rival any bakery’s finest.
Remember, though it may seem intimidating at first, the joy of watching your starter bubble and thrive is worth its weight in gold. So leap in, experiment, and enjoy the incredible flavors that this unique starter brings to your baking adventures.