How to Make Garlic Sourdough Bread: A Flavorful Twist
Start by feeding your bubbly sourdough starter to make delicious garlic sourdough bread. Roast garlic at 400°F for about 50 minutes until sweet and caramelized.
Mix warm filtered water, unbleached bread flour, and fine sea salt, then fold in the roasted garlic. During the stretch and fold process, incorporate garlic evenly for a delightful flavor.
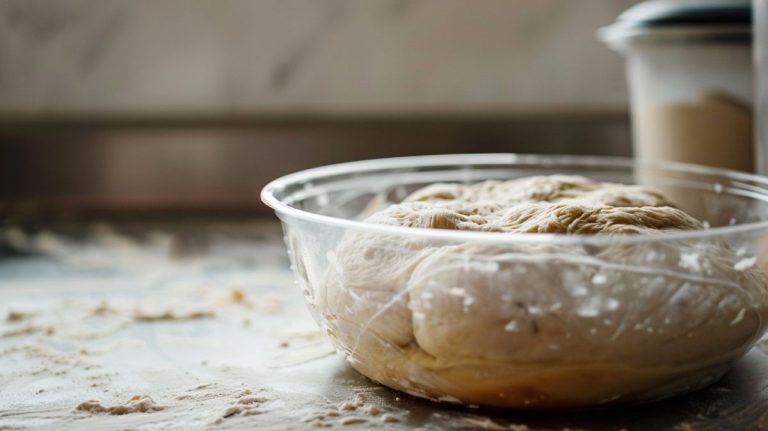
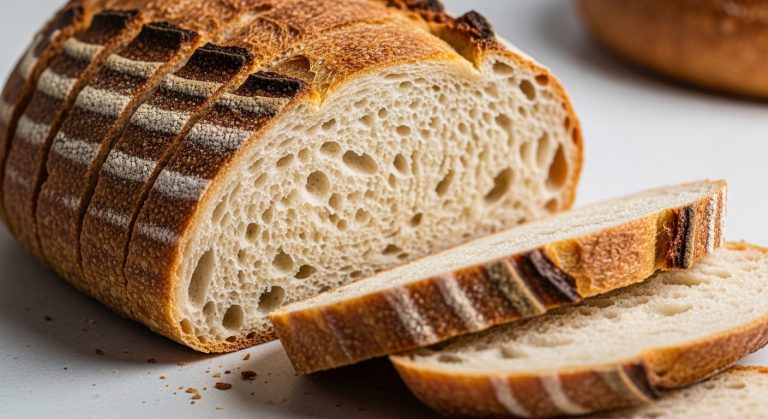
Allow your dough to rise, shape it, and score the top before baking in a preheated Dutch oven to achieve a crispy crust.
The aromatic scent of garlic and bread will fill your kitchen, making it hard to resist. There’s more to explore about enhancements and storage.
Key Takeaways
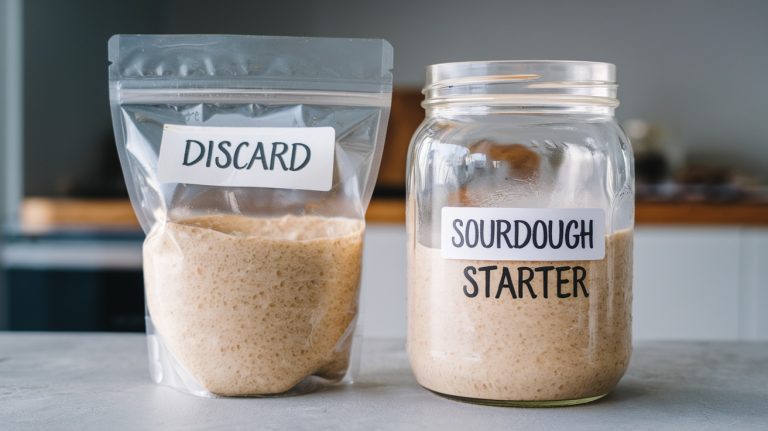
- Activate a bubbly sourdough starter by feeding it with equal parts flour and filtered water in a warm spot.
- Mix unbleached bread flour, water, and fine sea salt, allowing the dough to rest for 30 minutes to 1 hour for hydration.
- Incorporate roasted garlic and fresh herbs during the stretch and fold technique for enhanced flavor distribution.
- Shape the dough, score it with a razor blade, and bake it in a preheated Dutch oven for a crispy crust.
Essential Ingredients and Tools
Creating a mouthwatering garlic sourdough bread starts with gathering the right essential ingredients and tools that will elevate your baking experience.
First, you’ll want to choose unbleached bread flour, known for its high protein content, which enhances fermentation and gives your bread a sturdy structure. Combine this with an active sourdough starter; make certain it’s bubbly and well-fed a few hours before you start.
Next, don’t forget the star of the show: roasted garlic. To achieve that sweet, caramelized flavor, roast your garlic bulbs by drizzling them with olive oil and baking at 400°F for about 50 minutes. You’ll also need filtered water and fine sea salt to balance the flavors and guarantee a successful bake.
For precise measurements, a digital kitchen scale is crucial, allowing you to mix the ingredients accurately. A proofing basket helps shape and support your dough during its rise, making it easier to handle.
With these key components in hand, you’re well on your way to creating a delicious garlic sourdough bread.
Recommended Tools for Baking
Equipping yourself with the right tools transforms the baking process, ensuring your garlic sourdough bread turns out perfectly every time.
Start with a digital kitchen scale for precise measurements of your unbleached bread flour and other ingredients. This accuracy is crucial for achieving consistent results. You’ll also need a large mixing bowl to combine your dough ingredients efficiently during the mixing and autolyse stages.
For baking, a Dutch oven is essential. It traps steam, which helps create that desired crisp crust while ensuring even baking. Before placing your dough in the oven, use a razor blade or lame for scoring the dough. This technique allows controlled expansion and adds an aesthetic touch to your loaf.
Don’t forget your sourdough starter, as it’s the heart of your bread. After mixing, let the dough rise properly before transferring it to a baking sheet.
Garlic and Herb Variations
Incorporating fresh garlic and aromatic herbs into your sourdough not only elevates its flavor profile but also transforms each loaf into a delightful culinary experience.
Start with unbleached bread flour, as its higher protein content greatly affects fermentation and dough structure. For that irresistible garlic essence, roast whole garlic bulbs until they caramelize, then fold the luscious, sweet roasted garlic into your dough during the shaping process.
Fresh herbs like rosemary or thyme are perfect additions, infusing your bread with an aromatic flair. You can also experiment with a mix of herbs to customize your flavor profile. For an extra touch of richness, consider adding shredded Parmesan cheese or asiago, which meld beautifully with the garlic and herbs.
Don’t forget your essential tools: a Dutch oven creates steam for a crispy crust, while a digital kitchen scale guarantees precise measurements. A razor blade or lame will help you score the dough before it goes into the oven, allowing for controlled expansion.
Drizzle your dough with a touch of olive oil for added depth. Together, these elements create a garlic sourdough that’s not just bread, but an experience!
Preparation Steps
To kick off your garlic sourdough bread journey, you’ll first need to activate your sourdough starter, setting the stage for a bubbly fermentation.
Next, you’ll mix warm water and flour for an autolyse, allowing the ingredients to hydrate before adding the starter and salt.
Activating Sourdough Starter
How do you bring your sourdough starter back to life?
Start by feeding it equal parts flour and water by weight, ensuring it has the nutrients it needs for a successful fermentation. Use filtered water at room temperature to avoid any chlorine that could inhibit your yeast’s activity.
After feeding, let your sourdough starter rest in a warm spot, ideally between 75-80°F (24-27°C), for about 4-12 hours. During this time, watch for it to become bubbly and double in size, indicating that it’s ready for baking. This is a sign that the fermentation process has been successful, and your starter is now active.
To confirm its readiness, perform the float test: drop a small spoonful of your starter into a glass of water. If it floats, you’ve got an active starter with enough strength for the dough. If it sinks, give it a little more time or another feeding before trying again.
With an activated sourdough starter, you’re set to create that delicious garlic sourdough bread!
Mixing and Autolyse
Start by mixing your bubbly sourdough starter with lukewarm filtered water, creating a lively base for your garlic sourdough bread. Make sure your starter is active, having been fed a few hours prior to maximize fermentation. Gradually add unbleached bread flour and whole wheat flour to the mixture, ensuring you mix thoroughly.
After the initial flour is incorporated, sprinkle in fine sea salt, avoiding direct contact with the starter to maintain its importance.
Next, allow the dough to rest for an autolyse period of about 30 minutes to 1 hour. This significant step enhances hydration and gluten development as the flour absorbs the water, facilitating a robust gluten structure essential for your bread’s texture. During this time, you’ll notice the dough becoming more cohesive.
After the autolyse, mix the dough by hand for about 5 minutes until it’s well combined and consistent. This process prepares your dough for the upcoming stretch and fold technique, which will further strengthen the gluten, ultimately leading to a beautifully airy loaf.
With this foundation set, you’re one step closer to incorporating delicious roasted garlic and herbs!
Incorporating Garlic and Herbs
Incorporating roasted garlic and fresh herbs like rosemary into your dough elevates the flavor, creating a deliciously aromatic sourdough that’s certain to impress.
Here’s how to seamlessly integrate these savory ingredients:
- Roast the garlic: This enhances its sweetness and mellows out the sharpness.
- Choose fresh rosemary: This herb adds a fragrant touch that complements the garlic beautifully.
- Use the squeezing technique: Easily remove roasted garlic from its skins and incorporate it into the dough.
- Focus on bulk fermentation: Verify your dough has adequate time to rise before adding garlic, as this affects flavor and texture.
Baking Techniques
Achieving the perfect garlic sourdough bread relies heavily on mastering essential baking techniques that enhance both flavor and texture.
Start with the bulk ferment; conduct 4-6 sets of stretch and folds to develop a strong gluten structure, which is critical for a good rise. While shaping the dough, incorporate roasted garlic and any additional herbs to guarantee that the garlic flavor is evenly distributed.
Next, pay attention to the oven temperature. Preheat your Dutch oven for at least 1 hour at 500°F before baking. This step is fundamental for achieving a crisp crust and ideal oven spring. Just before placing the dough in the oven, score the dough with a clean razor blade. This creates controlled expansion, enhancing both the bread’s texture and aesthetic appeal.
Cover the dough for the first 20-30 minutes to trap steam inside the preheated Dutch oven. This steam helps form that coveted crisp crust. After this initial baking period, uncover the pot to let the dough develop a beautiful golden-brown finish.
Flavor Variations
Exploring flavor variations in garlic sourdough bread can elevate your baking experience, transforming a simple loaf into a gourmet delight. By incorporating different ingredients, you can create an aromatic and complex loaf that stands out.
Here are some enticing flavor variations you might try:
- Fresh herbs: Add rosemary or thyme during shaping for a more aromatic experience.
- Shredded cheese: Mix in Parmesan or Asiago to enhance the flavor profile and complement the sweetness of roasted garlic.
- Roasted onions: Introduce a savory depth that pairs beautifully with the garlic.
- Sun-dried tomatoes: Add a sweet contrast to the savory bread, giving it a Mediterranean twist.
With these variations, you’re sure to enrich your overall taste experience.
Don’t hesitate to experiment with other ingredients like ground black pepper or dried fruits such as cranberries. The possibilities are endless, and each loaf can be a unique culinary adventure!
Storage Guidelines
After you’ve crafted your delicious garlic sourdough bread with those tempting flavor variations, knowing how to store it properly will guarantee you keep that fresh taste and delightful texture for as long as possible. Here are some essential storage guidelines to follow:
| Storage Method | Duration |
|---|---|
| Paper bag at room temp | Up to 3 days |
| Wrapped tightly & frozen | Up to 3 months |
| Thawed in the fridge | Best used within 24 hours |
To store garlic sourdough bread, place it in a paper bag at room temperature for a crusty exterior while allowing moisture to escape. For longer-lasting bread, wrap it tightly in plastic wrap or aluminum foil and freeze it. If you have leftover bread, slice it before freezing to make it easier to toast or use in recipes later on. When you’re ready to enjoy your frozen bread, thaw it in the refrigerator overnight and reheat in the oven at 375°F for 10-15 minutes. Remember to avoid storing your sourdough in plastic bags at room temperature to prevent a soft crust and mold growth!
Nutritional Information
Packed with flavor and wholesome ingredients, garlic sourdough bread offers a satisfying nutritional profile that makes it a delightful addition to your meals.
If you’re looking for a healthier dietary choice, this bread checks many boxes:
- Approximately 188 calories per serving
- 39g of carbohydrates to fuel your day
- 6g of protein for muscle maintenance
- Only 1g of total fat, including 0.1g of saturated fat
With each serving, you also get essential minerals like 391mg of sodium and 99mg of potassium, crucial for maintaining electrolyte balance.
Plus, it provides some vitamins, offering 8IU of vitamin A and 2mg of vitamin C, contributing positively to your overall nutritional intake.
Incorporating garlic sourdough bread into your diet not only elevates your meals with its rich taste but also guarantees you’re making a nutritious choice without sacrificing flavor.
Whether you enjoy it plain or with your favorite toppings, you’ll appreciate the balance of carbs, protein, and fiber that supports your health and well-being.
Frequently Asked Questions
Is Garlic Bread Made From Sourdough?
Yes, garlic bread can be made from sourdough! Its tangy flavor enhances the deliciousness, and you can incorporate roasted garlic for an aromatic infusion. The crusty texture makes it a delightful treat you’ll love.
What Is the Secret to Good Sourdough Bread?
Did you know that sourdough’s natural fermentation can enhance flavor by up to 300%? To achieve great sourdough, focus on an active starter, quality flour, and proper fermentation timing for an irresistibly complex loaf.
Can You Add Garlic Powder to Bread Dough?
Yes, you can definitely add garlic powder to bread dough! It enhances flavor without adding moisture. Just start with a teaspoon, mix it in during autolyse, and adjust based on your taste preferences. Enjoy the savory notes!
Is It Cheaper to Make Your Own Sourdough Bread?
Making sourdough bread is like finding treasure; it’s definitely cheaper than buying artisanal loaves. With just a few basic ingredients, you’ll save money, reduce waste, and enjoy bread tailored to your taste and dietary needs.
A Slice of Heaven: Sourdough Bread with Roasted Garlic Brings Warmth and Connection
As you pull that golden loaf from the oven, it’s like unearthing a treasure buried in the sands of time.
Each slice is a warm embrace, a whisper of roasted garlic mingling with the tang of sourdough—a harmonious dance of flavors.
Your kitchen transforms into a haven, where the aroma beckons friends and family to gather ’round.
So, let your hands knead the dough of connection and share this delightful creation; after all, bread is the heart of the home.