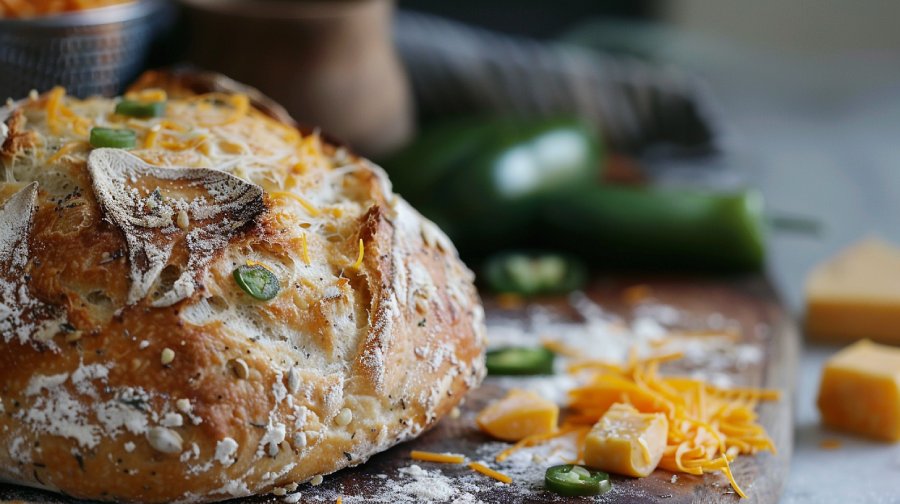
Perfect Sourdough Bread Recipe: Step-By-Step Guide
To craft the perfect sourdough bread, capture wild yeast with a thriving starter. Feed it regularly; when it’s bubbly and doubled in size, it’s ready. Combine starter with water, flour, and salt using gentle folding techniques to build gluten strength. Bulk ferment at 75-80°F, stretching and folding for best rise. Shape the dough tightly, then proof seam-side up in a floured basket.
Refrigerate overnight for cold fermentation, enhancing flavor complexity. Preheat a Dutch oven, then score the dough before baking to control expansion. Bake covered for steam, then uncovered for crust color. For an in-depth process, let’s proceed further.
Key Takeaways
- Use a well-fed sourdough starter with doubled volume and a bubbly surface for optimal fermentation.
- Mix starter, water, flour, and salt until achieving a slightly tacky dough consistency.
- Implement stretch-and-fold techniques during bulk fermentation for strong gluten development.
- Shape dough tightly and place seam-side up in a floured proofing basket for overnight cold fermentation.
- Preheat Dutch oven, score the dough, bake covered for steam, then uncover to achieve a crispy crust.
Sourdough Bread Basics
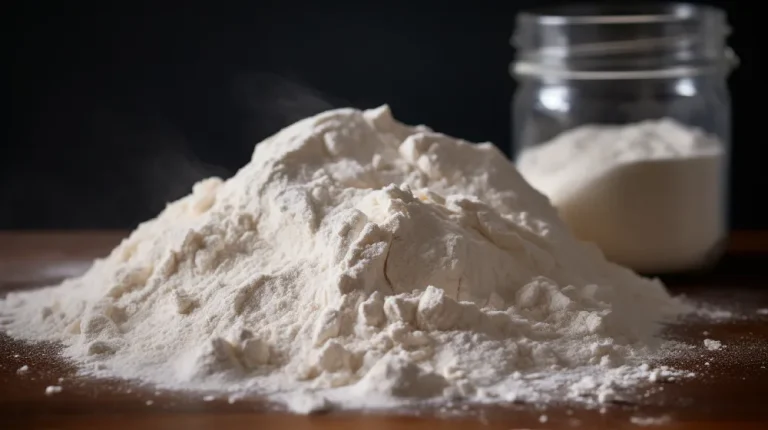
Understanding the basics of sourdough bread involves mastering the creation and maintenance of a robust sourdough starter, which serves as the foundation for natural fermentation. You’ll start by combining equal parts flour and water, allowing the mixture to capture wild yeast and bacteria from the environment.
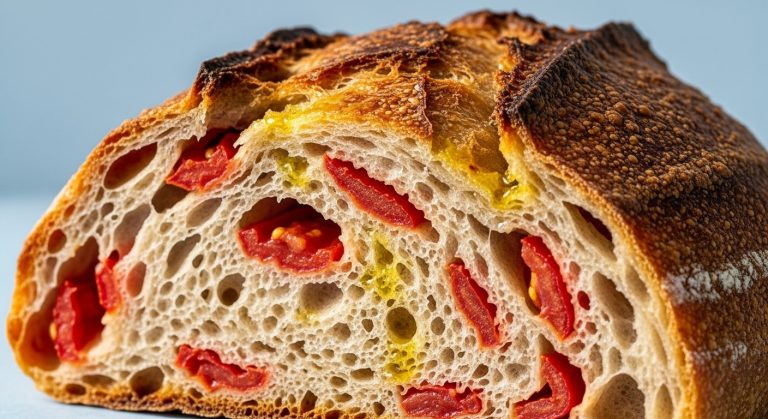
This natural yeast is vital for the fermentation process, imparting the signature tangy flavor and chewy texture to the bread.
When making sourdough bread, precision is key. After developing your starter, you’ll mix it with more flour and water to form the dough. This dough needs to undergo bulk fermentation, an essential phase where it rises slowly over several hours.
During this time, the natural yeast ferments the sugars in the flour, causing the dough to expand and develop complex flavors.
Maintaining the right temperature and humidity during bulk fermentation ensures optimal yeast activity and dough consistency. Proper kneading techniques and resting periods are also crucial, as they help build gluten structure, which is vital for a good rise.
Once the dough has sufficiently risen, you’ll shape it and allow it to proof before baking, resulting in a beautifully risen loaf with a crispy crust.
Sourdough Starter Essentials
To maintain a robust sourdough starter, adhere to a consistent feeding schedule using equal parts flour and water.
Monitor the starter for signs of readiness, such as a doubling in volume and a bubbly surface.
These indicators confirm that your starter is primed for leavening your sourdough bread.
Starter Feeding Schedule
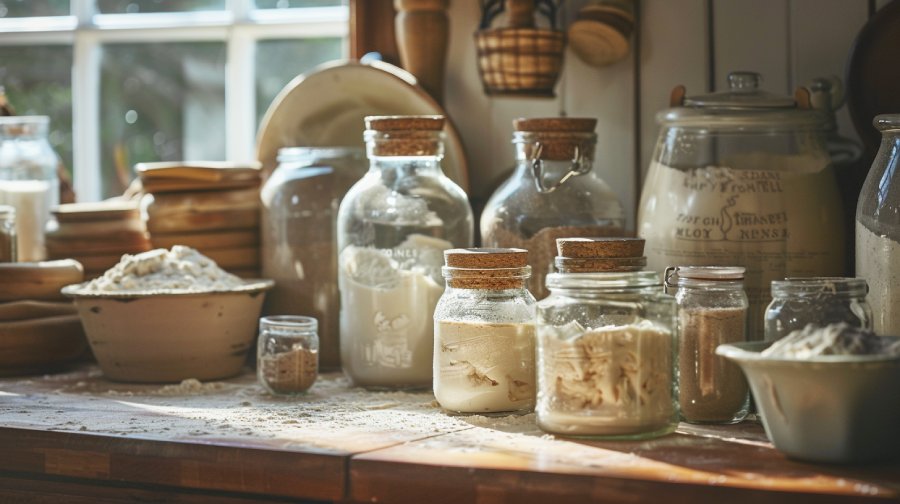
Maintaining a regular feeding schedule is necessary for the health and performance of your sourdough starter, guaranteeing it remains strong and ready for baking. To achieve this, adhere to a precise 1:1:1 ratio of starter, flour, and water by weight. Regular feedings are important, typically every 12 to 24 hours at room temperature. If you’re not baking frequently, opt for weekly feedings and store your starter in the refrigerator.
Each feeding session should involve discarding most of the starter. This practice prevents acidity buildup, which can inhibit yeast activity and cause your starter to become overly sour. Consistent feeding schedules foster a healthy starter, maintaining its energy and ensuring it stays an active starter.
For best results, use a digital scale to measure ingredients accurately, maintaining the 1:1:1 ratio. This precision ensures consistent hydration levels and fermentation rates, vital for a robust sourdough starter. Neglecting regular feedings can lead to sluggishness and diminished leavening power, so stick to your feeding schedule diligently.
Signs of Readiness
A fully active sourdough starter, characterized by a doubled volume and a bubbly surface, signals it’s ready for baking. Ensuring ideal fermentation activity, you should observe a pronounced rise in your starter, approximately doubling in size. This indicates vigorous activity from both wild yeast and bacteria, essential for proper leavening power.
A tangy aroma emanating from your starter is another essential sign. This smell confirms the presence of active wild yeast and beneficial bacteria, both crucial for fermentation. The starter consistency should resemble thick pancake batter, providing the necessary environment for these microorganisms to thrive.
Regular feeding schedule and diligent maintenance are key to sustaining a healthy starter. By adhering to these practices, you support consistent fermentation activity and robust leavening power, necessary for baking exceptional sourdough bread.
| Sign | Description |
|---|---|
| Doubled Volume | Indicates vigorous fermentation |
| Tangy Aroma | Confirms active yeast and bacteria |
| Starter Consistency | Thick pancake batter-like texture |
Mixing the Dough
Begin blending the dough by thoroughly combining the sourdough starter, water, flour, and salt to guarantee proper gluten development. Use your hands or a stand mixer on low speed to make sure all ingredients are uniformly incorporated. This step is essential for distributing the natural yeast and bacteria from the sourdough starter evenly throughout the mixture.
Once combined, utilize a gentle folding technique to further develop the dough’s structure. This involves stretching and folding the dough over itself, which helps build gluten strength without overworking it. Aim for a slightly tacky dough consistency that holds together well but isn’t overly sticky.
Ensure all ingredients are mixed evenly for proper gluten development.
Distribute natural yeast and bacteria uniformly.
Use a gentle folding technique for optimal dough structure.
Aim for a slightly tacky consistency.
Lay the fermentation foundation for flavor development.
The mixing process sets the stage for the fermentation process, where the natural yeast and bacteria will begin their work. A well-blended dough ensures even bacteria distribution, essential for consistent flavor development and texture. With a strong fermentation foundation, your sourdough will achieve the desired rise and crumb structure in the subsequent stages.
Bulk Fermentation
During bulk fermentation, you’ll need to monitor the dough’s rise and activity meticulously, ensuring it doubles in size.
Maintain a consistent dough temperature of around 75°F (24°C) to optimize yeast and bacteria performance.
Implement stretch-and-fold techniques every 30 minutes to enhance gluten development and fermentation uniformity.
Dough Rise Monitoring
Utilize a straight-sided container to accurately monitor and track the dough’s rise during bulk fermentation, ensuring precise control over the fermentation process. This method allows for careful dough rise monitoring, giving you clear visibility of the dough volume increase. Aim for a 30-50% rise, which indicates proper fermentation and best starter activity.
To maintain rise consistency, observe the following factors:
- Temperature: Affects fermentation rate.
- Starter Activity: Influences the dough’s leavening.
- Hydration Levels: Impact dough texture and rise.
- Altitude Variations: Require adjustments in ingredient ratios.
- Fermentation Times: Adjust based on desired bread characteristics.
Monitoring these elements will help you achieve a well-developed dough. Consistency in rise is important for achieving a uniform crumb structure and enhancing flavor complexity.
Adjusting fermentation times based on the dough’s texture and volume increase allows for fine-tuning the bread’s final outcome. Keep detailed notes on each batch to refine your process continuously.
Mastering these advanced techniques will elevate your sourdough baking to professional levels, ensuring each loaf meets high standards of quality and taste.
Temperature Control Tips
Consistently uphold a temperature range of 75-80°F during bulk fermentation to optimize yeast activity and ensure even dough development. Effective temperature control guarantees that yeast fermentation progresses at an ideal rate, yielding a well-risen and flavorful sourdough bread. By using a proofing box or creating a warm environment, you can minimize temperature fluctuations and maintain consistent fermentation temperature.
Monitor the dough temperature with a precise thermometer. Adjust ambient conditions as necessary to ensure best dough development. Warmer temperatures will accelerate yeast activity, while cooler temperatures will decelerate it, potentially affecting the final product.
Here’s a quick reference table for managing fermentation temperature:
| Temperature (°F) | Effect on Fermentation |
|---|---|
| 70-74 | Slow fermentation |
| 75-80 | Ideal yeast activity |
| 81-85 | Fast fermentation, risk of overproofing |
| < 70 | Very slow fermentation, underproofed dough |
| > 85 | Rapid fermentation, potential dough collapse |
Maintaining precise fermentation control is essential. Inconsistent dough temperature can lead to uneven yeast fermentation, resulting in inadequate dough structure. Employ advanced techniques like using a proofing box to create a controlled environment and ensure your dough experiences the ideal fermentation temperature throughout the bulk fermentation phase.
Shaping and Proofing
Shaping the dough correctly, by systematically folding the edges towards the center to create surface tension, ensures a tight gluten structure and an evenly risen loaf. For exemplary sourdough bread recipes, mastering the technique of shaping the dough is vital. This action guarantees the dough holds its shape during the final proof and baking process.
Once shaped, place the dough seam-side up into a well-floured proofing basket. This step is essential for developing the final shape and texture of your loaf.
Cold fermentation, achieved by placing the dough in the refrigerator for an overnight rise, significantly enhances the flavor profile and structure of the bread. This slow fermentation process allows the natural yeast capture to fully develop, resulting in a more intricate and nuanced flavor.
Key points to keep in mind:
- The tighter the gluten structure, the better the dough will rise.
- A floured proofing basket helps maintain the dough’s shape.
- Cold fermentation extends the time for developing flavor.
- Scoring the dough just before baking controls expansion and adds an aesthetic touch.
- The overnight rise in the fridge is indispensable for flavor and texture.
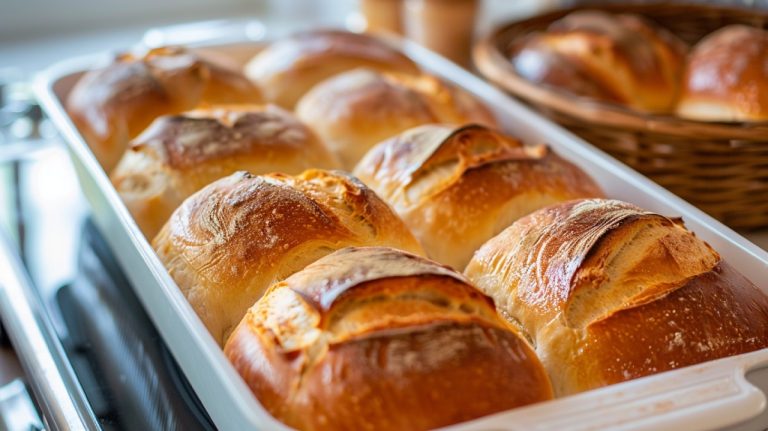
Baking the Bread
Preheat your Dutch oven to 500°F (260°C) for 45 minutes to ensure consistent heat retention and optimal crust development. Once preheated, carefully remove the Dutch oven and place your dough inside.
Before placing it in the oven, score the dough using a sharp knife or razor blade. This step is vital for controlling the rise and creating an attractive pattern on the loaf.
Cover the Dutch oven and bake the sourdough bread for 20 minutes. This initial period traps steam, which is necessary for developing a crispy crust. After 20 minutes, remove the lid and continue baking for an additional 20-25 minutes. Monitor the bread closely during this phase to achieve a deep golden brown color, indicative of a perfectly baked loaf.
Once the baking process is complete, carefully remove the bread from the Dutch oven and place it on a wire rack. Allow the bread to cool completely before slicing.
This cooling period is crucial to maintain the texture and flavor of your sourdough. Cutting into the bread too soon can compromise its structure, so patience at this stage is key for the best results.
Frequently Asked Questions
How Do You Ferment Sourdough Overnight?
Did you know 70% of artisan bakers use cold fermentation? Mix your dough, let it bulk ferment, shape it, and refrigerate overnight. This process enhances gluten structure and flavor, giving you superior sourdough bread.
Can I Leave My Sourdough Dough on the Counter Overnight?
You shouldn’t leave your sourdough dough on the counter overnight; it risks over-fermentation, leading to excessive sourness and structural collapse. Opt for cold fermentation in the refrigerator to control yeast activity and improve flavor complexity.
Why Is Sourdough Bread Bad for You?
Sourdough bread’s adverse effects stem from gluten, which can trigger celiac disease or sensitivities. High-glycemic ingredients may spike blood sugar levels. Always consider personal health conditions and consumption moderation for best well-being.
How Long Should You Cold Ferment Sourdough Bread?
Immerse yourself in the magic of cold fermentation for 12-24 hours. This process, akin to a slow dance, lets yeast and bacteria create a symphony of flavors, enhancing gluten network strength and resulting in superior crumb structure.
The Rewarding Journey of Sourdough Mastery
Mastering sourdough bread is a rewarding culinary journey, embracing tradition and technique. Did you know that sourdough’s natural fermentation can lower its glycemic index by up to 25% compared to regular bread?
By capturing wild yeast and employing overnight cold fermentation, you’re crafting bread that’s not just delicious but also healthier. So, keep nurturing your starter and refining your methods—each loaf brings you closer to perfection in the art of sourdough baking.