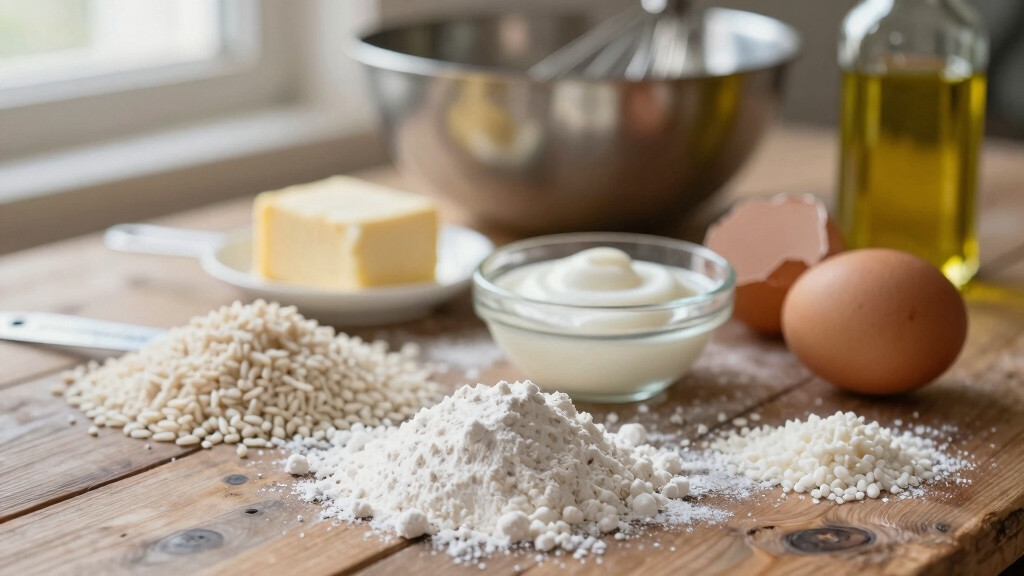
How to Make Gluten Free Self Rising Flour at Home Fast?
To make gluten-free self-rising flour, start with a gluten-free all-purpose blend.
Then mix in 1½ teaspoons of baking powder and ¼ to ½ teaspoon of salt per cup of flour.
Add about ¼ teaspoon of xanthan gum per cup to mimic gluten’s binding.
Whisk thoroughly to distribute ingredients evenly, ensuring good rise and texture.
Store the blend airtight to maintain freshness.
Understanding the precise ratios and binders will optimize your gluten-free baking outcomes.
Key Takeaways
- Combine 1 cup gluten-free all-purpose flour with 1½ teaspoons gluten-free baking powder and ¼ to ½ teaspoon salt.
- Add a binder like ¼ teaspoon xanthan gum per cup if your flour blend lacks one.
- Whisk dry ingredients thoroughly for 1–3 minutes to ensure even distribution and aeration.
- Use a digital scale for precise measuring and sift ingredients twice for optimal rise.
- Store the blend airtight in a cool, dry place to maintain freshness and leavening potency.
What Is Gluten-Free Self-Rising Flour? Basic Recipe Ratios?

What exactly is gluten-free self-rising flour, and how do its basic ratios differ from traditional blends?
Gluten-free self-rising flour combines gluten-free flour, baking powder, salt, and a binder to mimic gluten’s structural role. Using premium ingredients can significantly improve the texture and flavor of the final baked product.
Unlike regular self-rising flour, it requires an added binder, such as xanthan gum or a psyllium husk-potato starch blend, to ensure proper texture.
In the U.S., the standard ratio per cup of gluten-free flour is 1½ teaspoons baking powder and ¼ to ½ teaspoon salt.
British formulas use 2 teaspoons baking powder with ¼ teaspoon salt.
The baking powder amount is often higher than in traditional blends to compensate for gluten absence.
This precise balance streamlines baking, ensuring consistent rise and texture without manual leavening adjustments.
A thorough mixing process, often involving about 10 minutes in a processor or mixer, is essential to evenly distribute the leavening agents and binder for optimal flour blend incorporation.
Best Gluten-Free Flours for Self-Rising Flour: Store-Bought and Homemade
When it comes to gluten-free flours for self-rising blends, you’ll find a bunch of store-bought options that each have their own unique qualities. These differences can really impact the texture and rise of your baked goods. Pretty cool, right? Many gluten-free flours require added binders to mimic the gluten quality found in wheat-based flours, which is essential for good structure and rise.
But if you’re feeling adventurous, you can also whip up your own homemade blends! By mixing single-ingredient flours with binders in specific ratios, you can create a blend that works perfectly for your needs. Using a pre-mixed self-rising flour saves time in the kitchen by combining flour, leavening, and salt into one convenient product, which is especially helpful when aiming for lighter-than-air texture.
Understanding these different options is super helpful. It allows you to tailor your flour to match whatever recipe you’re working on, ensuring you get those reliable results you’re after. Happy baking!
Store-Bought Flour Options
Selecting the right store-bought gluten-free flour blend is essential when making self-rising flour, as each option varies in ingredients, texture, and leavening potential.
For consistent, light results, consider 3 Folds Bakery’s organic blend featuring brown rice, oat flour, and tapioca starch, which requires added baking powder and salt. This blend uses organic ingredients with no artificial additives, pesticides, or GMOs, ensuring a wholesome baking experience.
Bob’s Red Mill 1-to-1 Baking Flour offers versatility but demands xanthan gum adjustments to avoid crumbliness.
Budget-conscious shoppers might prefer Freee Gluten Free Self Raising White Flour or Great Value’s all-purpose blend, both widely accessible.
Premium choices like Nicole’s Best or Better Batter provide superior texture without excess xanthan gum.
Avoid unbalanced blends that compromise structure. Each flour’s composition and leavening compatibility should guide your selection to achieve the ideal rise and crumb in gluten-free self-rising flour.
Homemade Flour Blend Recipes
Creating your own gluten-free self-rising flour blend allows you to tailor ingredients for optimal texture and rise, adapting to recipe needs and personal preferences. Using a precise scale to measure your ingredients can significantly improve the consistency of your blend.
Start with a base of gluten-free all-purpose flour or craft a homemade blend using fine white rice flour, arrowroot starch, fine brown rice flour, and tapioca starch.
Add 1½ teaspoons baking powder and ¼–½ teaspoon salt per cup of flour. This follows the proper ratios essential for effective rising. Include a binder like xanthan gum if your blend lacks one.
Whisk ingredients for 1–3 minutes for uniformity. Adjust leavening strength regionally and monitor binder amounts to avoid texture issues.
| Ingredient | Purpose |
|---|---|
| White Rice Flour | Base flour |
| Arrowroot Starch | Texture, binding |
| Baking Powder | Leavening |
| Xanthan Gum | Binding |
| Salt | Flavor enhancement, rise control |
Why You Need a Binder (And Which Ones to Use)?
Why does gluten-free baking always call for a binder like xanthan gum or psyllium husk?
Simply put, gluten-free flours lack the gluten proteins that provide elasticity and structure in traditional baking.
Without binders, your dough will be crumbly and fail to hold together.
When making gluten-free self-rising flour, you must include a binder alongside flour, baking powder, and salt to mimic gluten’s role.
Xanthan gum is the most common choice, offering effective binding without altering flavor; use about 1 teaspoon per 4 cups of flour blend.
Alternatives like guar gum or psyllium husk mixed with potato starch work similarly and suit those avoiding gums.
Some seed-based or pseudo-grain blends provide natural binding, but if your blend lacks this, adding a binder is essential for proper texture and structure.
In gluten-free self-raising flour blends, xanthan gum works together with baking powder to improve both binding and rise, ensuring better results in cakes and breads. Additionally, understanding the texture and rising problems common in gluten-free baking can help you adjust your binder amounts for optimal results.
Adjusting Baking Powder for Gluten-Free Flour Blends
How much baking powder should you use when working with gluten-free flour blends? Typically, gluten-free flours need slightly more baking powder than wheat flours to achieve equivalent rise.
For example, standard American ratios suggest 1.5 tsp per cup, while British-style gluten-free self-rising flour uses 2 tsp per cup. Adjust based on the blend’s protein content and binding agents. Since gluten-free pastry flour blends are designed to perform like iconic southern flours, they make a perfect base for homemade self-rising flour and can be used as a 1:1 substitute.
| Flour Type | Flour Quantity | Baking Powder Amount |
|---|---|---|
| Gluten-Free 1-to-1 Blend | 1 cup (125g) | 1.5 tsp (6g) |
| Plain White GF Flour | 100g | 2 tsp |
| British GF Self-Rising | 1 cup | 2 tsp |
Mix baking powder thoroughly for consistent rise. Adjust liquids if higher protein blends are used.
Measuring and Combining Flour, Baking Powder & Salt Accurately

Now that you understand the appropriate baking powder amounts for different gluten-free flour blends, it’s important to measure and combine your flour, baking powder, and salt with accuracy to guarantee consistent results.
Use a digital scale to weigh your flour precisely: 250 grams for 2 cups of gluten-free 1-to-1 flour, or 120 grams for 1 cup of sifted pastry flour. Measure baking powder at 1½ teaspoons per cup of flour and salt between ¼ to ½ teaspoon per cup, depending on salt type.
Weigh flour with a digital scale and measure 1½ teaspoons baking powder plus ¼–½ teaspoon salt per cup.
Sift these dry ingredients together, or whisk them thoroughly in a large bowl for uniform distribution. For optimal aeration, you can sift the mix twice or pass it between two bowls.
This precision ensures your gluten-free self-rising flour performs reliably every time. Using tools like a digital scale can greatly improve consistency in your baking results.
How to Mix Gluten-Free Self-Rising Flour for Best Results?
When mixing gluten-free self-rising flour, selecting the right equipment and timing is essential for achieving consistent rise and texture in your baked goods.
Use a food processor for a 10-minute cycle or a mixer if unavailable, ensuring even distribution of baking powder and salt.
Whisking in a large bowl works for shorter times but requires sifting afterward to eliminate clumps. Using a wide mouth design bowl can facilitate easier mixing and sifting.
Pause the processor midway to prevent overheating, which can reduce leavening power.
Always sift the mixture once combined for uniformity.
Exploring new recipes that utilize gluten-free self-rising flour can help you discover innovative ways to use your homemade mix.
Key tips for best mixing results:
- Process or mix for about 10 minutes total
- Pause processor 2-3 minutes to avoid warming
- Sift mixture thoroughly post-mixing
- Use whisking and stirring for smaller batches
- Ensure rising agents are fully integrated before use
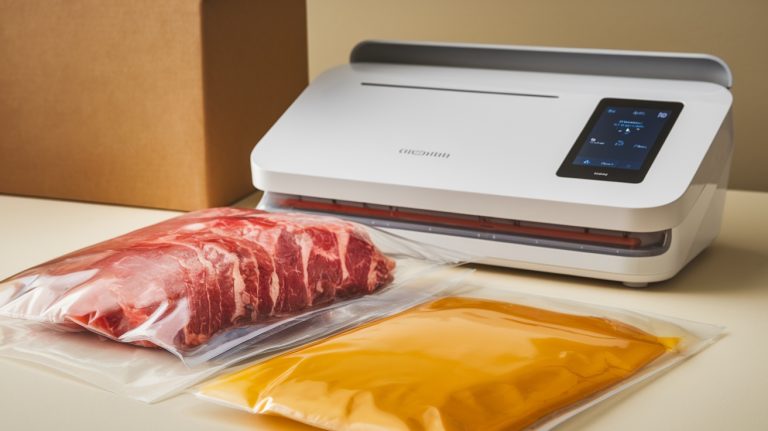
Storing Gluten-Free Self-Rising Flour for Maximum Freshness
Proper storage plays an essential role in preserving the freshness and effectiveness of your gluten-free self-rising flour.
Using airtight containers slows oxidation and prevents insect contamination, maintaining refined white flour quality for up to 1 year. Sourdough bread, made with basic vegan ingredients like flour and water, exemplifies how simple components can create complex flavors through natural fermentation, highlighting the value of natural leavening in baking.
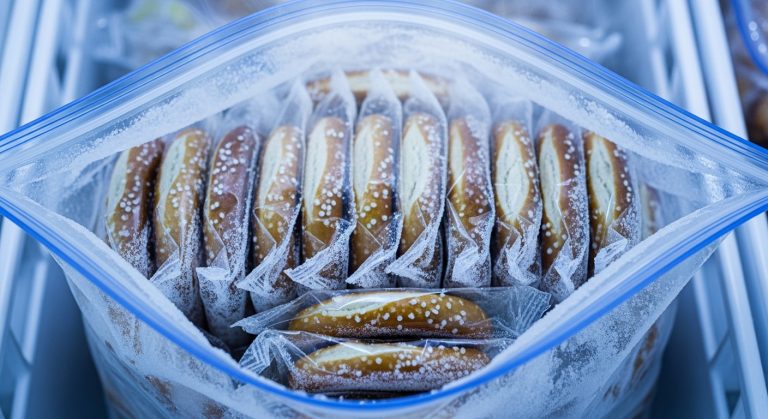
Refrigeration extends shelf life to 3–4 months, while freezing can preserve flour for up to 2 years without quality loss.
For long-term storage, Mylar bags with oxygen absorbers offer superior protection, extending shelf life to 5–10+ years.
To maximize flour longevity, protecting it from moisture and light exposure is crucial to prevent spoilage.
| Storage Method | Approximate Shelf Life |
|---|---|
| Airtight Container | 3–12 months (varies by type) |
| Refrigerator | 3–4 months |
| Freezer | Up to 2 years |
Choose storage based on your timeline, space, and budget to keep your flour fresh and effective.
Common Mistakes to Avoid When Making Gluten-Free Self-Rising Flour
Maintaining the freshness of your gluten-free self-rising flour sets the stage for successful baking. Avoiding common mistakes during its preparation guarantees the best results.
Fresh gluten-free self-rising flour is essential for baking success and avoiding common preparation errors.
You must ensure thorough mixing of leavening agents for uniform rise. Accurately measure baking powder to suit gluten-free flours, and include binding agents like xanthan gum if absent in your blend. Using precision tools can help achieve accurate ingredient measurements.
Additionally, pay close attention to your flour blend’s composition to avoid density issues. Precisely measure salt to balance flavor and leavening. It is also crucial to prevent cross-contamination by storing gluten-free ingredients separately and cleaning equipment before use.
Key mistakes to avoid include:
- Insufficient mixing causing uneven texture
- Incorrect baking powder ratios leading to dense results
- Omitting binding agents that ensure structure
- Using inappropriate flour blends affecting hydration
- Under-measuring salt compromising rise and taste
How Gluten-Free Self-Rising Flour Differs From Regular Self-Rising Flour?
The key distinctions lie in ingredients, protein content, leavening agents, binding, and usage. Gluten-free versions replace wheat flour with starches and xanthan gum to mimic gluten’s structure. Self-rising flour traditionally includes baking powder to provide the leavening action that is essential for light and airy baked goods.
Proper storage and freshness are important to maintain the efficacy of the leavening agents in both types of flour, as deterioration can affect rise and texture, similar to maintaining starter vitality.
Regular flour relies on wheat proteins for elasticity and tenderness. Both contain baking powder, but gluten-free uses gluten-free leaveners to ensure no wheat contamination.
| Aspect | Regular Self-Rising Flour | Gluten-Free Self-Rising Flour |
|---|---|---|
| Base Flour | Wheat (all-purpose) | Gluten-free starches (tapioca, etc.) |
| Protein Content | ~8.5% (soft wheat) | 0% (requires gum substitutes) |
| Binding Agent | Gluten | Xanthan gum |
| Leavening Agent | Baking powder (with wheat starch) | Gluten-free baking powder |
| Usage | Biscuits, pancakes | Requires recipe adjustments |
When and How to Use Gluten-Free Self-Rising Flour in Your Baking?
When should you choose gluten-free self-rising flour in your baking projects? Use it in recipes that specifically call for self-rising flour or its gluten-free variant.
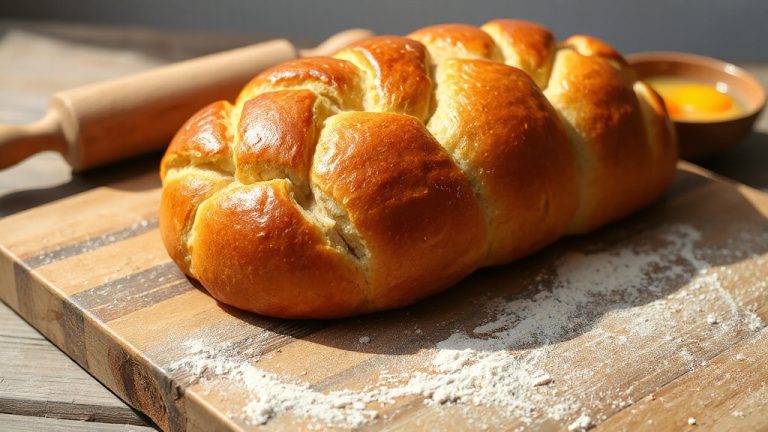
It works best in quick breads, biscuits, scones, pancakes, and fruit desserts like peach cobbler. Substitute it 1:1 for wheat self-rising flour in compatible recipes.
However, avoid using it where plain gluten-free flour or specialized flours are required. For optimal results, add baking powder and salt fresh at baking time if mixing ahead. The American version of gluten-free self-rising flour typically includes salt and baking powder already combined for convenience.
Key tips for using gluten-free self-rising flour:
- Use in quick-rising baked goods for lift and structure.
- Substitute in cakes, muffins, and biscuits directly.
- Avoid replacing plain gluten-free flour recipes.
- Sift flour before measuring for accuracy.
- Store airtight to maintain leavening potency.
Frequently Asked Questions
Can I Substitute Gluten-Free Self-Rising Flour in Yeast Bread Recipes?
You shouldn’t substitute gluten-free self-rising flour in yeast bread recipes.
Baking powder in self-rising flour activates immediately, unlike yeast, which requires fermentation time to create gas bubbles and proper rise.
Using self-rising flour will result in dense, flat bread lacking the desired texture.
Instead, use gluten-free bread flour blends designed for yeast doughs with added binders like xanthan gum.
This ensures proper structure and rise in your gluten-free yeast breads.
How Does Altitude Affect Gluten-Free Self-Rising Flour Baking?
Altitude accelerates rising, so you’ll reduce baking powder and shorten rise times to prevent collapse.
You’ll increase liquids and flour to balance faster evaporation and weakened structure.
You’ll raise oven temperature by 15-25°F to set structure quickly, filling pans halfway to avoid spills.
You’ll add binders like xanthan gum for gluten-free flour, since thinner air and lower pressure make gas bubbles expand rapidly, risking your baked goods falling flat.
Are There Any Allergens Commonly Found in Gluten-Free Flour Blends?
Yes, you should watch for allergens in gluten-free flour blends. Many contain soy or milk, even if labeled allergen-free, due to shared equipment with eggs, wheat, and nuts.
Some blends use lupine flour, which can trigger peanut allergies, or cricket flour, problematic for shellfish-sensitive individuals. Rice flour-heavy mixes may carry arsenic risks but less allergen concerns.
Always check ingredient lists and manufacturing practices carefully to avoid hidden allergen exposure.
Can I Freeze Gluten-Free Self-Rising Flour for Longer Storage?
Imagine you’ve just made a big batch of gluten-free self-rising flour blend. Yes, you can freeze it to extend its shelf life.
Just seal it tightly in an airtight container or resealable bag to prevent moisture. Freezing preserves its leavening power and flavor for up to 12 months.
When ready, thaw to room temperature for yeast recipes or use directly for quick bakes like cookies. This keeps your blend fresh and effective.
How Do Gluten-Free Self-Rising Flours Impact the Texture of Pancakes?
Gluten-free self-rising flours impact pancake texture by producing light, fluffy results similar to conventional pancakes when you prepare them correctly.
You’ll need to let the batter rest for 20+ minutes to avoid graininess since gluten-free flours absorb liquid slower.
Expect a thicker batter consistency and a distinct texture due to the blend of rice, potato, maize, tapioca, and buckwheat flours.
Proper mixing and hydration ensure optimal rise and softness.
Make It Your Own: Customize Gluten Free Self Rising Flour for Any Recipe
Now that you know how to craft your own gluten-free self-rising flour, you can confidently combine carefully chosen components for consistent, crumbly creations.
Remember to measure meticulously, mix methodically, and store smartly to sustain freshness and flavor. Avoid common cooking conundrums by adjusting additives appropriately and applying binders effectively.
By mastering these methods, you’ll simplify your baking and savor sensational, spongy, and satisfying results every time you start your gluten-free self-rising flour journey.