Fleischmann Active Dry Yeast Bread Recipe: Bakery-Quality Bread at Home
To bake bread with Fleischmann Active Dry Yeast, start by dissolving 2 envelopes of yeast in warm water (100°–110°F) with a bit of sugar until bubbly, about 10 minutes.
Mix in flour, salt, and warm liquids, then knead the dough until smooth and elastic.
Let it rise until doubled, punch down, shape, and allow a second rise.
Bake at 400°F until golden and 190°–200°F inside.
Keep going to uncover tips for perfect texture and flavor.
Key Takeaways
- Dissolve 2 envelopes Fleischmann’s Active Dry Yeast in 1/4 cup lukewarm water with sugar; wait 10 minutes for bubbles to confirm activation.
- Mix warm liquids, sugar, yeast, salt, and 2½ cups flour; beat on medium and high speeds, then stir in remaining flour by hand for dough.
- Knead dough with a hook at speed 2 for 6 minutes until warm and elastic, then rest 10 minutes before first rise until doubled in size.
- After first rise, punch down dough, shape, optionally use a proofing basket, and allow a second rise for optimal texture and shape.
- Bake shaped dough at 400°F for 25–30 minutes until internal temperature reaches 190°–200°F; cool on a wire rack before slicing.
Complete Fleischmann Active Dry Yeast Bread Recipe Guide
| Ingredient/Step | Amount/Time | Key Details |
|---|---|---|
| Fleischmann Active Dry Yeast | 2 envelopes (4½ tsp) | Activate in warm water (100°-110°F) for 10 min until bubbly |
| All-Purpose Flour | 5½-6½ cups | Use digital scale; dough should be smooth and elastic |
| Sugar | 1-3 tablespoons | Feeds yeast and promotes activation |
| Salt | ½-2 teaspoons | Balances flavor and strengthens gluten |
| Butter/Oil | 2 tablespoons | Adds richness; substitute with olive or coconut oil |
| Kneading | 6 minutes | Dough hook at speed 2; warms to 95-100°F |
| First Rise | 30-60 minutes | Cover and let double in size; look for puffy surface |
| Second Rise | 30 minutes | After shaping; rises to top of pan |
| Baking | 25-30 min at 400°F | Golden-brown crust; internal temp 190°-200°F |
| Cooling | Until room temperature | Remove from pans immediately; cool on wire rack |
Ingredients Needed for the Bread
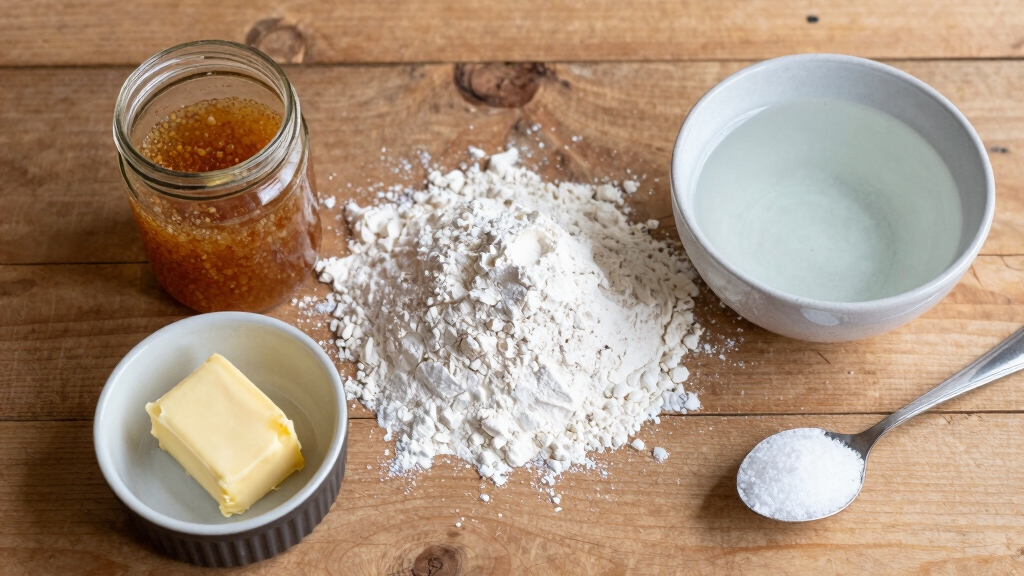
To bake delicious bread using Fleischmann Active Dry Yeast, you’ll need a well-balanced mix of ingredients that form the foundation of several recipes.
Master the art of baking with Fleischmann Active Dry Yeast and a perfect blend of essential ingredients.
Start with all-purpose flour; quantities vary from 2½ cups in quick no-knead to about 6¼ cups in master dough recipes. Using a digital baking scale helps ensure precise measurement of flour for consistent dough quality.
Sugar acts as the yeast’s food, typically 3 tablespoons for richer doughs or just a teaspoon in simpler versions.
Salt balances flavor, ranging from ½ to 2 teaspoons depending on the recipe.
For moisture and richness, you’ll combine water, milk, and fats like butter or olive oil; quantities shift based on kneading style and bread type. It’s important to heat the liquids until warm, ideally between 100° to 110°F, to activate the yeast effectively.
Finally, Fleischmann’s Active Dry Yeast itself, usually 2 envelopes or about 4½ teaspoons, is essential to help your dough rise beautifully. Accurate ingredient weighing, especially of yeast and liquids, can significantly impact the fermentation and final texture of your bread.
Activating Fleischmann’s Active Dry Yeast
How do you know if your Fleischmann Active Dry Yeast is ready to work its magic? Start by dissolving the yeast granules in 1/4 cup of lukewarm water heated to 100°–110°F.
Stir in a teaspoon of sugar to encourage bubbling. Wait about 10 minutes; if bubbles form or the mixture puffs up, your yeast is alive and kicking.
This proofing step confirms viability and jumpstarts fermentation. Avoid water too hot or cold; extremes can kill or delay activation.
If your yeast is fresh, proofing isn’t always necessary, but it’s wise if you’re unsure. Active Dry Yeast (ADY) needs to be dissolved in water due to larger granules. Remember to reduce your recipe’s water by the amount used to activate.
This simple activation ensures your dough rises beautifully, setting the stage for delicious bread.
Mixing and Preparing the Dough
Once your liquids reach the perfect warmth of 100°–110°F, pour the mixture into a large bowl and stir in the sugar and Fleischmann’s Active Dry Yeast. Let it stand for five minutes to activate. This step is crucial because yeast fermentation produces carbon dioxide, which helps the dough expand and develop a light texture.
Warm liquids, sugar, and yeast combine—let them rest five minutes to wake up and start working.
Next, add 2½ cups of flour and salt, then beat at medium speed for two minutes, scraping the bowl as needed. Add another ½ cup of flour and beat on high for two more minutes. Proper dough hydration is essential for optimal gluten development and crust formation.
Finally, stir in the remaining flour with a spoon to form a soft dough, adjusting between 5½ and 6½ cups total for the right consistency. You’ll know it’s ready when the dough pulls away from the bowl sides, feels smooth and elastic, and is slightly sticky but not overly dry. Using a Dutch oven with good heat retention can significantly improve the baking quality of your bread.
This will be perfect for shaping on a floured surface.
Kneading and First Rise Process
A essential step in developing your bread’s texture begins with kneading the dough thoroughly using a dough hook at speed 2 for six minutes. This builds the gluten network and generates friction, warming the dough to an ideal 95-100°F. For best results, maintain a consistent dough temperature to optimize yeast activity and dough elasticity during kneading.
After kneading, let the dough rest on the bench for 10 minutes to relax, preventing tightness later. Meanwhile, oil your pans to prepare them. Next, cover the dough to retain warmth and moisture as it rises.
Using Fleischmann’s active dry yeast, the first rise typically takes 30 to 60 minutes, during which the dough should double in size. Look for a puffy, bubbly surface by 20 minutes to confirm yeast activity. It is important to note that Fleischmann’s active dry yeast does not necessarily need to be dissolved in water before use, as it can be added directly to the dry ingredients without affecting the rise.
Keep the temperature steady; too cold slows yeast, too hot kills it, ensuring a perfect, lively rise. Maintaining an optimal environment is crucial because yeast performance is highly sensitive to temperature and humidity conditions.
Shaping and Second Rise Techniques

After your dough has risen and developed that light, airy texture, it’s time to gently deflate it by punching down, releasing built-up carbon dioxide and evenly redistributing the yeast. This prepares your dough for shaping and the essential second rise.
To shape and proof your bread perfectly:
- Rest dough 10 minutes post-kneading for easier handling. Allowing this short rest period helps the gluten relax, making shaping smoother and preventing dough shrinkage. Using a proofing basket during the second rise can help maintain the dough’s shape and improve texture.
- Roll dough for loaf pans, pinch seams, and place seam-side down.
- For baguettes, divide, stretch, roll edges to center, and seal.
- Cover shaped dough with a dish towel to prevent drying.
- Let the dough rise in a warm, draft-free spot until doubled, usually 25–90 minutes depending on the bread type. It’s important to loosely cover the dough with a damp cloth or sprayed plastic wrap to prevent crust formation during this rising phase.
These steps ensure your bread develops the ideal texture and volume before baking.
Baking and Cooling Instructions
Preheating your oven to a steady 400°F ensures your bread bakes evenly and develops a perfect crust.
Place your greased loaf pans on the middle rack, allowing consistent heat to brown the crust beautifully through the Maillard reaction.
Bake for 25-30 minutes until the exterior is golden-brown and the loaf sounds hollow when tapped.
For accuracy, check that the internal temp reaches 190°F to 200°F with an instant-read thermometer.
Once baked, remove the bread from pans immediately to prevent sogginess.
Cooling on a wire rack also aligns with the recommended cooling on wire rack method to promote air circulation, which stops moisture buildup and evenly distributes heat throughout the bread.
Cool the loaves on a wire rack at room temperature to promote air circulation, which stops moisture buildup and evenly distributes heat throughout the bread.
Let your bread cool completely before slicing or storing to maintain its ideal texture and flavor.
Frequently Asked Questions
Can I Substitute Warm Water Temperature for Yeast Activation?
Yes, you can substitute warm water for yeast activation, but you need to keep it between 105-110°F (40-43°C) to wake the yeast without killing it.
If the water’s too cool, the yeast activates slowly; too hot, and it dies. Always test the water temperature carefully.
Adding a teaspoon of sugar helps the yeast bloom, showing bubbles and foam in 5-10 minutes, which means your yeast is alive and ready.
How Do I Store Leftover Bread to Maintain Freshness?
You should store leftover bread at about 68°F, wrapped first in a paper bag, then loosely in plastic or beeswax wrap to keep it fresh without trapping moisture.
Avoid refrigeration since it speeds staling by drying out the bread.
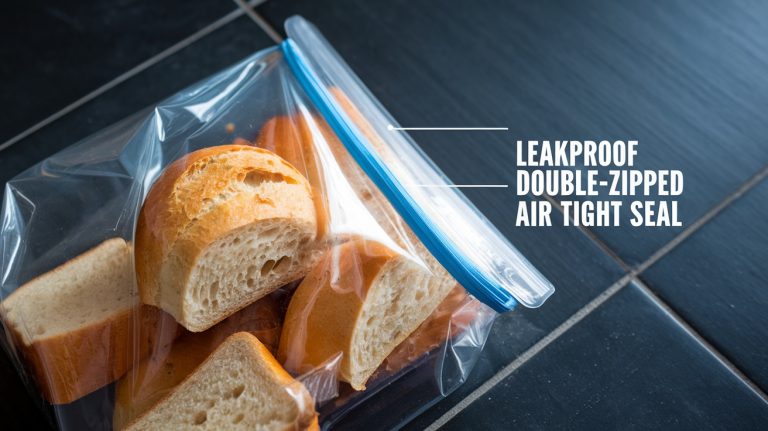
If you want longer storage, freeze sliced bread in airtight bags, pressing out air.
When ready, thaw slices at room temperature or toast them to revive that fresh-baked texture.
What Are Common Signs of Yeast Being Inactive or Expired?
Did you know over 30% of bakers report yeast inactivity as their top baking frustration?
You’ll notice inactive or expired yeast when your mixture doesn’t foam or bubble after 10 minutes in warm water with sugar.
If it stays flat, lacks that distinct yeasty smell, or fails to expand, your yeast is likely dead.
Slow or weak activation and dough that barely rises also signal expired yeast.
Can I Freeze Dough Before the First Rise?
You can freeze dough before its first rise, but it’s not ideal.
When you do, yeast activity pauses, and some yeast cells may die, leading to weaker rising later.
It’s better to let the dough rise once, then freeze it to preserve more yeast power.
If you freeze before rising, expect longer thaw and proof times, plus a less fluffy loaf.
Always thaw slowly in the fridge to revive the yeast gently.
What Are Best Alternatives for Butter or Margarine in This Recipe?
Imagine your dough as a canvas, and fats as the paint that shapes its texture.
You can swap butter or margarine with vegetable oil at 2 tablespoons, olive oil slightly less, or coconut oil directly.
For plant-based options, non-dairy margarine works wonders, keeping tenderness intact.
Shortening or ghee can add flakiness, while lard or clarified butter preserve richness.
These substitutes keep your bread soft and extend freshness without messing with rise times.
Make Yourself a Comfort Dinner with Fresh Yeast Bread
Now that you’ve activated the yeast, mixed the dough, kneaded with care, and watched it rise twice, you’re ready to bake your masterpiece.
Feel the warmth of the oven as it transforms your dough into golden perfection.
Smell the inviting aroma filling your kitchen.
Slice into the soft, fluffy bread and savor every bite.
With each step, you’ve created more than bread; you’ve made comfort, joy, and delicious memories.