Peppermint Whoopie Pies: A Sweet Slice of Winter’s Magic
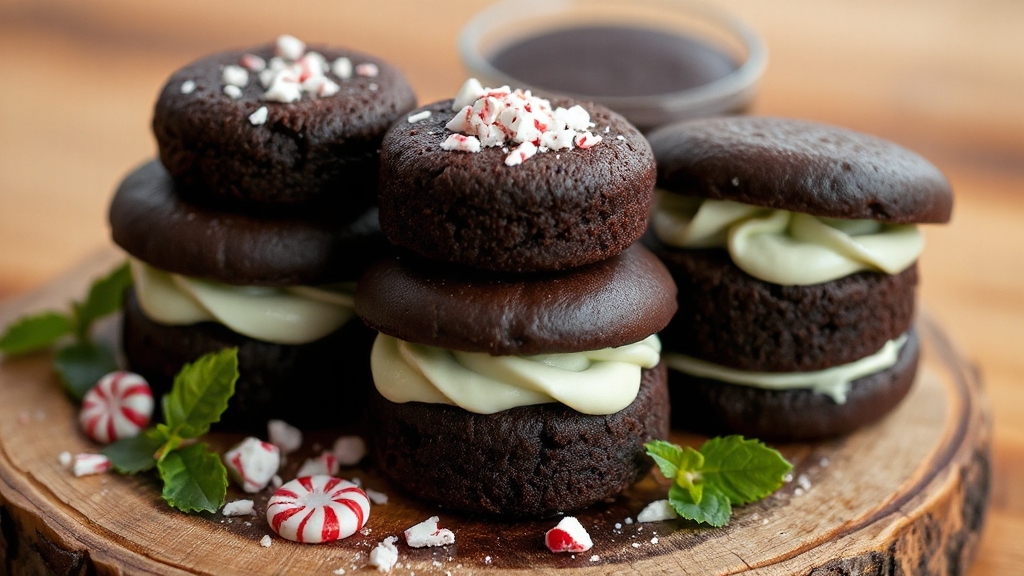
You’ll love making peppermint whoopie pies with rich chocolate cake rounds enhanced by a hint of espresso and a fluffy, minty filling whipped with butter and marshmallow creme. Bake until tender, then cool completely before sandwiching with creamy peppermint frosting, maybe sprinkled with crushed candies for extra crunch.
These festive treats pair perfectly with hot cocoa and look stunning on a tiered stand. Keep them fresh refrigerated, wrapped tight. Explore tips to perfect baking, assembly, and storage for a show-stopping dessert.
Key Takeaways
- Peppermint Whoopie Pies feature soft chocolate cake rounds filled with a fluffy peppermint-flavored buttercream or marshmallow creme filling.
- The chocolate cake includes cocoa powder, espresso powder, buttermilk, and vegetable oil for moistness and rich flavor.
- The peppermint filling combines butter, confectioners’ sugar, peppermint extract, and optional crushed peppermint candies for texture and festive taste.
- Assemble by piping filling between cooled cake rounds, then decorate with crushed peppermint, chocolate drizzle, or confectioners’ sugar for visual appeal.
- Store individually wrapped in airtight containers refrigerated up to 7 days or freeze for longer storage to maintain freshness and texture.
Ingredients for Chocolate Cake Rounds
To craft the perfect chocolate cake rounds for your peppermint whoopie pies, you’ll need a handful of carefully chosen ingredients that balance rich cocoa and tender crumb.
Start with all-purpose flour—about 1 ¾ to 2 cups—whisked with ¾ cup of natural unsweetened cocoa powder for that deep, robust chocolate essence. Add a teaspoon of espresso powder to intensify the flavor subtly. The espresso powder is key as it elevates chocolate flavor in the batter without adding bitterness.
Begin with all-purpose flour and rich unsweetened cocoa powder, enhanced by a subtle hint of espresso powder for depth.
Balance sweetness and texture with 1 ¾ to 2 cups of granulated sugar, folded in with the dry mix. For lift, blend 1 ½ to 2 teaspoons each of baking powder and baking soda, plus a teaspoon of salt to enhance richness.
Moisture and softness come from a cup of buttermilk, half a cup of vegetable oil, two eggs, and a hint of vanilla.
Hot coffee or boiling water rounds out the batter, ensuring a smooth, luscious texture.
Preparing the Peppermint Filling
Once your rich chocolate cake rounds are ready, it’s time to create the luscious peppermint filling that brings the whole whoopie pie experience to life.
Start by beating softened unsalted butter with confectioners’ sugar until light and fluffy—this takes about two minutes and forms a creamy base. Then, add a teaspoon each of peppermint and vanilla extracts, scraping the bowl’s sides to blend every bit evenly. Using high-quality ingredients is key to achieving the best flavor and texture.
For richness and smooth texture, gently fold in marshmallow creme or a splash of heavy cream. If you want a festive crunch, mix in crushed peppermint candies. Many bakers recommend using a mixer with a paddle attachment to achieve the smoothest filling consistency.
Chill the filling for at least 30 minutes; this step helps it set, making spreading or piping easier and the final texture perfectly luscious and stable. Proper chilling also helps maintain the ideal consistency for a satisfying bite.
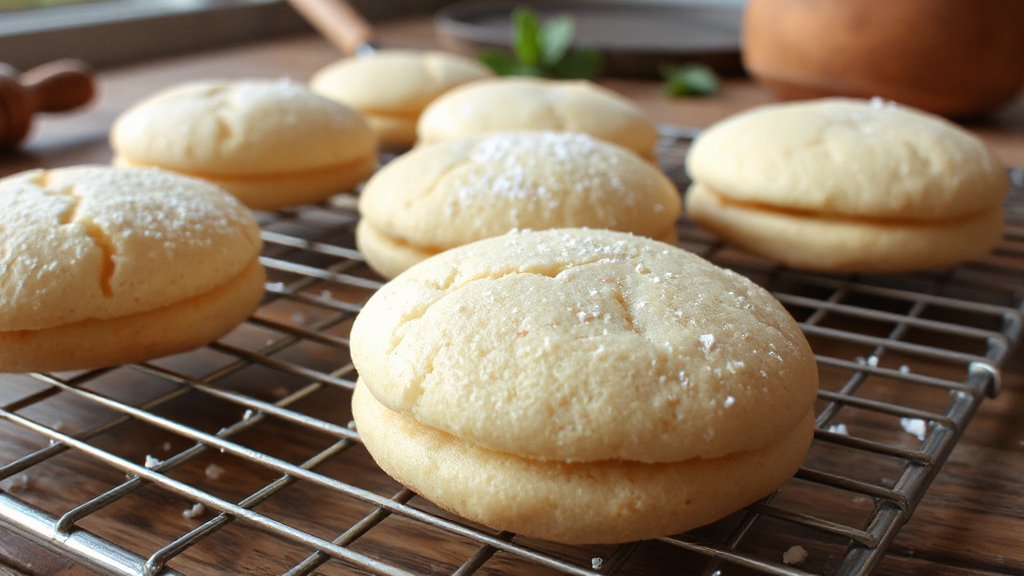
Baking and Cooling the Cake Rounds
You’ll want to mix your batter just until it’s smooth and velvety, avoiding overmixing to keep the cake tender. The batter should be thick but smooth, similar to cookie dough, with hot milk added to achieve the right consistency.
Using temperature control tools can help ensure your batter is at the ideal temperature before baking. As the cake rounds bake, the warm, sweet aroma will fill your kitchen, signaling they’re nearly ready. Once out of the oven, let them cool gently on a rack so they set perfectly before you add the peppermint filling.
Mixing Batter Properly
Although mixing the batter might seem straightforward, mastering the proper technique guarantees your peppermint whoopie pies bake into tender, moist rounds with just the right texture. Begin by sifting your dry ingredients—flour, cocoa, baking soda, and salt—to make certain of even distribution and a silky batter.
Gently whisk your cooled melted butter with brown sugar, eggs, and buttermilk until smooth, careful not to overbeat. Gradually fold the dry mixture into the wet, alternating with more liquid, using a low mixer speed or a spatula. This careful, deliberate process helps prevent tough gluten from forming and keeps your batter luscious and dense, similar to how controlling dough hydration affects sourdough texture.
Stop mixing as soon as streaks vanish; some lumps are okay. This careful, deliberate process prevents tough gluten from forming and keeps your batter luscious and dense.
Finally, refrigerate briefly before baking to help the pies hold their perfect shape. This step-by-step process is essential for achieving the ideal cakey texture characteristic of peppermint whoopie pies. Proper cooling also ensures better texture development in the final product.
Cooling Techniques
While the warm aroma of freshly baked peppermint whoopie pies fills your kitchen, resist the urge to handle the cake rounds immediately.
Let them rest on the baking sheet for 5 to 10 minutes to stabilize their delicate structure and prevent cracking. This resting period also helps maintain the moistness and tenderness essential for the perfect texture. Using a thermometer with a large dial can help monitor oven temperature for consistent baking results.
Gently test their firmness—if they indent, give them more time. Then, carefully transfer each round with a thin spatula onto a wire rack, where air circulates freely, preventing sogginess and ensuring even cooling.
Allow 20 to 30 minutes for the rounds to reach room temperature, around 70°F, before frosting. This step is essential; frosting warm cakes risks melting and sliding.
Keep rounds spaced, avoid stacking, and handle gently throughout to preserve their tender crumb and crisp edges, setting the stage for flawless assembly and a perfect peppermint finish.
Assembling the Whoopie Pies
Before you start assembling, make sure your whoopie pie cookies are completely cooled and your peppermint filling is whipped to a smooth, fluffy consistency at room temperature. Using an adjustable cake leveler can help ensure your cookies are evenly flat for a better sandwich experience.
Fit a piping bag with a large round tip and pipe a generous dollop of the creamy, minty filling onto the flat side of one cookie. Center the filling carefully to avoid spills. The peppermint whipped cream is made with heavy cream, confectioners sugar, and peppermint extract to achieve its signature flavor and texture.
Gently press a second cookie, flat side down, onto the filling, creating a soft, pillowy sandwich. Apply just enough pressure to spread the filling evenly without crushing the delicate cookies.
Align the edges to keep the round shape neat. Let the pies rest briefly so the filling sets and the flavors meld.
If not serving immediately, refrigerate to keep the filling firm and the cookies fresh.
Decorating and Serving Suggestions
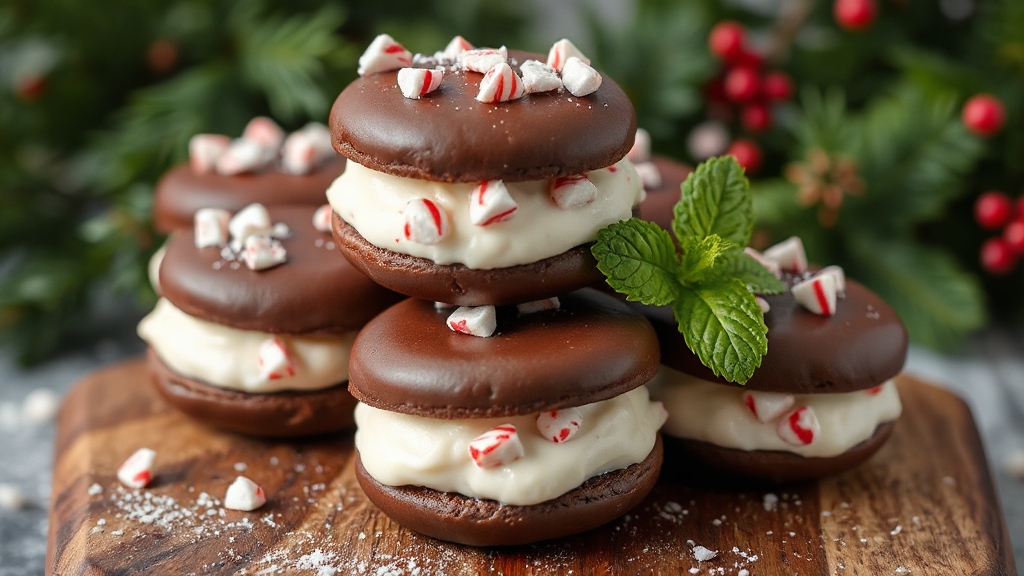
Once your peppermint whoopie pies are perfectly assembled, it’s time to bring them to life with vibrant decorations and thoughtful presentation. Tint the buttercream red or green for a festive look, then sprinkle crushed peppermint candy on top for crunch. Drizzle melted chocolate for a glossy finish, or dust with confectioners’ sugar to evoke snowy magic.
To keep your pies fresh and ready for any occasion, remember that assembled pies can be frozen and thawed before serving.
Cold storage helps maintain texture and flavor, much like the cold fermentation process used to enhance sourdough bread flavor. Serve them on a tiered stand or wrap individually with ribbons for a charming gift. Pair with hot cocoa to delight every sense.
| Decoration Idea | Sensory Effect | Serving Suggestion |
|---|---|---|
| Colored Buttercream | Visual vibrance | Tiered cake stand |
| Crushed Peppermint | Crunchy texture | Festive gift wrapping |
| Chocolate Drizzle | Glossy richness | Cluster with holiday cookies |
| Confectioners’ Sugar | Snowy elegance | Paired with peppermint tea |
| Fresh Mint Leaves | Fresh aroma | Slightly warmed serving |
Tips for Storage and Freshness Preservation
If you want your peppermint whoopie pies to stay as fresh and delightful as the moment they were baked, proper storage is key. Keep them soft, moist, and bursting with peppermint aroma by sealing them tightly and controlling temperature. Here’s how you can preserve that perfect texture and flavor:
- Wrap each pie individually in plastic wrap to lock in moisture and prevent drying.
- Store assembled pies in an airtight container in the refrigerator for up to 7 days, bringing them to room temperature before serving for a luscious, tender bite. Proper storage prevents spoilage and maintains freshness.
- Freeze pies individually on a tray before placing them in airtight containers; thaw slowly to maintain delicate peppermint cream texture and cake softness.
Frequently Asked Questions
Can I Substitute Peppermint Extract With Another Flavor?
You can definitely substitute peppermint extract with another flavor, but consider the taste profile you want. Vanilla offers a warm, sweet aroma, while almond adds a nutty, rich note.
Citrus extracts like lemon or orange bring bright, zesty freshness. If you crave mintiness, spearmint extract provides a milder, sweeter touch.
Just remember, each substitute changes your recipe’s character, so choose one that complements your dessert’s overall flavor beautifully.
Are Peppermint Whoopie Pies Suitable for Freezing?
You can freeze whoopie pies for up to 3 months, but the texture might change if you freeze them fully assembled with Swiss Meringue buttercream.
To keep that soft, fluffy bite and rich creaminess, freeze cookies and filling separately. When thawed, re-whip the filling to restore its airy texture.
For assembled pies, freeze them individually on parchment, then bag airtight to avoid freezer burn and maintain their delightful flavor and structure.
What Is the Best Way to Transport Whoopie Pies for Events?
When you transport whoopie pies for events, use sturdy, shallow containers lined with parchment paper to keep each pie intact and prevent sticking.
Keep them cool in insulated boxes or refrigerated containers to preserve that soft, creamy filling’s perfect texture.
Secure containers flat and cushioned to avoid jostling. Don’t stack too high—imagine delicate pillows of cake; they need gentle handling to arrive fresh, fluffy, and ready to wow your guests.
Can These Whoopie Pies Be Made Gluten-Free?
You can think of switching to gluten-free flour like painting a familiar scene with new colors—almond, oat, and rice flours blend to create a moist, tender canvas.
Using natural sweeteners and binders like xanthan gum, you’ll keep that soft, fluffy texture you crave.
With a careful mix, you’ll craft whoopie pies that not only taste divine but also embrace gluten-free needs without losing their classic charm.
How Can I Reduce Sugar Content Without Affecting Texture?
You can reduce sugar without sacrificing texture by blending almond and coconut flours to keep your baked goods moist and tender. Swap granulated sugar with powdered sugar substitutes like erythritol for smoothness.
Add fats such as butter or coconut oil to maintain richness. Use small amounts of xanthan gum or gelatin to stabilize fillings.
Beat your mixture well to trap air, and monitor baking time closely to avoid dryness. This keeps every bite soft, fluffy, and satisfying.
Bite-Sized Bliss—Unwrap the Joy of Whoopie Pies
Now that you’ve crafted these delightful peppermint whoopie pies, you hold a little piece of winter’s charm in your hands. Each bite offers a gentle dance of cool, creamy filling and rich, tender cake—an experience that’s simply hard to resist.
Whether shared or savored solo, these treats bring a subtle elegance to your dessert table, inviting you to indulge in a moment of sweet tranquility and festive warmth. Enjoy every enchanting morsel.