Secret to Making Sourdough Bread Without Starter: Skip the Waiting Game & Get Delicious Results
Are you intimidated by the thought of making sourdough bread? I sure did. The thought of nurturing a starter for days seemed like a commitment I wasn’t ready for.
But, oh, how I craved that tangy, chewy loaf fresh from the oven! So, I set out on a mission to figure out how to make sourdough without using a starter.
And guess what? You can totally do it.
In search of baking hacks, I scoured the internet for every tip and trick. I felt like I was unearthing hidden treasures, discovering all these innovative methods people come up with. Imagine making sourdough with Greek yogurt or raising it with just commercial yeast. And that’s just the beginning.
It led me to some unexpected ingredients: sour cream, buttermilk, and even the liquid from lacto-fermented vegetables. Each promised a shortcut to that distinctive sourdough tang. And then there were the pre-fermenting techniques like Poolish or Biga, which sounded like something straight out of a professional bakery.
But this is where it gets really interesting: when I pulled that first loaf out of the oven, it was nothing short of miraculous. It had the same texture and flavor without any starter. This is a testament to the power of creativity in the kitchen.
And now, I’m here to share all these secrets with you. So, let’s roll up our sleeves and bake some sourdough magic – no starter, no problem!
Why Skip the Starter?
First of all, what is a starter? It’s a fermented flour and water mixture containing wild yeast and bacteria. It provides the leavening agents for sourdough bread and adds that distinctive tangy flavor.
So, why would you want to skip it?
- For starters (no pun intended), creating and maintaining a starter can be time-consuming and requires constant attention. And let’s be real, not all of us have the time or patience for that.
Keeping a starter is almost like having a pet. It needs your time, attention, and a bit of your kitchen counter. And honestly, not everyone’s cut out for that kind of commitment.
Maybe you’re super busy, or perhaps the idea of babysitting a jar of fermenting dough just doesn’t thrill you. But that doesn’t mean you have to miss out on delicious homemade sourdough bread.
- Also, let’s talk about spontaneity. With a starter, you can’t just wake up one morning, decide to bake sourdough bread, and have it ready by lunchtime.
It’s a process that needs planning, often stretching over several days. But what if you crave that on a lazy Sunday morning without all the prep work?
That’s exactly why skipping the starter can be a game-changer. It opens up a world where delicious, tangy, homemade sourdough bread is just a few hours away, and no long-term planning is needed.
Stick around because I’ve got some cool tricks up my sleeve to help you enjoy sourdough without the wait or the upkeep. Also, if you want some tried-and-true methods, check out my other blog about the best sourdough baking books to find traditional and custom recipes.
But for now, let’s get to making some delicious bread.
No Starter Sourdough Recipe: The Substitute Options
Several other alternative methods exist for making sourdough bread without a traditional starter. Here are some of the notable alternatives:
Method 1: Using Greek Yogurt
Yogurt was used in many other bread-like recipes, so why not actual breads? After all, some yogurts were said to be alive and could get tangy right at room temperature.

I mean, it works wonders in smoothies and parfaits, so why not bread? That’s exactly the thought behind making sourdough with Greek yogurt.
Greek yogurt contains live cultures, which are essentially beneficial bacteria. These are similar to the natural yeasts and bacteria found in a traditional sourdough starter.
When mixed into bread dough, these live cultures begin to ferment the carbohydrates present in the dough, releasing carbon dioxide gas and acidifying the dough. This creates the signature tangy flavor of sourdough bread.
Ingredients
- 3 cups of bread flour
- 1 cup of plain Greek yogurt (with live active cultures)
- 1/2 cup of sour cream
- 1 teaspoon of salt
- 1/4 teaspoon of instant dry yeast
- 1 cup of water (room temperature)
Instructions
Step 1: Mixing the Dough/ Autolyse
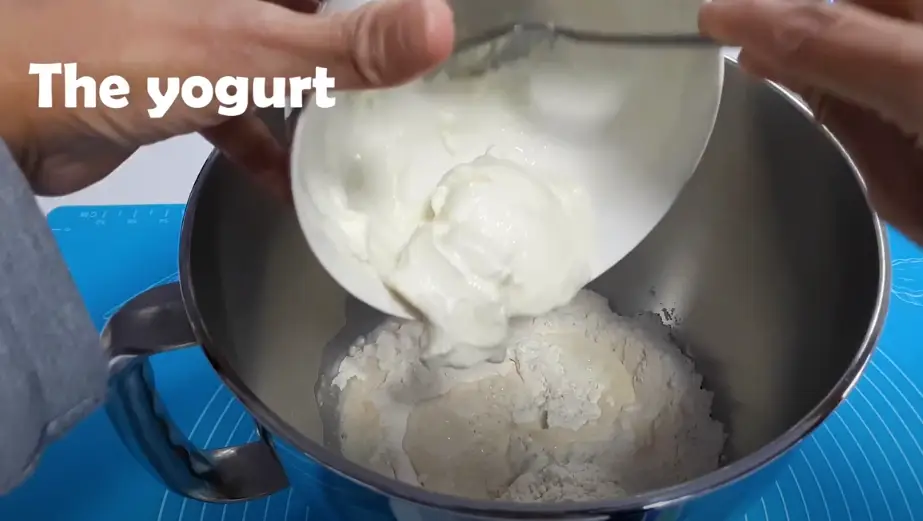
- Combine the bread flour, greek yogurt, sour cream, salt, and instant dry yeast in a large mixing bowl.
- Gradually add the water, mixing until a shaggy dough forms. Don’t worry if it looks a bit rough around the edges; that’s perfectly normal for this recipe. This process helps improve gluten development, resulting in a better rise and texture of the bread.
Step 2: First Rise
- Cover the bowl with a clean kitchen towel or plastic wrap.
- Let the dough rest at room temperature for 6 to 8 hours.
Step 3: Shaping the Dough
- After the first rise, gently turn the dough onto a lightly floured surface.
- Fold the dough over a few times to form a rough ball. Be gentle to keep as much air in the dough as possible.
Step 4: Second Rise
- Place the dough ball on a piece of parchment paper.
- Cover it lightly with the kitchen towel and let it rise for another 1 to 2 hours or until it has nearly doubled in size. You can score the top of the dough with a sharp knife or scissors if you want to create that classic sourdough look.
Step 5: Bake
- About 30 minutes before baking, preheat your oven to 450°F (230°C). Place a Dutch oven or heavy-lidded pot inside to heat up as well.
- Carefully remove the hot Dutch oven from your oven. Lift the dough using the parchment paper and place it inside the pot.
- Cover with the lid and bake for 30 minutes.
- After 30 minutes, remove the lid and bake for another 10-15 minutes to get a golden-brown crust.
Step 6: Cooling
Remove the bread from the oven and let it cool on a wire rack for at least an hour before slicing. This waiting is crucial, it lets the bread finish cooking from the inside out.
Apart from the convenience of not needing a starter, using Greek yogurt in your sourdough bread also has health benefits.
- Improved Digestibility: The fermentation process can make the bread easier to digest.
- Reduced Gluten: Fermentation may break down some gluten, which can benefit those with mild gluten sensitivities (but not suitable for those with celiac disease).
- Increased Nutrients: Greek yogurt can add protein and calcium to the bread.
- Lower Glycemic Index: Sourdough fermentation can create bread with a lower glycemic index than regular bread, potentially leading to a slower rise in blood sugar levels.
Here is a nutrition value chart for a loaf of Greek yogurt bread:
| Nutrient | Amount |
| Calories | 1910 kcal |
| Carbohydrates | 380 g |
| Protein | 66 g |
| Fat | 12 g |
| Saturated Fat | 3 g |
| Polyunsaturated Fat | 4 g |
| Monounsaturated Fat | 2 g |
| Cholesterol | 13 mg |
| Sodium | 3560 mg |
| Potassium | 1031 mg |
| Fiber | 24 g |
| Sugar | 13 g |
| Vitamin A | 118 IU |
| Vitamin C | 1 mg |
| Calcium | 234 mg |
| Iron | 7 mg |
Method 2: Using Commercial Yeast
Another option for making sourdough bread without a starter is using commercial yeast. This method requires less time and preparation compared to traditional sourdough starter methods and is beginner-friendly.
Ingredients
- 3 cups bread flour
- 1 teaspoon salt
- 1/2 teaspoon instant dry yeast
- 1 and 1/2 cups warm water
- Optional: 1 tablespoon sugar or honey
Mechanism of Yeast
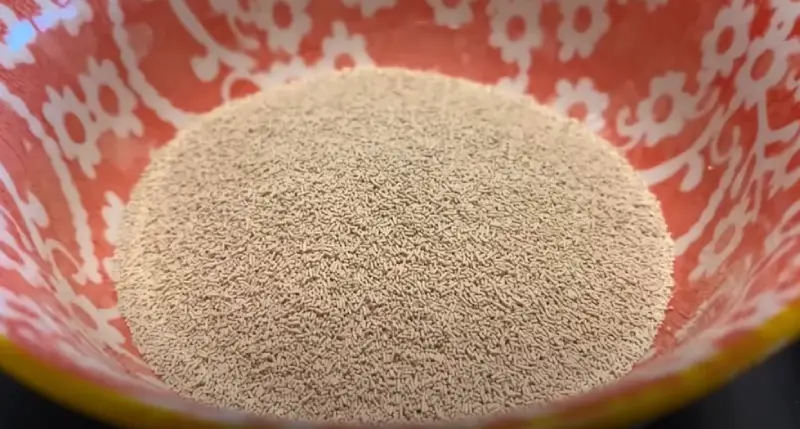
Commercial yeast is a type of yeast that has been specially cultivated and processed for baking purposes. It is different from wild or natural yeasts, which can be found in the environment and used to create a starter for sourdough bread.
Yeast Activation: The instant dry yeast activates rapidly in warm water, especially with the addition of sugar or honey, initiating the fermentation process.
Leavening: As the yeast ferments, it produces carbon dioxide gas, which gets trapped in the dough, causing it to rise and create a light, airy texture.
Flavor Development: Although the fermentation is shorter than with a traditional sourdough starter, the yeast still imparts a subtle tangy flavor reminiscent of classic sourdough bread.
Instructions
Step 1: Prepare the Dough
- In a large bowl, whisk together the bread flour and salt. Sprinkle the instant dry yeast evenly over the mixture.
- Gradually add the warm water (and sugar or honey, if using). Stir with a wooden spoon or spatula until a shaggy, sticky dough forms. This dough won’t be smooth like traditional bread dough; it’s supposed to be a bit rough and tacky.
Step 2: First Rise
- Cover the bowl with a clean kitchen towel or plastic wrap. This prevents the dough from drying out.
- Let the dough sit undisturbed at room temperature for 2 to 3 hours. The yeast will work its magic during this time, causing the dough to double in size. This rise is crucial for developing the bread’s structure and flavor.
Step 3: Shape and Second Rise
- After the first rise, gently pour the dough onto a lightly floured surface. Fold it over a few times to form a round loaf or your preferred shape. Handle the dough gently to retain as much gas as possible.
- Place the shaped dough on a piece of parchment paper. Cover it lightly with the towel again and let it rise for (Final Proofing) another 30 minutes to 1 hour until it puffs up noticeably. This second rise ensures the bread will have a good oven spring and a light, airy interior.
Step 4: Bake
- Preheat the oven to 450°F (230°C) with a Dutch oven inside.
- Bake the dough in the Dutch oven, covered, for 25 minutes.
- Uncover and bake for an additional 10-15 minutes.
Step 5: Cool
Cool on a wire rack for at least an hour before slicing.
This method is perfect for those seeking the sourdough experience without the lengthy starter process, offering a quicker path to delicious, freshly baked bread.
Method 3: Try Sourdough Powder and Flavor Enhancers
Well, I’ve found another nifty little shortcut: instant sourdough flavor. It’s like a magic sprinkle for your bread mix, giving you that sourdough zing without the fuss.
It is easy to incorporate into a bread machine and can even enhance the flavor of box mixes. Though it may not replicate San Francisco bread, it offers a unique sourdough taste.
Ingredients
- 3 cups bread flour
- 1 teaspoon salt
- 1/2 teaspoon instant dry yeast
- 1 and 1/2 cups warm water
- 2 tablespoons sourdough powder or flavor enhancer
Quick Steps
Step 1: Mix Ingredients
- Combine bread flour, salt, yeast, and sourdough powder in a bowl.
- Gradually add warm water to form a shaggy dough.
Step 2: First Rise
Cover and let the dough rise at room temperature for 2-3 hours until doubled.
Step 3: Shape and Second Rise
- Shape the dough on a floured surface.
- Let it rise on parchment paper for 30-60 minutes.
Step 4: Bake and Cool
- Preheat oven to 450°F (230°C) with a Dutch oven inside.
- Bake the dough in the Dutch oven, covered for 25 minutes, then uncovered for 10-15 minutes.
- Let the bread cool on a wire rack before slicing.
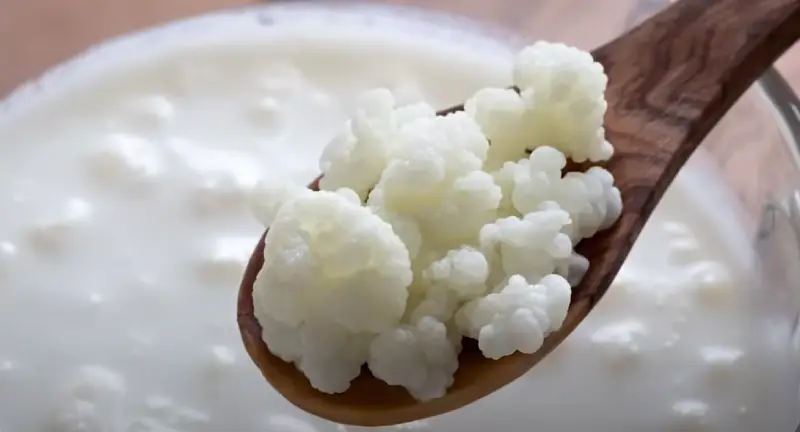
Method 4: Using Fermented Grains
Ever thought about giving your bread a tangy twist with something other than the usual sourdough starter? Fermented grains, like kefir or kvass, are a fantastic way to do just that. They bring a unique sourness and depth of flavor to your bread, making it a great alternative for sourdough starter.
Using fermented grains like kefir or kvass in your bread is a creative and delicious way to achieve that sourdough-like flavor. It’s perfect for those who love experimenting in the kitchen and want to add a unique twist to their homemade bread.
Making sourdough bread with things like kefir or kvass is like giving your bread a little health boost. These drinks are fermented, so they help the bread dough rise and add a cool, tangy taste.
They’re like natural helpers that make the bread’s good stuff easier for our bodies to use. Plus, they might make the bread easier on the stomach, too.
Ingredients
- 3 cups bread flour
- 1 teaspoon salt
- 1/2 teaspoon instant dry yeast
- 1 cup fermented grain beverage (like kefir or kvass)
- 1/2 cup warm water
Quick Steps
Step 1: Mix Ingredients
- In a large bowl, whisk together the bread flour and salt.
- Sprinkle the yeast over the mix.
- Pour in the fermented grain beverage and warm water, stirring to combine into a shaggy dough.
Step 2: First Rise
Cover the bowl and let the dough rise at room temperature for about 2-3 hours until it doubles in size.
Step 3: Shape and Second Rise
Gently shape the dough on a floured surface.
Place it on parchment paper and let it rise again for 30-60 minutes.
Step 4: Bake and Cool
- Preheat your oven to 450°F (230°C) with a Dutch oven inside.
- Bake the dough in the Dutch oven, covered for 25 minutes, then uncovered for another 10-15 minutes.
- Let the bread cool on a wire rack before slicing.
Method 5: Using Lacto-Fermented Vegetable Liquid
It seems odd, but baking bread without yeast is an ancient practice. Before the industrial age and commercial yeast development, people relied on natural fermentation for their leavened breads, which come from wild yeasts in the air.
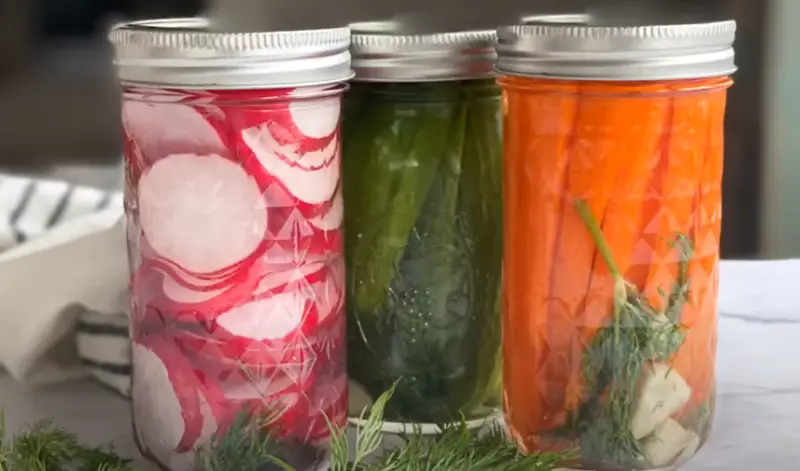
Lacto-fermentation involves using bacteria rather than yeast to create gas bubbles in the dough. This method produces a unique sour flavor similar to traditional sourdough bread.
Mix flour, water, and a small amount of acidic lacto-fermented vegetable liquid like pickle juice or sauerkraut juice. This is an ingenious way to infuse your bread with an enticing, tangy flavor, bringing creativity to your baking.
Ingredients
- 3 cups bread flour
- 1 teaspoon salt
- 1/2 teaspoon instant dry yeast
- 1 cup liquid from lacto-fermented vegetables (like sauerkraut or pickles)
- 1/2 cup warm water
Quick Steps
Step 1: Mix Ingredients
- In a large bowl, combine the bread flour and salt.
- Add the yeast, then pour the liquid from your lacto-fermented vegetables and the warm water.
- Stir everything together to form a slightly sticky dough.
Step 2: First Rise
Cover the bowl with a towel and let the dough rise at room temperature for about 2-3 hours or until it doubles in size.
Step 3: Shape and Second Rise
- Turn the dough onto a floured surface and gently shape it.
- Place the dough on parchment paper and let it rise again for 30-60 minutes.
Step 4: Bake and Cool
- Preheat your oven to 450°F (230°C) with a Dutch oven inside.
- Bake the dough in the Dutch oven, covered for 25 minutes, then uncover and bake for 10-15 minutes.
- Allow the bread to cool on a wire rack before slicing.
This method is a fantastic way to repurpose the liquid from your lacto-fermented veggies, adding a special sour kick to your homemade bread. Perfect for those who love experimenting with flavors and enjoy the art of creative baking.
Method 6: Sour Cream and Buttermilk
It’s kind of like the Greek yogurt trick but with its own unique flavor.
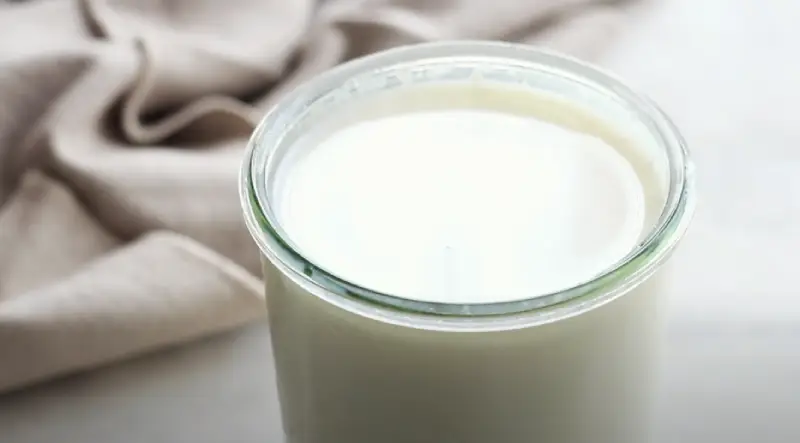
Buttermilk has a natural acidity, which mimics the tang of sourdough. You’ll get a slightly sour, rich flavor when you add it to bread dough.
And sour cream adds acidity to the dough, just like buttermilk. As well as adding a creamy texture and depth of flavor, it enhances the bread’s overall taste.
While Greek yogurt gives a mild tang and helps ferment, buttermilk and sour cream offer a more pronounced sourness and creaminess. Sour cream, in particular, can make the bread slightly denser and richer than Greek yogurt’s lighter crumb.
Ingredients
- 3 cups bread flour
- 1 teaspoon salt
- 1/2 teaspoon instant dry yeast
- 1 cup buttermilk
- 1/2 cup sour cream
- 1/2 cup warm water
Step 1: Mix Ingredients
- Combine the flour, salt, and yeast in a bowl.
- Add in the buttermilk, sour cream, and warm water, mixing to form a shaggy dough.
Step 2: First Rise
Let the dough rest at room temperature for about 2-3 hours.
Step 3: Shape and Second Rise
Gently shape the dough and let it rise on parchment paper for another hour.
Step 4: Bake and Cool
- Bake in a preheated Dutch oven at 450°F (230°C) for 25 minutes covered, then 10-15 minutes uncovered.
- Let the bread cool before slicing.
Method 7: Poolish or Biga Pre-ferments
Fancy a bit of traditional European baking? Poolish and Biga are pre-ferments used in Italian and French baking, respectively, and they’re fantastic for adding depth and complexity to your bread.
While not exactly sourdough, these pre-ferments can give your bread a flavor that’s close to it. Sourdough relies on wild yeast and bacteria, but Poolish and Biga use a tiny amount of commercial yeast.
The long fermentation time allows for flavor development similar to sourdough but with a more controlled process. It’s a great way to experiment with artisan bread-making techniques at home.
What are Poolish and Biga?
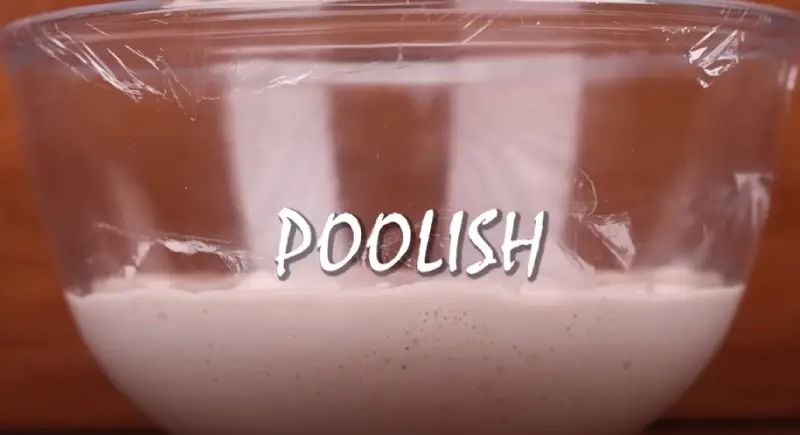
Poolish: A wet pre-ferment (equal parts flour and water) with a small amount of yeast, used in French baking. It’s known for enhancing the bread’s hydration lightness and developing a mild, nutty flavor.
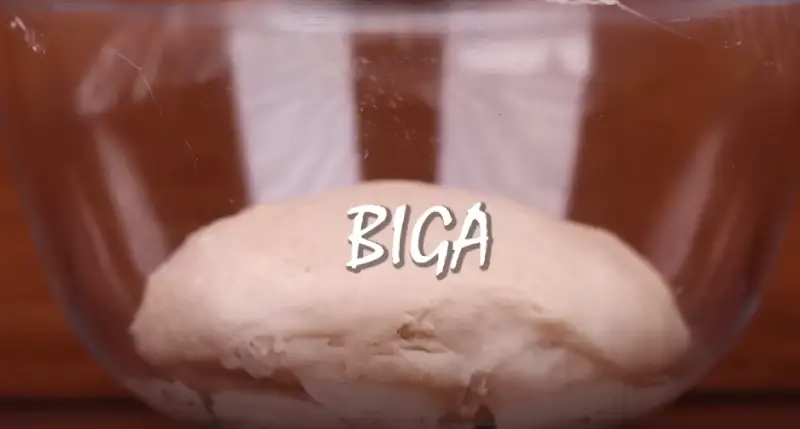
Biga: An Italian pre-ferment that’s a bit drier (less water than flour) and uses a small amount of yeast. It contributes to a more robust flavor and a chewier texture in bread.
Ingredients for Poolish/Biga
- 1 cup bread flour
- 1 cup water (for Poolish) or ¾ cup water (for Biga)
- A pinch of instant dry yeast
Steps for Making Poolish/Biga
- Mixing: Combine the flour, water, and yeast in a bowl. For Poolish, the mixture should be quite wet, like pancake batter. For Biga, it should be stiffer and more dough-like.
- Fermenting: Cover the mixture and let it sit at room temperature for 12-16 hours.
Making the Bread
- After the Poolish or Biga has fermented, mix it with the main bread dough ingredients (flour, water, salt, and additional yeast if needed).
- Follow the usual bread-making steps: kneading, rising, shaping, and baking.
Method 8: Sourdough Extracts or Essences
A quick and easy way to add sourdough flavor to bread. They’re great if you have limited time or want to experiment with different sourdough tastes without having to keep a starter.
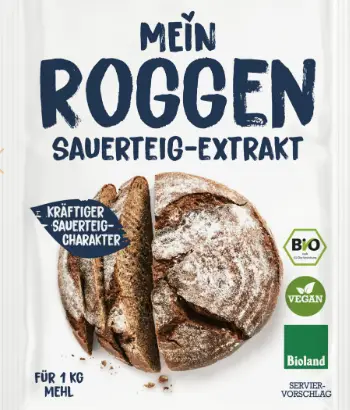
Sourdough Extracts are concentrated flavors that come from sourdough fermentation. They’re liquids or powders that capture the taste of sourdough.
Similar to extracts, sourdough essences are more refined and come in a variety of flavor profiles, mimicking different sourdough flavors without starters.
Incorporating Extracts into Bread Dough
- Read the Label: Each product is different, so start by checking the manufacturer’s instructions for recommended usage amounts.
- Mixing with Dry Ingredients: Mix powdered extracts with your flour and other dry ingredients.
- Blending with Liquids: If you’re using a liquid extract, blend it with the water or other wet ingredients in your recipe.
- Adjusting Quantities: Be mindful of the strength of the flavor. Start with a small amount and adjust based on your taste preference.
Tips for Best Results
- Experiment: The first time you use an extract, it’s all about experimenting. Start with a smaller amount and increase it in subsequent batches if you want a stronger flavor.
- Balance: Remember, these extracts are meant to complement your bread, not overpower it. Aim for a balance where the sourdough flavor enhances but doesn’t dominate.
- Pairing with Other Methods: You can combine sourdough extracts with other methods, like yogurt or buttermilk, to add complexity to the flavor.
Method 9: Using Soda or Other Carbonated Drinks Carbonation for Leavening
That’s right, it is not just for drinking. Carbonated beverages can also be used in place of a starter to create a bubbly dough.

The carbon dioxide in these drinks will produce gas bubbles in the dough, leading to a lighter and fluffier bread. Simply substitute some of the water in your recipe with your desired carbonated drink and proceed with the rest of the steps as usual.
Some popular carbonated drink options for sourdough bread include club soda, ginger ale etc. Just replace some of the water in your bread recipe with an equal amount of soda or carbonated drink.
Remember that this may alter the flavor of your bread, so choose a drink with complementary flavors.
Ingredients
- 3 cups all-purpose flour
- 1 teaspoon salt
- 1-2 tablespoons sugar (optional, depending on the sweetness of the drink used)
- 12 ounces of carbonated drink (soda, carbonated water, or flavored sparkling water)
Quick Steps
Step 1: Preparing the Dough
1. Mix Dry Ingredients: In a large mixing bowl, combine the flour, salt, and sugar (if using).
2. Add Carbonated Drink: Gradually pour in the carbonated drink of your choice. Stir until a cohesive dough forms. The dough should be slightly sticky but manageable.
Step 2: First Rise
1. Let the Dough Rest: Cover the bowl with a clean kitchen towel and let the dough rest for about 1 hour at room temperature. The carbonation will start reacting, causing the dough to rise slightly.
Step 3: Shaping and Second Rise
1. Shape the Dough: Gently shape the dough into a loaf or place it in a greased loaf pan.
2. Second Rise: Allow the dough to rise for 30 minutes to 1 hour until it expands.
Step 4: Baking
1. Preheat the Oven: Heat your oven to 375°F (190°C).
2. Bake the Bread: Place the dough on a baking sheet or loaf pan. Bake for 45-50 minutes until the bread is golden brown and sounds hollow when tapped.
Explore Some Creative Variations
Sourdough bread can be a lot of fun, whether you have a starter or not.
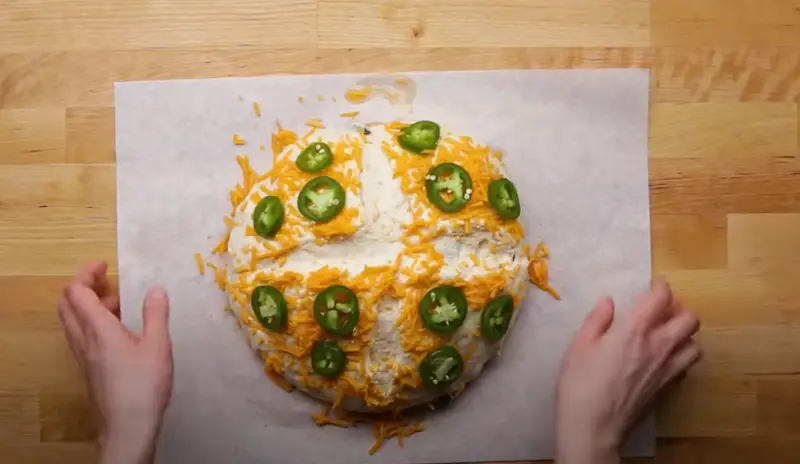
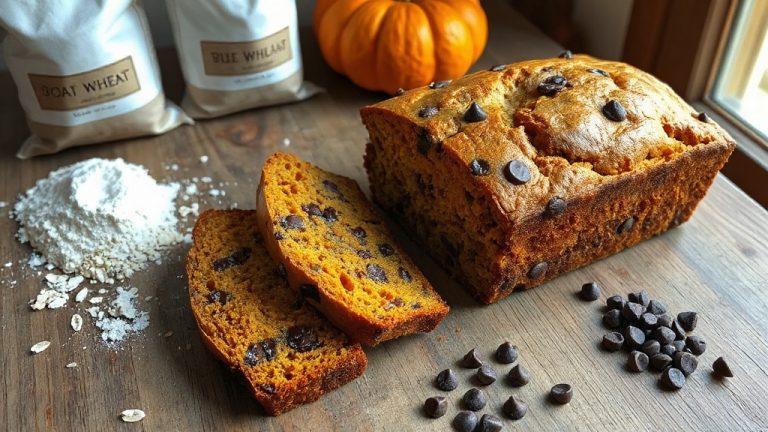
You can enhance your bread with various ingredients like cheese, olives, herbs, and seeds for a savory twist, or go sweet with chocolate, nuts, and dried fruits. Spices like cinnamon or cardamom add a warm, aromatic touch.
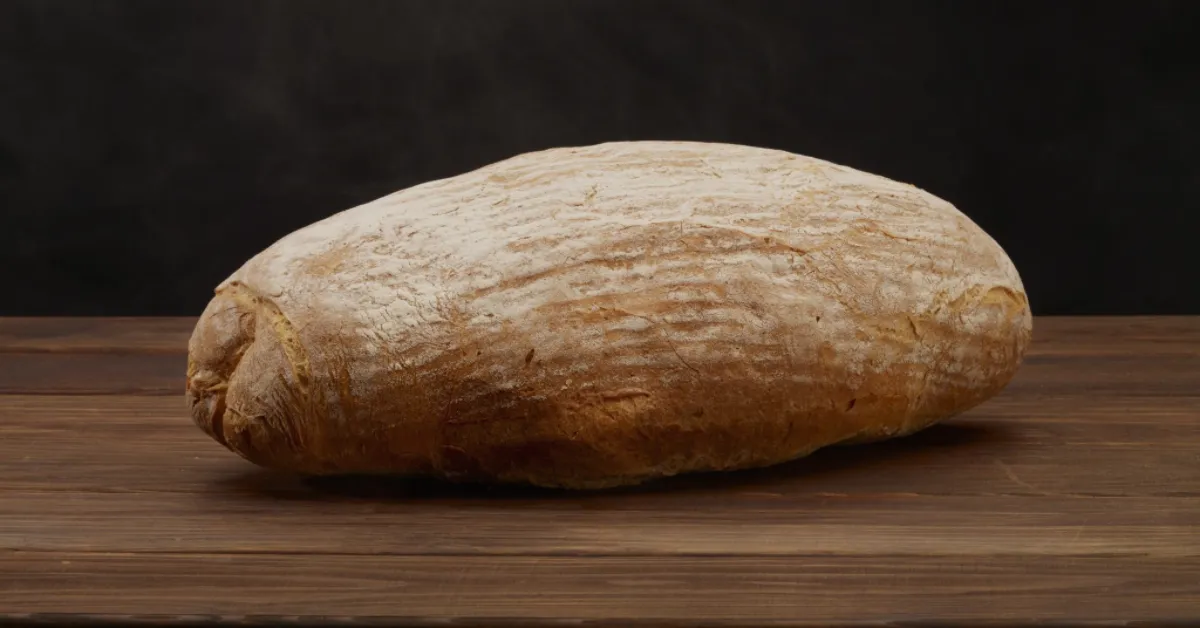
Experimenting with different shapes is also a great way to alter the bread’s texture and presentation. Whether it’s classic loaves for sandwiches, rustic boules for sharing, slender baguettes for bruschetta, or individual rolls for dinner parties, each shape offers a unique crust and crumb structure.
With different toppings and fillings, you can transform your bread into sandwiches, pizzas, or even desserts. Think grilled cheese with sourdough bread, topped with caramelized onions or fig jam, scrambled eggs, and avocado toast on sourdough, or use it as a base for a breakfast casserole.
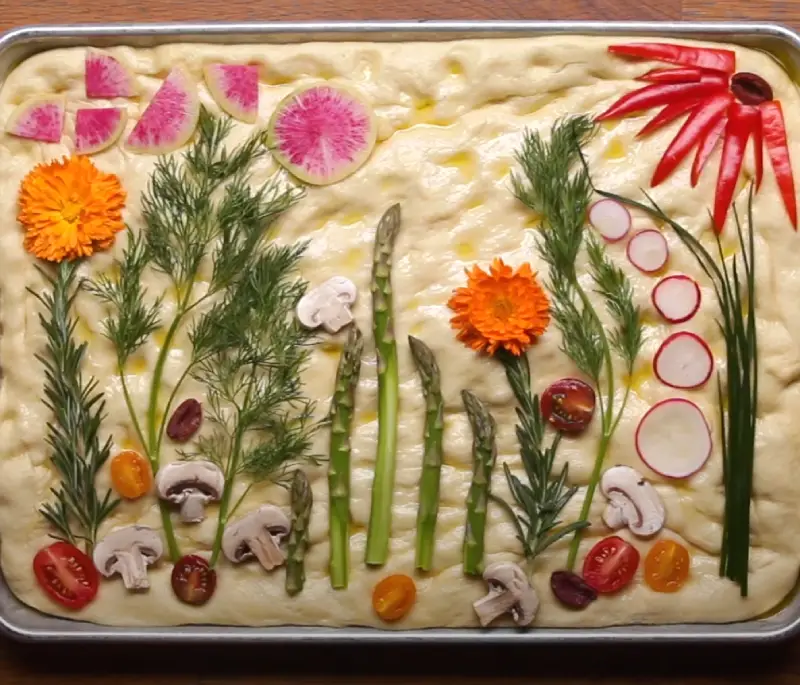
Or, try making a savory focaccia with rosemary and sea salt or a sweet version with apples and cinnamon. These variations infuse the bread with distinctive flavors and textures and cater to different occasions and personal preferences, making each baking experience uniquely enjoyable.
Is it okay to put yeast in my sourdough starter?
Adding commercial yeast to a sourdough starter isn’t typically recommended if you’re aiming for a traditional sourdough. The whole point of a sourdough starter is to capture and cultivate wild yeast and bacteria from the environment, which gives sourdough its unique flavor and character.
On the other hand, commercial yeast is a specific strain of yeast developed for its reliable and fast-rising properties. Adding it to your sourdough starter could overpower the wild yeast and bacteria, leading to a less complex flavor profile.
However, if you’re in a pinch and need to make bread quickly or experiment with different flavors and textures, remember that a little goes a long way. Just a tiny pinch of yeast is sufficient.
Also, it’s a good idea to keep your starter a bit on the thicker side. The boost in activity from the commercial yeast can make your starter runnier than usual.
To counter this, slightly reduce the water content in your starter to maintain a thicker consistency. This adjustment helps manage the balance between the natural wild yeast and the added commercial yeast, ensuring your starter stays healthy and active.
Ready to Bake Some Sourdough Magic?
Isn’t it cool to make sourdough bread without the usual starter? I’ve shared some nifty tricks, like using Greek yogurt, sour cream, or even a splash of soda.
It’s fascinating to see all the different ways to bake sourdough. Now, it’s your turn in the kitchen.
Whether you’re a baking newbie or a seasoned pro, these methods are super easy and a whole lot of fun. Imagine the joy of pulling your sourdough loaf out of the oven, it’s such a rewarding feeling.
I’m really curious to hear about your baking adventures. Did you mix it up with something new or keep it classic?
Drop me a line with your stories. Let’s swap tips and tricks and make our sourdough journey even more exciting.