Gluten Free Pizzelle Recipe: Crispy, Sweet and Unforgettably Good
To make gluten-free pizzelles, combine 1 ¾ cups of high-quality gluten-free flour, ¾ cup of sugar, 2 teaspoons of baking powder, and ½ teaspoon of salt. In a separate bowl, whisk 3 large eggs, ½ cup of melted butter, and 1 teaspoon of vanilla extract until smooth.
Fold the wet ingredients into the dry until just combined. Let the batter rest for 30 minutes. Preheat your pizzelle iron and lightly grease it.
Drop rounded teaspoons of batter onto the hot iron, closing it until golden brown. These delightful cookies are perfect for serving with various toppings or fillings. Want to explore more tips?
Key Takeaways
- Use 1 ¾ cups of high-quality gluten-free flour along with 2 teaspoons of baking powder and ½ teaspoon of salt for flavor enhancement.
- Combine ¾ cup of sugar, ½ cup of melted butter or coconut oil, and 3 eggs (or vegan substitutes) for wet ingredients.
- Mix dry and wet ingredients gently to achieve a thick batter, similar to cookie dough, and let it rest for 30 minutes.
- Preheat the pizzelle iron, grease lightly, and cook rounded teaspoons of batter until golden brown, typically monitoring steam for doneness.
- Store pizzelles in airtight containers at room temperature or freeze for longer shelf life, refreshing crispness in a 300°F oven if needed.
Ingredients Overview
When preparing to make gluten-free pizzelles, it’s essential to gather the right ingredients for a delightful treat. Start with 1 ¾ cups of a gluten-free all-purpose flour blend, like King Arthur Measure-for-Measure or Bob’s Red Mill 1-to-1, both of which yield excellent results.
If you prefer a homemade blend, consider Bette Hagman’s 4 Flour Blend with a touch of xanthan gum for added structure.
Next, you’ll want 2 teaspoons of baking powder to create that light, airy crispness pizzelles are known for, along with ½ teaspoon of salt to enhance the overall flavor. For sweetness, ¾ cup of granulated sugar is typical, though turbinado sugar can add a unique texture and flavor.
Don’t forget about the dairy! Use ½ cup of melted, cooled butter, or opt for dairy-free alternatives like coconut oil. You’ll also need 3 large eggs, with possible egg substitutes for a vegan version.
For flavor, 1 tablespoon of anise extract is traditional, but feel free to experiment with vanilla or citrus extracts. Additionally, you can use gluten-free pizzelles for creative dessert options like cannoli or cookie sandwiches. Finally, keep powdered sugar on hand for dusting those beautifully finished pizzelles!
Preparation Steps
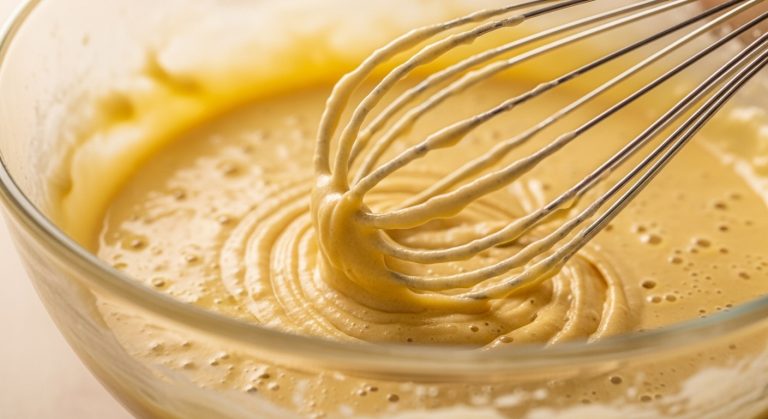
To create the perfect gluten-free pizzelle, you’ll need to mix your ingredients just right. The consistency of your batter plays a vital role in achieving those delicate, crispy cookies, so pay attention as you combine the wet and dry ingredients. The batter should resemble pancake batter for optimal results.
Mixing Ingredients Properly
Mixing ingredients properly is essential for achieving the perfect gluten-free pizzelle batter.
Start by preparing your dry ingredients. In a medium bowl, whisk together gluten-free flour, sugar, and baking powder. Then, sift this mixture into a large bowl, creating a well in the center. This helps to evenly distribute and aerate the ingredients.
In a separate bowl, whisk together the eggs, sugar, and anise extract until the mixture is well combined and slightly pale.
Next, pour your whisked wet ingredients into the well of the dry ingredients. Use a rubber spatula or a wooden spoon to gently stir everything together until just combined. It’s vital not to overmix at this stage; you want a thick, soft batter, similar to cake batter.
If the batter feels too runny, you can adjust by adding a little more flour, or if it’s too thick, incorporate a splash of liquid.
Finally, let your batter rest for about 30 minutes.
Batter Consistency Importance
Achieving the right batter consistency is essential for crafting delicious gluten-free pizzelles. The perfect batter should be soft, resembling a thick, viscous cookie dough—not too runny or too stiff. This consistency guarantees proper spreading on the pizzelle iron, which leads to evenly cooked treats.
Here are three key points to remember:
- Combine Dry Ingredients: Always mix your dry ingredients first before adding them to the wet ingredients. This helps prevent clumps and guarantees even distribution. Properly mixed dry ingredients can enhance the fermentation process, leading to better flavor.
- Add Liquid Gradually: Incorporate eggs, melted butter, and extracts carefully. If your batter seems too thick, a splash of water can help achieve that waffle-like consistency. Pizzelle are traditional Italian waffle cookies that require the right balance of ingredients for optimal texture.
- Avoid Overmixing: Mix just until the flour is fully incorporated. Overmixing can lead to uneven consistency, while undermixing can create a runny batter. Maintaining the right balance of ingredients is crucial for achieving the desired texture in sourdough baking.
Mixing the Batter
Now it’s time to mix the batter, and this step is essential for achieving that perfect pizzelle texture.
Start by whisking the eggs and sugar until the mixture turns pale and frothy, then incorporate the melted butter and your favorite extracts for a burst of flavor. It’s important to note that those following a gluten-free diet can enjoy delicious treats like pizzelles by using alternative flours that are safe for people with celiac disease.
Finally, carefully add the dry ingredients, ensuring everything is just combined for a soft, sticky batter that’s ready to shine in your pizzelle iron.
Whisking Eggs and Sugar
To create the perfect batter for your gluten-free pizzelle, start with room-temperature eggs, as they whip up better and yield a fluffier texture.
Begin whisking the eggs until they’re frothy and starting to thicken, which should take about 2-3 minutes. Once you achieve that, it’s time to add the granulated sugar.
Follow these steps for ideal results:
- Whisk on low speed: Use a whisk or an electric mixer fitted with the whisk attachment to avoid overmixing.
- Mix until thickened: Combine the eggs and sugar, whisking until the mixture is well-thickened and smooth, taking about 3-4 minutes.
- Check consistency: Verify your batter is smooth and well-combined, which is vital for the final texture of your pizzelle. Additionally, the traditional method of making pizzelle involves pressing the batter between hot iron plates, which creates their signature shape and pattern.
Incorporating Butter and Extract
Creating a rich and flavorful batter for your gluten-free pizzelle is all about the careful incorporation of butter and extracts. Start by adding cooled, melted butter to your egg and sugar mixture. Confirm the butter is melted and slightly cooled to achieve that perfect consistency. Using a wooden spoon, stir the butter in gently to guarantee it gets fully incorporated without overmixing. This step is vital for creating a smooth and consistent batter texture.
Next, it’s time to elevate the flavor with extracts. Consider using anise or vanilla extract, depending on your taste. Here’s a quick reference for the extracts:
| Extract Type | Measurement | Flavor Profile |
|---|---|---|
| Anise Extract | 1/2 teaspoon | Traditional & Licorice-like |
| Vanilla Extract | 1 teaspoon | Sweet & Aromatic |
| Anise Seeds | Optional | Crunchy & Spicy |
Stir the chosen extract into the batter thoroughly to distribute the flavor evenly.
Adding Dry Ingredients Carefully
When mixing the batter for your gluten-free pizzelle, the careful addition of dry ingredients is essential for achieving the perfect texture. Start by combining high-quality gluten-free measure-for-measure flour, granulated sugar, and baking powder in a large mixing bowl. Remember, the right balance is key:
- Measure precisely: Use 1 3/4 cups of gluten-free flour, 3/4 cup granulated sugar, and 2 teaspoons baking powder. Spoon the flour into the measuring cup and level it off for accuracy.
- Whisk gently: Mix the dry ingredients together, but don’t overmix! Just combine until no dry spots are visible.
- Add wet ingredients carefully: Once your dry mix is ready, incorporate the eggs, melted butter, and vanilla extract. Use a rubber spatula to stir until you achieve a thick batter, thicker than pancake batter but still soft enough to spoon out.
If the batter seems too thick, add water gradually, two tablespoons at a time. Keep stirring gently to avoid overmixing, as this can lead to tough pizzelle.
Cooking Instructions
Start by gathering your ingredients and mixing them with care. In a large mixing bowl, combine gluten-free flour, sugar, and baking powder.
Melt your butter and set it aside to cool. While that’s happening, beat the eggs and sugar together until they reach a pale yellow hue. Don’t forget to add vanilla or anise extract to the egg mixture for that delightful flavor boost.
Next, whisk together the dry ingredients before introducing the wet ones. Stir in the eggs, cooled melted butter, and extract with a wooden spoon. Your batter should have a consistency between pancake batter and chocolate chip cookie dough. If it feels too thick, add a splash of water or milk to loosen it up. Remember, mix just until combined to keep your pizzelles light and airy. This attention to batter consistency is crucial for achieving the perfect texture.
Now, preheat your pizzelle iron according to the manufacturer’s instructions. Grease it lightly with nonstick cooking spray.
Drop slightly rounded teaspoons of the batter onto the hot iron, then close the lid slowly to avoid spreading. Bake until they’re lightly golden brown, then use a nonstick spatula to remove them. Transfer your pizzelles to a wire rack to cool completely. Enjoy!
Tips for Best Results
Achieving the perfect pizzelle goes beyond just following the recipe; it’s all about the little details that can elevate your results. Here are three essential tips to keep in mind:
- Choose the Right Flour: Opt for a high-quality gluten-free measure-for-measure flour that contains xanthan gum, like King Arthur Measure-for-Measure or Bob’s Red Mill Gluten-Free Baking Flour. Avoid flours that absorb too much liquid, as they can make your batter too thick. Additionally, using a blend of different flours can enhance the flavor and texture of your pizzelles.
- Pizzelle Iron Prep: Always use a pizzelle iron designed for this purpose, not a waffle maker. Preheat it according to the instructions, and grease it with nonstick cooking spray to prevent sticking. Close the iron quickly after adding batter to guarantee even spreading.
- Monitor Cooking Time: Watch for steam to slow down as an indicator that your pizzelles are done. If they turn out soft, you can re-crisp them by baking on a lined sheet at 300°F for 5-7 minutes.
Flavor Variations
Exploring flavor variations can transform your gluten-free pizzelles from traditional treats into unique culinary delights. You can easily customize these crispy cookies to suit your palate or the occasion.
For a classic taste, stick with the traditional anise by adding 1/2 teaspoon of anise extract, or switch it up with 1-2 teaspoons of vanilla extract for a comforting twist. Discarding sourdough starter before feeding is essential for maintaining starter health and balance, which can also apply to ensuring your pizzelles have a great flavor profile.
Feeling adventurous? Try incorporating citrus zest! A tablespoon of orange or lemon zest will add a revitalizing zing that’s perfect for spring gatherings.
If you’re a chocolate lover, mix in 3 tablespoons of cocoa powder and an extra 3 tablespoons of sugar for a rich, indulgent treat.
For a nutty flavor, replace the vanilla with 1 teaspoon of almond extract, bringing warmth to your pizzelles.
You can even get festive with seasonal flavors—add 1 teaspoon of peppermint extract for a cheerful holiday vibe or drizzle caramel sauce on top for a sweet finish.
Serving Suggestions
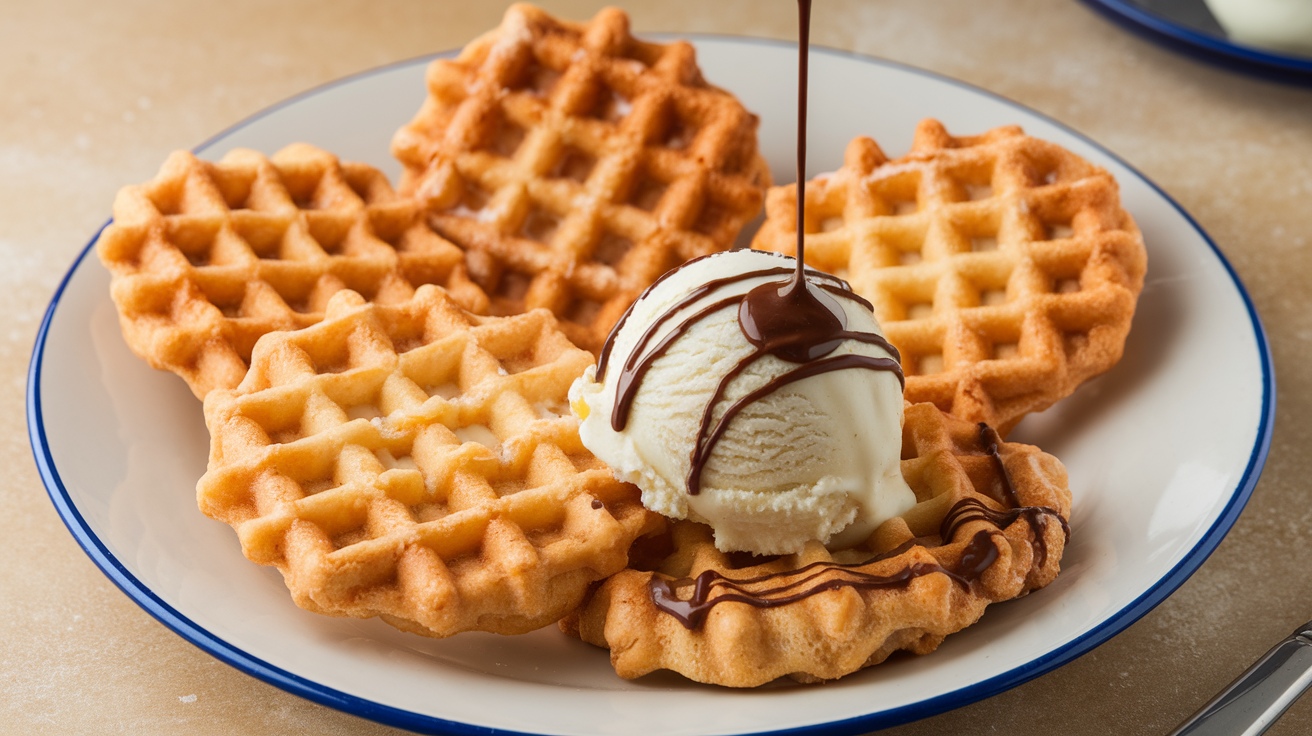
Pizzelles are incredibly versatile and can elevate any dessert spread, especially when paired with ice cream. Imagine a scoop of your favorite flavor nestled between two crispy pizzelles, creating a delightful ice cream sandwich that’s hard to resist. You can also get creative with toppings, from fresh fruit and whipped cream to rich chocolate drizzles, making each serving a unique experience. For an added twist, consider the classic Italian cookie as a crunchy base for your favorite desserts, enhancing both flavor and texture.
Pairing With Ice Cream
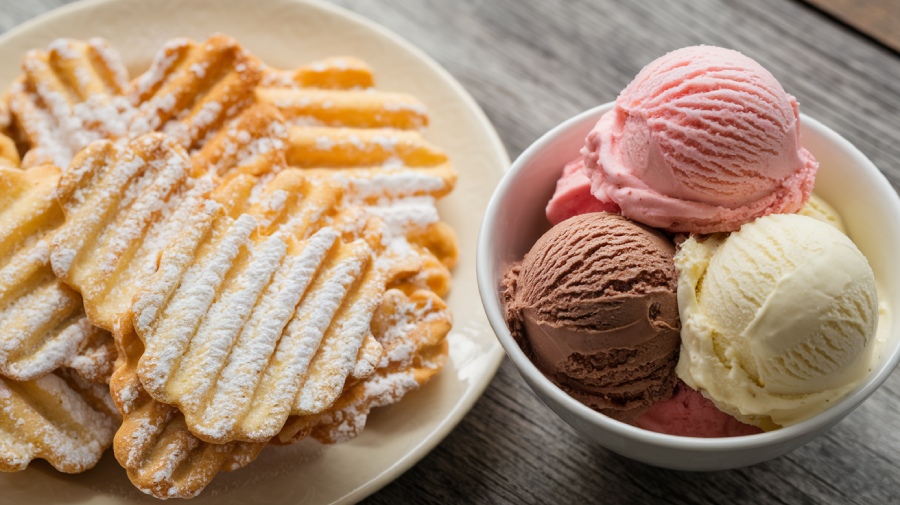
There’s something truly delightful about pairing gluten-free pizzelles with ice cream, elevating your dessert experience to new heights. The crisp, airy texture of pizzelles complements the creaminess of ice cream perfectly, creating a harmony of flavors and textures.
Here are three fun serving ideas to get you started:
- Pizzelle Cones: Drape warm pizzelles over cone molds to form delicious ice cream cones. Fill them just before serving to maintain that satisfying crunch.
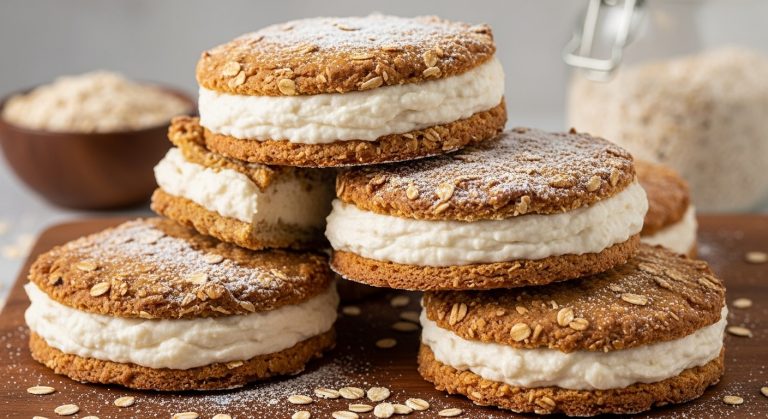
- Pizzelle Sandwiches: Place a generous scoop of your favorite ice cream between two pizzelles for a delightful sandwich. You can even add toppings like whipped cream or fresh fruit for extra flair!
- Pizzelle Cups: Shape warm pizzelles into small bowls for individual servings. Fill them with ice cream, mousse, or even fruit salads for a unique presentation. This versatile dessert option allows you to showcase various flavors and textures that will impress your guests.
Flavor Variations and Toppings
With countless flavor variations and toppings to choose from, you can easily customize your gluten-free pizzelles to suit any occasion or craving.
Start with the base—opt for vanilla by omitting cocoa powder, or indulge in chocolate by adding cocoa and extra sugar. For a citrusy twist, mix in orange or lemon zest, or enhance the flavor profile with anise extract. You can even experiment with other extracts like peppermint!
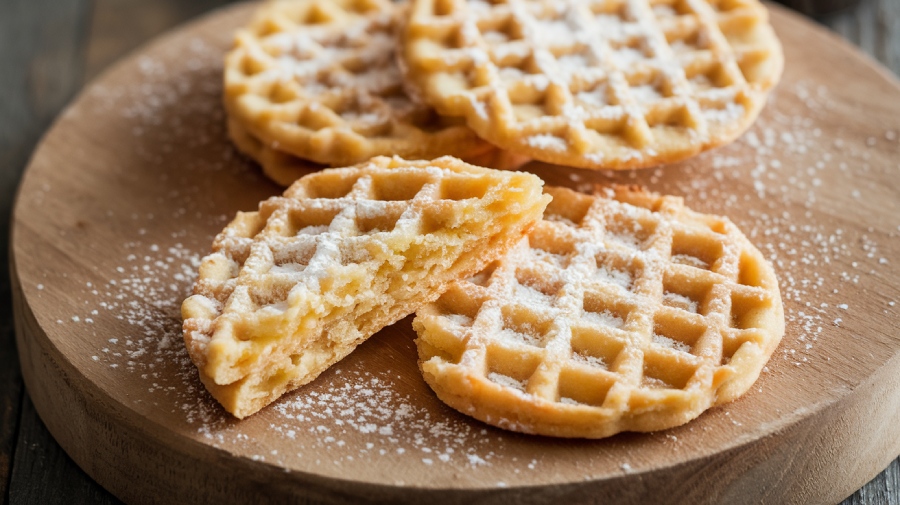
Once you’ve perfected your pizzelle flavor, the fun continues with toppings. A simple dusting of powdered sugar elevates the treat, while a drizzle of melted chocolate adds a luscious touch. For a satisfying crunch, sprinkle chopped nuts onto chocolate-covered pizzelles.
Feeling adventurous? Spread fruit preserves between two pizzelles for a delightful sandwich, or fill them with sweetened ricotta cheese for a cannoli-inspired dessert. Remember that freshly made pizzelles should cool on a wire rack to maintain their crisp texture before adding any toppings.
Get creative with serving ideas, too! Mold warm pizzelles into bowls for ice cream or fruit salads, or crumble them into parfaits with whipped cream and berries.
Whether you’re hosting a gathering or treating yourself, these flavor variations and toppings will surely impress!
Storage Methods
When it comes to storing gluten-free pizzelles, proper methods can extend their deliciousness and crunch. To keep your pizzelles fresh and crisp, follow these essential storage tips:
- Use Airtight Containers: Place your pizzelles in airtight cookie tins or containers to prevent air exposure, which can lead to staleness.
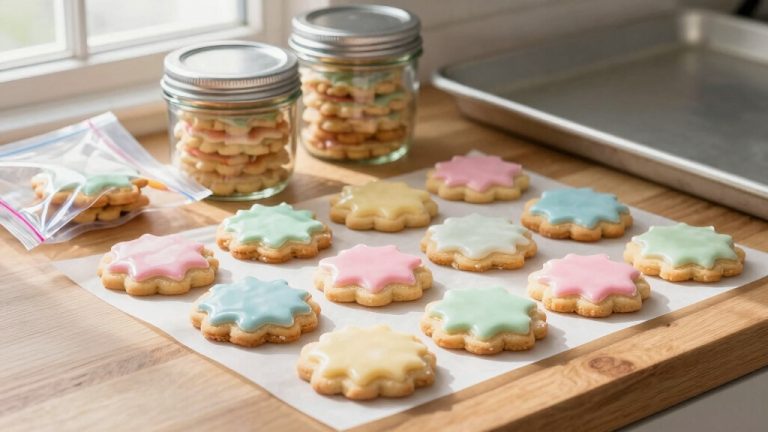
- Layer with Care: To avoid sticking, layer your pizzelles between sheets of waxed or parchment paper. This simple trick guarantees they stay intact and ready to enjoy.
- Consider Freezing: If you want to store them longer, freezing is a great option. Use freezer-safe containers or bags, and remember to layer with parchment paper. They can last up to two months in the freezer!
For short-term storage, keep your pizzelles at room temperature for 1-2 weeks, away from direct sunlight and heat sources.
If they lose their crunch, simply pop them in a 300°F oven for a few minutes to refresh.
Troubleshooting Common Issues
Troubleshooting common issues with gluten-free pizzelles can make the difference between a delightful treat and a frustrating baking experience. Here are some common problems and solutions to keep you on track:
| Issue | Solution |
|---|---|
| Incorrect Flour Measurement | Use less flour; add water 2 tablespoons at a time. |
| Overmixing | Mix just until ingredients are combined. |
| Expired Baking Powder | Check expiration date; replace if necessary. |
| Pizzelle Iron Temperature | Preheat according to manufacturer’s instructions. |
| Soft Pizzelles | Cook for an additional 5-10 seconds. |
You’ll want the batter to be thick but soft, resembling pancake batter. For cooking, use about 1-2 teaspoons of batter and adjust the cooking time based on your pizzelle iron’s performance. If pizzelles are steaming less, they might be done! Additionally, traditional flavors like anise and vanilla can enhance the taste of your pizzelles. Finally, remember to shape them while warm and cool them on a wire rack to achieve that perfect crunch. With these tips, you can troubleshoot any hiccups and enjoy your gluten-free pizzelles!
Nutritional Information
Enjoying your gluten-free pizzelles isn’t just about the delightful crunch and sweet flavor; it’s also important to contemplate their nutritional value. When you indulge in these treats, understanding their nutritional profile can help you make informed choices.
Here’s a quick breakdown of what you’ll get per serving (one cookie, 21g):
- Calories: 110, with 45 coming from fat. This means you can enjoy a treat without going overboard on calories.
- Total Fat: 5g (8% of your daily value), with just 0.5g of saturated fat. You’ll appreciate that there are no trans fats, making them a heart-friendly option.
- Dietary Considerations: They’re GMO-free, all-natural, and free from preservatives and additives, which means you’re opting for a cleaner snack. Additionally, these pizzelles are made with premium vanilla beans for a rich flavor that enhances your snacking experience.
These gluten-free pizzelles are crafted from a blend of rice flours and starches, combined with eggs for protein.
While the exact carbohydrate and sugar content isn’t specified, they’re certainly a delightful way to satisfy your sweet tooth without the gluten.
Enjoy your pizzelles with a clear conscience!
Frequently Asked Questions
Can I Use a Different Type of Gluten-Free Flour?
Absolutely, you can use different types of gluten-free flour!
Think of flour as a canvas; each variety paints a unique texture and flavor. Experimenting with options like Bob’s Red Mill or King Arthur can lead to delightful results, but be wary of high cornstarch blends.
Adjustments might be necessary, so don’t hesitate to tweak the liquid or other ingredients. Trust your taste buds; they’ll guide you to the perfect mix!
How Do I Know When the Pizzelles Are Done Cooking?
To know when your pizzelles are done cooking, look for a golden brown color and deep grooves from the iron.
They’ll feel soft when you first remove them but will harden quickly. If they’re still soft after a moment, give them an extra 5-10 seconds.
Always trust your eyes; visual inspection is key. Preheating the iron and adjusting cooking time based on your first batch will help you achieve perfect results!
Can I Add Other Flavors Besides Vanilla or Anise?
Absolutely, you can add a variety of flavors to pizzelles!
Did you know that 70% of people enjoy experimenting with flavors in their baked goods? You can enhance your pizzelles with citrus zests like lemon or orange, or even spiced flavors like cinnamon and cardamom.
Try combining extracts such as vanilla with almond for a nutty twist. The possibilities are endless, so let your creativity shine when choosing your flavor combinations!
What Is the Best Way to Shape Pizzelles After Cooking?
To shape pizzelles effectively after cooking, start while they’re still warm.
Quickly use a cannoli tube or foil to form cones or cups before they harden.
Employ a kitchen towel to protect your fingers from the heat, and line a baking sheet with parchment for cooling.
Remember to work fast; the key is to maintain their pliability.
For added creativity, consider using various molds to craft delightful dessert shapes!
How Long Do Pizzelles Last Before They Go Stale?
Pizzelles can last quite a while if stored properly. At room temperature, you can enjoy them for up to two weeks, but they might lose their crispness sooner.
For longer storage, pop them in the freezer, where they can stay fresh for about two months. Just remember to cool them completely before storing and use airtight containers to keep moisture out.
Following these tips will help you savor their delightful crunch!
Delight in Every Gluten-Free Bite
As you savor each delicate, crispy bite of your gluten-free pizzelle, let the sweet aroma of vanilla and the warm hint of citrus dance around you. You’ve crafted a treat that not only delights the palate but also brings joy to gatherings with family and friends.
With a sprinkle of powdered sugar, they’re not just cookies; they’re memories waiting to be made. So, embrace your creation, and enjoy every moment of this delightful culinary journey.

