How to Use a Banneton Basket: Shape, Proof and Perfect Your Loaf
To use a banneton basket, start by misting the interior with water and dusting it thoroughly with rice flour to prevent sticking. Shape your dough into a tight ball and place it seam-side up in the basket.
Cover it with a cloth to retain moisture and let it proof for 1 to 3 hours at 75°F to 85°F. Once proofed, carefully invert the basket onto a parchment-lined baking sheet.
To maintain the basket’s structure, avoid washing it; instead, brush off excess flour after each use and let it air-dry. You’ll find more tips and techniques that enhance this amazing tool.
Key Takeaways
- Prepare the banneton by misting it lightly with water and dusting it thoroughly with rice flour to prevent sticking.
- Shape the dough into a tight ball with the seam side up and place it in the floured banneton.
- Cover the dough with a clean cloth or shower cap and let it proof for 1 to 3 hours at 75°F to 85°F.
- After proofing, carefully invert the banneton onto a parchment-lined baking sheet to release the dough.
- Clean the banneton with a stiff brush after each use, avoiding water to maintain its structure.
About Banneton Baskets
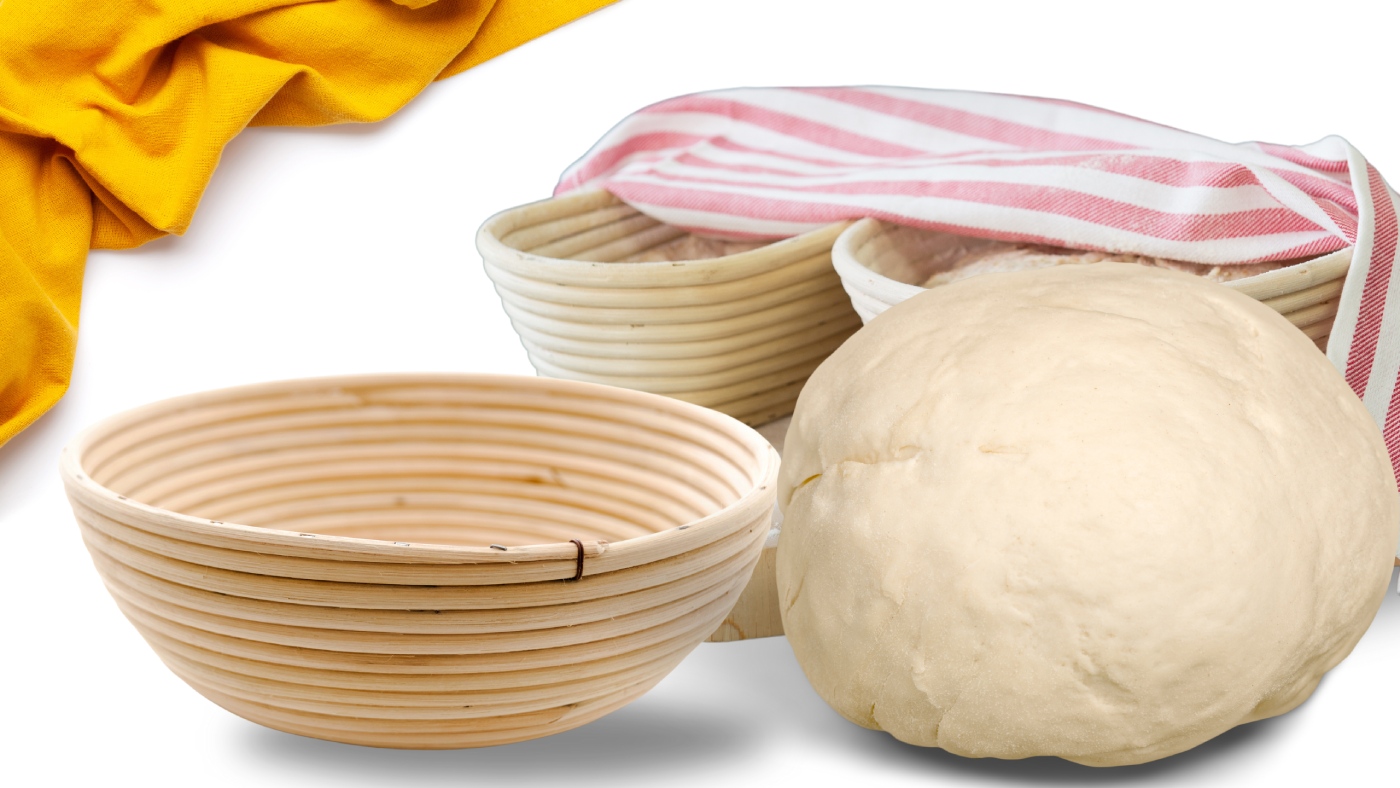
Banneton baskets, often referred to as protoforms, are fundamental tools for any bread baker looking to achieve perfectly shaped loaves. These baskets are specifically designed for proofing dough, ensuring that your bread maintains its shape during the final rise.
Typically made from materials like rattan or cane, banneton baskets allow for airflow and help prevent sticking, which is essential for developing a crispy crust. Many of these baskets are crafted from eco-friendly materials, ensuring safety and sustainability in your baking practices, which is an important factor to contemplate when selecting your tools for bread making (material quality).
When using a banneton basket, it’s important to dust the interior with flour, ideally rice flour due to its excellent non-stick properties. This step is crucial to facilitate the easy release of your dough after proofing.
You’ll want to place your shaped dough seam side up in the basket, which promotes a clean release and preserves the loaf’s shape.
Banneton baskets come in various shapes, with round and oval being the most common. This versatility caters to different loaf styles, such as boules and bâtards.
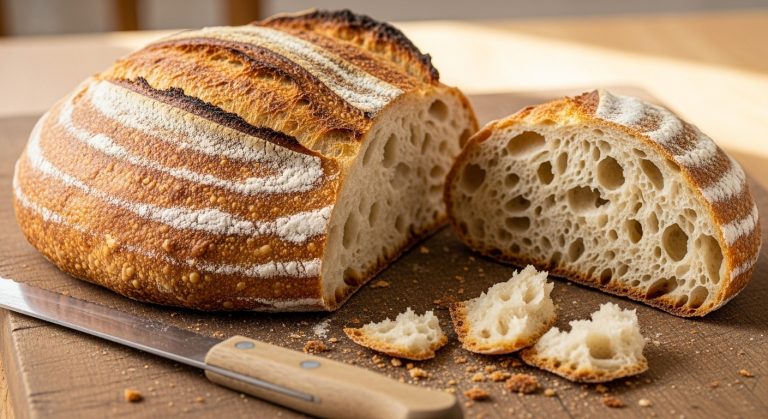
Additionally, unlined banneton baskets leave attractive spiral patterns on the finished loaf, enhancing its artisan appearance—something every bread baker strives for.
Preparing Your Banneton

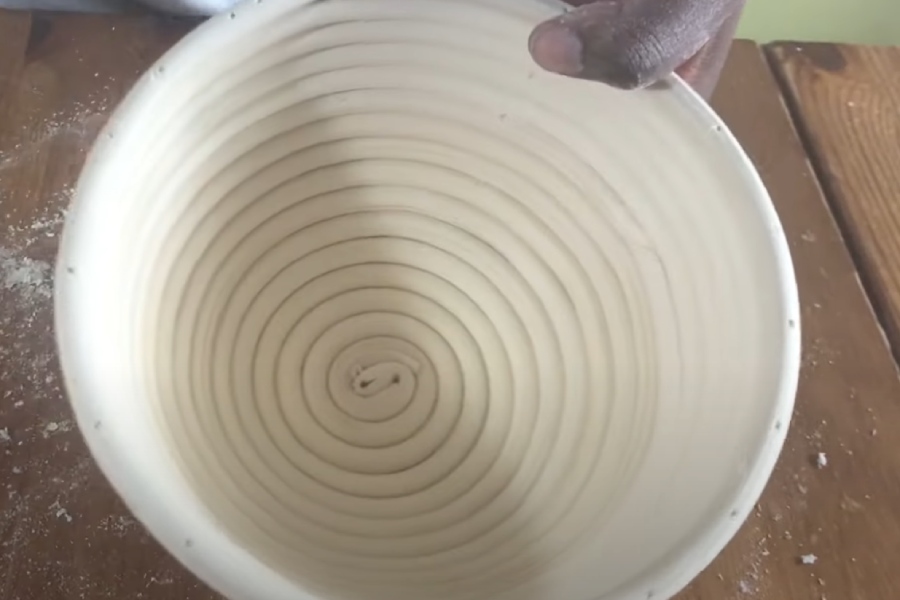
Before you begin proofing your dough, it’s vital to set up your banneton correctly. Start by removing any labels from the basket. Lightly mist the interior with water, then dust it thoroughly with rice flour. This creates an even coating that prevents sticking and guarantees your dough will maintain its shape.
When preparing your banneton, coat all grooves with flour, tapping out any excess flour to maintain a non-stick surface. If you’re using an unlined banneton, sprinkle additional rice flour around the edges before placing the shaped dough inside. This extra step greatly reduces the risk of sticking, allowing for easier removal after proofing.
After each use, shake out any excess flour and use a stiff brush to remove the dried dough. This is essential for proper banneton care, helping to keep the basket clean and functional.
Using a Banneton Effectively
To achieve ideal results when using a banneton, start by thoroughly dusting its interior with rice flour before placing your shaped dough inside. This non-stick surface enhances airflow during proofing, preventing the dough from sticking.
Shape your dough into a tight ball, then place it seam-side up in the banneton to maintain its structure.
Cover the banneton with a clean cloth or shower cap during proofing to keep the dough moist while allowing it to rise properly. Aim to proof the dough for 1 to 3 hours at a temperature range of 75°F to 85°F, paying attention to humidity levels to avoid crust formation on the dough surface.
After proofing, carefully invert the banneton onto a parchment-lined baking sheet. This smooth transfer is vital; make certain you don’t damage the shape of your dough in the process.
Once it’s released, you’re ready to bake.
Dusting Materials for Proofing
Achieving the best results with your banneton relies heavily on the choice of dusting materials you use for proofing. The right dusting material not only guarantees a non-stick surface but also enhances the overall quality of your bread.
Rice flour is the preferred choice due to its gluten-free properties and moisture resistance, preventing your shaped dough from sticking to the basket. Coarse flours like semolina or cornmeal can also work well, adding texture while keeping the surface non-stick. However, steer clear of all-purpose or bread flour, as they tend to absorb moisture, increasing the likelihood of sticking.
To guarantee peak results, apply a light and even coating of your chosen dusting material to the inside of the banneton before placing the shaped dough. Regularly re-dusting after each use will help maintain the banneton’s non-stick properties and prolong its lifespan.
Here’s a quick comparison of dusting materials:
| Dusting Material | Benefits |
|---|---|
| Rice Flour | Gluten-free, moisture-resistant |
| Semolina | Adds texture, non-stick |
| Cornmeal | Non-stick, adds crunch |
| All-Purpose Flour | High moisture absorption |
Maintenance and Cleaning Tips
Maintaining your banneton basket is important for its longevity and effectiveness in bread-making. To clean your banneton, avoid washing it after every use. Instead, gently bang it to dislodge excess flour and use a stiff bristle brush for stubborn residues. This method preserves the basket’s shape and integrity while guaranteeing effective cleaning procedures.
Air drying the basket for 1-2 days after use is essential. This step helps prevent mold growth, so steer clear of sealing it in plastic bags that can trap moisture. If you notice any mold, it’s best to replace the banneton, as scrubbing won’t be effective due to the porous nature of rattan.
Regular inspection of your banneton is critical. Check for any signs of wear or damage that could affect its functionality. Additionally, re-season with flour as needed to maintain its non-stick properties.
While occasional washing is permitted, limit this to infrequent instances. If you do wash it, soak your banneton in warm water for 10-15 minutes before scrubbing to guarantee you preserve its integrity and extend its lifespan.
Preventing Mold Growth
Preventing mold growth in your banneton basket is vital for guaranteeing its longevity and effectiveness in bread-making. After each use, invert the banneton and tap out excess flour to minimize moisture retention, which can lead to mold. This simple step helps maintain a dry environment essential for the basket’s health.
Once cleaned, allow the banneton to air dry completely for 1-2 days before storage. This guarantees no dampness is trapped, as moisture encourages mold development.
Store the banneton in a dry, well-ventilated area, avoiding plastic bags that can trap moisture and worsen mold issues.
Regularly inspect your banneton for any signs of mold or deterioration. If you find mold, discard the basket, as cleaning is ineffective in such cases.
To further prevent mold, use a stiff bristle brush for cleaning instead of washing with water. Water can compromise the basket’s integrity, leading to a higher risk of mold growth.
Troubleshooting Sticking Issues
When you’re facing sticking issues with your dough in the banneton, consider your flour application techniques and dough consistency. High hydration levels in your dough can contribute to stickiness, so make sure you’re balancing moisture properly to avoid this issue.
Dust the inside of the basket thoroughly with rice flour or semolina for ideal non-stick properties, and make sure your dough is shaped tightly to maintain surface tension.
If sticking occurs, you can gently detach the dough using your fingers or a spatula before inverting it onto your baking surface. For more information on managing hydration levels, refer to why stickiness occurs.
Flour Application Techniques
A successful flour application technique is essential for avoiding sticking issues with your banneton basket. To achieve this, opt for rice flour or semolina for dusting, as these coarser flours offer superior non-stick properties compared to all-purpose flour, which tends to absorb moisture.
Start by lightly dusting the entire interior of the banneton, ensuring even coverage to create a protective barrier between the dough and the basket.
While handling the dough, maintain a dry surface to reduce sticking further. Use a bench scraper to minimize moisture on the dough’s exterior as you shape it. If you encounter any sticking after the dough has risen, gently work from the sides of the basket to detach the dough, taking care not to damage the banneton’s structure.
After each use, remember to shake out any excess flour and brush off any dried dough remnants. This routine helps maintain the banneton’s non-stick characteristics, ensuring it’s ready for your next baking session.
Dough Consistency Considerations
The right dough consistency plays a significant role in preventing sticking issues with your banneton. To achieve this, keep the following considerations in mind:
- Hydration Level: Aim for a hydration level below 75%. High hydration dough can increase stickiness, making it more challenging to handle. Maintaining a balance in hydration is essential for creating a fluffy loaf, similar to the texture achieved in sourdough bread recipes that utilize well-measured ingredients.
- Flour Type: Use rice flour or semolina for dusting your banneton. Their coarser texture and moisture-resistant properties help reduce sticking compared to all-purpose flour.
- Shaping Technique: Gently shape your dough before placing it in the banneton. A taut surface helps maintain structure and minimizes the risk of sticking.
- Monitor Proofing Times: Avoid over-proofing your dough. A weakened structure from extended proofing times can lead to increased stickiness, so keep a close eye based on your dough type and environmental conditions.
If your dough does stick, don’t panic! Use a bench scraper or your fingers to coax it away from the sides of the banneton gently.
Choosing the Right Size
Choosing the right size banneton is essential for achieving the perfect shape and texture in your bread. The size of your banneton directly impacts how your dough rises and, ultimately, the final loaf’s appearance. To guarantee you select the correct size, consider the total weight of your dough after incorporating all ingredients, including any add-ins.
Here’s a quick reference table for common banneton sizes:
| Banneton Size | Dough Weight Capacity |
|---|---|
| 8-inch round | 500g |
| 10-inch round | 2 lbs |
| 10-inch oval | 1.75 lbs |
| 8-inch oval | 1 lb |
Always verify that your chosen banneton size aligns with your baking vessel, such as a Dutch oven, to prevent any issues during the baking process. If you’re planning to make round loaves, opt for a round banneton; for bâtards, the oval shape is preferable.
Recommended Recipes for Bannetons
Several standout recipes showcase the benefits of baking with a banneton, enhancing both texture and appearance. Bannetons allow bread dough to maintain its shape during the final rise, resulting in beautifully formed loaves.
Here are some recommended recipes for your banneton:
| Recipe Name | Description |
|---|---|
| Cinnamon Raisin Sourdough | A sweet, flavorful option perfect for breakfast or snacking. |
| Jalapeño Cheddar Sourdough | Combines spicy and cheesy flavors, ideal for sandwiches. |
| Sourdough Rye Bread | Dense texture and hearty flavor, benefiting from banneton support. |
These recipes utilize the shapes and sizes of bannetons to create distinct crusts and textures. For a unique dessert, try Chocolate Sourdough, or for a seasonal treat, Pumpkin Sourdough Bread provides moisture and flavor.
Remember to clean your banneton properly after each use to guarantee its top condition.
Frequently Asked Questions
How Do You Use a Banneton Basket for the First Time?
To use a banneton basket for the first time, start by dusting the inside with rice flour to create a non-stick surface.
Shape your dough into a tight ball, placing it seam side up in the banneton. Cover it with a cloth to prevent drying as it proofs for 1-3 hours.
Once proofed, gently invert the banneton onto parchment paper to release the dough, ensuring it maintains its shape and structure.
Do You Put Dough Directly in Banneton?
You can absolutely put dough directly in a banneton, much like tucking a cozy blanket around a sleeping baby.
Just remember to dust it with flour first—rice flour works best, as it keeps moisture at bay.
Place your shaped dough seam side up, then cover it to prevent drying. If your dough’s sticky, add a bit more flour around the edges.
When it’s time to bake, gently invert the banneton onto your baking surface.
How Do You Keep Dough From Sticking to Banneton Basket?
To keep your dough from sticking to the banneton, dust it generously with rice flour, which is gluten-free and moisture-resistant.
Shape your dough with the seam side up to minimize sticking. For high-hydration doughs, increase the dusting flour or use coarse options like semolina.
If it does stick, gently work from the sides or invert it onto parchment paper.
Regularly shake out excess flour and brush off dried dough to maintain the basket’s non-stick properties.
What Is the Benefit of Using a Banneton?
Using a banneton is like giving your dough a royal throne! It keeps your dough upright during proofing, ensuring it doesn’t spread into a sad puddle.
The breathable rattan lets air flow freely, enhancing crust development as it dries out the dough’s surface. Plus, those charming imprints create a bakery-worthy aesthetic.
If you’re working with high-hydration dough, the banneton’s support is essential for achieving that glorious oven spring and impressive loaf height.
Bread Artistry: How a Banneton Transforms Your Loaves
Using a banneton basket can elevate your bread-making game, giving your loaves a beautiful shape and texture. Like a trusty compass guiding you through uncharted waters, it helps guarantee your dough rises perfectly.
Remember to dust your banneton properly and maintain it with care to prevent sticking. With practice and the right techniques, you’ll create artisan-quality bread that impresses every time.
So, gather your ingredients and let your banneton be the secret to your baking success.


