Biaggi’s Focaccia Bread Recipe: Delightful Taste of Italy
You can easily recreate Biaggi’s focaccia bread right at home, capturing that authentic Italian flavor. Start by activating fresh yeast in warm water, then combine it with three cups of unbleached flour, kosher salt, and a splash of olive oil.
Knead the dough until smooth, letting it rise until doubled. Shape it, dimple the surface, and allow it to rise again before baking at 350°F for 20-35 minutes. You can top it with herbs or cheese for extra flavor.
Serve warm with olive oil and balsamic vinegar, and discover delightful serving ideas to elevate your experience.
Key Takeaways
- Focaccia bread is a soft, airy Italian bread made with flour, water, yeast, salt, and olive oil.
- Activate fresh yeast by mixing it with warm water for 5-10 minutes before combining with other ingredients.
- Knead the dough for 8-10 minutes until it becomes smooth and elastic, then allow it to rise until doubled in size.
- Shape the dough, create dimples on the surface, let it rise again, then bake at 350°F for 20-35 minutes.
- Serve warm with olive oil and balsamic vinegar, or use as a base for sandwiches and creative toppings.
A Quick Look at Focaccia Bread
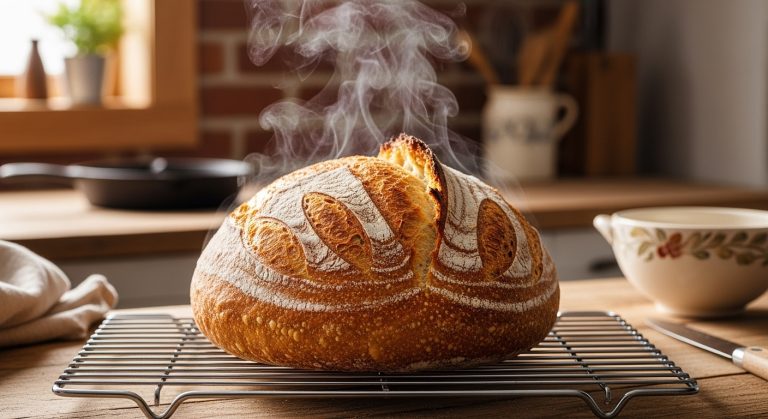
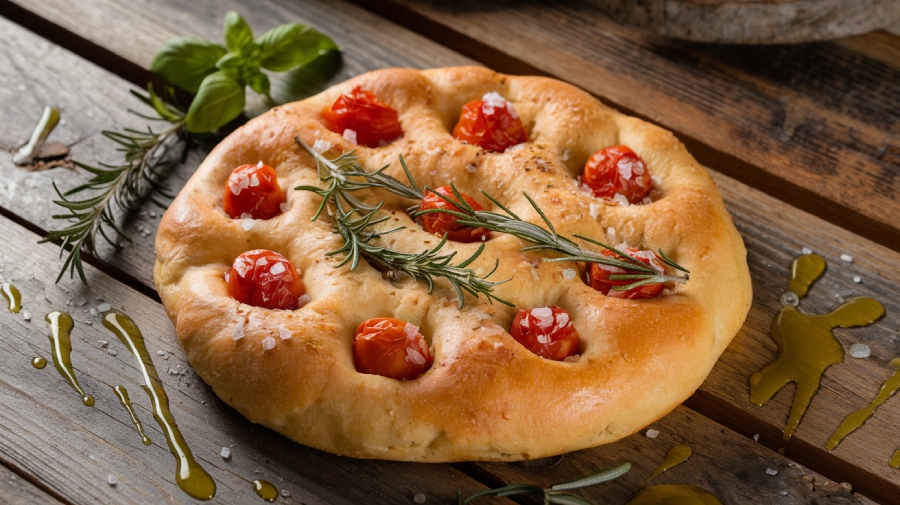
Focaccia bread, with its roots in the Liguria region of Italy, has captured the hearts and taste buds of many worldwide for centuries. This Italian flatbread is celebrated for its soft, airy texture and crispy crust, making it a favorite in various cuisines.
You’ll find that the magic of focaccia lies in its simple yet vital ingredients: flour, water, yeast, salt, and generous amounts of olive oil. Additionally, focaccia can be enhanced with toppings such as caramelized onions and cheeses, making it a delightful base for dishes like Focaccia Bread Pudding.
When you prepare focaccia, kneading the dough properly and allowing it to rise is essential. This process develops gluten, contributing to its unique texture and delightful flavor. As the dough bakes, the olive oil helps create that golden-brown crust you crave while the interior remains fluffy and tender.
Focaccia is incredibly versatile, serving as a fantastic side dish or appetizer. You can also transform it into a base for sandwiches or bruschetta. Feel free to get creative with toppings—fresh herbs, cheese, or vegetables can elevate your focaccia experience, allowing you to be right in your kitchen.
Key Ingredients Needed
To create the perfect focaccia bread, you’ll need a handful of essential ingredients that work together to deliver that signature texture and flavor.
Start with about 3 cups of unbleached flour, which provides the structure and chewiness that make focaccia so delightful. For an even chewier texture, consider using high-protein bread flour, as it’s vital for achieving that airy quality. Fresh yeast is important, as it helps your dough rise beautifully; you’ll want about 1 tablespoon plus 1 teaspoon for best results.
Warm water is also key; it activates the yeast and encourages fermentation, contributing to that airy, soft crumb. Don’t forget kosher salt, as it enhances the overall flavor and controls the fermentation process. A generous drizzle of olive oil not only adds richness but also creates that golden-brown crust you crave.
Additionally, you might consider using whole milk in your dough to boost richness and moisture, making your focaccia even more irresistible. For a unique twist, try incorporating chocolate flavor into your focaccia for a decadent treat, which can be achieved by adding cocoa powder and chocolate chips with a rich chocolate flavor. As you get creative, consider optional toppings like red onions, fresh herbs, or cheese to elevate your Biaggi’s focaccia flavor profile and visual appeal.
Step-by-Step Preparation
As you begin making focaccia, starting with yeast activation is essential for achieving that airy texture. Mix 1 tablespoon plus 1 teaspoon of fresh yeast in 1/2 cup of warm water at 105°F, letting it bloom for 5-10 minutes. This fermentation process enhances the flavor and texture of your bread, similar to how sourdough fermentation promotes gut health.
While that’s happening, grab a mixing bowl and combine 3 cups of unbleached flour, 2 teaspoons of kosher salt, and your activated yeast mixture. Pour in 3/4 cup of whole milk and 2 tablespoons plus 1 teaspoon of olive oil to form a sticky dough.
- Feel the silky texture as you knead the dough for 8-10 minutes until it’s smooth and elastic.
- Let it rest in a warm spot, covered, allowing it to rise and double in size for about 1-2 hours.
- After the first rise, shape the dough into a flat rectangle on a greased baking sheet, dimpling the surface with your fingers, and let it rise again for 30 minutes.
Baking Instructions
To get started, preheat your oven to 350°F (190°C) for that perfect golden-brown crust. Once your dough is shaped on the baking tray, use your fingers to create dimples, which will help those delightful air bubbles form while baking. Keep an eye on it as it bakes for 20-35 minutes, ensuring it turns crispy and beautifully browned.
Preheating the Oven
Preheating your oven is an important step in achieving that perfect focaccia, where the edges are crisp and the center remains fluffy. Start by preheating your oven to a temperature between 375°F and 450°F, depending on your specific recipe.
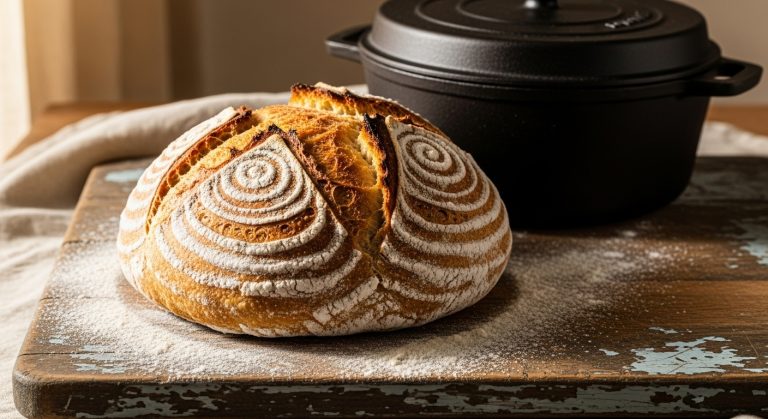
Confirming the oven is fully heated before placing the focaccia inside for even baking is vital. For best baking results, consider using a Dutch oven, as it helps trap steam and enhances crust quality, making it a preferred choice for many breadbakers.
To help you visualize the process, consider the following:
- The tantalizing aroma of olive oil fills the air as you grease the baking tray.
- The golden-brown crust forms as the focaccia bakes.
- The satisfying sound of a crispy crust breaking as you slice into it.
Use an oven thermometer to verify the temperature for accuracy, as home ovens can sometimes be off. Grease your baking tray with olive oil and line it with parchment paper for easy removal. Once your focaccia is in the oven, monitor it closely, watching for that beautiful golden-brown color and crispy texture. Bake for 20-35 minutes.
Dimpling the Dough
Dimpling the dough is an essential step that transforms your focaccia from ordinary to extraordinary. This technique involves pressing your fingers gently into the surface of the dough, creating small indentations that are fundamental for achieving the perfect texture.
As you dimple, you allow air bubbles to escape during baking, ensuring your focaccia rises beautifully and remains light. Using a superior proofing basket can enhance your dough’s structure and maintain moisture, contributing to an even better result.
Perform this step after shaping the dough and before the final rise. It’s important to maintain a gentle touch; too much pressure can deflate the dough, compromising its airy structure. Aim for evenly spaced dimples across the entire surface, which not only promotes consistent baking results but also enhances the visual appeal of your focaccia.
The dimples serve a dual purpose by providing an inviting surface for toppings and olive oil to pool. This adds flavor and creates an enticing presentation that’s sure to impress.
Serving Suggestions
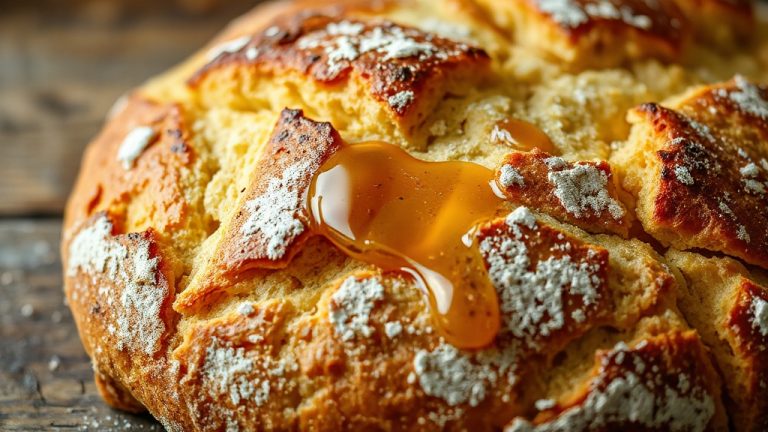
Focaccia is a delightful canvas for your culinary creativity. You can serve it warm with a drizzle of olive oil and balsamic vinegar for a simple yet elegant appetizer, or stack it high with your favorite sandwich fillings. Whether you enjoy it as a side dish or a standalone snack, its versatility will always impress your guests.
Pairing With Dips
Enhancing your focaccia experience becomes effortless when you pair it with the right dips. The combination of flavors can elevate your homemade bread from simple to sensational. Picture yourself tearing into a warm piece of focaccia, ready to dip into a variety of delectable options.
- A rich, fruity olive oil that glides over the focaccia’s crispy crust.
- A tangy blend of balsamic vinegar and olive oil creates a perfect contrast to the bread’s savory notes.
- Creamy hummus adds a smooth texture and protein that complements the focaccia beautifully.
For an aromatic twist, consider pesto; its fresh basil and nutty flavor will tantalize your taste buds. If you’re feeling adventurous, whip up a goat cheese dip. Its creamy, tangy elements pair wonderfully with the focaccia, enhancing the overall tasting experience.
Sandwich and Appetizer Ideas
Pairing focaccia with delicious dips is just the beginning of its culinary potential. You can slice Biaggi’s focaccia and use it as a fantastic base for mouthwatering sandwiches. Imagine layers of fresh mozzarella, ripe tomatoes, and fragrant basil, creating a Caprese-style delight that’s both satisfying and invigorating.
For appetizers, cut the focaccia into bite-sized pieces, pairing them with olive oil infused with balsamic vinegar or a herbed hummus for a savory treat. You can also elevate your gatherings by topping the focaccia with caramelized onions and goat cheese before baking, transforming it into flavorful hors d’oeuvres that will impress your guests.
If you’re looking for a unique breakfast idea, warm slices of focaccia topped with creamy avocado and poached eggs, finished with a sprinkle of red pepper flakes, provide a nutritious start to your day.
Lastly, consider turning focaccia into savory bruschetta by toasting slices and adding toppings like diced tomatoes, garlic, and fresh herbs. .
Storage Tips
Typically, focaccia bread is best enjoyed fresh, but knowing how to store it properly can help you savor its delightful texture and flavor for a bit longer. For short-term storage, keep your focaccia in an airtight container at room temperature for up to two days. This method preserves its soft interior and enhances the aroma. If you need it to last a bit longer, refrigerating it extends the shelf life to about three days, though it may lose some crispiness.
For longer storage, freezing is your best bet. Wrap your focaccia tightly in plastic wrap or aluminum foil to prevent freezer burn, and it can last for up to three months. When you’re ready to enjoy it again, reheating is key! Simply pop it in the oven at 350°F (175°C) for about 10-15 minutes to restore that crispy crust.
If your focaccia does happen to become stale, don’t fret! You can easily repurpose it into delicious croutons or breadcrumbs, minimizing waste while adding flavor to other dishes.
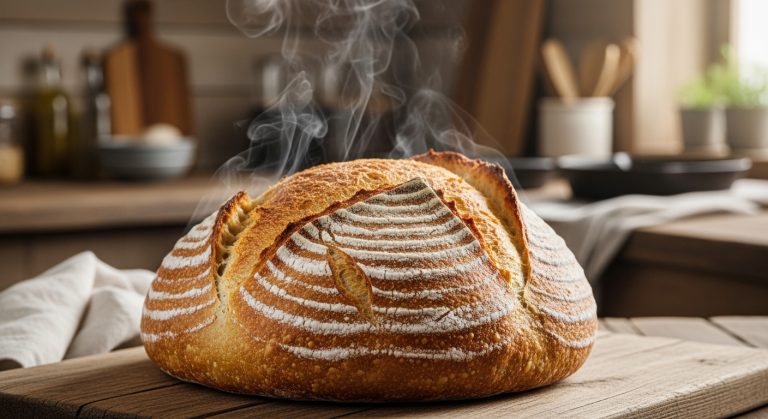
- Freshly baked, aromatic focaccia
- Soft, pillowy texture inside
- Crispy, golden crust outside
Frequently Asked Questions
What Makes Focaccia Bread Different From Other Breads?
Focaccia bread stands out due to its airy interior, crispy crust, and unique toppings. Its high hydration and longer fermentation process create rich flavors, while dimpling the surface allows for delicious oil and ingredient pockets.
What Is the Best Flour for Focaccia?
For focaccia, you’ll want unbleached all-purpose or high-protein bread flour. These options support gluten development, ensuring a satisfying rise. Experimenting with T45 or T55 flour can also yield a wonderfully light texture for your bread.
Why Do You Poke Holes in Focaccia?
You might think poking holes in focaccia is unnecessary, but it’s essential. Dimpling allows steam to escape, creating a light texture and crispy crust. Plus, it holds toppings, enhancing both flavor and presentation beautifully.
How Is Focaccia Dough Different from Traditional Bread Dough?
Focaccia dough’s higher hydration and generous olive oil create a soft, airy texture. Its longer fermentation enhances flavor, while the unique flat shape and toppings distinguish it from traditional bread, which typically lacks these characteristics.
A Timeless Italian Classic
Focaccia bread isn’t just a delicious treat; it’s also a staple in Italian cuisine, with origins dating back to ancient Rome. Did you know that in Italy, it’s common for families to bake focaccia at home, with over 80% of households enjoying it at least once a week?
Now that you’ve mastered Biaggi’s focaccia bread recipe, you can join the ranks of these families, savoring its warm, flavorful goodness straight from your oven. Enjoy every bite!