Same Day Sourdough Bread Recipe: Enjoy Fresh Everyday
You can easily make a delightful same-day sourdough bread in just 12 hours. Start by feeding your active starter and gather your ingredients: 450 grams of flour, 100 grams of starter, 300 grams of warm water, and 10 grams of salt.
Mix everything and let it rest for 20 minutes, then bulk ferment for 5-6 hours. Shape your dough, proof for 1-2 hours, and bake it in a preheated Dutch oven.
You’ll end up with a crusty loaf, perfect for any meal. Keep going to discover tips for shaping, scoring, and storing your homemade sourdough like a pro.
Key Takeaways
- Same-day sourdough bread can be made in approximately 12 hours, perfect for busy schedules.
- Use a mix of 400 grams of bread flour and 50 grams of whole wheat flour for flavor enhancement.
- The dough requires 5-6 hours of bulk fermentation and includes stretching and folding for texture.
- Bake in a preheated Dutch oven at 500°F for 20 minutes, then lower to 475°F for 15-25 minutes for crust development.
- Allow the bread to cool for at least 30 minutes before slicing to maintain texture and flavor.
Ingredients and Measurements
When you’re craving fresh bread but don’t want to wait days for it to rise, this same-day sourdough bread recipe is your perfect solution. You can complete the process in just 12 hours, making it an ideal choice for those with busy schedules.
This recipe is beginner-friendly, offering straightforward instructions that guide you through each step. You’ll appreciate how it minimizes waiting time, allowing you to satisfy those last-minute cravings without extensive preparation.
The simplicity of the process means you don’t need to be a baking expert to achieve delicious results.
The right ingredients are essential for the success of your sourdough bread recipe. Start with 450 grams of total flour, which includes 400 grams of high-quality bread flour and 50 grams of whole wheat flour for added depth.
Using high-gluten flour can also improve the structure of your loaf. You’ll also need an active sourdough starter weighing 100 grams; verify it’s been fed with an equal weight of 100 grams each of water and flour for ideal fermentation.
To boost the flavor of your bread, incorporate about 10 grams of salt into the dough mixture. This not only enhances taste but also contributes to the overall texture.
For hydration and yeast activation, you’ll need 300 grams of warm water, maintaining a cozy temperature of around 91°F (33°C).
Precision is key in sourdough baking, so don’t skip the digital scale. Having a digital scale guarantees accurate measurements, perfect dough consistency, and successful rise.
Baking Process and Timeline
To create your perfect sourdough loaf, you’ll need a clear baking schedule that outlines each step.
Start by preparing your starter the night before, guaranteeing it has been fed recently to maintain its strength and activity, as a healthy starter is essential for successful bread-making.
Then mix and shape your dough throughout the day for peak fermentation. Each phase is vital, so let’s break down the process and timeline to guarantee your bread turns out beautifully, while also considering factors like ideal storage conditions for sourdough starter to keep your starter in prime shape.
Preparation Schedule
Starting your sourdough journey requires a well-structured preparation schedule that keeps everything on track.
Here’s a quick overview of your timeline to make the process seamless and enjoyable.
- Morning: Feed your sourdough starter to guarantee it’s bubbly and ready.
- 12:00 PM: Mix your dough ingredients and allow for a 20-minute autolyse.
- 1:30 PM: Begin bulk fermentation, letting the dough rise for 5-6 hours until it doubles in size.
- 6:00 PM: Shape the dough into a ball, and proof it for 1-2 hours at room temperature or in the fridge for a better texture.
- 6:30 PM: Preheat your oven to 500°F (260°C) and prepare for baking.
Baking Steps Breakdown
As you shift into the baking phase, the excitement builds as the aroma of fresh sourdough fills your kitchen. The night before, you’ve fed your sourdough starter, ensuring it’s active and bubbly for its important role.
Around 12:00 PM, mix your dough ingredients and let it undergo a 5-6 hour bulk fermentation. During the first two hours, perform three sets of stretch and folds to develop that essential gluten structure.
By 6:00 PM, it’s time to shape your dough. Let it proof for 1-2 hours at room temperature. If you’re looking for enhanced flavor, consider refrigerating it for a quick cold fermentation.
Preheat your Dutch oven to 500°F (260°C) for 30 minutes, creating the perfect environment for baking.
Once preheated, score your dough and place it in the oven, covered, for 20 minutes. After that, remove the lid and bake for an additional 15-25 minutes to achieve a crusty exterior.
Shaping and Proofing Techniques
Once the bulk fermentation is complete, you’ll want to preshape your dough into a round ball, allowing it to rest uncovered for about 30 minutes.
This resting period helps form a protective skin, making your final shaping easier and more effective.
For the final shaping, follow these steps to create that desirable surface tension:
- Gently fold the edges of the dough toward the center, tucking them in.
- Roll the dough tightly into a ball, feeling the tension build.
- Dust a banneton with rice flour to prevent sticking, creating a soft, floury cloud.
- Place the shaped dough seam side up in the banneton, admiring its smooth form.
- Cover the dough to keep it moist, and find a warm spot for it to proof.
Let your dough proof at room temperature for 1-2 hours, until it’s noticeably risen and springs back gently when poked.
If you want to expedite the process, consider using your oven light to create a cozy environment.
Scoring and Baking Steps
With your dough beautifully shaped and proofed, it’s time to focus on the essential steps of scoring and baking.
Start by preheating your oven to 500°F (260°C) for at least 30 minutes, placing a Dutch oven inside. This guarantees even heat and steam retention, vital for that perfect crust.
Carefully transfer your proofed dough onto parchment paper. Using a scoring tool—like a lame or a razor blade—make 3-4 shallow cuts on the surface. This helps control how the bread expands while baking, giving it a beautiful, rustic appearance.
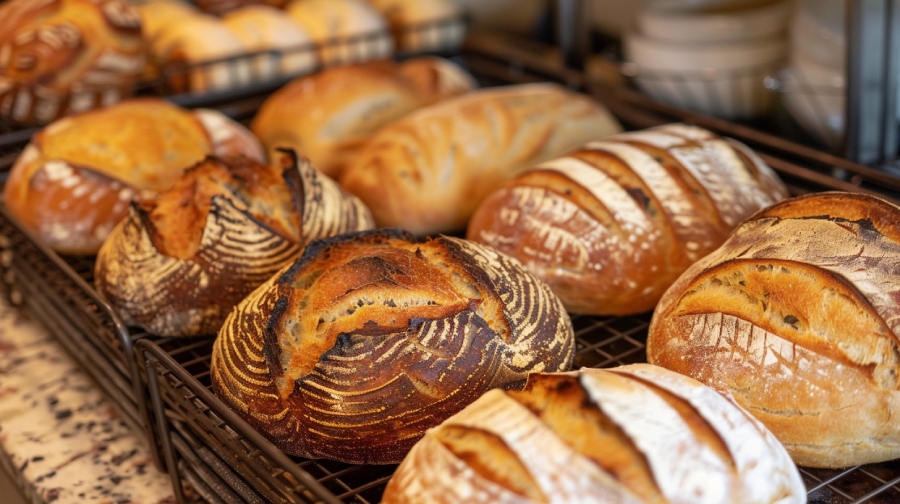
Now, it’s time to bake. Place the dough, still on the parchment, into the hot Dutch oven and cover it. Bake for 20 minutes; the steam trapped inside will promote a fantastic rise and develop a crusty exterior.
After that, remove the lid and lower the temperature to 475°F (246°C). Continue baking uncovered for another 15-25 minutes until the crust turns a gorgeous golden brown and crispy.
Once done, resist the temptation to slice right away. Let your bread cool on a wire rack for at least 30 minutes to make sure the internal structure sets properly.
Cooling and Storage Tips
After pulling your sourdough bread from the oven, patience becomes your best friend. Allow the bread to cool on a wire rack for at least 30 minutes to an hour. This step is essential to guarantee the interior sets properly and prevents that dreaded gummy texture.
Once cooled, you’ll want to store your bread properly to maintain its delightful crust and flavor. Here are some tips:
- Cover the bread with a clean kitchen towel, allowing it to breathe.
- Alternatively, place it in a paper bag to keep moisture at bay while preserving the crust.
- Store at room temperature in a bread box or paper bag for up to three days.
- For longer storage, slice the bread and freeze it in an airtight container or freezer bag for up to three months.
When you’re ready to enjoy leftover bread, reheat it in a preheated oven at 350°F (175°C) for about 10 minutes to revive its crusty exterior.
Frequently Asked Questions
Can I Use All-Purpose Flour Instead of Bread Flour?
Yes, you can use all-purpose flour instead of bread flour. Just keep in mind it’ll yield a softer texture and less rise. Adjust your water content and guarantee your starter’s active for best results.
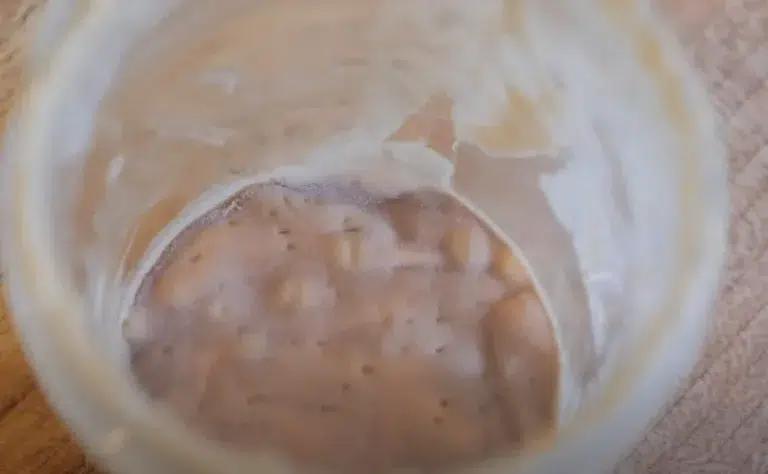
How Do I Know My Sourdough Starter Is Active?
You’ll notice your starter bubbling like a fizzy drink, doubling in size within hours. When you drop a spoonful in water, it should float, signaling it’s alive, ready, and bursting with tangy aroma.
What Can I Do if My Dough Is Too Sticky?
If your dough’s too sticky, try adding flour gradually, using wet hands for handling, and performing stretch and folds. A short rest can help, or refrigerate it briefly for easier management.
How Long Does Sourdough Bread Stay Fresh?
Sourdough bread stays fresh for about 2 to 3 days at room temperature. If you want it to last longer, consider refrigerating or freezing it to maintain its delightful flavor and texture. Enjoy every bite!
Can I Add Ingredients Like Herbs or Cheese?
Absolutely, you can add herbs or cheese! Just mix them in during the dough preparation for even flavor distribution. Experiment with different combinations to create unique, delicious loaves that’ll impress everyone who tastes them!
Baking Fresh Sourdough in a Day
You can enjoy fresh, crusty sourdough bread in a single day with just a few simple steps. Feel the satisfaction of kneading the dough, witness the transformation during proofing, and savor the aroma as it bakes.
Whether you’re sharing with loved ones or indulging solo, each bite offers a delightful crunch and a soft, tangy interior. So, roll up your sleeves, embrace the process, and let the magic of homemade sourdough elevate your baking adventures.