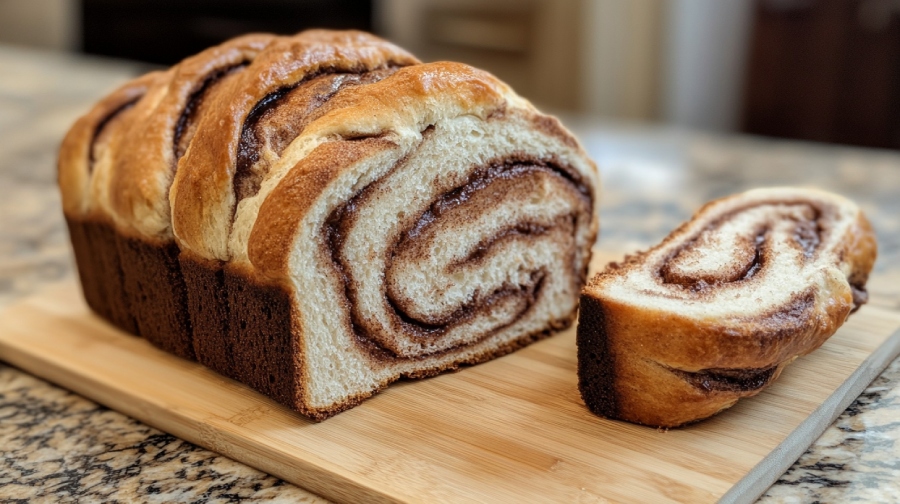
Sourdough Cinnamon Swirl Bread: Magical Twist
Sourdough cinnamon swirl bread combines the tangy essence of sourdough with a sweet, buttery cinnamon filling, making it perfect for breakfast or a decadent snack. For that beloved rise and flavor, you’ll need an active sourdough starter.
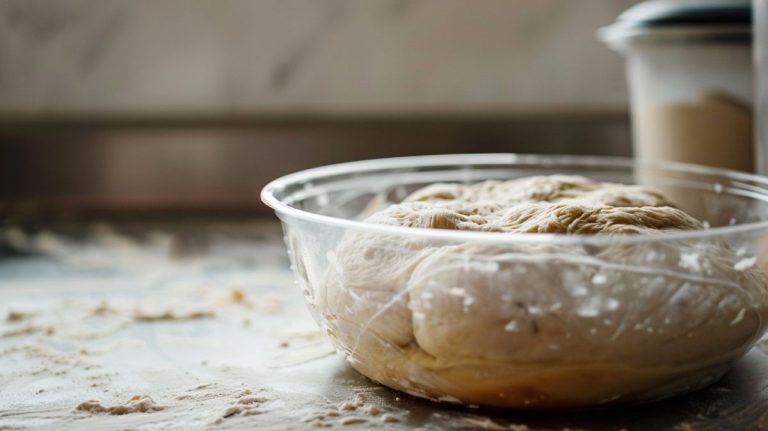
The process involves rolling out dough, spreading the cinnamon mixture, and rolling it into a tight log to create beautiful swirls. A cold fermentation of up to 36 hours enhances flavor and texture while baking in a hot Dutch Oven guarantees a crusty exterior.
Follow the steps to create your own.
Key Takeaways
- Sourdough cinnamon swirl bread combines tangy sourdough flavor with a sweet cinnamon filling, making it perfect for breakfast or a snack.
- Use an active sourdough starter and follow a cold fermentation process to enhance flavor and crust texture.
- Incorporate ingredients like brown sugar, cinnamon, soaked raisins, and melted coconut oil for added moisture and richness.
- Employ techniques such as autolyse and stretch and fold to develop gluten structure without intensive kneading.
- Bake in a preheated Dutch Oven for a crispy crust and optimal texture, with specific temperature adjustments during the baking process.
Sourdough Cinnamon Swirl Bread Magic
If you’ve ever tasted the delightful combination of tangy sourdough and sweet cinnamon, you know just how special sourdough cinnamon swirl bread can be. This unique bread marries the rich texture of sourdough with a luscious cinnamon filling, making it a perfect choice for breakfast or an indulgent snack.
With an array of innovative flavors to explore, such as those detailed in innovative flavors and specialty variations, this bread can be a delightful twist on traditional recipes.
To create this masterpiece, you start with an active sourdough starter, ensuring it’s bubbly and well-fed for ideal flavor and rise. During the shaping stage, you’ll incorporate the cinnamon, which prevents it from interfering with the fermentation process. This careful technique helps maintain the dough’s airy structure while infusing it with that beloved cinnamon sweetness.
One secret to deepening the flavor profile is cold fermentation. By letting your shaped dough rest in the refrigerator for 5 to 36 hours, you enhance both the taste and crust texture.
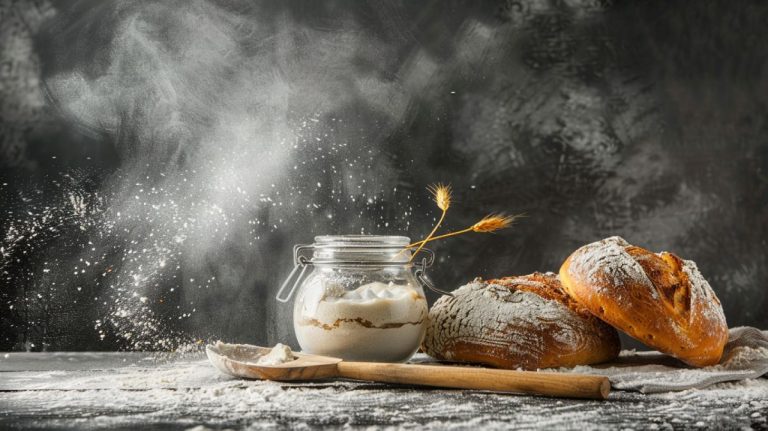
Essential Ingredients Needed
When making sourdough cinnamon swirl bread, you’ll consistently rely on a few key ingredients that bring this delightful recipe to life.
First up is bread flour, with 500g providing the backbone of your dough, ensuring it develops the perfect structure. You’ll also need 350g of water to hydrate the flour, which is essential for achieving that lovely, chewy texture. Aiming for a slightly tacky dough consistency will help enhance the overall texture of your bread, allowing for better gluten development optimal yeast performance.
Next, your active sourdough starter, at 50g, is vital for fermentation. Make sure it’s been fed 4-12 hours prior so it’s bubbly and ready to work its magic. Don’t forget the 10g of salt; it enhances flavor and controls fermentation.
For the sweet cinnamon swirl filling, mix 50g of brown sugar with 5g of cinnamon. This combination not only sweetens your bread but also adds rich depth. Remember, to avoid inhibiting the wild yeast, you’ll want to incorporate the cinnamon during the shaping stage.
If you’d like to elevate the flavor further, consider adding soaked raisins, which should be prepared ahead of time.
These ingredients harmonize beautifully, creating a loaf that’s both tangy and sweet, with a delightful swirl that’s hard to resist.
For more tips on crafting this bread, check out essential ingredients.
Flavor Enhancing Additions
Flavor-enhancing additions can truly elevate your sourdough cinnamon swirl bread, transforming it from delicious to extraordinary. By choosing the right ingredients, you can create a loaf that’s not only flavorful but also rich in texture.
Regularly maintaining a healthy sourdough starter guarantees that the yeast and bacteria work effectively, contributing to the rise and flavor profile of your bread.
- Freshly ground flour: This retains natural oils and nutrients, enhancing both flavor and texture.
- Bubbly sourdough starter: Feed it 4-12 hours before mixing to achieve a complex rise and flavor.
- Brown sugar and cinnamon filling: This signature mix adds a sweet and spicy aroma that fills your kitchen.
- Soaked raisins: Soaking them before adding ensures they’re chewy and moist, perfectly blended into the dough.
- Melted coconut oil: This mild oil enriches the flavor and contributes to a tender crumb.
Incorporating these elements will deepen the flavors and improve the overall mouthfeel of your bread.
Each slice will deliver a delightful experience, inviting you and your loved ones to savor every bite.
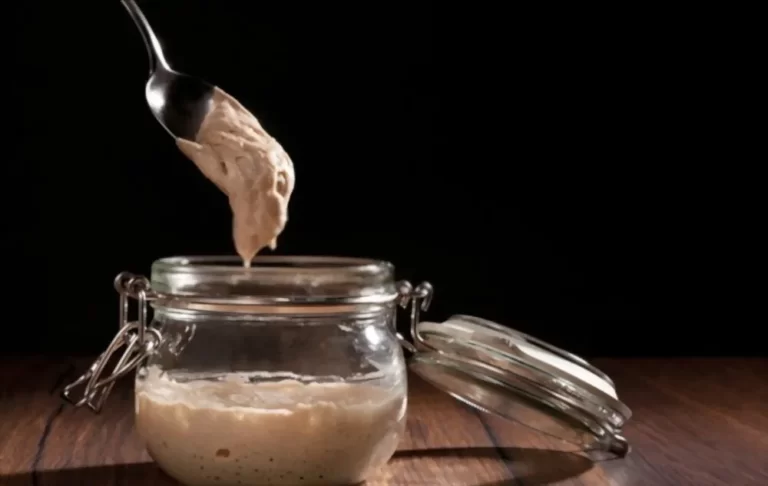
Preparing the Sourdough Starter
Creating a vibrant sourdough starter is the foundation of your delicious cinnamon swirl bread. To get started, combine 15g of your active starter with 50g of freshly ground flour and 50g of water. Stir it well, cover it loosely, and let it sit overnight for ideal activation. You’ll know your starter is ready when it’s bubbly and has a pleasant, slightly tangy aroma.
For the best results, feed your starter 4-12 hours before using it in your bread recipe. This timing guarantees successful fermentation and rise. Regularly feeding your starter every 24 hours keeps it lively and effective at leavening your dough.
Here’s a quick reference to help you visualize the feeding process:
| Ingredient | Amount |
|---|---|
| Active Starter | 15g |
| Flour | 50g |
| Water | 50g |
| Total | 115g |
A healthy starter should double in size within 4-6 hours after feeding. With this vibrant starter, you’re well on your way to baking that scrumptious cinnamon swirl bread!
Autolyse and Dough Mixing
Autolysing your dough is an important step that enhances hydration and gluten development, setting the stage for a beautifully textured cinnamon swirl bread. This technique not only improves the dough’s extensibility but also contributes to a more flavorful end product.
Mix your flour and water until just combined, then let it rest for about an hour. This process allows the flour to fully hydrate, which is essential for achieving that perfect dough consistency. Don’t add your sourdough starter or salt yet—salt can inhibit hydration and gluten formation.
For those looking to bake without parchment paper, consider alternatives like using a preheated Dutch oven or dusting with cornmeal for crispy crust baking alternatives to parchment paper.
After the autolyse, it’s time to incorporate your active sourdough starter and salt. Mix thoroughly to guarantee everything is evenly distributed. A well-mixed dough should feel smooth and cohesive, slightly tacky but not overly sticky, indicating excellent hydration and gluten structure.
Here are some key points to remember:
- Autolyse improves dough texture greatly.
- Avoid adding salt during the autolyse.
- The dough should feel smooth after mixing.
- Proper hydration is essential for gluten development.
- Flavor additions come later in the shaping stage.
Stretch and Fold Technique
Stretch and fold isn’t just mixing; each gentle lift and fold enhances the structure of your dough.
Give your dough some well-deserved rest in between sets to build strength and elasticity.
The result will be a beautifully risen cinnamon swirl bread with a desirable crumb texture.
Shaping the Dough
How do you create that irresistible swirl in your cinnamon bread? Start by rolling out your dough into a rectangle, making certain it’s evenly thick for uniform baking.
Next, spread your buttery cinnamon sugar filling across the surface, guaranteeing it’s well distributed. Then, roll the dough tightly from the filled edge to form a log, sealing the ends to keep that delicious filling from escaping during baking.
For a more defined swirl, consider using a bench scraper to gently score the rolled log before placing it seam-side down in your greased loaf pan. This step adds an artistic touch that elevates the presentation.
Allow the shaped dough to rise until it crests about an inch above the rim of the pan, a process that usually takes about an hour. This important rise guarantees a light and airy texture.
Before you slide your masterpiece into the oven, preheat it to 350°F. This temperature is key to achieving that golden-brown crust you crave.
- Visual appeal enhances enjoyment.
- Technique impacts flavor.
- Patience pays off in texture.
- Attention to detail matters.
- Baking is both a science and an art.
Cold Fermentation Process
When you place your shaped dough in the refrigerator, you’re releasing the magic of cold fermentation.
This slow process not only enriches the flavor but also enhances the crust’s texture, making your sourdough cinnamon swirl bread truly irresistible.
With recommended refrigeration times ranging from 5 to 36 hours, you’ll notice how the cinnamon flavor beautifully melds throughout the dough, creating a delightful experience for your taste buds.
Placing your shaped dough in the refrigerator for 5 to 36 hours will reveal a range of benefits that transform your baking experience.
- Enhanced Flavor: The slow fermentation process develops complex flavors, making every bite more delicious.
- Improved Crust Texture: A longer fermentation time contributes to a crisp and flavorful crust.
- Optimal Oven Spring: The contrast between cold dough and a hot oven results in a better rise and an airy crumb structure.
- Flexible Baking Schedule: You can prepare your dough in advance, allowing you to bake when it’s convenient.
- Better Digestibility: Extended fermentation helps break down gluten and phytic acid, making the bread easier to digest.
With these advantages, cold fermentation not only makes baking more flexible but also elevates the quality of your sourdough cinnamon swirl bread, ensuring it’s both a joy to make and a delight to eat.
Here’s a quick reference to help you gauge your refrigeration time:
| Refrigeration Duration | Effect on Dough |
|---|---|
| 5-10 hours | Mild flavor, decent texture |
| 12-24 hours | Balanced flavor, good gluten |
| 24-36 hours | Rich flavor, excellent crust |
| 36+ hours | Risk of over-fermentation |
As you refrigerate your shaped dough, it should be loosely covered to prevent drying out and allow gas expansion. Remember, baking your cold dough straight from the refrigerator into a preheated oven will give you that fantastic oven spring and crust you crave. Just keep an eye on the dough; overdoing it can lead to a less-than-ideal final product. Happy baking!
Flavor Enhancement Techniques
Sourdough enthusiasts often cherish the magic of cold fermentation for its remarkable ability to elevate the flavor profile of their bread.
By slowing down yeast activity through refrigeration, you allow your dough to develop a complex, rich flavor that’s simply irresistible. This technique not only enhances the tanginess but also creates a beautiful crust that’s both crispy and flavorful.
Here are some key benefits of cold fermentation:
- Deeper Flavor Profile: The extended fermentation promotes the formation of organic acids and flavor compounds.
- Artisanal Texture: A longer chilling period results in a crust that’s improved in texture and taste.
- Better Shape Retention: Chilled dough maintains its shape, ensuring a visually appealing loaf with distinct cinnamon swirls.
- Optimal Oven Spring: Cold fermentation contributes to a better rise in the oven, giving your bread that perfect lift.
- Easy Baking Process: Using a banneton during refrigeration supports the dough’s structure, making it easy to transfer to the oven.
Baking Instructions
Before you begin baking, make sure your oven is preheated to a scorching 230°C (450°F) with a Dutch Oven inside for at least an hour. This step is essential for achieving that perfect rise and crust.
Once you’re ready, carefully score the shaped dough with a sharp knife. This allows for proper expansion and adds an attractive touch to the crust.
Next, place the dough into the hot Dutch Oven, cover it with the lid, and bake for 30 minutes. This steamy environment helps develop a beautiful crust.
After half an hour, remove the lid and lower the temperature to 210°C (410°F). Let it bake for an additional 10-15 minutes until it turns a glorious golden-brown.
For an extra boost in crust texture, consider spritzing the dough with water before sealing the lid.
Serving Suggestions
Once your beautifully baked sourdough cinnamon swirl bread has cooled, it’s time to explore how to enjoy it. This delightful bread offers a variety of serving suggestions that can elevate your dining experience.
Start your day by toasting a slice and slathering it with homemade or cultured butter for a rich, creamy flavor. For something sweeter, whip up some honey cinnamon butter to spread on top, enhancing the bread’s natural sweetness and spice.
You can also get creative by using this versatile bread in recipes like sourdough bread pudding, perfect for dessert or a special brunch. If you’re looking to impress, consider making grilled paninis with the bread, adding cream cheese or apple slices for a gourmet twist.
Plus, its unique flavor profile makes it an excellent gift or sharing treat during gatherings.
Here are some serving ideas to inspire you:
- Toast with homemade or cultured butter
- Spread with whipped honey cinnamon butter
- Use in sourdough bread pudding
- Make grilled paninis with cream cheese or apples
- Gift or share at gatherings
Enjoy experimenting with your delicious creation!
Storage and Preservation Tips
To keep your freshly baked cinnamon swirl bread at its best, follow a few simple storage tips. Start by placing the bread in a paper bag and storing it at room temperature for up to two days. This method helps maintain its freshness while preventing mold growth.
If you want to save some for later, slice the bread before freezing, and layer parchment paper between the slices. This prevents sticking and allows you to grab just what you need.
You can freeze your sourdough bread for up to a month without losing much quality. For a quick treat, toast the slices directly from the freezer.
If you choose to refrigerate the bread, make sure it’s sliced; this makes for easier storage and helps avoid a gummy texture when you reheat it.
Frequently Asked Questions
Can I Use Store-Bought Sourdough Starter Instead of Homemade?
Did you know that nearly 70% of novice bakers prefer store-bought sourdough starters? You can absolutely use one instead of homemade, just verify it’s active and bubbly for the best results in your baking!
How Long Does the Dough Need to Rise?
Your dough needs to rise for about 1.5 to 2 hours until it doubles in size. After shaping, let it rise again for about an hour, or until it’s about an inch above the pan.
What Type of Flour Works Best for This Recipe?
When crafting your bread, you’ll find that high-protein bread flour works best, giving you structure. If you’re feeling adventurous, mix in whole wheat or a touch of rye for added flavor and nutrition.
Can I Add Nuts or Raisins to the Filling?
Absolutely, you can add nuts or raisins to your filling! Chopped walnuts or pecans introduce a delightful crunch, while soaked raisins enhance chewiness. Just guarantee you balance the quantities for a harmonious flavor and texture.
How Do I Know When the Bread Is Fully Baked?
You’ll know your bread’s fully baked when it reaches 190°F internally, boasts a golden-brown crust and sounds hollow when tapped. Please wait for it to cool completely before slicing to avoid a gummy texture.
Soft, Fragrant, and Worth the Wait
In the end, your sourdough cinnamon swirl bread will rise and swirl like a warm hug on a chilly day. The process may take time, but the reward of that soft, fragrant loaf is worth every moment.
Whether enjoyed fresh from the oven or toasted with a pat of butter, this bread brings comfort and joy to your table. So, embrace the journey and savor each bite—you’ve created something truly special.
Happy baking!