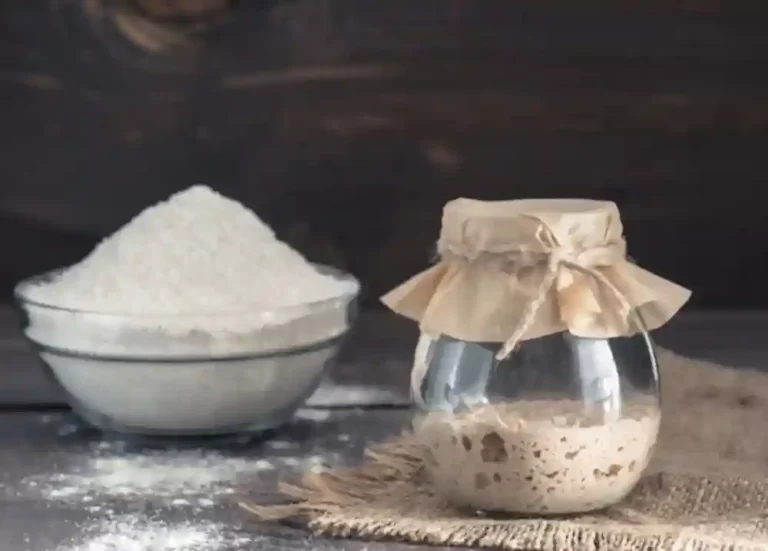
How to Revive Frozen Sourdough Starter: Get Your Forgotten Friend Back and Enjoy Freshly Baked Treats
Have you stumbled across a long-forgotten friend at the back of your fridge? Were you wondering if your frozen sourdough starter you kept for later use is still viable after being tucked away for so long?
You don’t need to worry, and it’s not gone forever. You can bring your sleepy frozen sourdough starter back to life and make something truly remarkable.
Get the best tips on how to revive a frozen sourdough starter so you can enjoy freshly baked bread whenever you want. We’ll walk you through the entire process, from thawing it out and assessing its viability to feeding and activating it.
We will also cover common issues you may encounter along the way and some troubleshooting tips to successfully bring your starter back to life. It doesn’t take special tools or ingredients; follow the steps and be patient, and your starter will be up and running quickly.
So, why not start making mouthwatering treats today from that neglected batch in the freezer?
How to Revive Frozen Sourdough Starter: An In-depth Look at the Step-by-Step Process
Being able to bring your starter back to life properly is essential for getting that perfect loaf of bread. The microbes in your sourdough starter play a crucial role in fermentation and give your bread its distinctive flavor and fluff.
So, let’s get down to business and discuss how to thaw and revive your frozen sourdough starter safely.
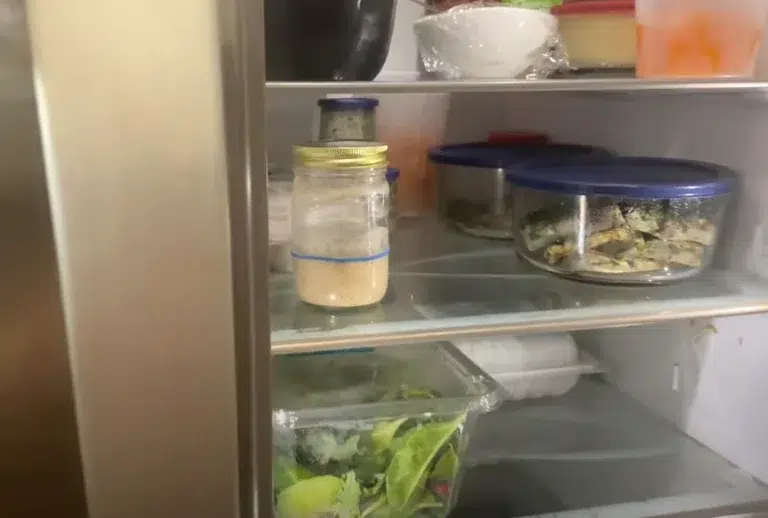
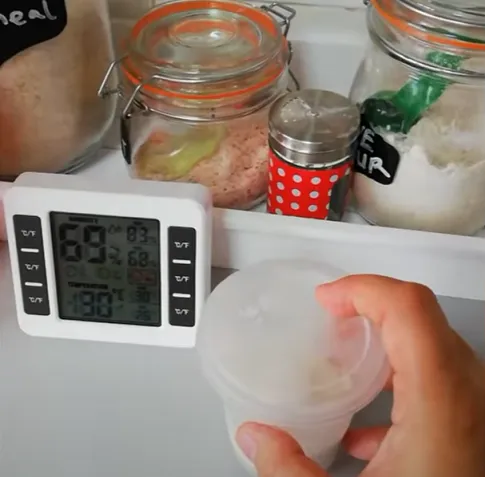
Remove from the Freezer and Thaw
Don’t rush the thawing process when removing your sourdough starter from the freezer. Even though you’re passionate about baking, subjecting your starter to rapid temperature changes might kill off those essential microbes.
Take your frozen container out of the freezer and set it in the refrigerator, allowing ample time to defrost slowly. Ideally, let it thaw for several hours before you use it so the microbes have time to wake up.
Allow the Starter to Rest at Room Temperature
Once your starter has thawed in the refrigerator and is no longer frozen, it’s time to let it acclimate to room temperature. Transfer your starter to a clean glass or plastic container with a loose-fitting lid.
Let it sit on the counter for a few hours to slowly warm to room temperature.
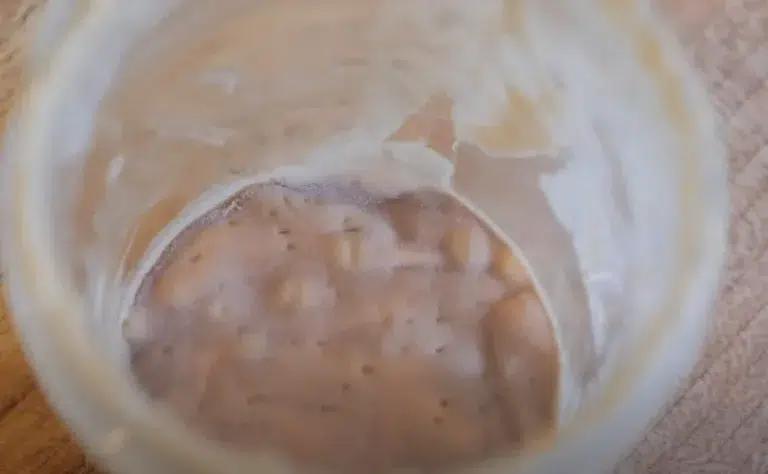
Assess Your Starter
Once your starter has reached room temperature, take a look at it. You should see some signs of life, such as a few bubbles, a little rising, or even a fruity smell.
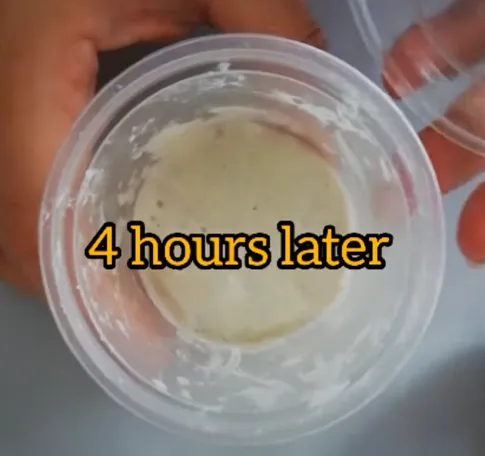
This is a great sign! This means the microorganisms in your starter are beginning to wake up.
But sometimes, you might not see any signs of revival. So, before you start feeding and activating your starter, assess its condition to determine the amount of care needed.
There are a few key factors to look out for:
- Discoloration or separation: If the starter appears discolored and separated, it may be contaminated and should be discarded.
- Smell: A sour or tangy smell is normal, but if the starter smells musty, moldy, or off in any way, it should be discarded.
- Texture: The starter should be thin and liquid after being stored in the fridge or freezer. If it’s thick or chunky, it should be discarded.
- Hooch: The liquid that sometimes forms on top of the starter, known as hooch, can indicate the starter’s condition. Grey or black-ish hooch is usually a good sign, but the starter should be discarded if it’s pink-tinged.
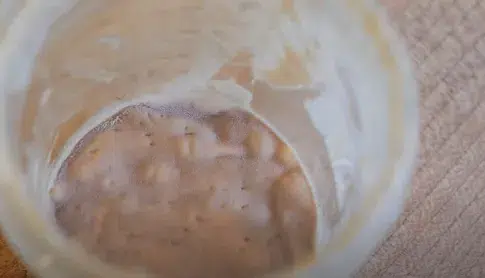
If any of these factors indicate that the starter is contaminated or off, it’s best to discard it and start fresh with a new batch. Taking the time to assess the condition of the starter before attempting to revive it can save time and disappointment in the long run.
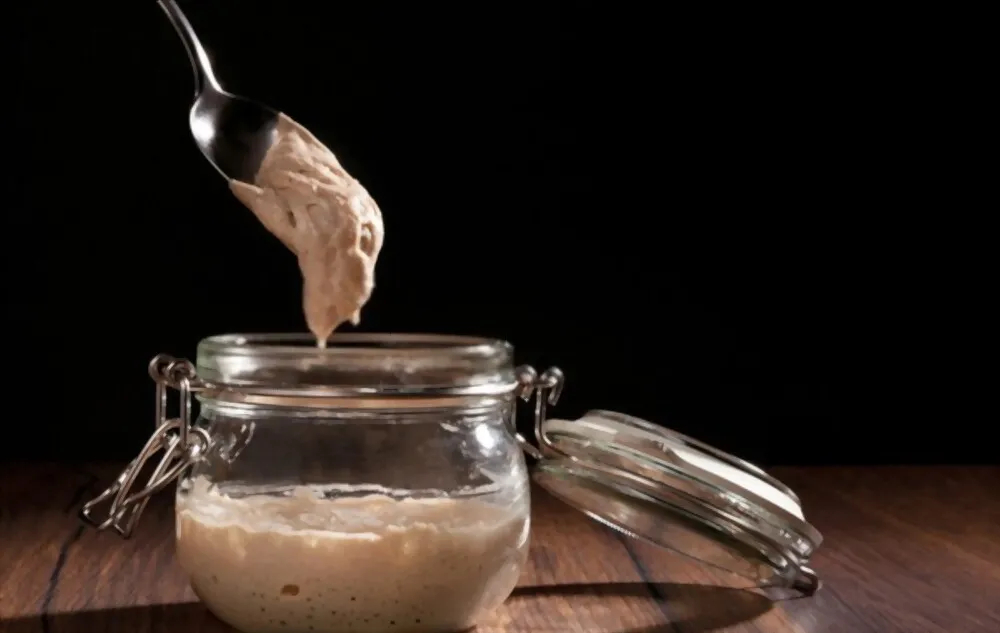
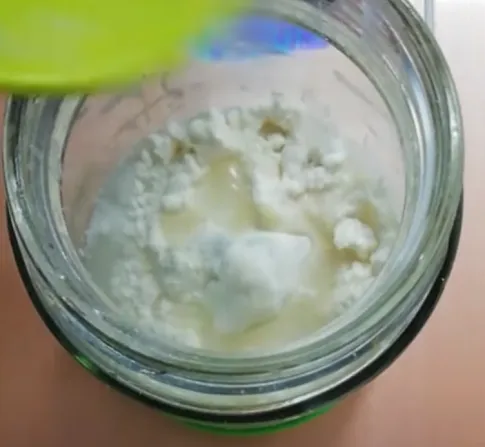
Scrape off the Top Layer
If the starter looks good, you can start to revive it. The most important step is to discard the top layer of the starter before you begin feeding it.

The top layer may have some contamination that needs to be removed before adding fresh ingredients. Take a spoon, scrape off the top layer, then discard or compost it.
Feed and Activate
After your starter has reached room temperature and shows signs of life, it’s time to nourish it. Your sourdough starter is a living, breathing colony of microbes that need regular “food” in flour and water to stay active and healthy.
Just like you and I need regular meals, so does your starter. A consistent feeding schedule helps to ensure that the yeast and bacteria populations remain balanced and active, which is critical for successful sourdough baking.
What you’re going to need:
1. Your thawed sourdough starter.
2. Non-chlorinated Little Warm water: Ideally, the water should be around 78°F (25.5°C) for a happy starter culture.
3. Flour: Choose unbleached bread or all-purpose flour, preferably organic.
Once you have everything ready, follow these steps:
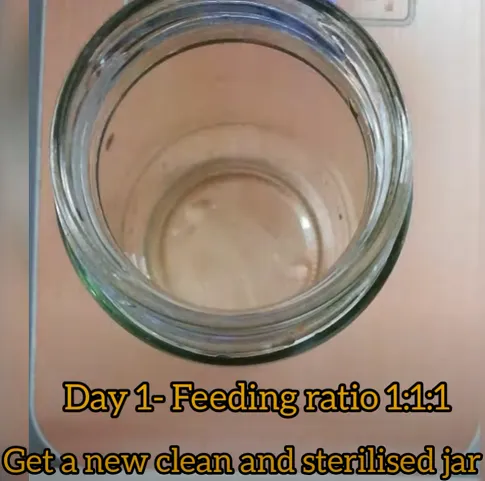
Step 1: Mix the Starter with Warm Water and Flour
Combine equal parts flour and water (by weight) with your thawed sourdough starter. This will provide much-needed nourishment for the microbes and help dilute residuals like alcohol or acids that build up during freezing and thawing.
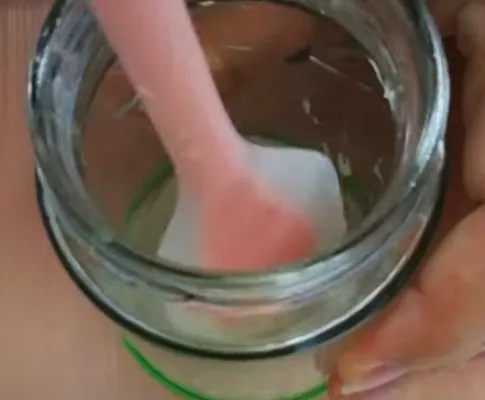
Mixing thoroughly is key here; you want to incorporate everything completely.
Step 2: Let the Starter Rest for 12 Hours
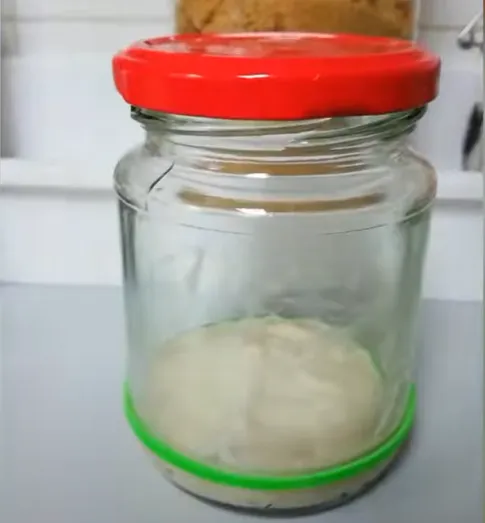
Cover the container with a clean cloth or plastic wrap and let the starter sit at room temperature for about 12 hours. This rest allows the newly-fed starter to “digest” the flour and water mixture, allowing it time to begin fermenting sugars.
Step 3: Feed the Starter Again
After the 12-hour rest, observe your starter for signs of activity like bubbles, rising, or a pleasant sour aroma. If you see these indicators, feed it again with another equal parts mixture of flour and water. Stir well, then cover it again and let it sit at room temperature.
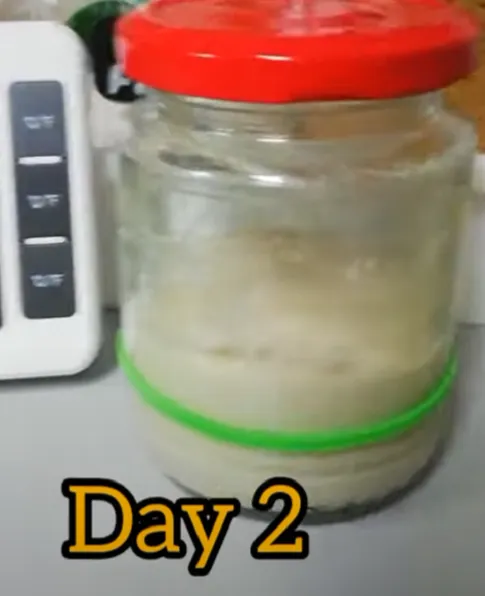
Step 4: Wait for Signs of Activity
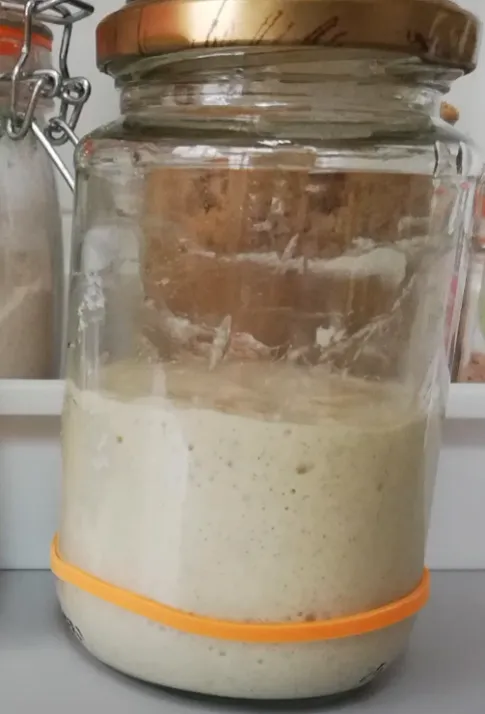
Over the next day or so, keep an eye on your starter. If it shows signs of activity, such as increased bubbles, a doubling in size, or even a slight liquid build-up (called “hooch”), you’re on the right track!
Step 5: Adjust the Feeding Schedule Based on Starter’s Activity
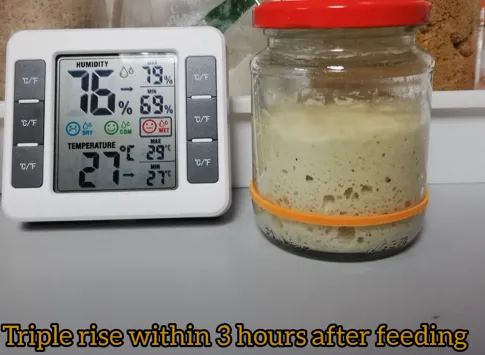
Your starter’s activity can vary based on several factors, such as temperature and humidity. If you notice it’s very active and doubling or even tripling in size within just a few hours after feeding, you might want to feed it more often or perhaps even switch to a twice-a-day feeding schedule, especially if you plan to bake with it soon.
Conversely, if your starter’s activity is sluggish, you could move it to a warmer location, feed it slightly more (or even use a little whole-grain flour) to boost its vitality.
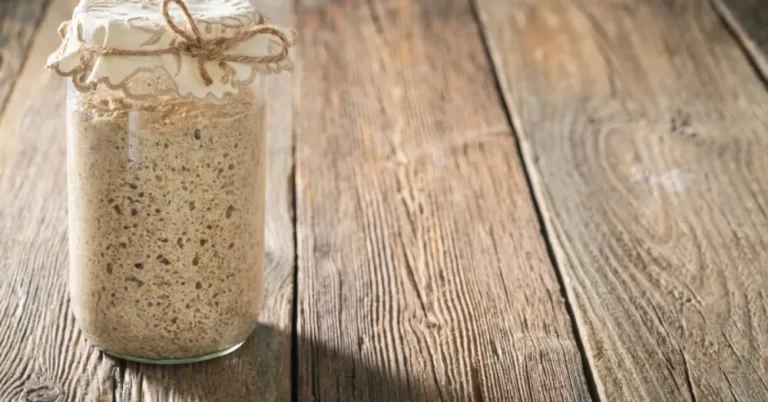
And that’s it! Once your starter is bubbling away, smelling tangy and yeasty, and showing no signs of mold. Your revived sourdough starter is ready to take on its key role in creating the perfect loaf of bread.
Maintaining the Revived Sourdough Starter
Some might tell you that keeping it at room temperature is fine, but trust me, keeping it in the fridge will make your life much easier. Why, you ask?
Refrigeration slows the fermentation process, so your starter won’t need to be fed as often. It’ll still be alive and kicking, ready for baking, but it won’t demand constant attention. Isn’t that great?
And, since it’s happily residing in the fridge, you won’t need to feed it daily. You can get away with feeding it on a weekly or bi-weekly basis!
When it’s feeding time, simply remove the starter from the fridge and let it sit for a bit to come to room temperature. Then, discard about half of the starter (remember, it’s important to make space for the fresh flour and water you’ll be adding).
Mix in equal parts flour and water (the exact amounts will depend on your starter size, but a common ratio is 1:1 by weight), and let it sit at room temperature for a few hours or until it’s nice and bubbly. This will ensure it’s well-fed and ready for another week of chilling in the fridge.
Before returning the starter to the fridge, ensure it’s in a clean container with enough space to expand as it ferments. A loosely covered glass or plastic container allows the starter to breathe without letting in any nasty contaminants.
Now, if you’re planning on doing a lot of baking and want your starter to be at its peak performance, you can feed it for 4-5 consecutive days to boost it. This is especially helpful if you’ve noticed your starter lacks activity or haven’t used it in a while.
By following these simple steps, you’ll always have a healthy and thriving sourdough starter at your disposal, ready for all your tasty baking endeavors. Keep it refrigerated and well-fed; it will give you some outstanding bread for years.
Reviving a Sourdough Starter: Common Issues and Troubleshooting Tips
Are you having difficulty reviving your beloved sourdough starter? Don’t worry, we’ve all been there.
To help get it back up and running, here are some of the most common issues and helpful tips to bring its bubbly potential back.
Inactive or sluggish starter:
If your starter isn’t bubbling or seems less active than usual, it might need a little more attention. Adjust the feeding schedule by feeding it more often (every 8 to 12 hours) with flour and water (by weight) in equal parts) until you see it bubbling and doubling in size within a few hours.
Also, make sure to use unbleached flour; some starters tend to work better with organic flour.
Off smell:
It’s not uncommon for a sourdough starter to have a strong or off smell when trying to revive it. When this happens, it’s usually a sign that the starter is hungry.
A more frequent feeding schedule should help, but don’t overfeed it. Overfeeding can create an imbalance of microbes and promote some unwanted smells.
Stick to equal parts of flour and water by weight, and maintain a consistent schedule.
Watery starter:
If your starter looks too watery, you might need to adjust the flour and water ratio. A combination of not enough flour and too much water can create a watery starter that struggles to support the fermentation process.
A thicker starter can better support the growth of yeast and bacteria. So, try using less water and slightly more flour (1:1 by weight) until you achieve a thick, pancake-batter-like consistency.
Mold or discoloration:
If your sourdough starter has become discolored, or if you notice mold growing on the surface, it’s time to say goodbye to that starter. Always keep things sanitized to prevent mold development.
Next time, store your starter in a clean container with a lid that allows the gases to escape. Better safe than sorry!
Using chlorinated water:
One common mistake people make is using tap water that contains chlorine, which can hamper the microbial activity in the starter. Always use filtered or dechlorinated water when feeding your starter.
Temperature:
Sourdough starters do best in a warm environment, around 70-75°F (21-24°C). A cooler kitchen might slow down the activity in your starter, prolonging the revival process.
Find a warm spot or use a proofer to maintain the ideal temperature for optimum starter activity.
How do I know if my revived sourdough starter is ready to use?
To determine if your revived sourdough starter is ready for use, check for the following key signs of an active and healthy starter:
1. Doubling in size after feeding: Feeding your starter with fresh flour and water should double in size within 4 to 12 hours. This indicates that the yeast and bacteria in the starter are actively consuming the new food and producing gases, which cause the starter to rise.
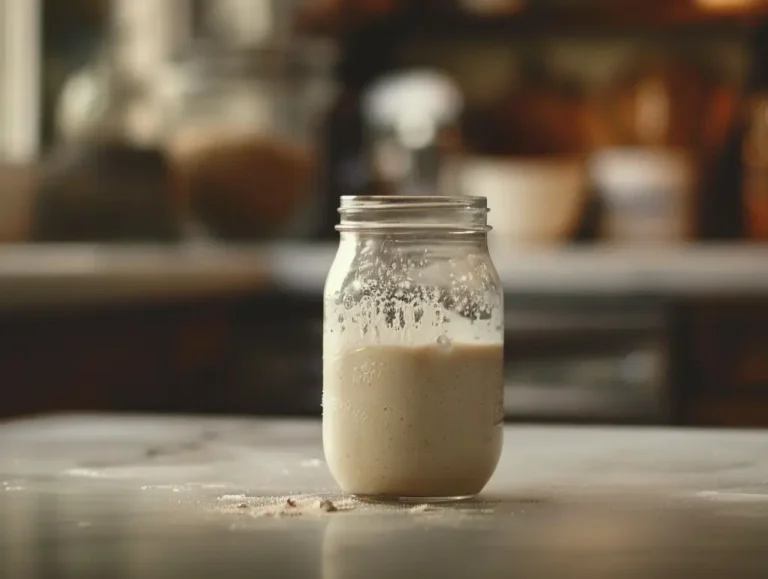
2. Bubbly and frothy appearance: A healthy and active sourdough starter will have numerous small and large bubbles on the surface and throughout the mixture. This suggests that the yeast and bacteria produce carbon dioxide, crucial for making the dough rise.
3. Tangy aroma: An active sourdough starter should emit a pleasant, tangy, and slightly acidic aroma. This smell results from the lactic and acetic acids produced by the lactobacilli and aceto-bacteria in the starter, contributing to the distinct flavor of sourdough bread.
4. Slightly sour taste: In addition to the tangy aroma, an active starter should have a mildly sour taste due to the aforementioned acids. The sourness should not be overpowering or unpleasant; it should have a balanced and pleasant tang.
5. Float test: You can also perform a simple float test to check if your starter is ready for use. Spoon a small amount of your starter into a glass filled with water. If it floats, the starter is ready to use, indicating that it is full of air bubbles and has sufficient yeast activity.
If your sourdough starter does not display these characteristics after reviving it, continue with the feeding and care process to further develop its fermentation activity. Regular feedings, maintaining the appropriate temperature and consistency and discarding a portion of the starter before each feeding will help optimize the yeast and bacterial growth, ensuring a healthy and active starter for your baking needs.
How long can sourdough starter stay in the fridge unfed?
Typically, sourdough starter can stay in the fridge for up to 2 weeks without being fed. However, if you plan on keeping it longer than that or cannot feed it regularly, we recommend storing your starter in the freezer.
This will help preserve its activity and prolong its lifespan significantly.
If frozen, you can store your sourdough starter for up to 6 months before being fed. Make sure to thaw it at room temperature before reviving and using it as per the instructions in this guide.
How do I know if my refrigerated sourdough starter is bad?
To determine if your refrigerated sourdough starter has gone bad, you should look for the following indicators:
Mold growth: Any visible mold growing on the surface or sides of your sourdough starter is a clear sign of contamination, and you should discard it immediately. Mold can appear in various colors, such as green, black, or white, and may have a fuzzy appearance.
Unusual colors: A healthy sourdough starter typically has a creamy, off-white color. If you observe any orange or pink tints or streaks, this could indicate the presence of harmful bacteria, and you should not use the starter. Discard it and begin anew to avoid any health risks.
Unpleasant odor: A good sourdough starter emits a pleasant, tangy, slightly acidic aroma. If your starter smells off, putrid, or rotten, it might have gone bad and should not be used for baking.
Weak or no activity: When a sourdough starter is healthy, it should display signs of activity in bubbles and increased volume. If your starter shows no signs of bubbling or rising even after feeding, it may have lost its potency and should be discarded.
Separation of liquid: While it is normal for some clear or light tan liquid (known as “hooch”) to collect on the top of your sourdough starter, large amounts of liquid can signal that the starter is not being adequately maintained. Pour off the excess liquid, properly feed your starter, and monitor its activity. If it does not revive or show signs of a healthy culture, discard it and start over.
Remember that consistently feeding and maintaining your sourdough starter is crucial for its health and effectiveness. If you suspect that your refrigerated sourdough starter has gone bad, it is best to err on the side of caution, discard it, and begin a new starter to ensure the success of your sourdough baking endeavors.
Nurse the Dormant Sourdough Starter Back to Life, Restoring Its Delicious, Active Role
If you’re feeling a little intimidated at the prospect of resuscitating your frozen sourdough starter, don’t worry. Reviving it can be easily achieved with patience and dedication to following the proper steps.
Take things slowly; rushing through thawing may only damage all those hours of hard work needed to cultivate the culture. By being consistent with its care requirements and attentive towards its needs, you’ll soon savor the fresh-baked bread with an active, valued addition to your baking ventures: a thriving sourdough starter.
So go ahead and give your sourdough starter a chance to live again and enjoy the delicious rewards that come with it. Good luck!